For the last three years, I have been looking for a new triathlon bike. There are lots of fantastic bikes out there, including but not limited to the Cervélo P5, Trek Speed Concept, Specialized Shiv, BMC timemachine TM01, Felt IA, Canyon Speedmax CF and more. After a long lasting and very careful analysis of aerodynamic performance, Kona bike stats and more, I finally made up my mind this year which one to buy: The Scott Plasma 3. Introduced in 2010, this bike features most of the design elements as most of today’s superbikes: Deep aero sections, an integrated stem, a rearwheel cutout and the like. But to me, one point where the Scott Plasma 3 sticks out of the mass is it’s mechanical simplicity (for a superbike!). There are no integrated brakes and so on. Nevertheless, in most aerodynamic comparisons, the Scott Plasma 3 is one of the best and its real life performance is equally impressive: Triathlon wins of Marino Vanhoenacker, Sebastian Kienle, Luke McKenzie as well as Time Trial wins of Team Orica Green Edge underline the capabilities of this bike as well as its riders.
Aerodynamic Performance
There are at least as many Aerodynamic tests as there are triathlon bikes. Most of them tend to show that the bike of the manufacturer that conducted the test is superior ;-). And most of the test results cannot be compared to other test results for at least three reasons:
- Different test protocols: E.g. different wind speeds, frame with rider or without, wheels moving or not, different sweep angles and so on. If bike A was tested better than bike B according to test protocol X, this doesn’t necessarily mean that the ranking could not be the other way around according to test protocol Y.
- Unfortunately, most tests include only a few selected bikes. I have yet to see an Aerodynamic test that includes all current superbikes.
- A relatively new trend is that the bike of the manufacturer which is tested is compared to a group of other bikes and not individual bikes. Cervélo is the most prominent example with their P5 white paper.
Out of my perspective, the only meaningful Aerodynamic test that includes the Scott Plasma 3 was conducted by Cervélo in 2011 and published on Slowtwitch. I think the most meaningful chart is with a rider onboard and the fastest bottle configuration. Please note that in this test, the Cervélo P4 was configured in the fast possible way (no spacers, etc.) and all other bikes were configured to match the fit coordinates of the P4. This means that the Scott Plasma 3 was not configured with the flat stem but with a raised one. This did most certainly not improve the aerodynamic performance of the Scott Plasma 3.

Image source: Slowtwitch, http://www.slowtwitch.com/Tech/Cervelo_P4_in_the_Tunnel_1929.html
Looking at the chart, it is quite obvious that under wind angles of -5° to +5°, the Scott Plasma 3 is not the most aerodynamic bike in this test. However, things change in wind angles of -15° to -7.5° and 7.5° to 15°. Under these conditions, the Scott Plasma 3 is either the best bike (non-drive side) or the second best (drive side). And according to an exhaustive analysis of Trek (Speed Concept White Paper, Page 11), effective wind angles of 7.5° to 12.5° occur most often in real life for riding speeds between 29 and 40 km/h.
Overall, the Scott Plasma 3 seems to be the best compromise between top-notch aerodynamic performance and mechanical ease to maintain and to travel with.
Built-Up:
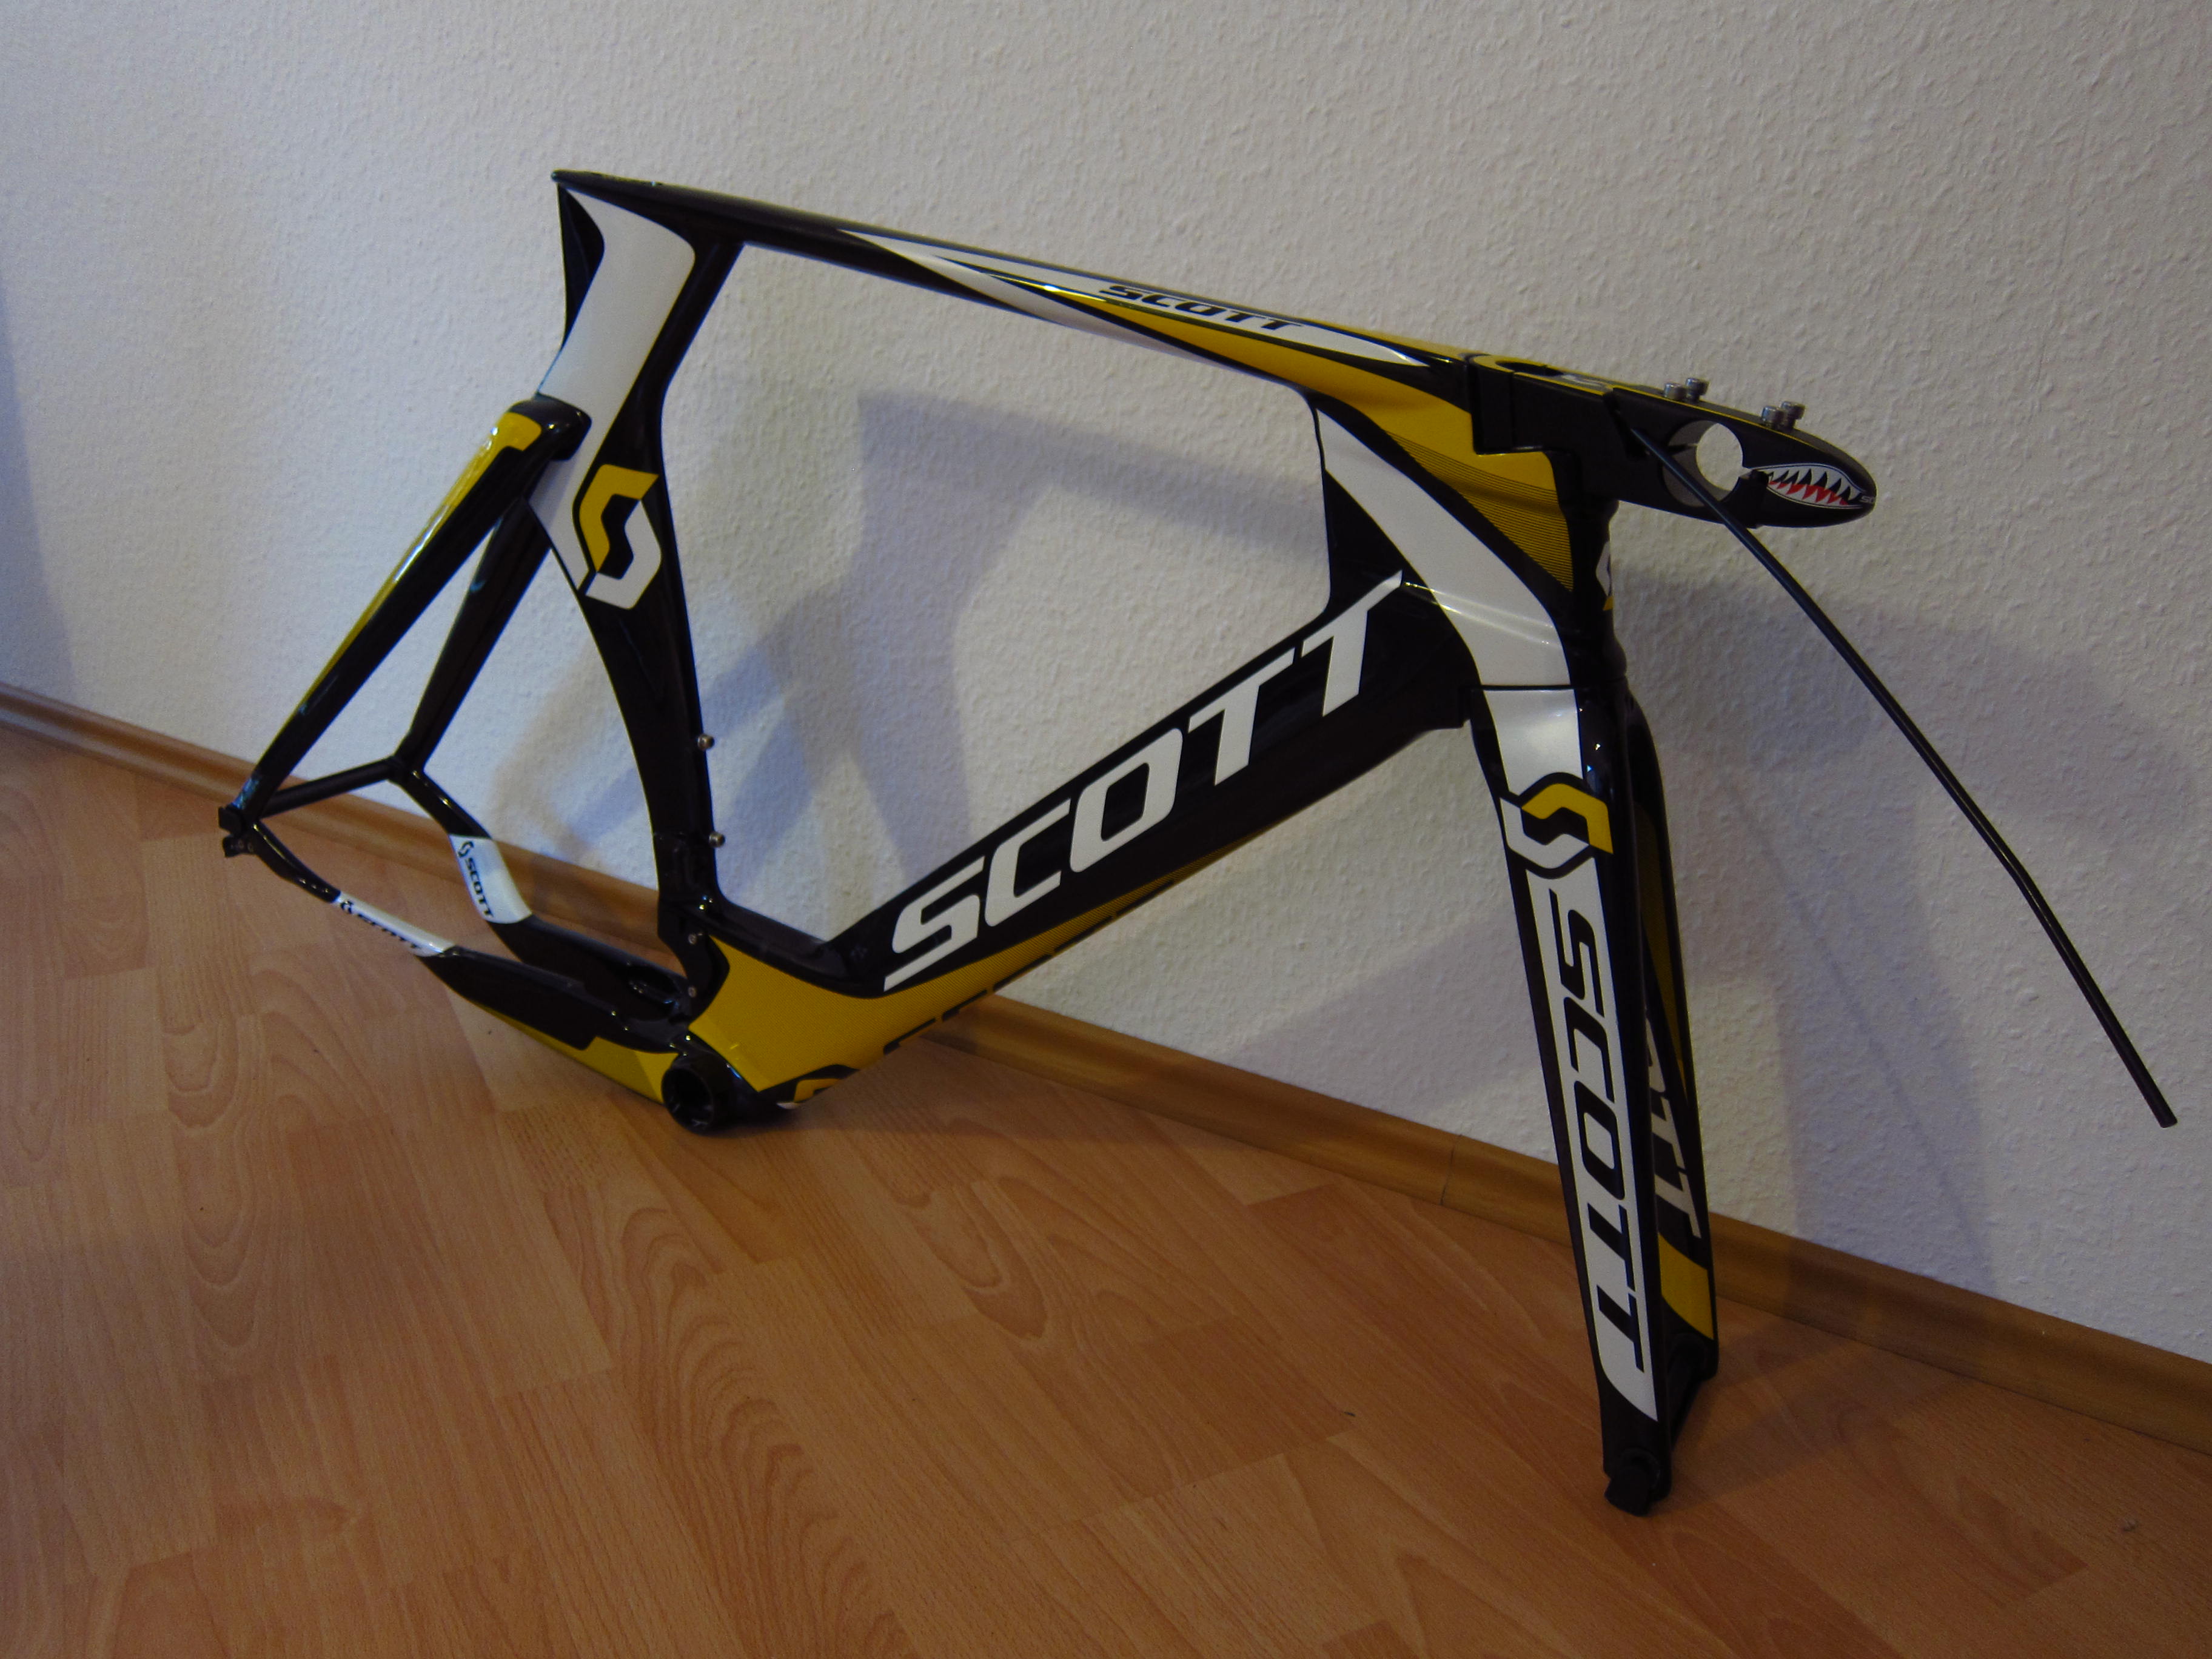
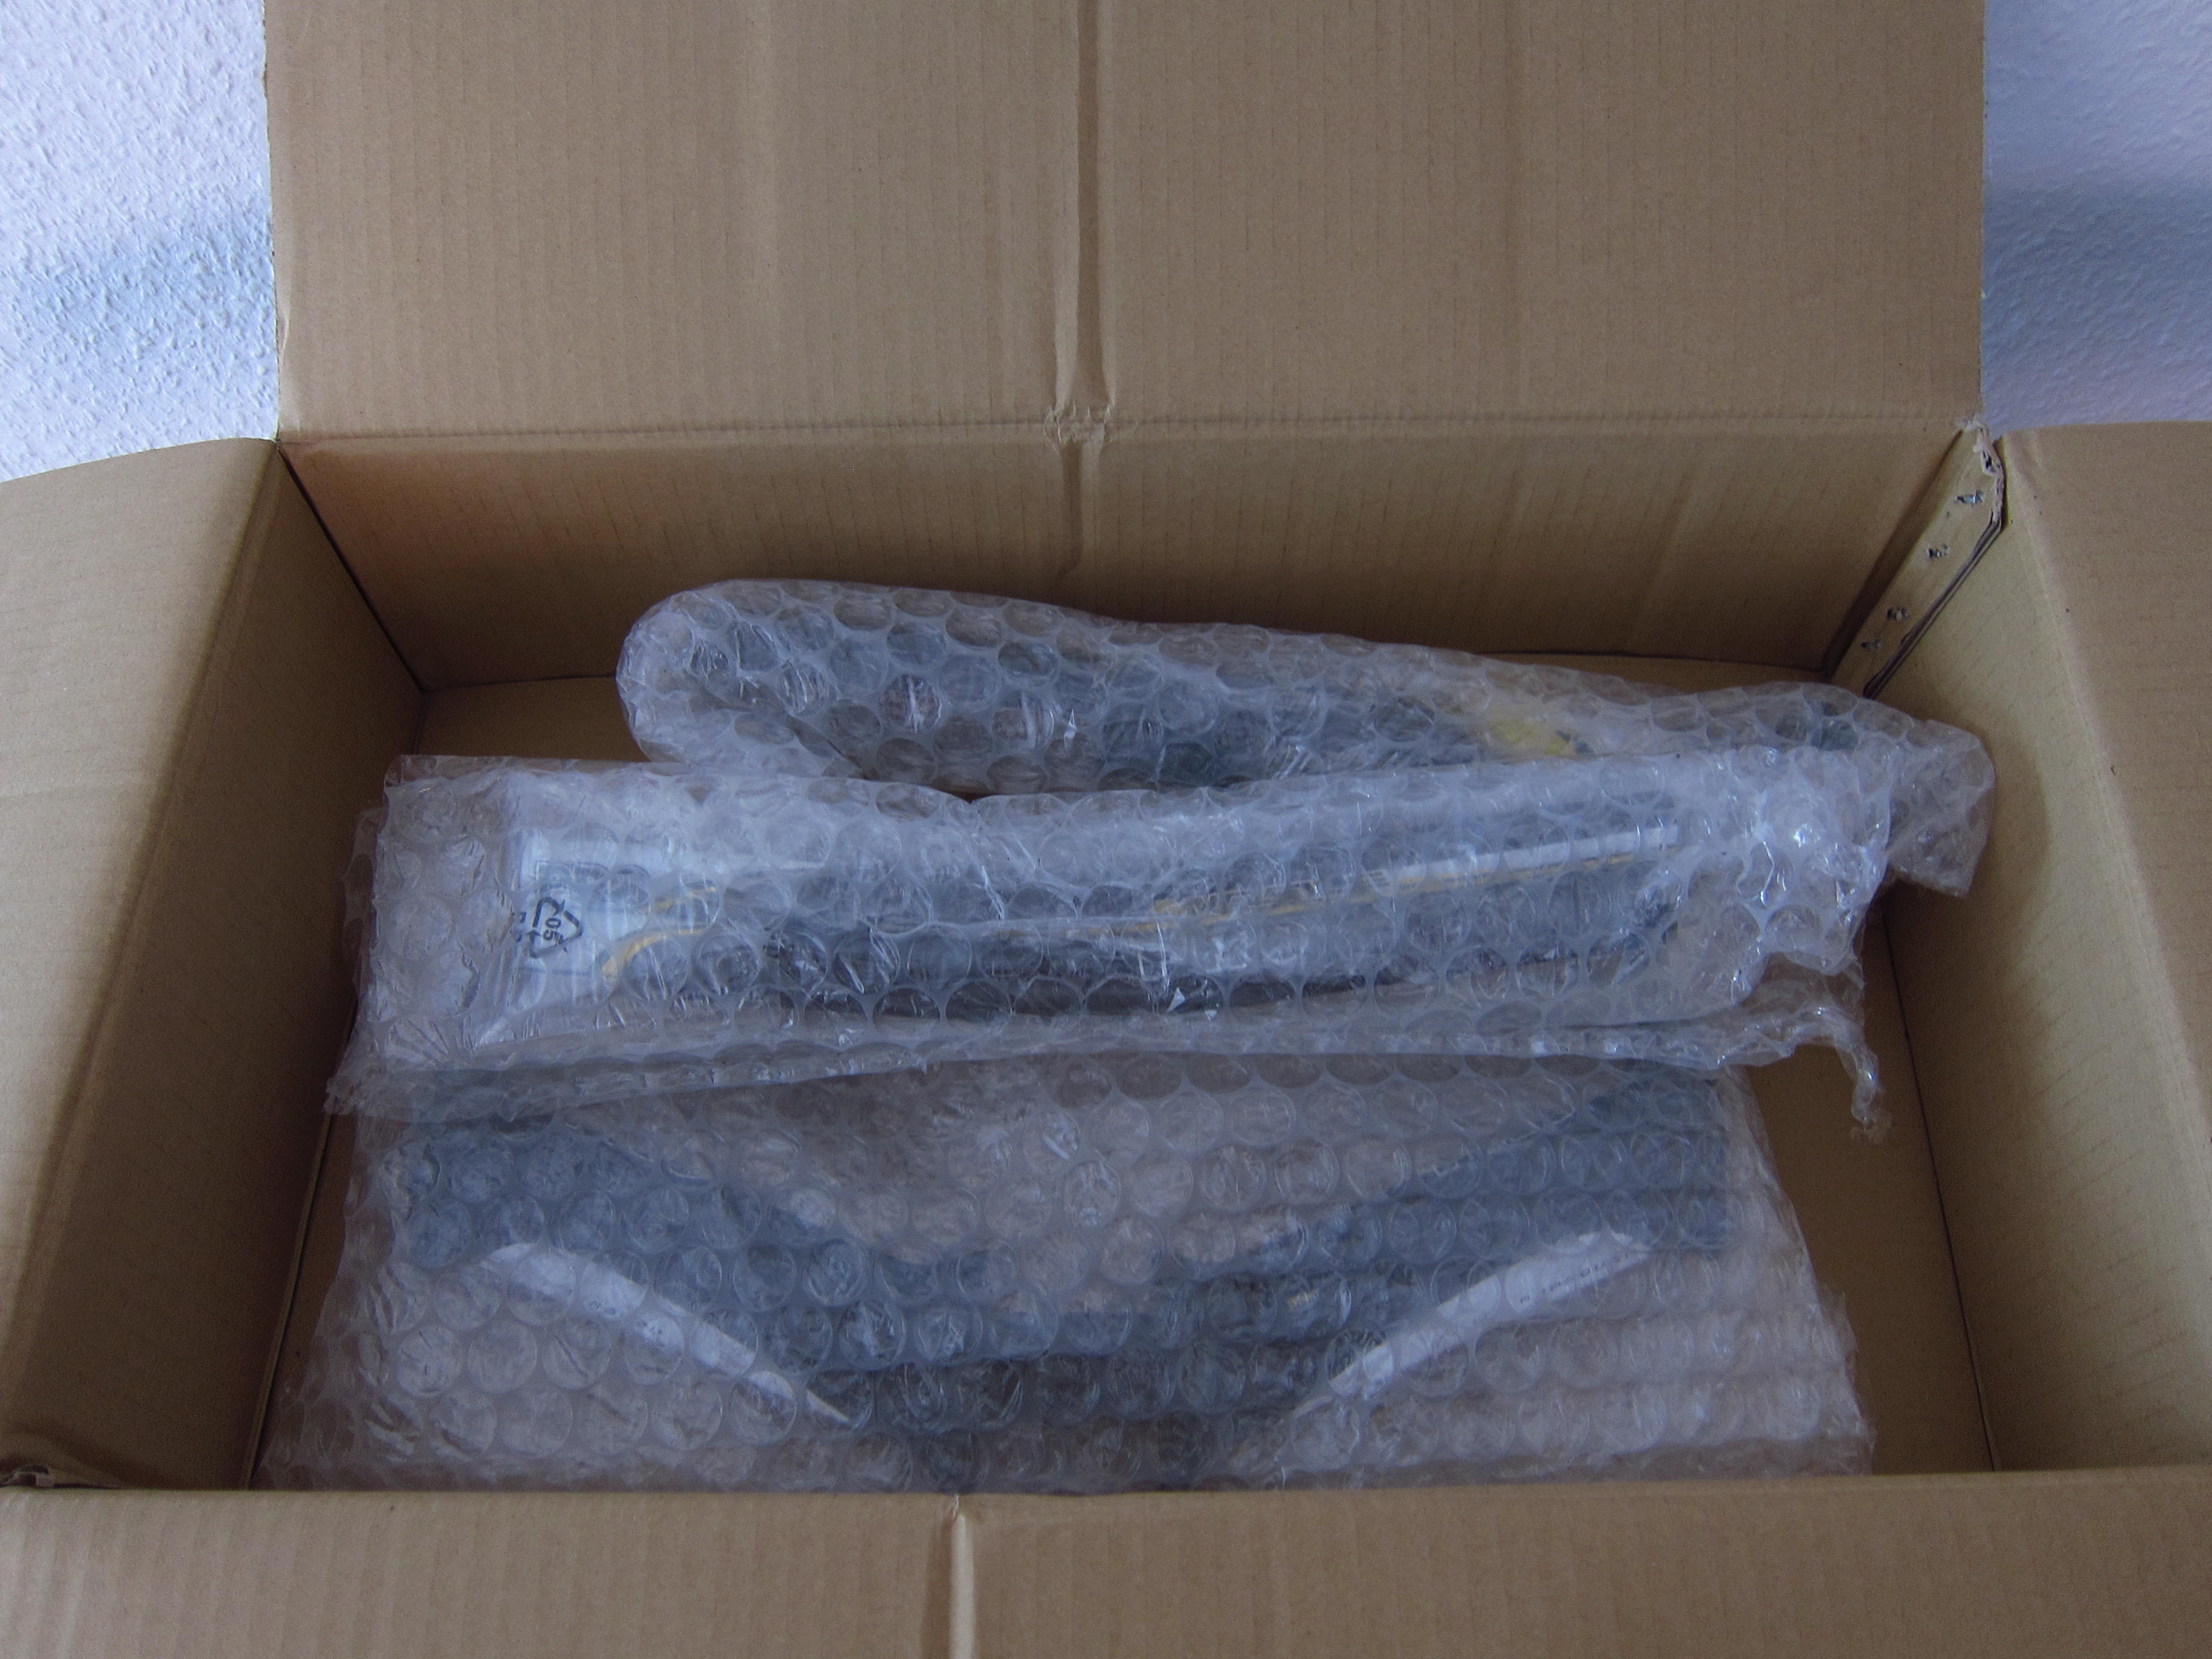
I decided to built up the bike by myself, so I ordered a frameset only. Finally, mid of September, the magic box arrived 😉
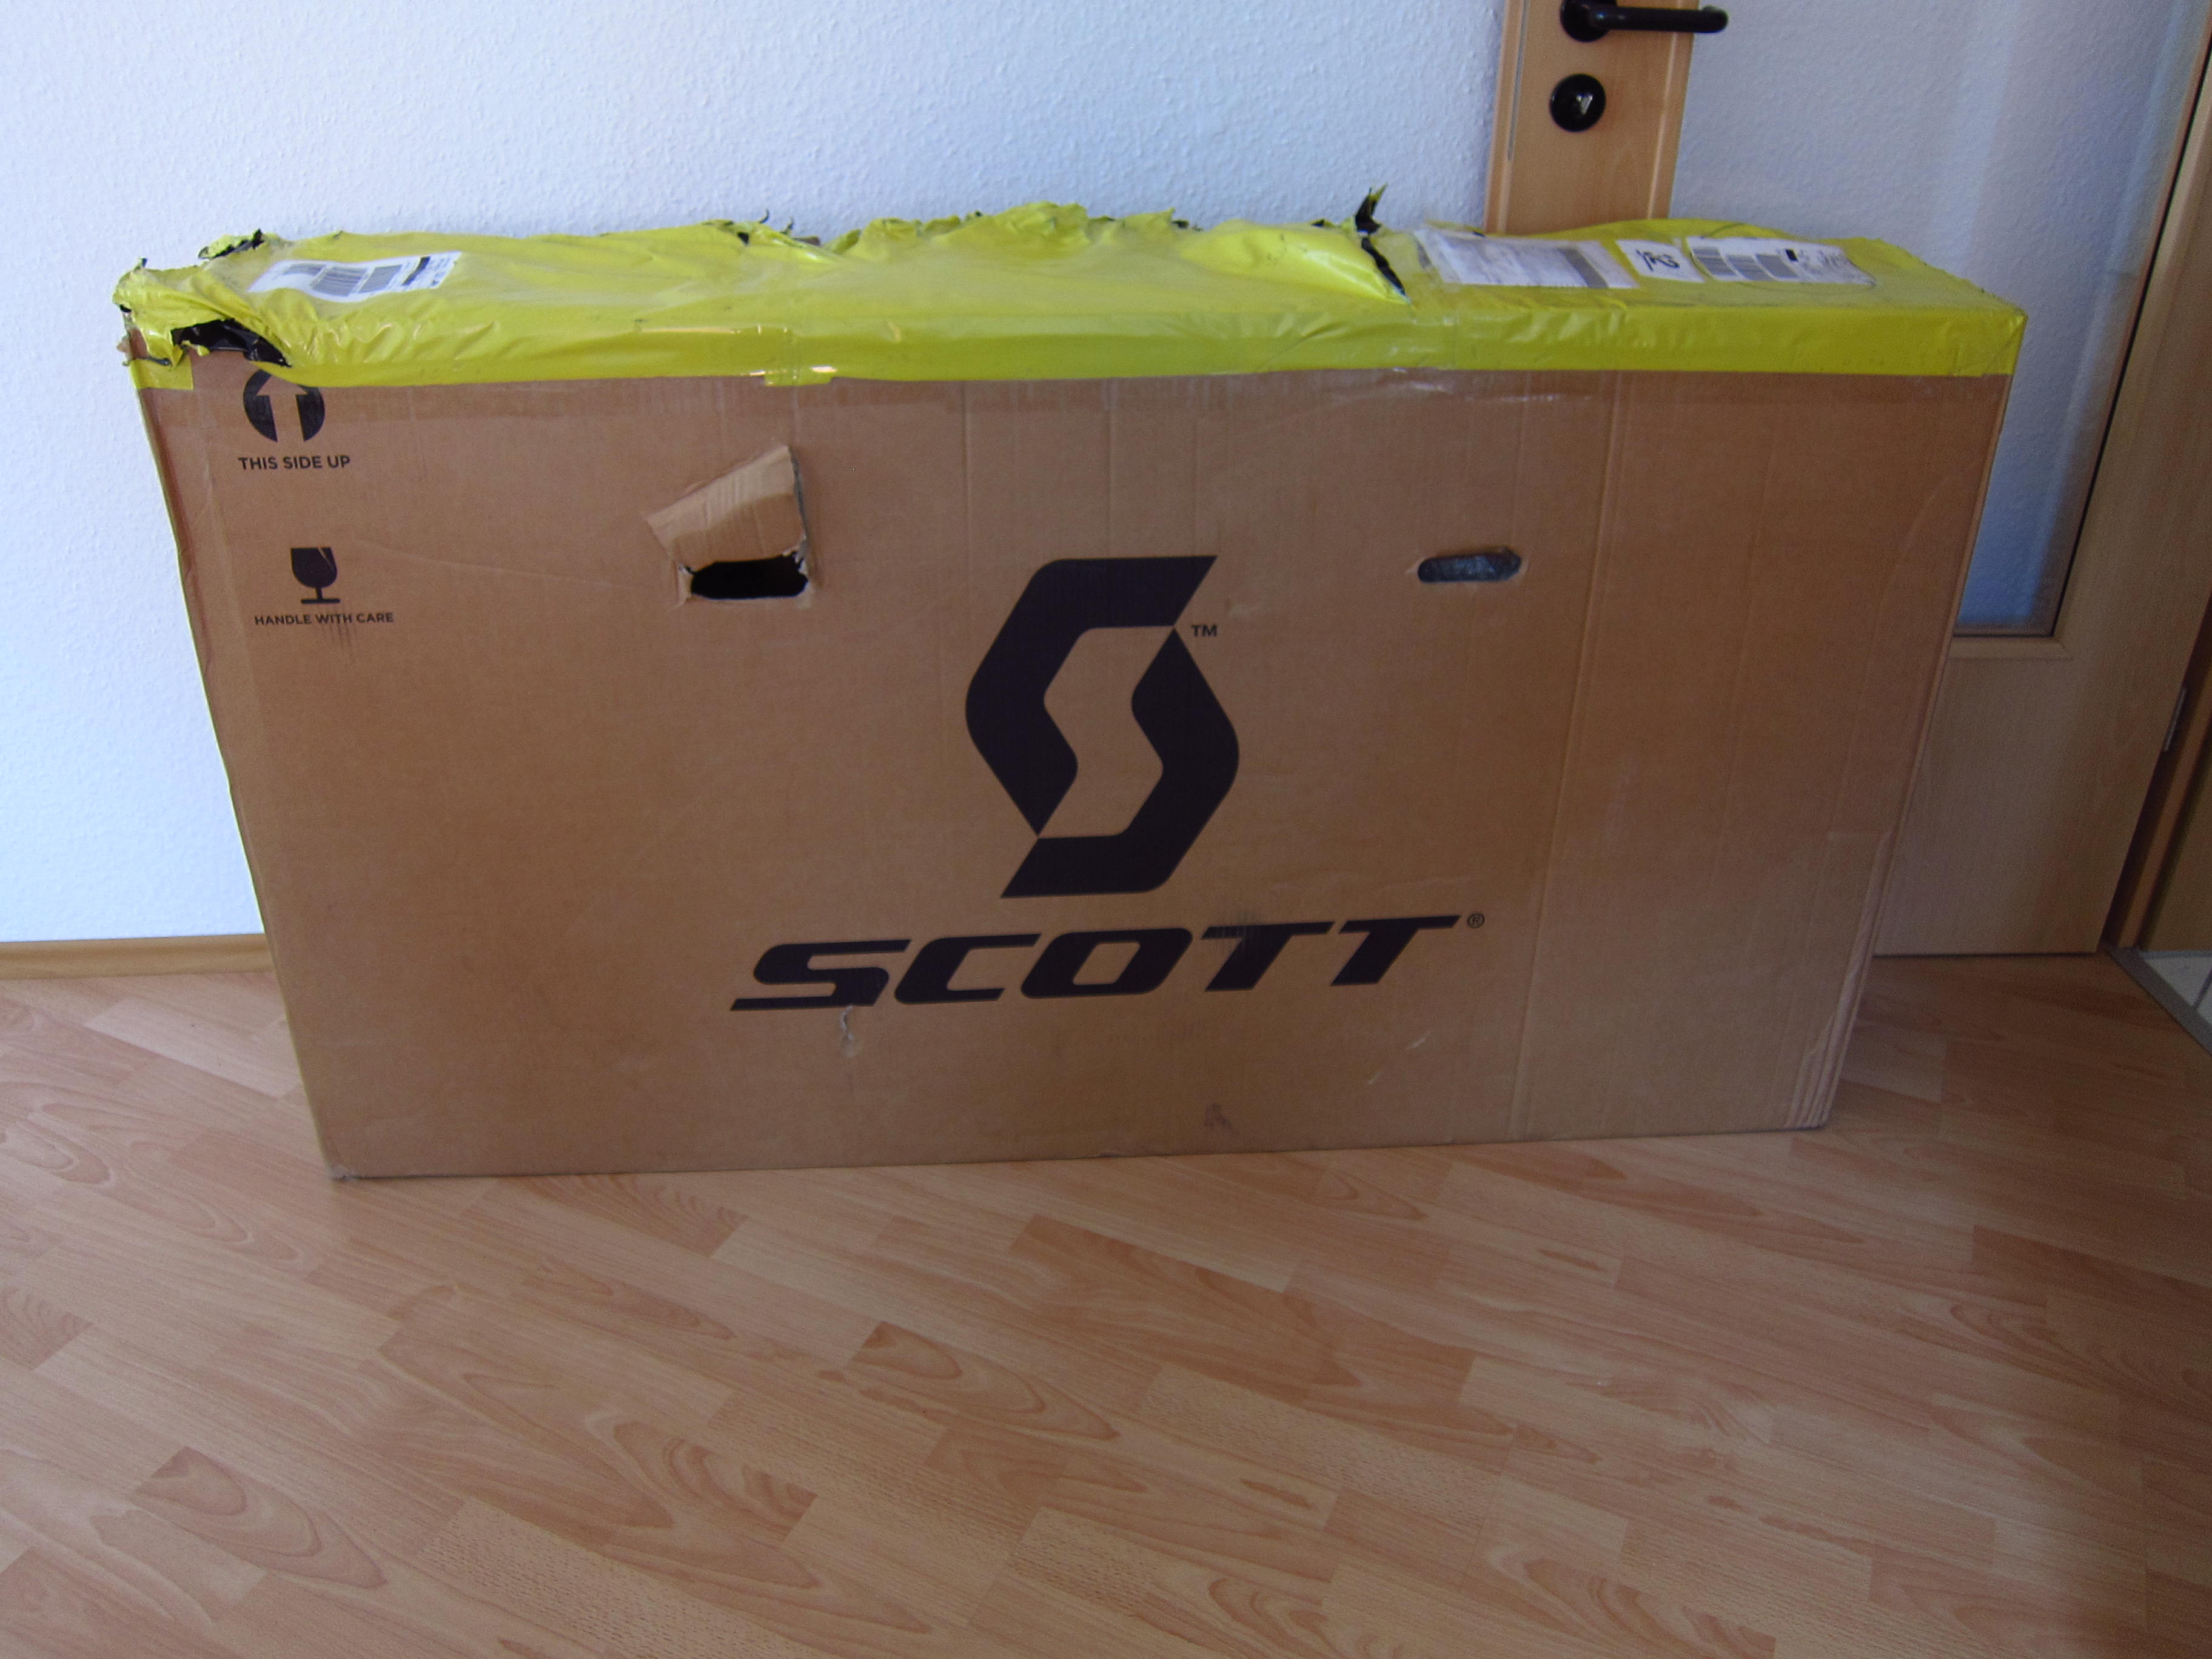
It was really hard to take pictures whilst unboxing – yet I wanted to document what’s in the box.
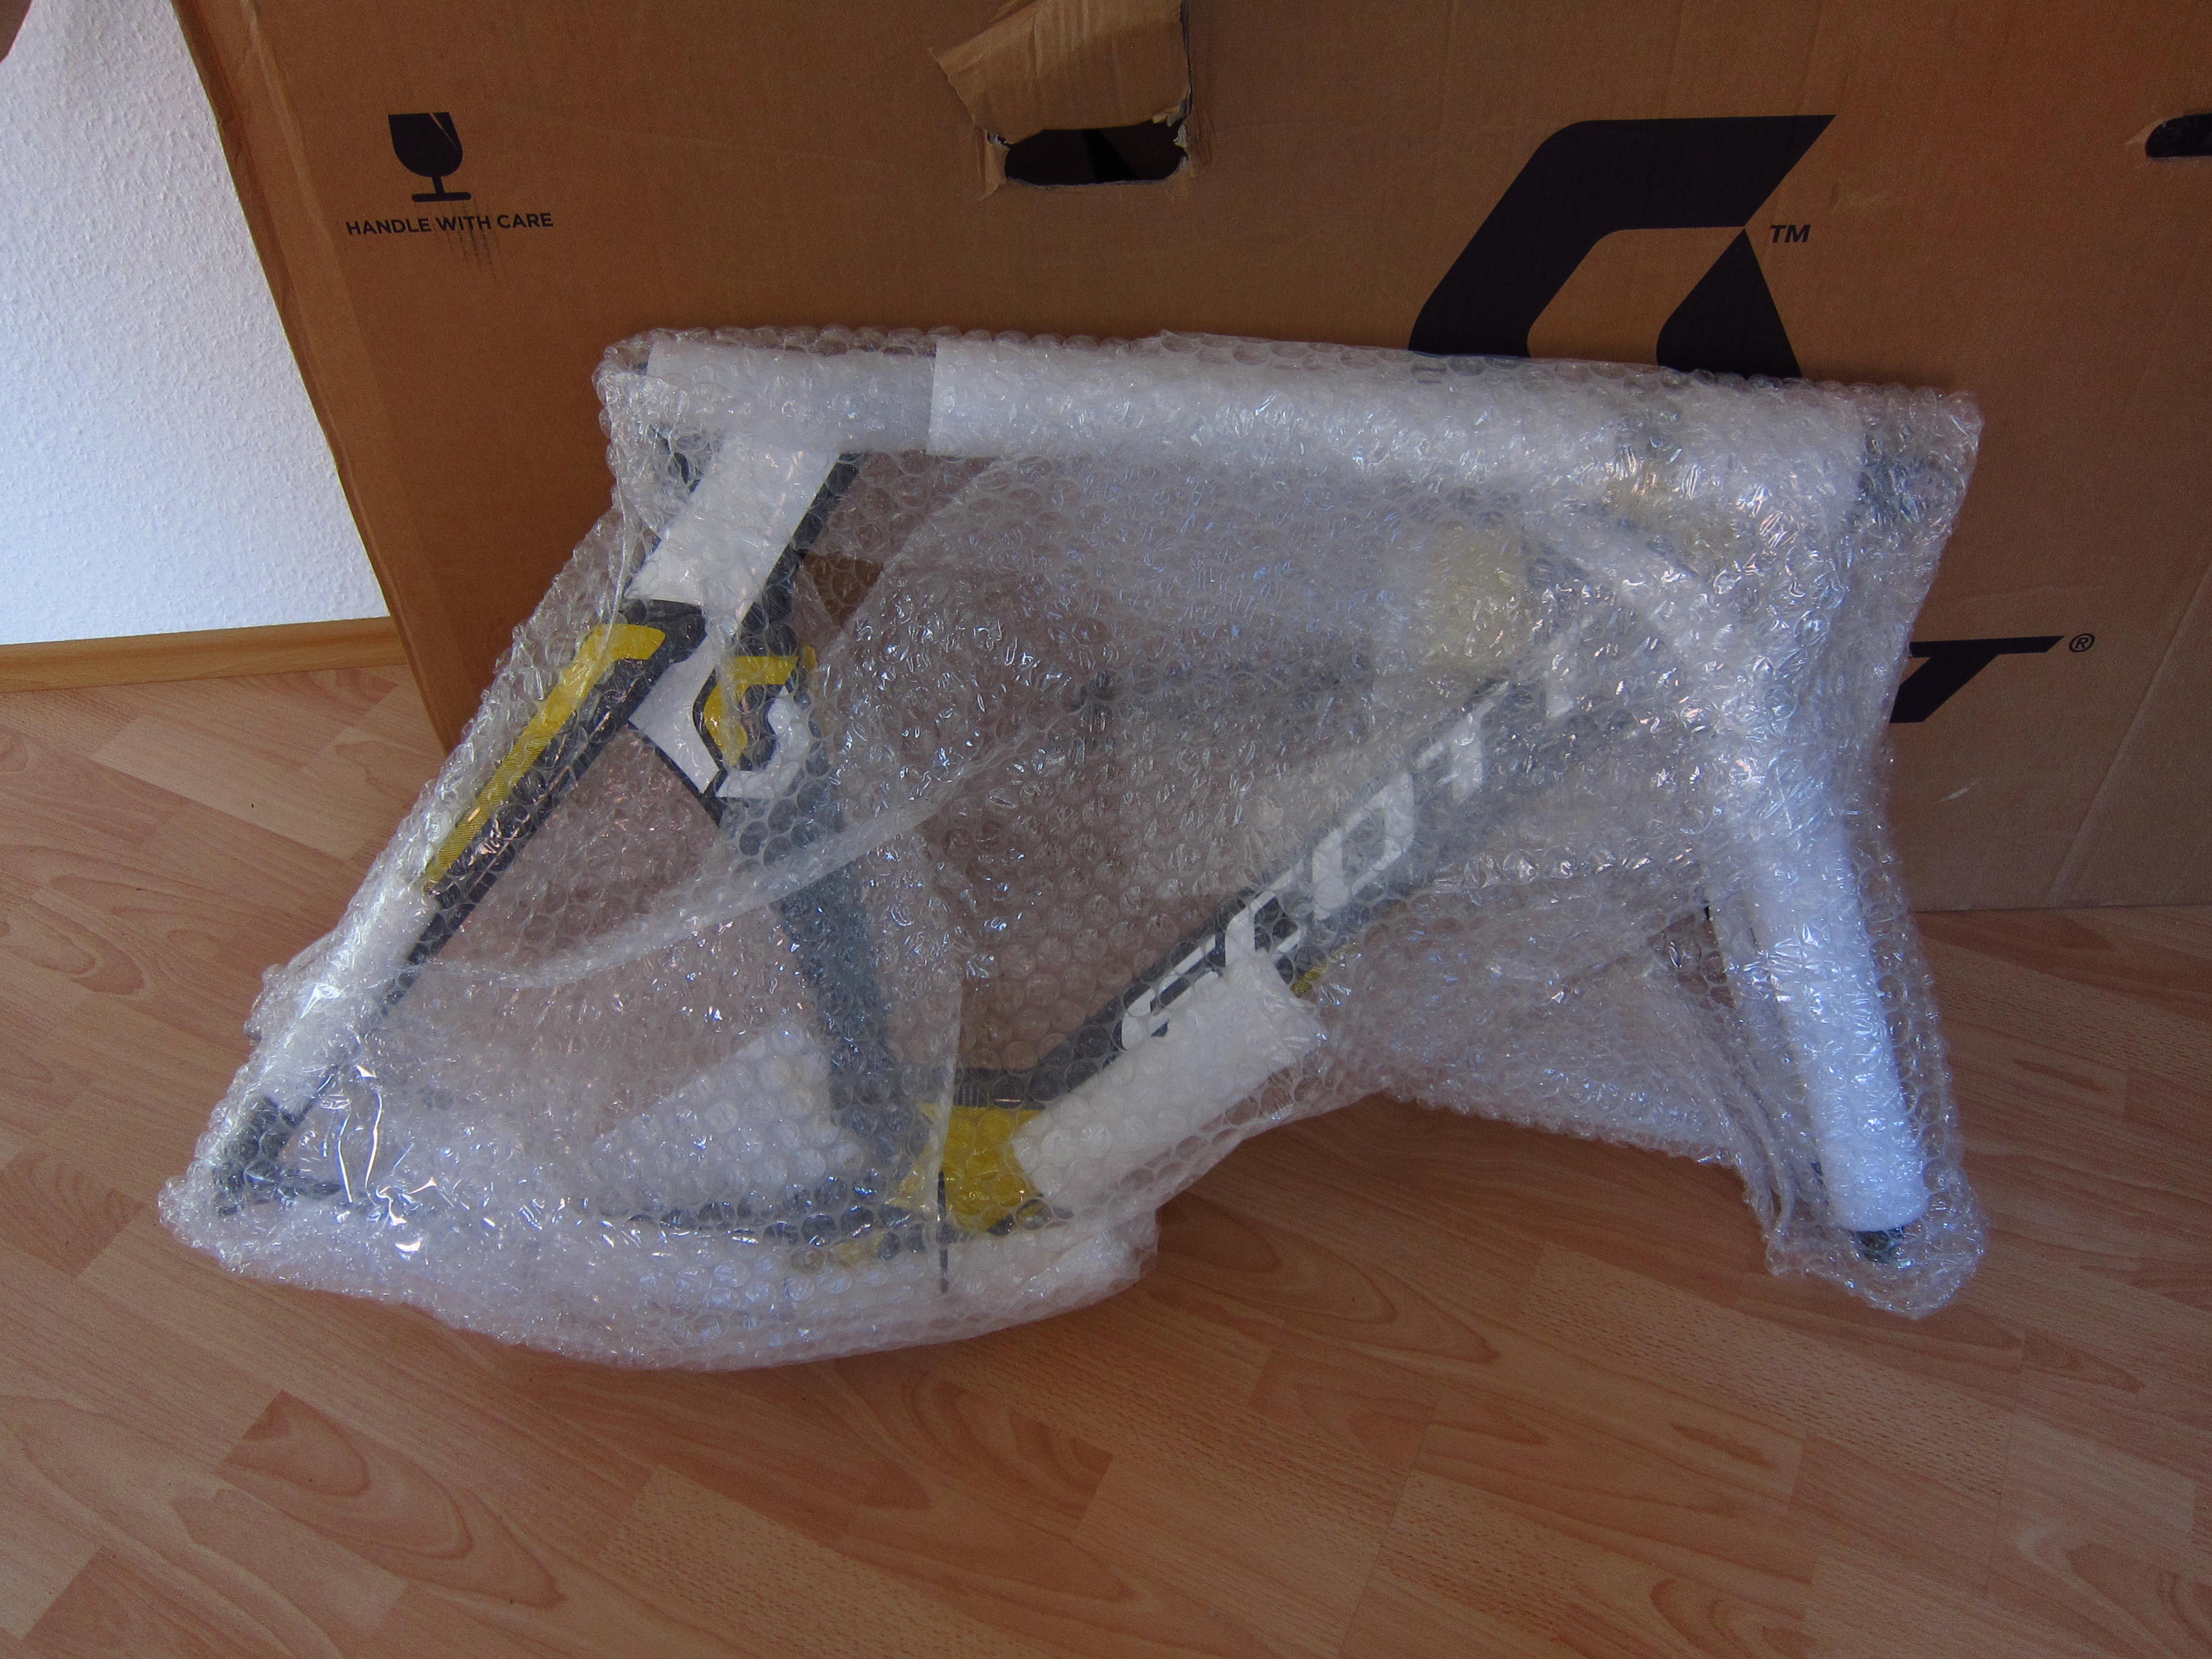
The frame was properly packed to avoid dings or scratches.
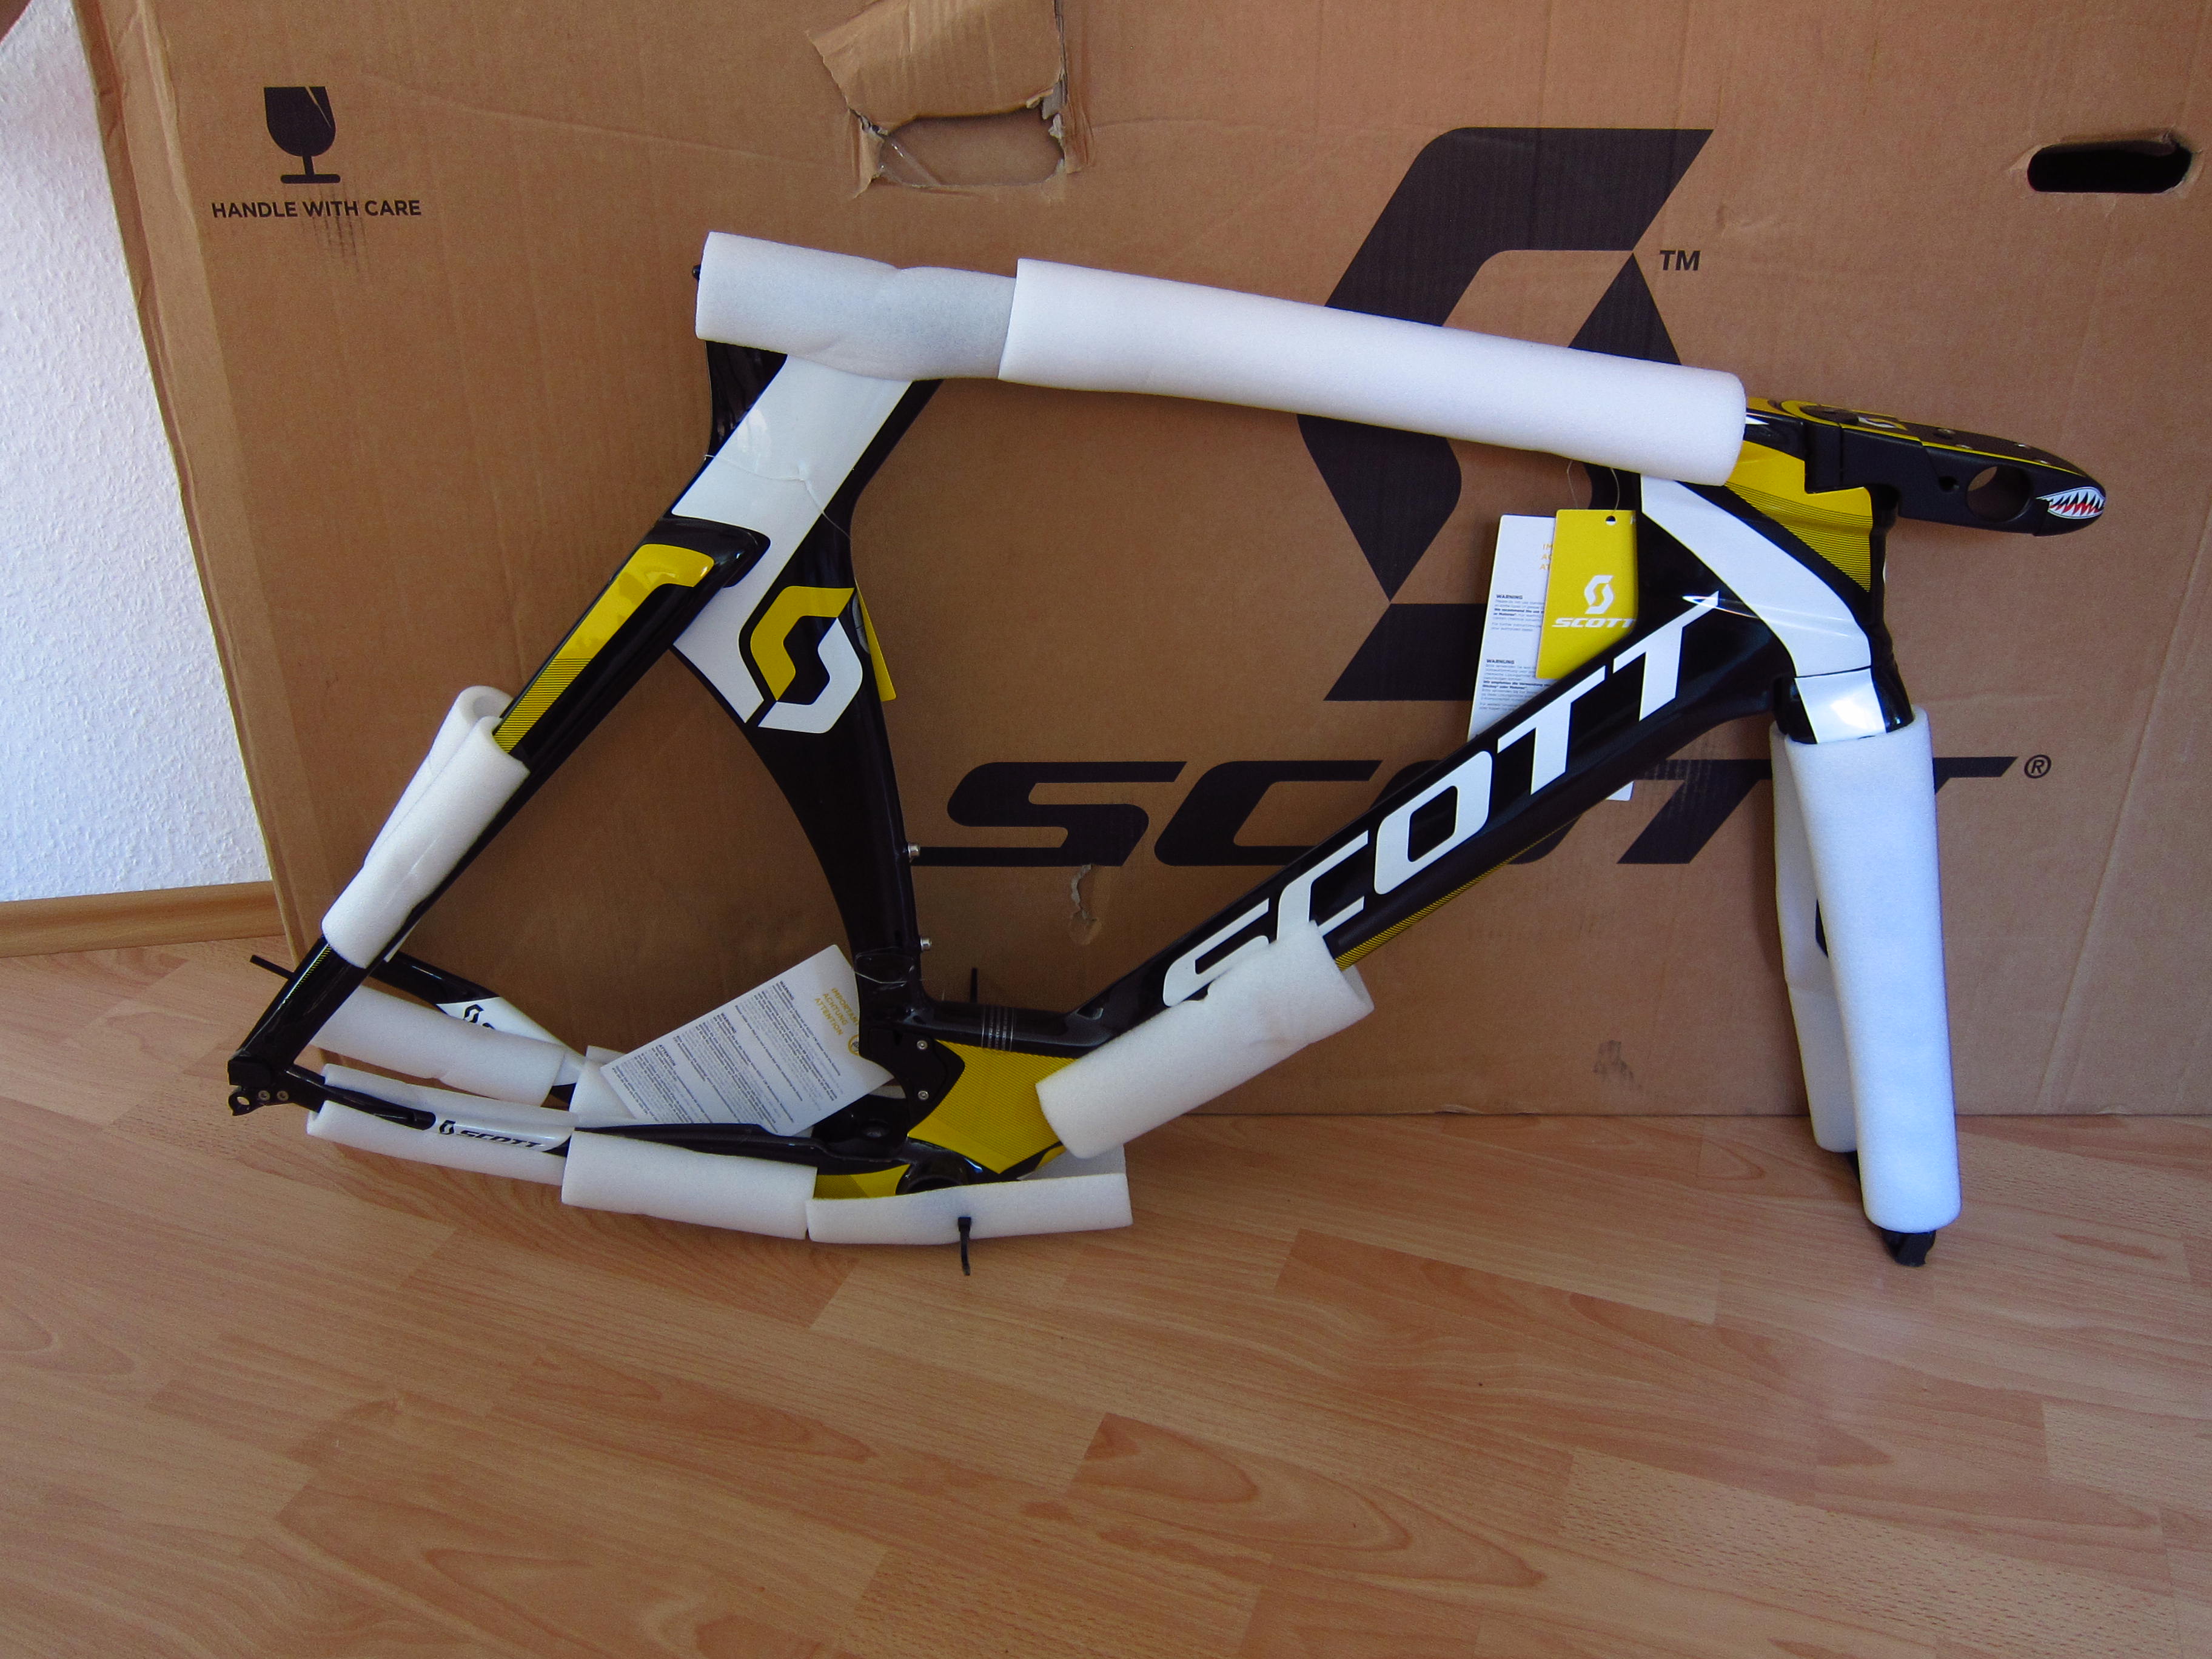
It already looks fast, even without wheels attached ;-).
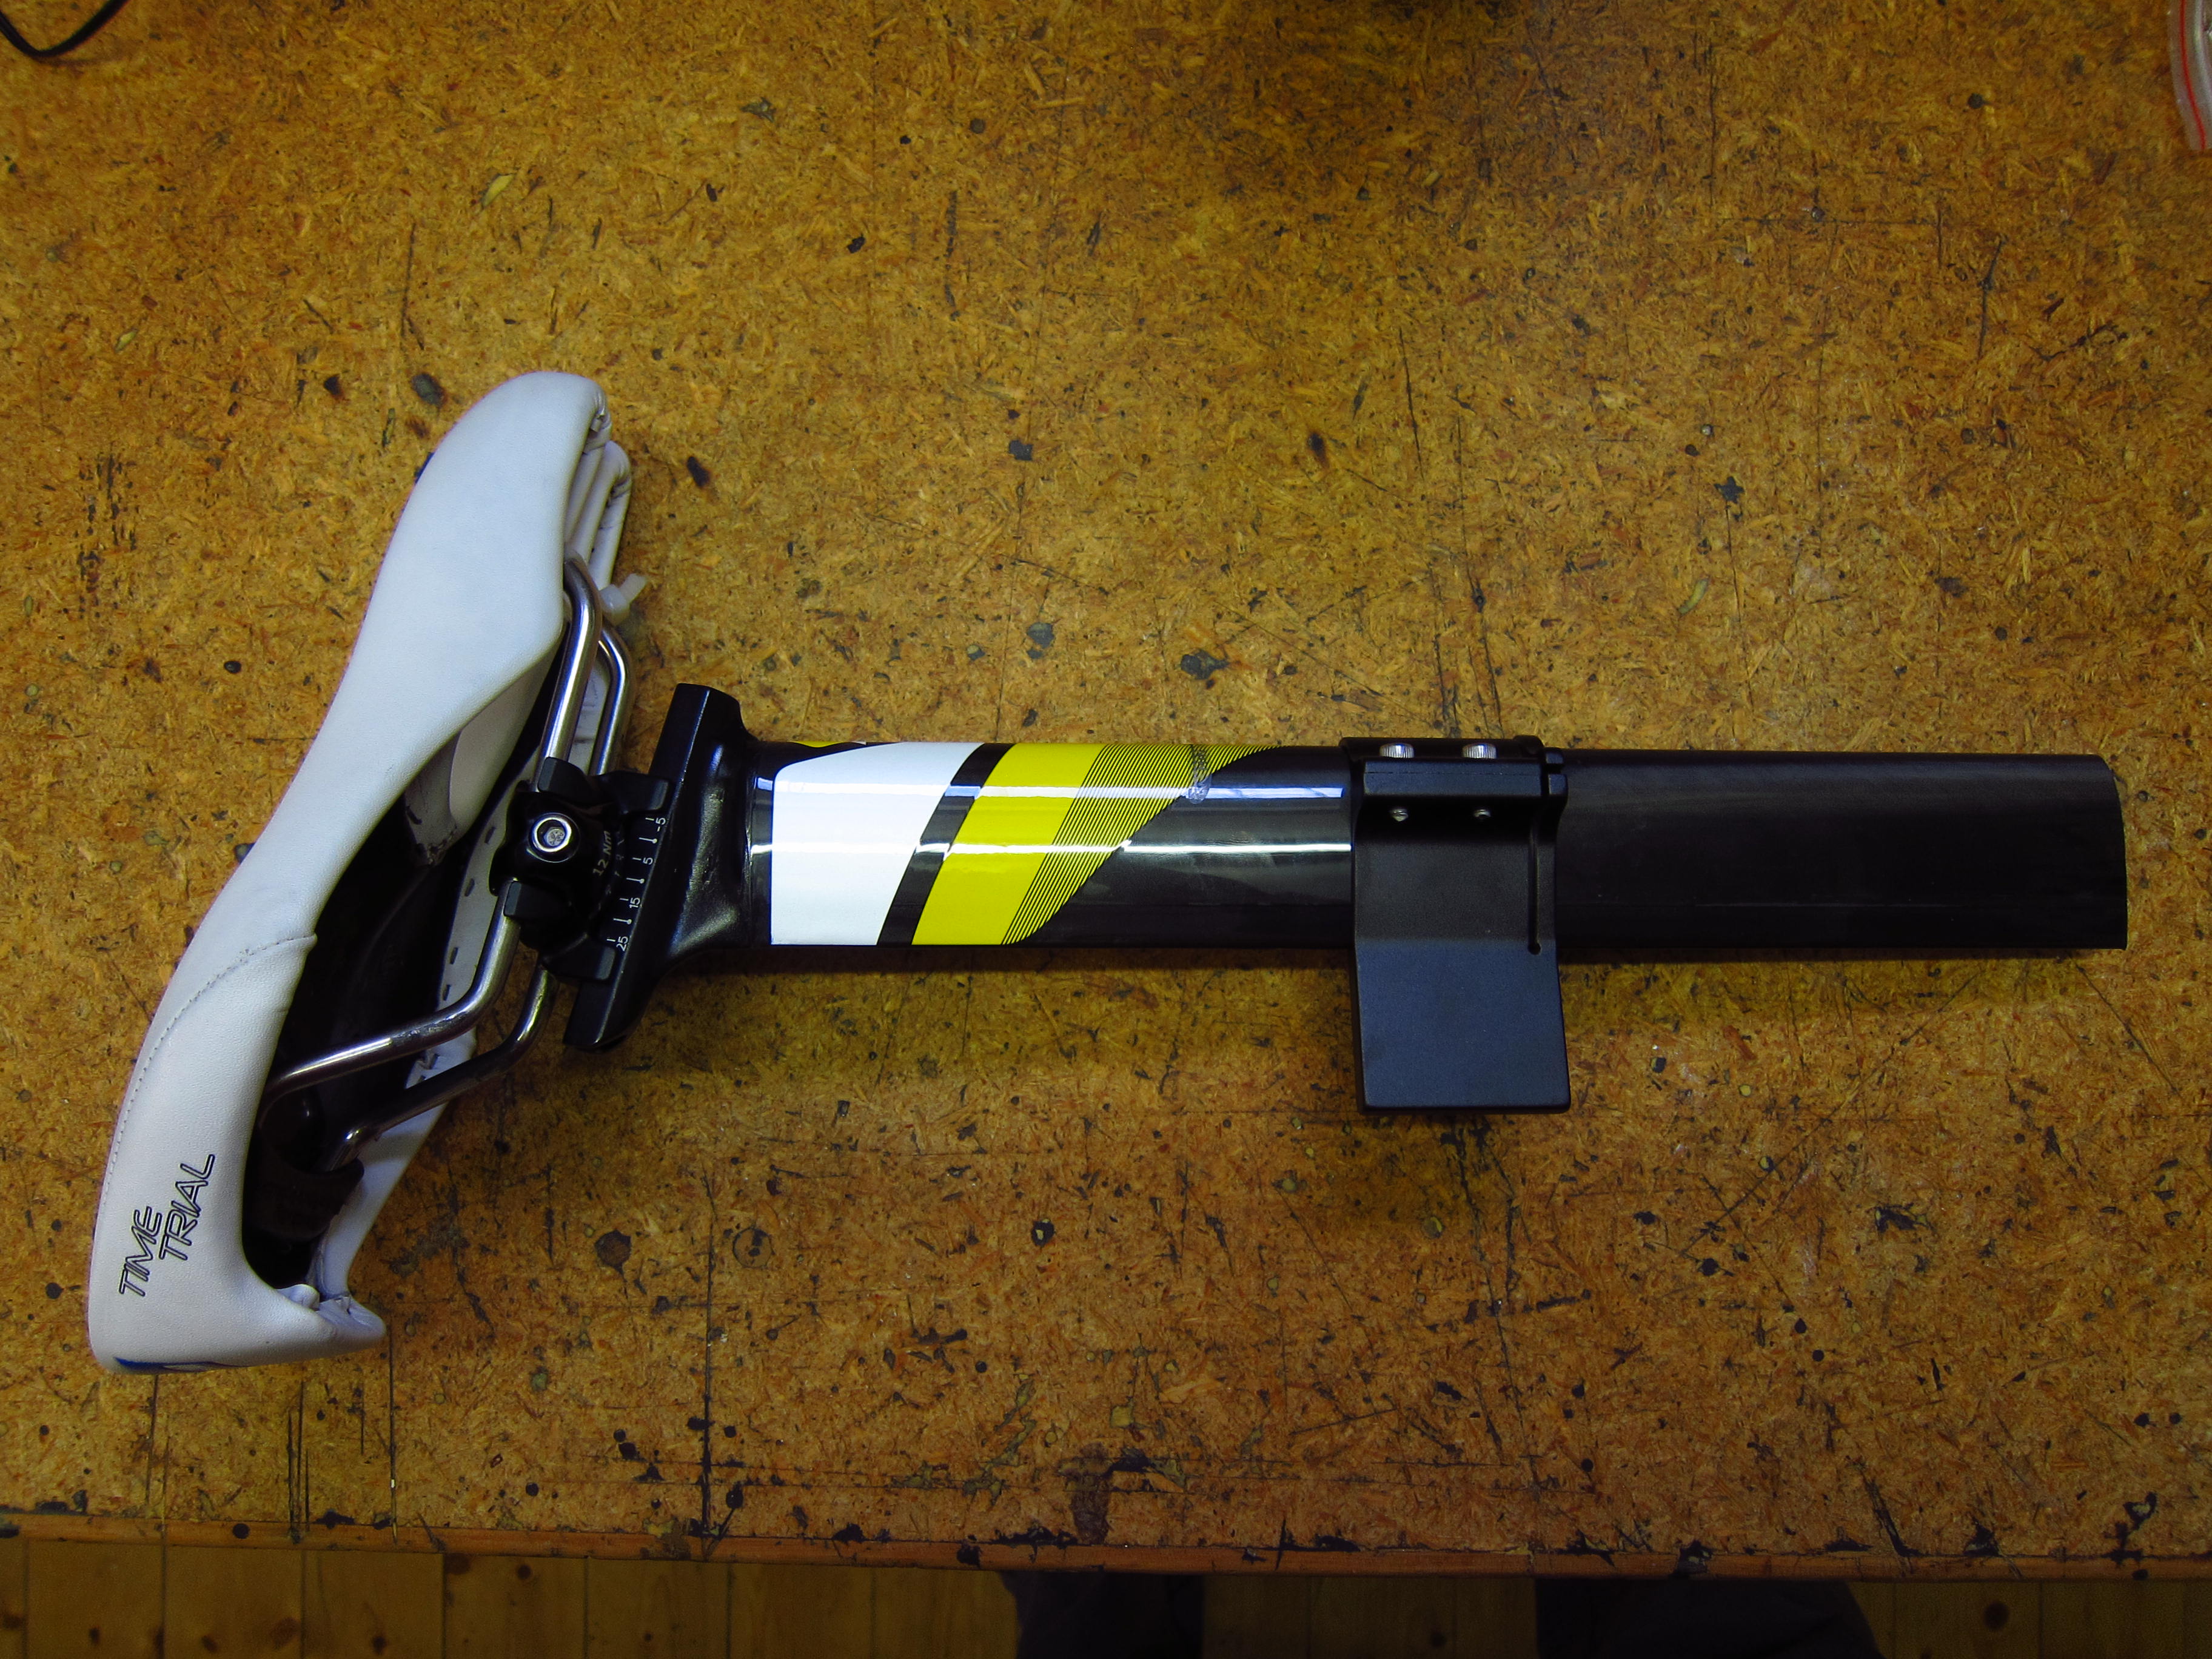
There are two different options of the Scott Plasma 3: The “Premium” version is designed for mechanical shifting and features a rising stem. The “TT” version is designed for electronic shifting with internal cable routing through the flat stem. I decided to go for the latter. Basically, the Scott Plasma TT is still one of the very few superbikes which allow hidden cable routing at the front. And the stem graphics are quite attractive as well.
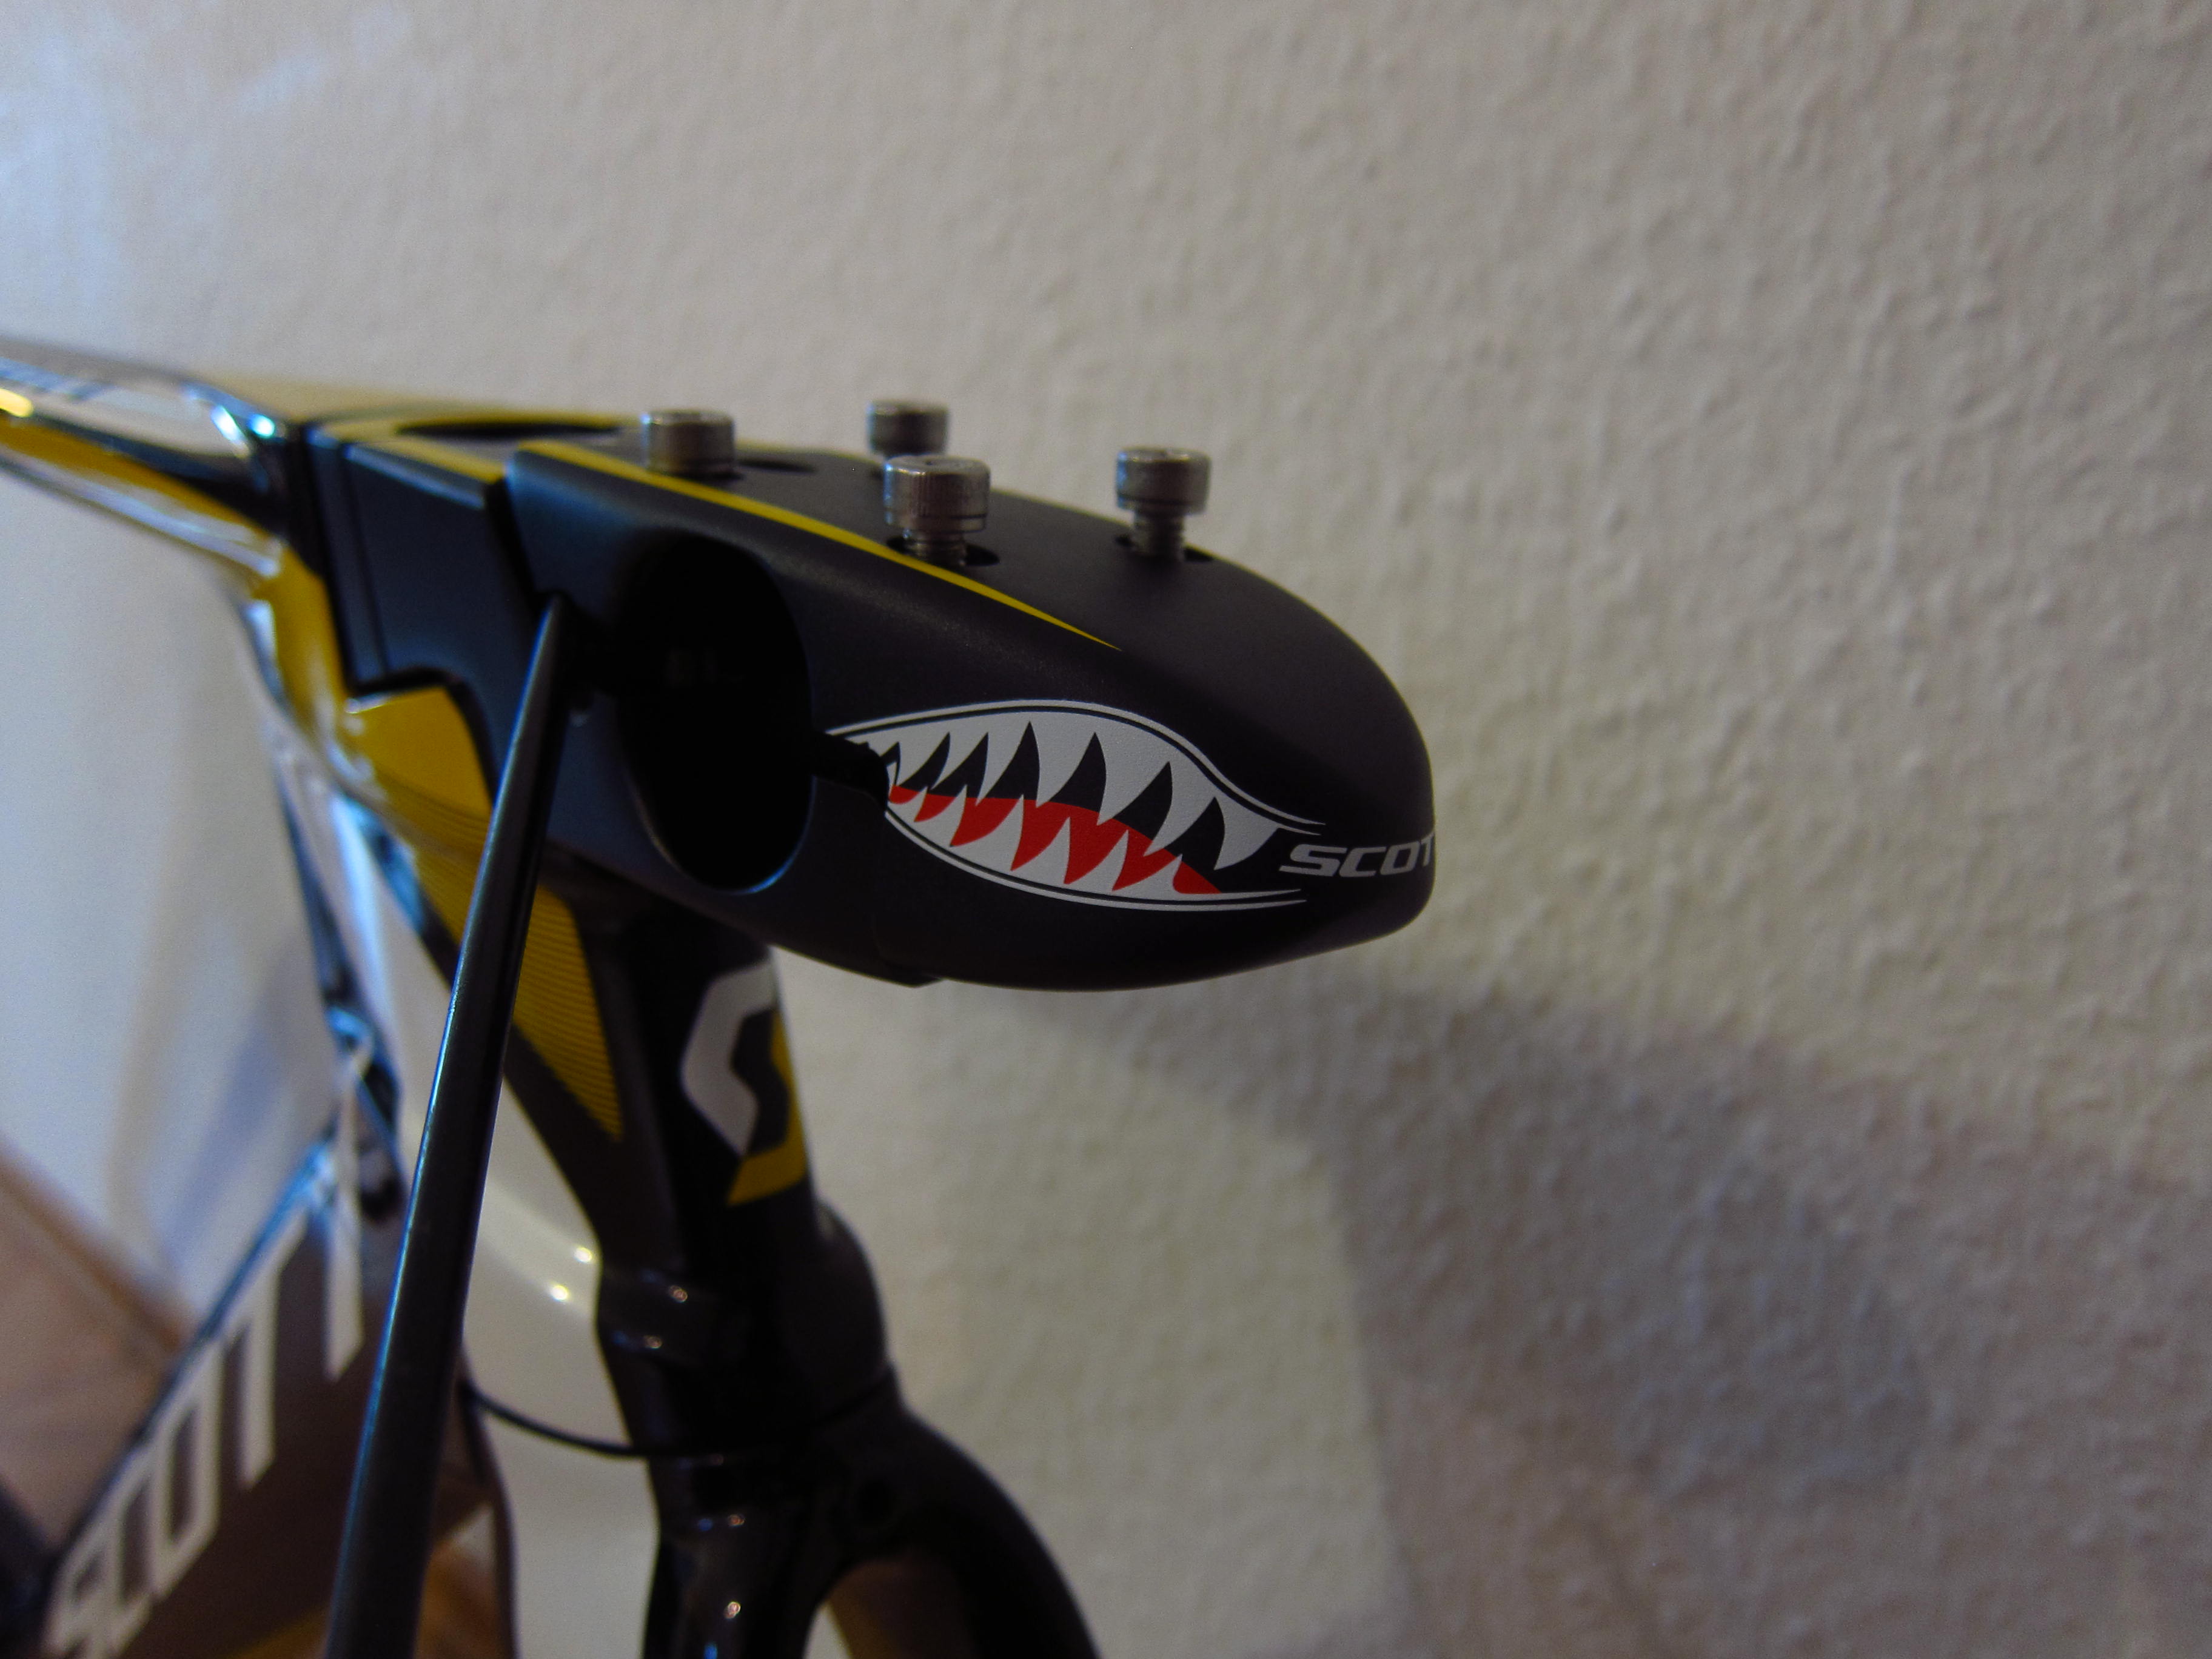
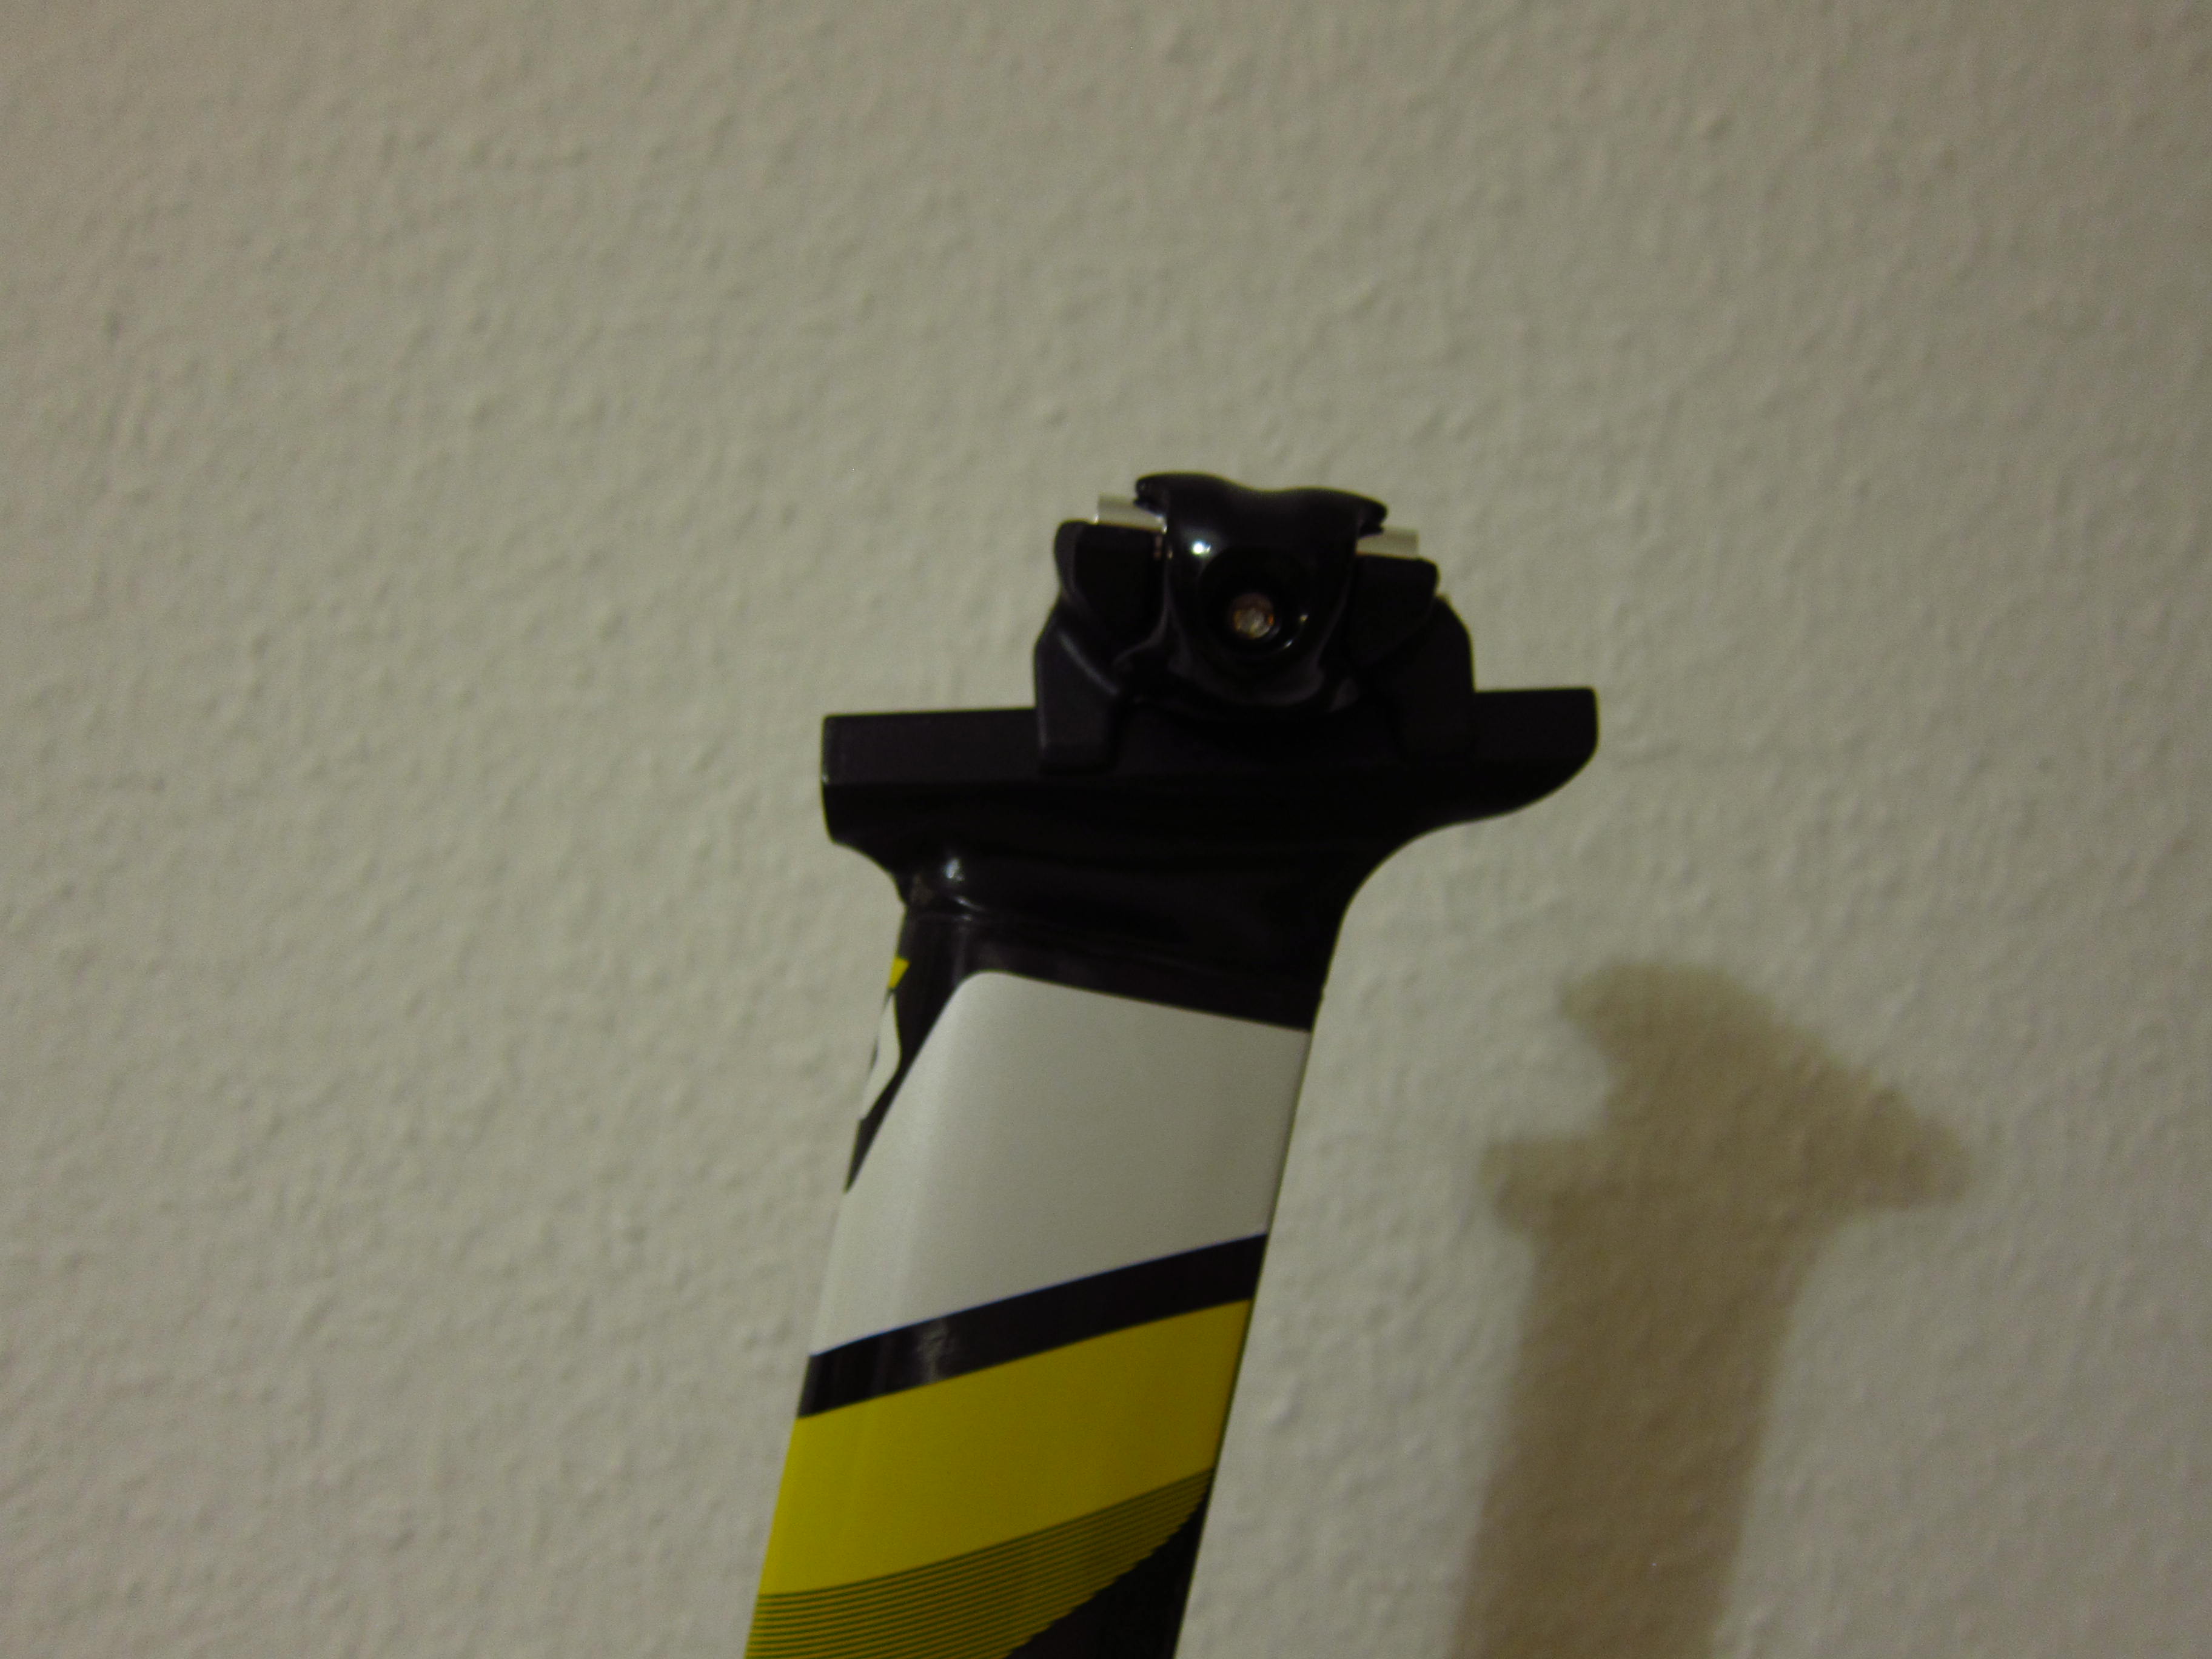
The top cap of the stem is fastened by four bolts…

…and milled out from the inside. Nevertheless, the complete stem weighs a rather hefty 451g.
Other than that, the box includes other components,
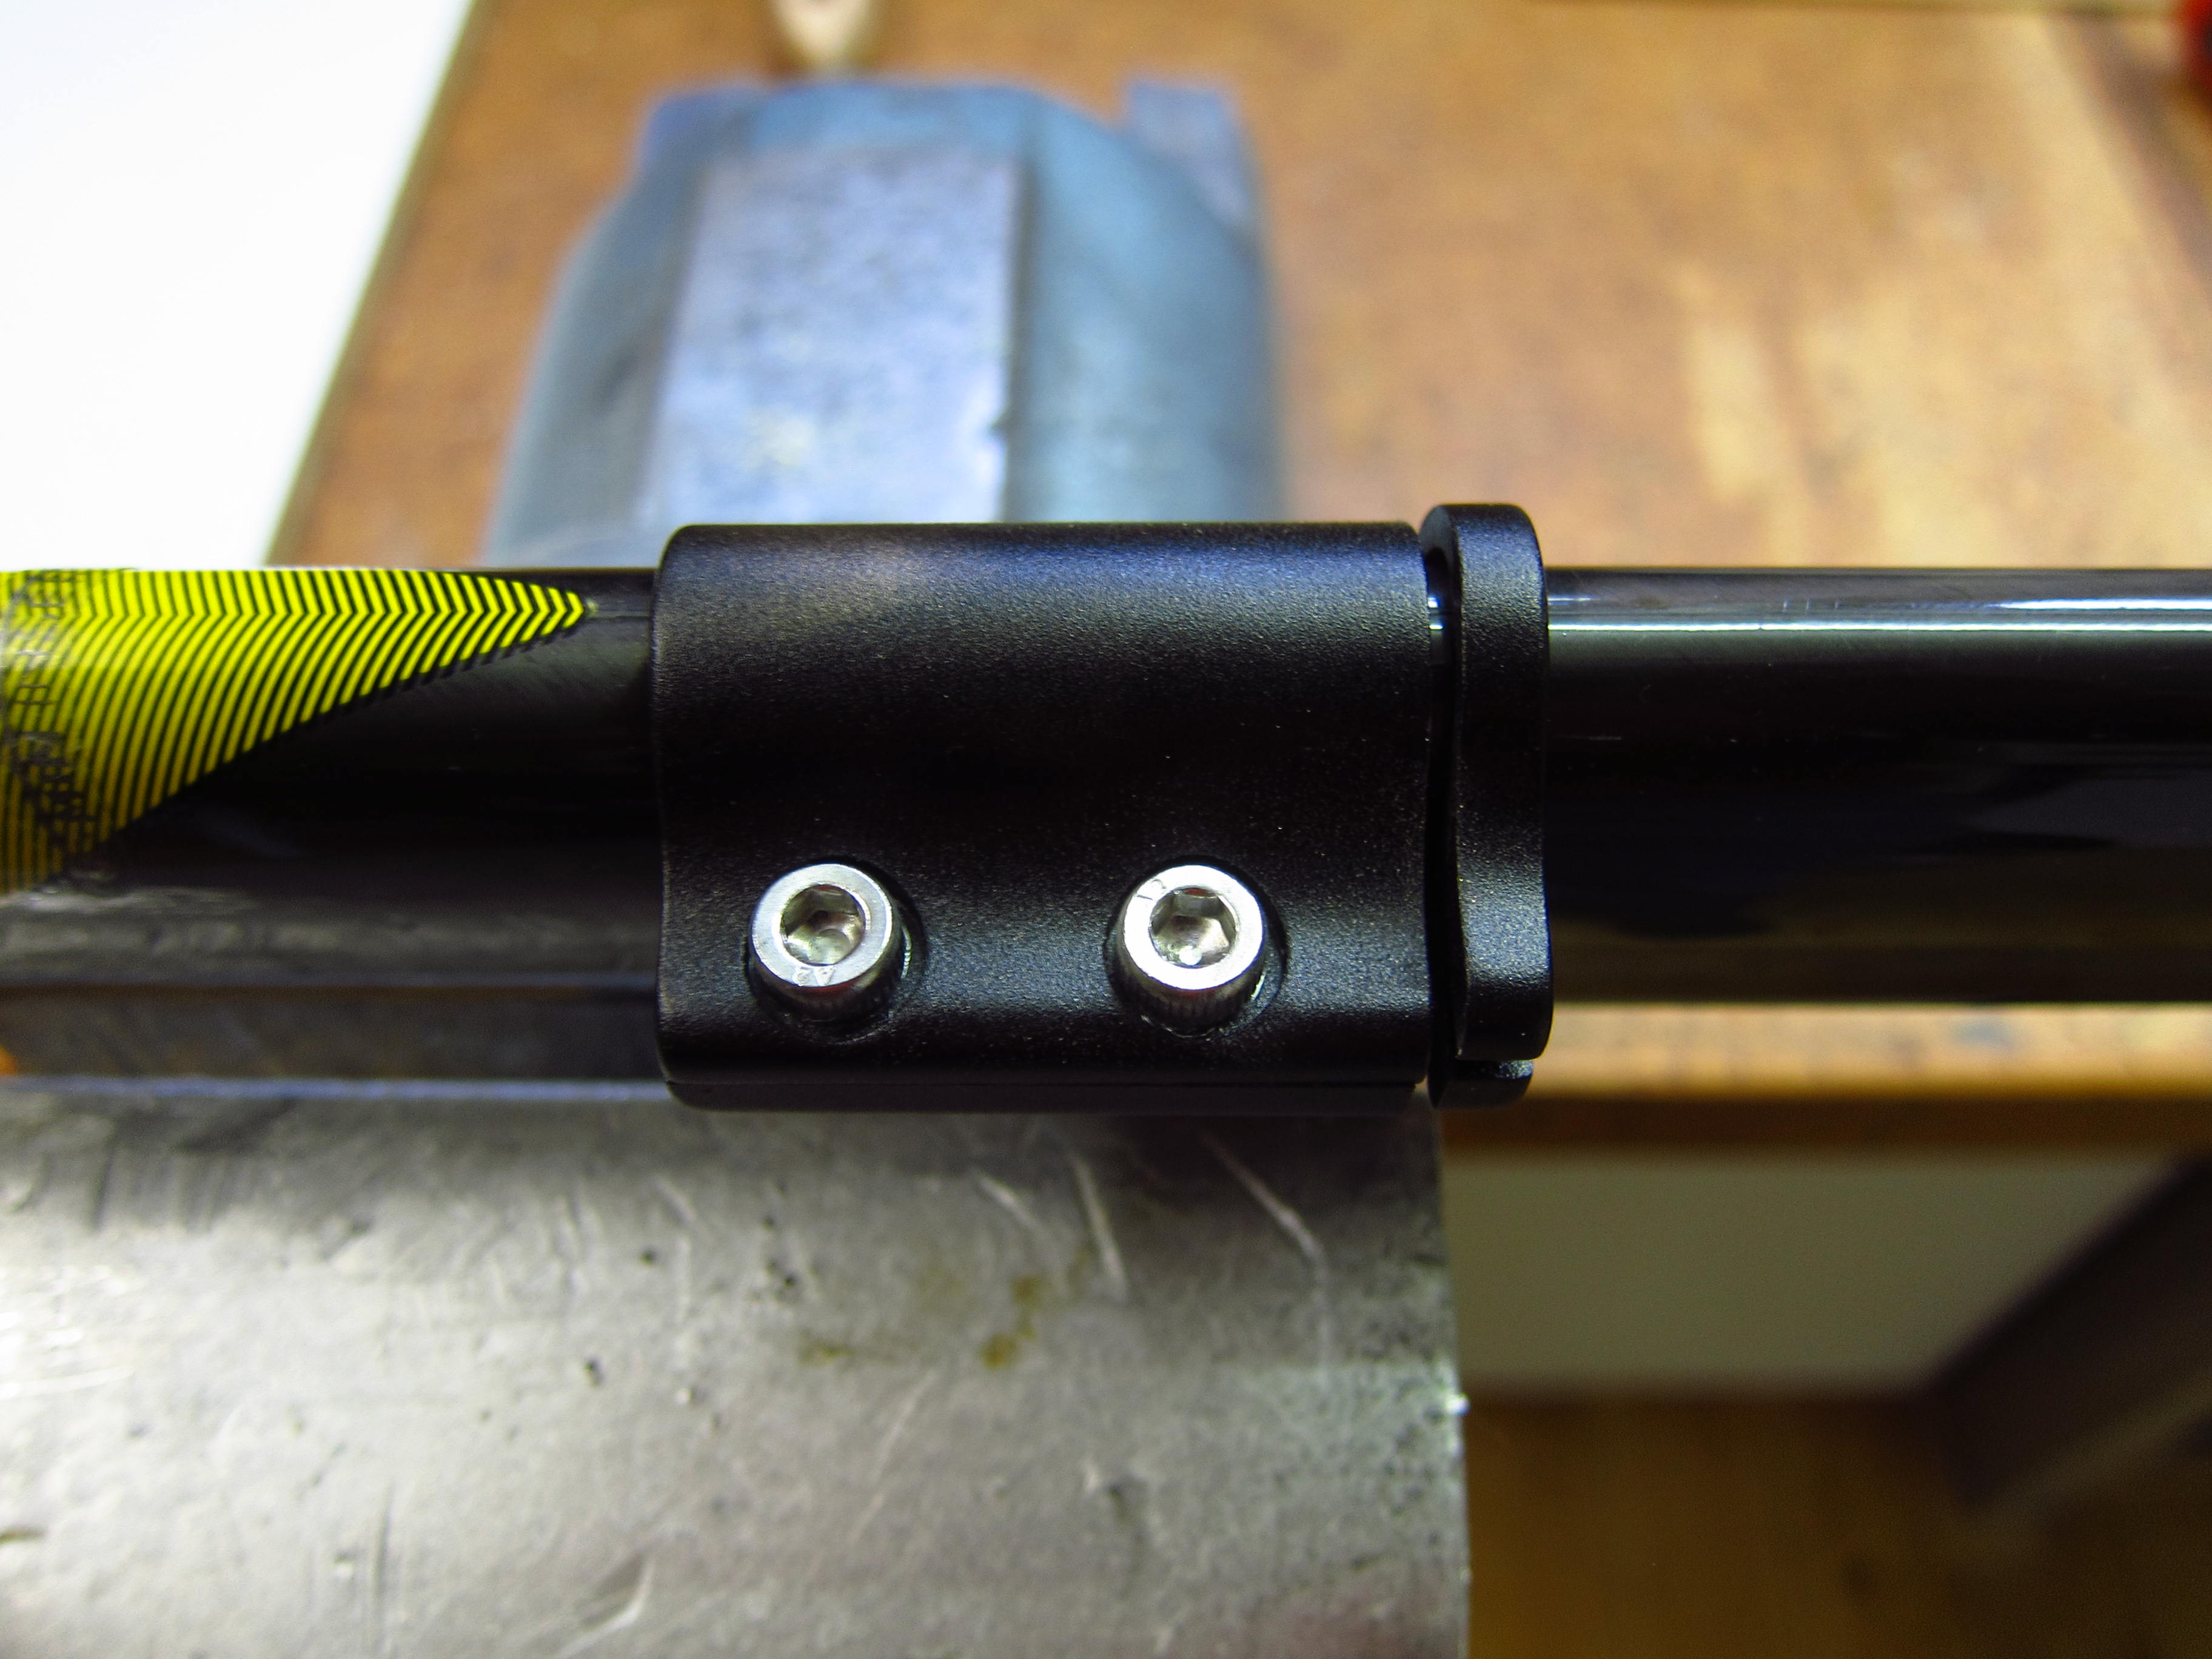
a seatpost which needs to be cut to the appropriate length,…

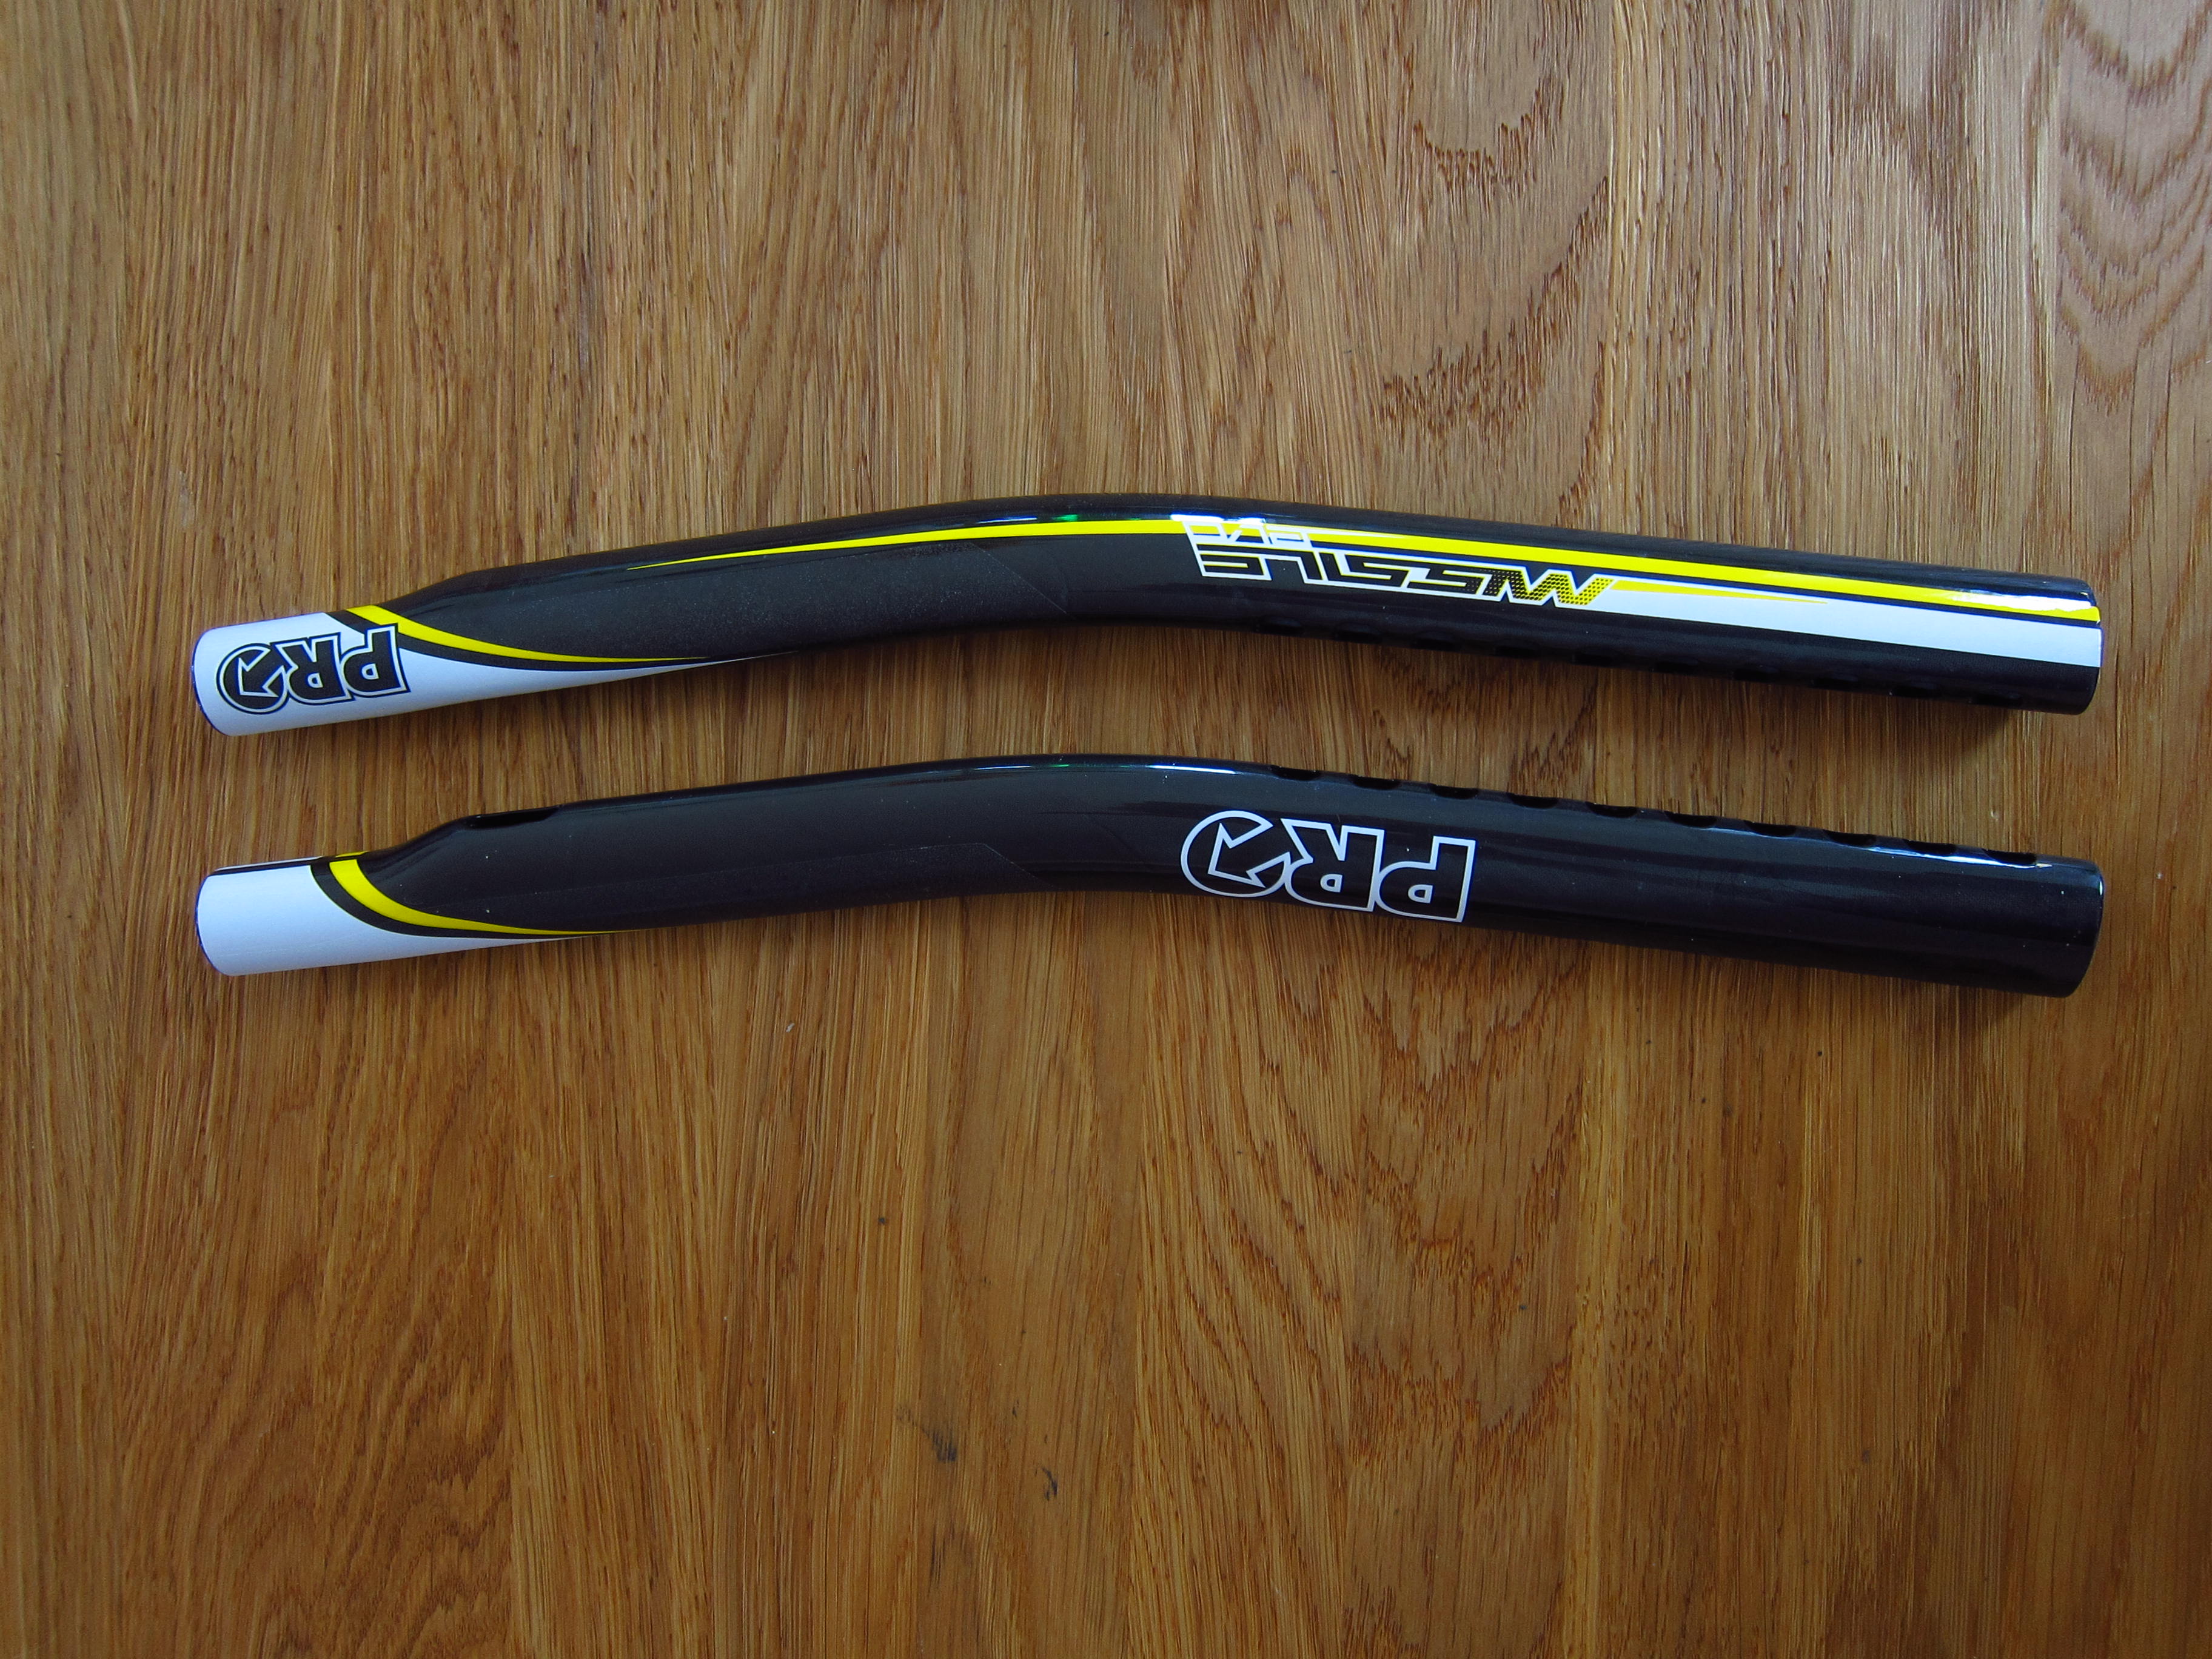
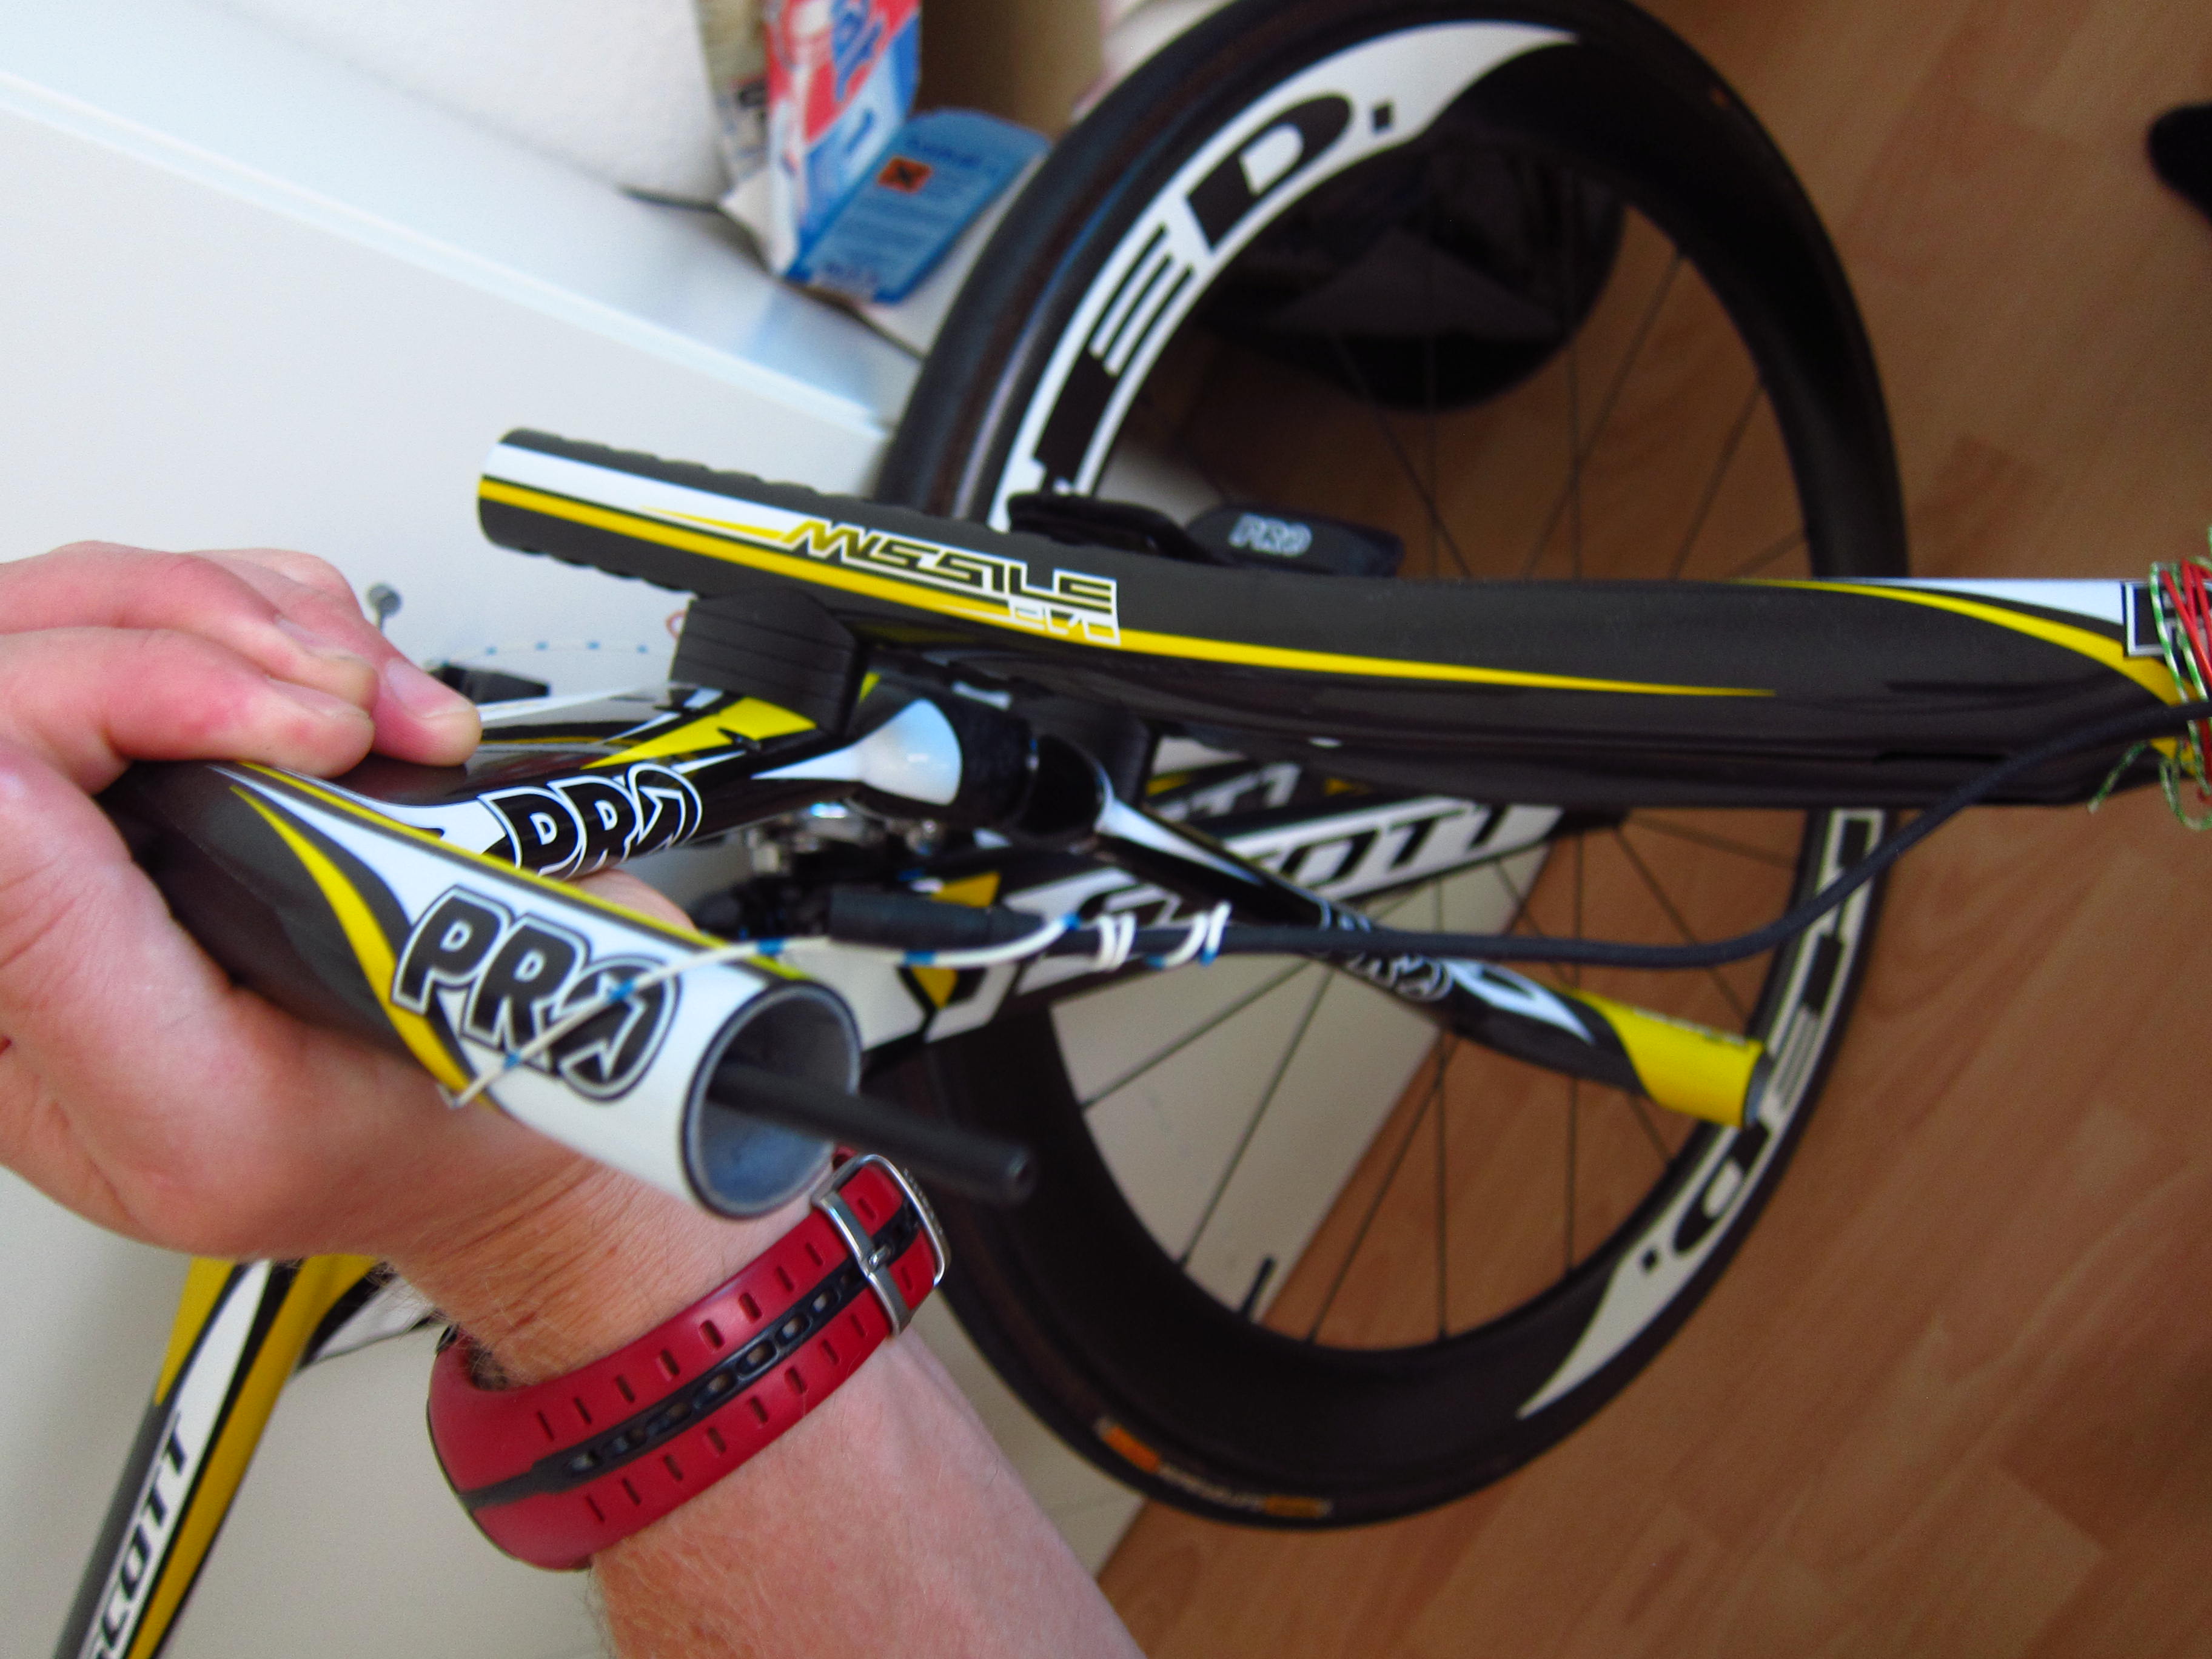
a Pro Missile Evo Basebar,…
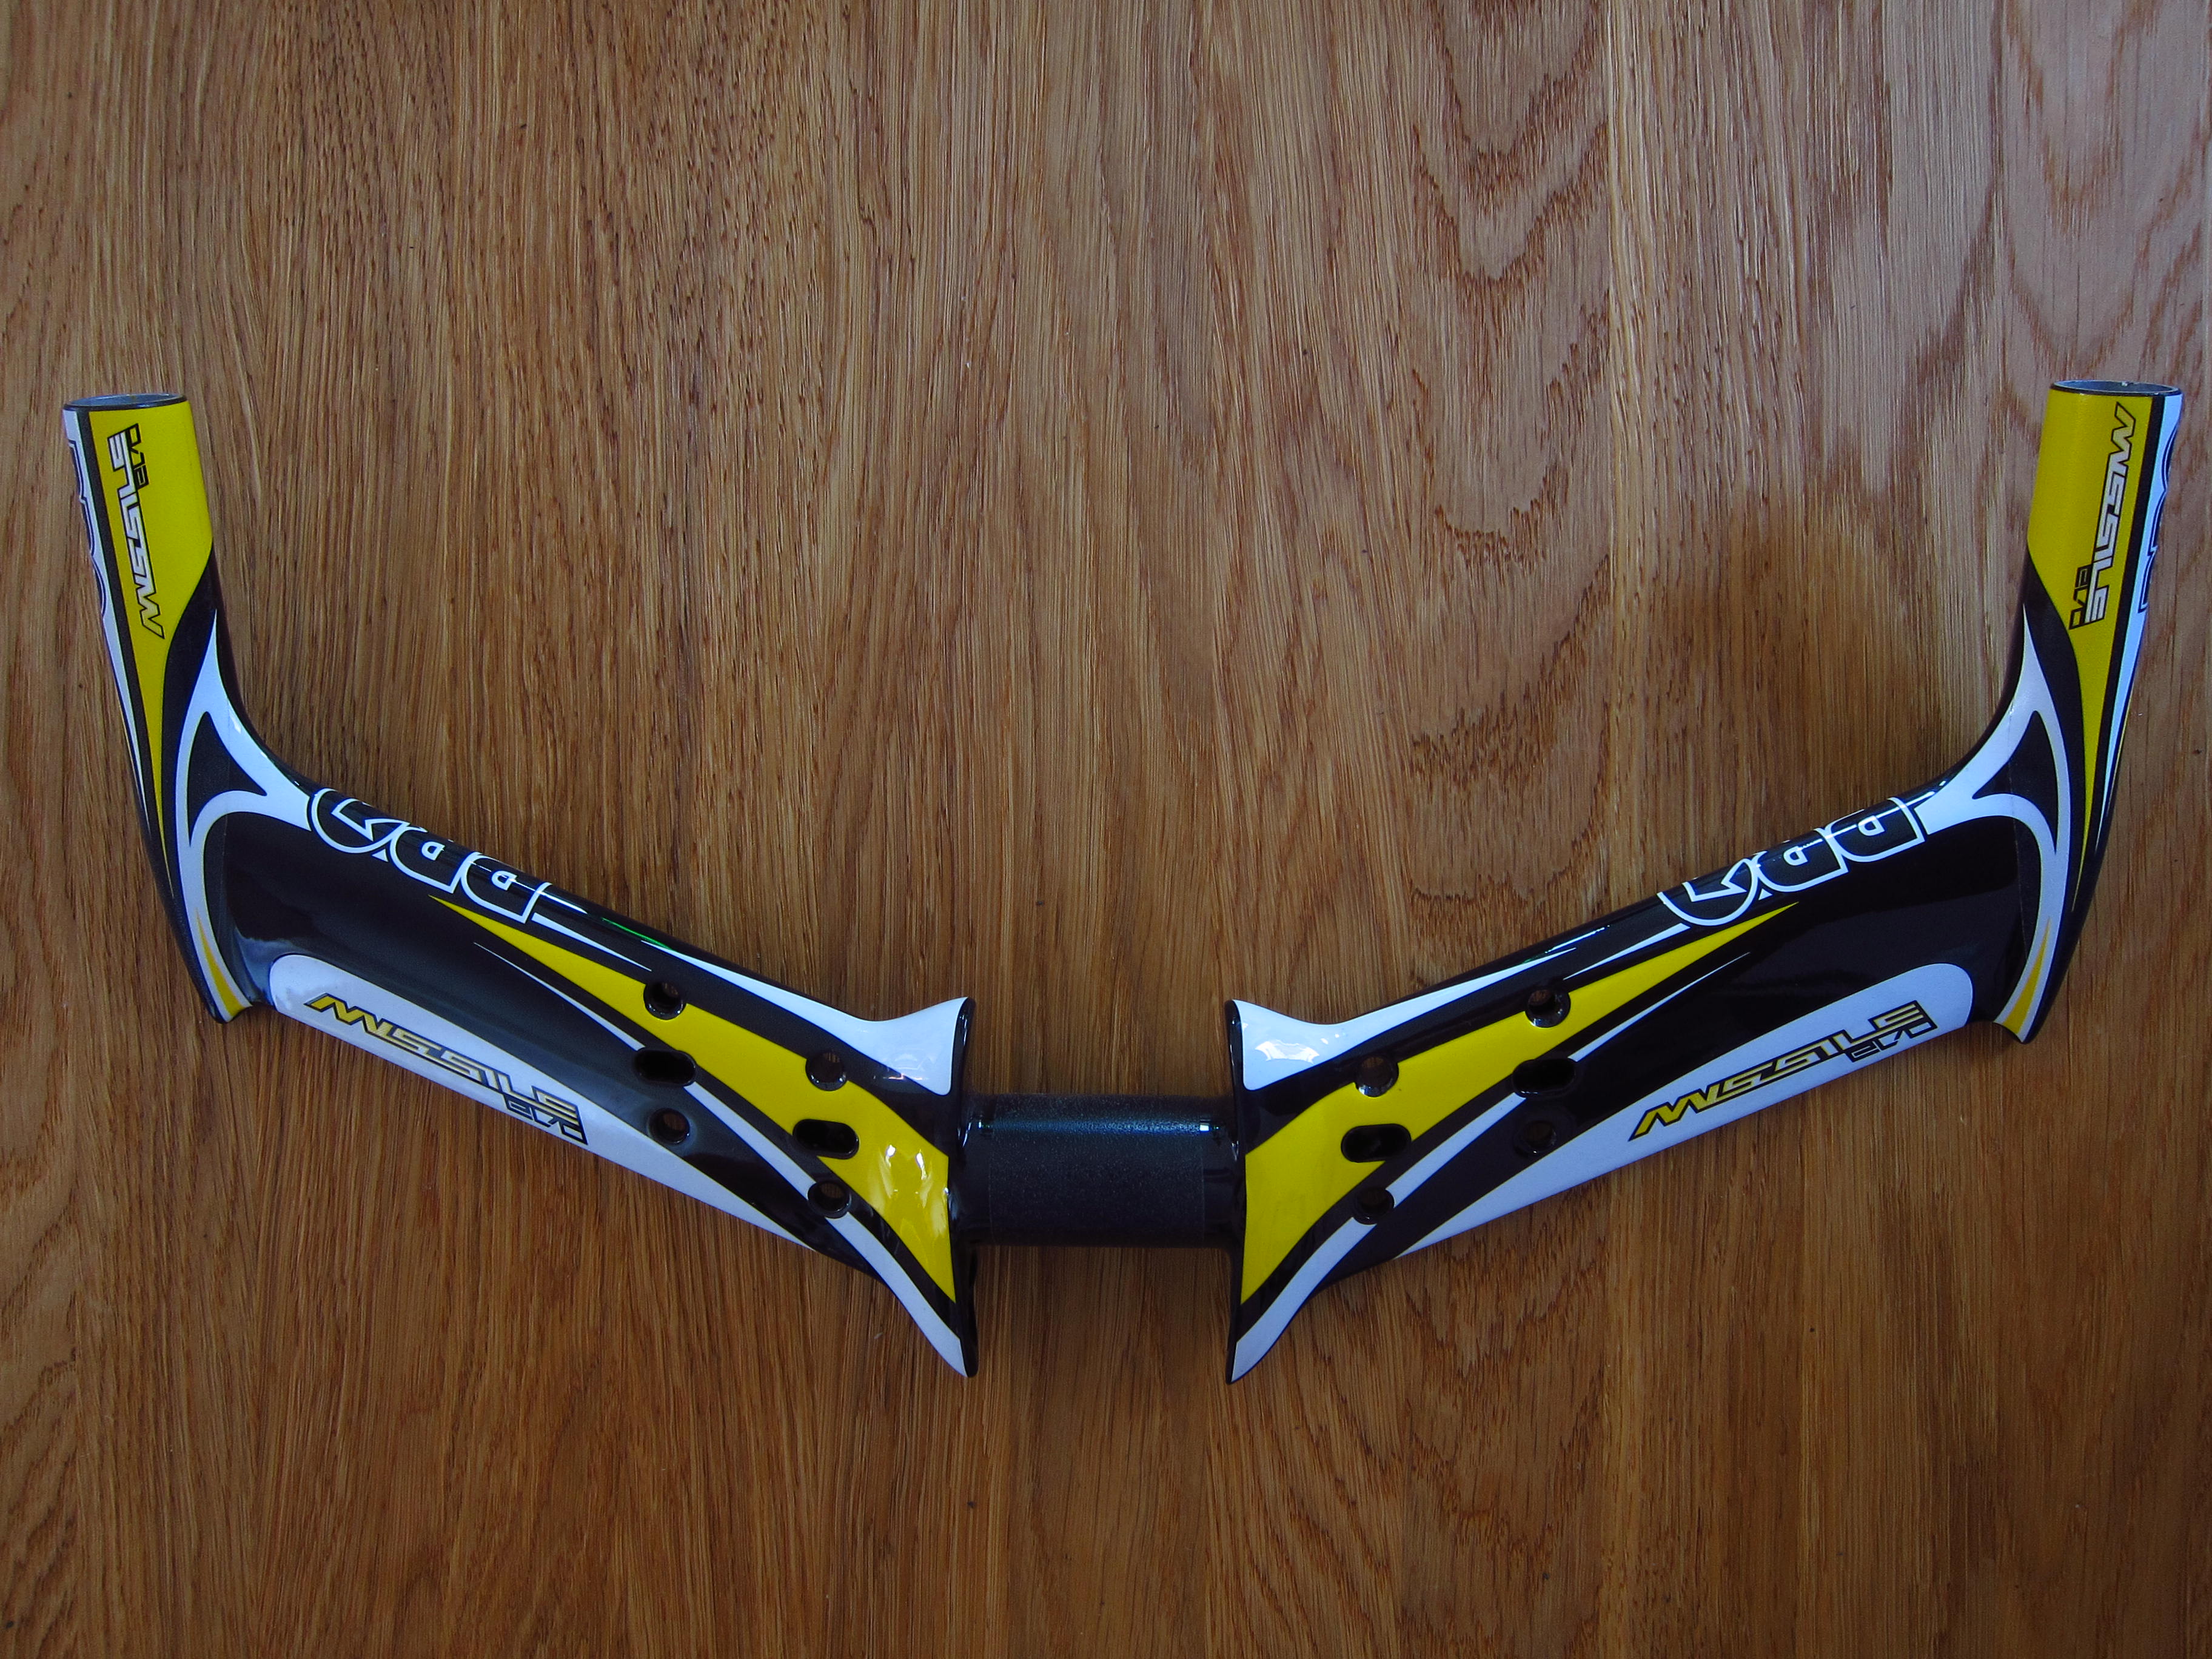
Pro Missile Evo Extensions as well other small items like headset bearings, a cutting tool for the seatpost and an instruction manual.
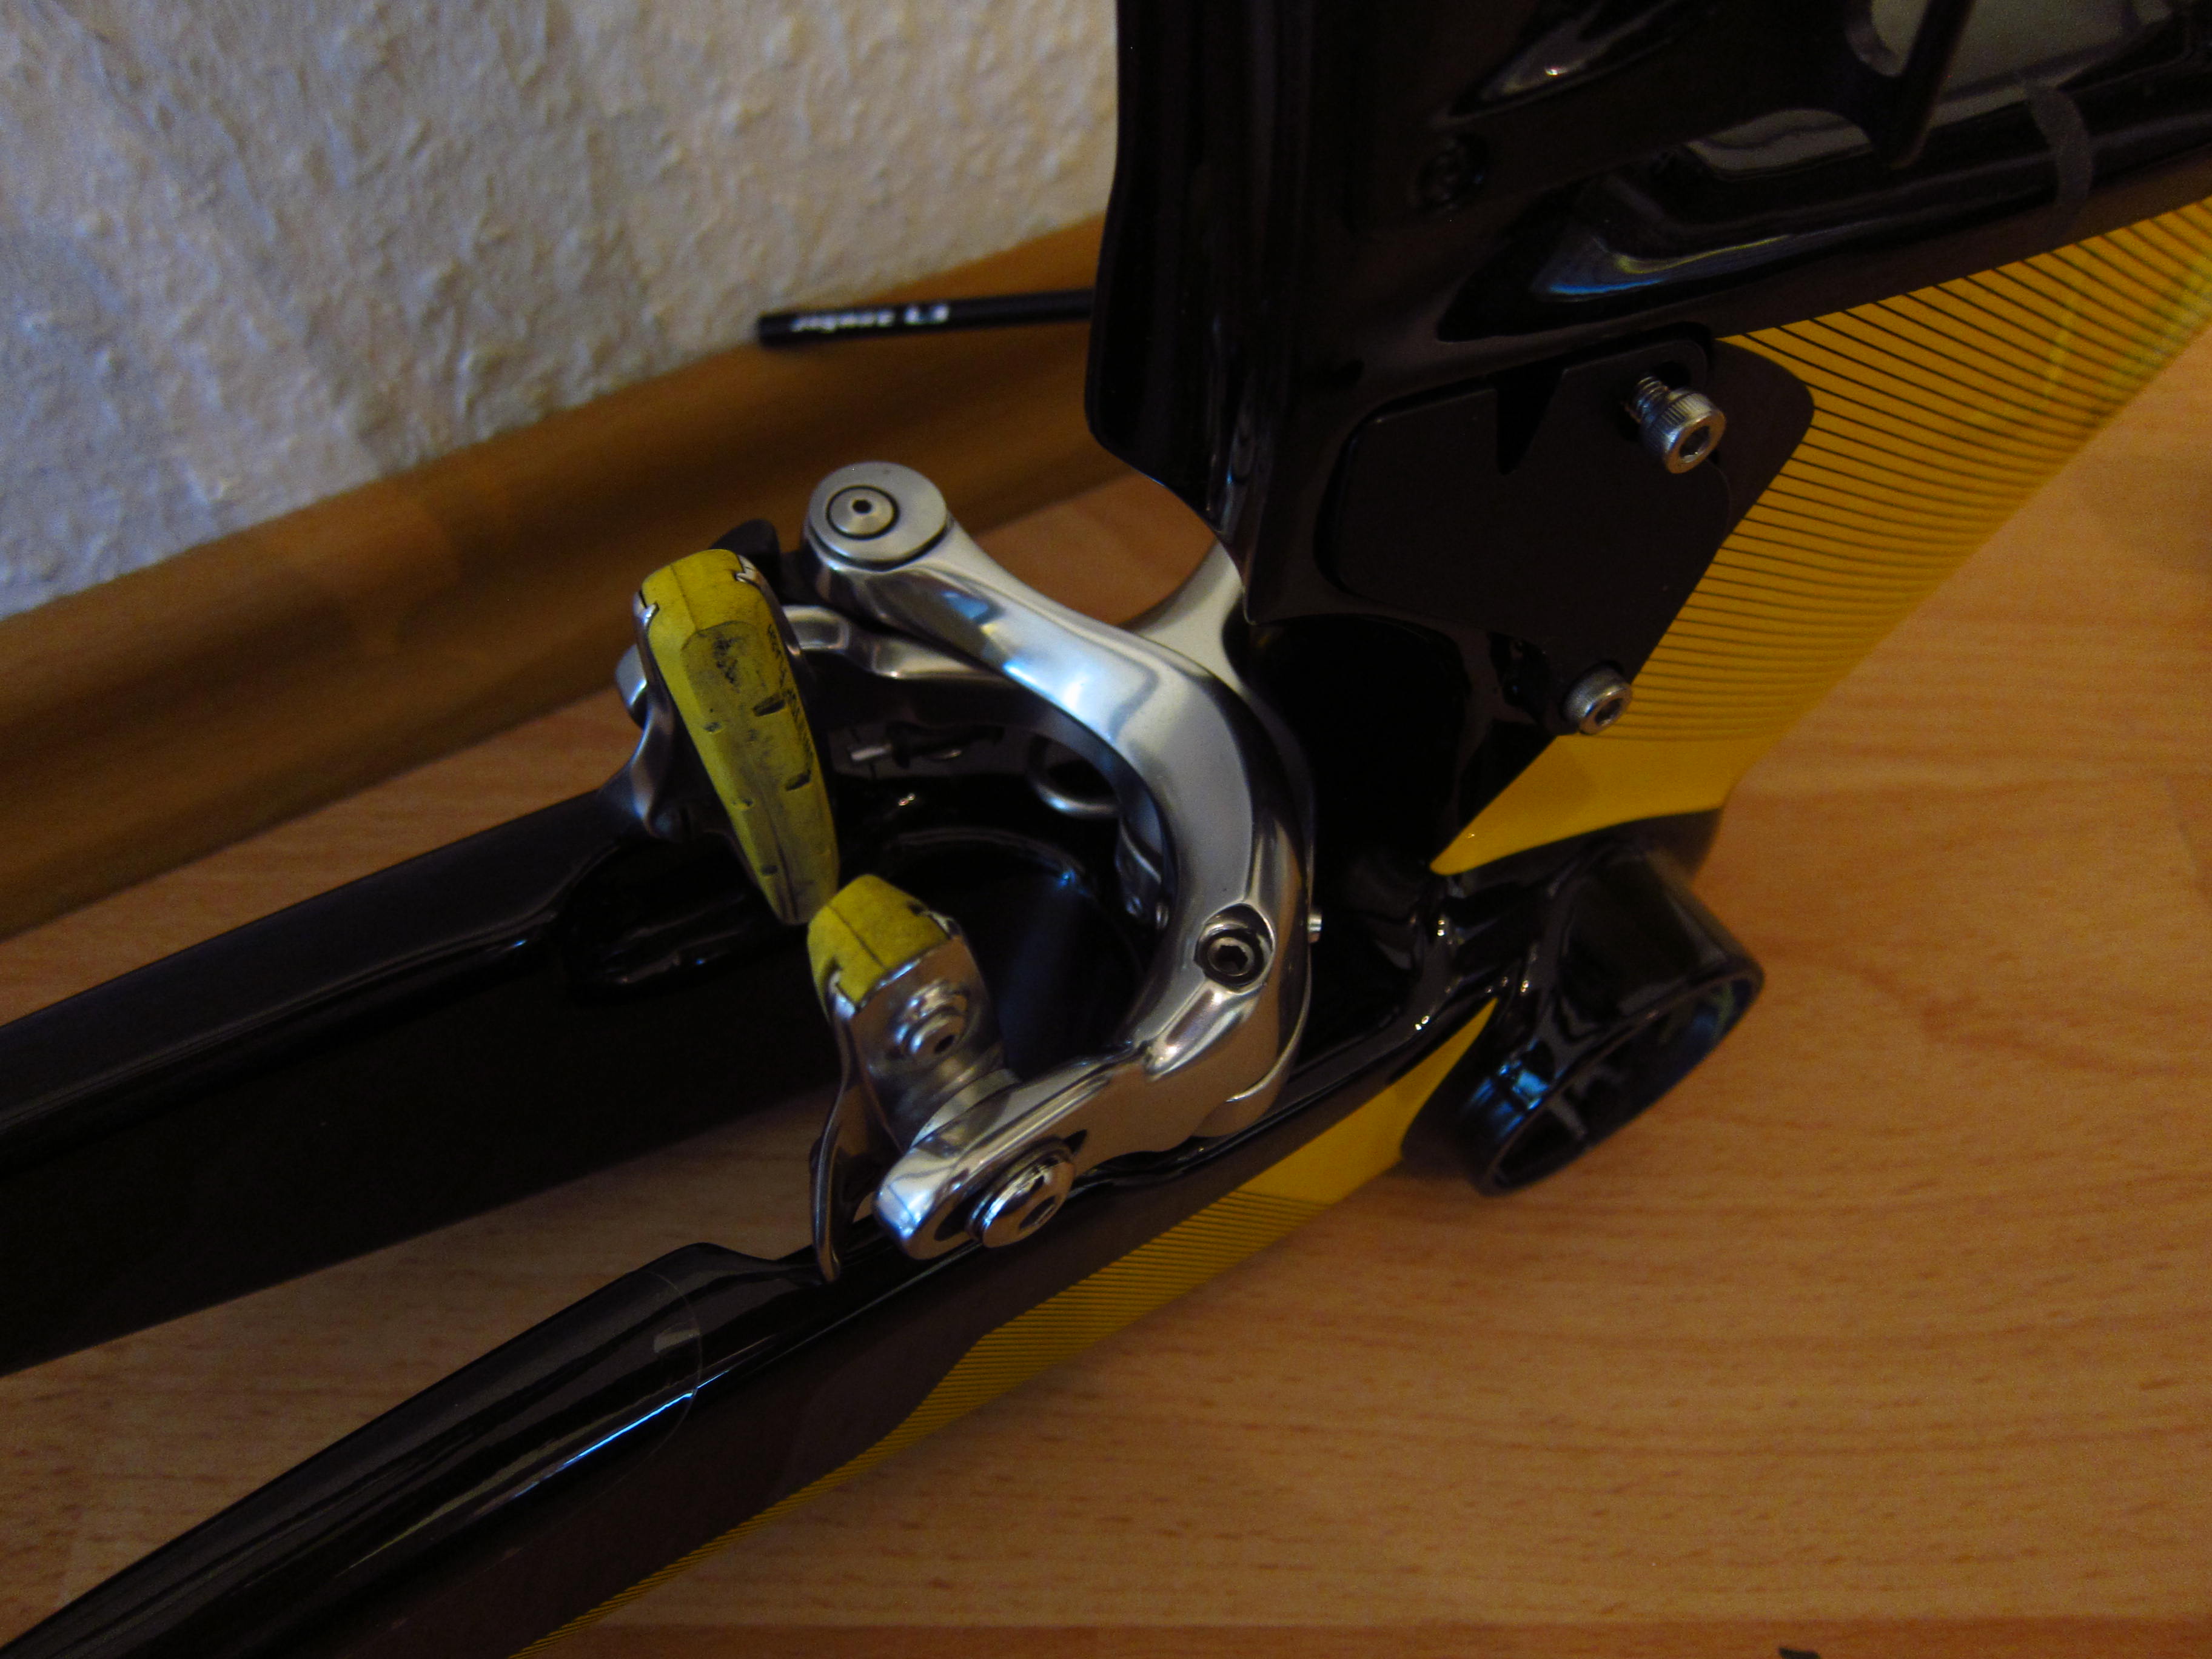
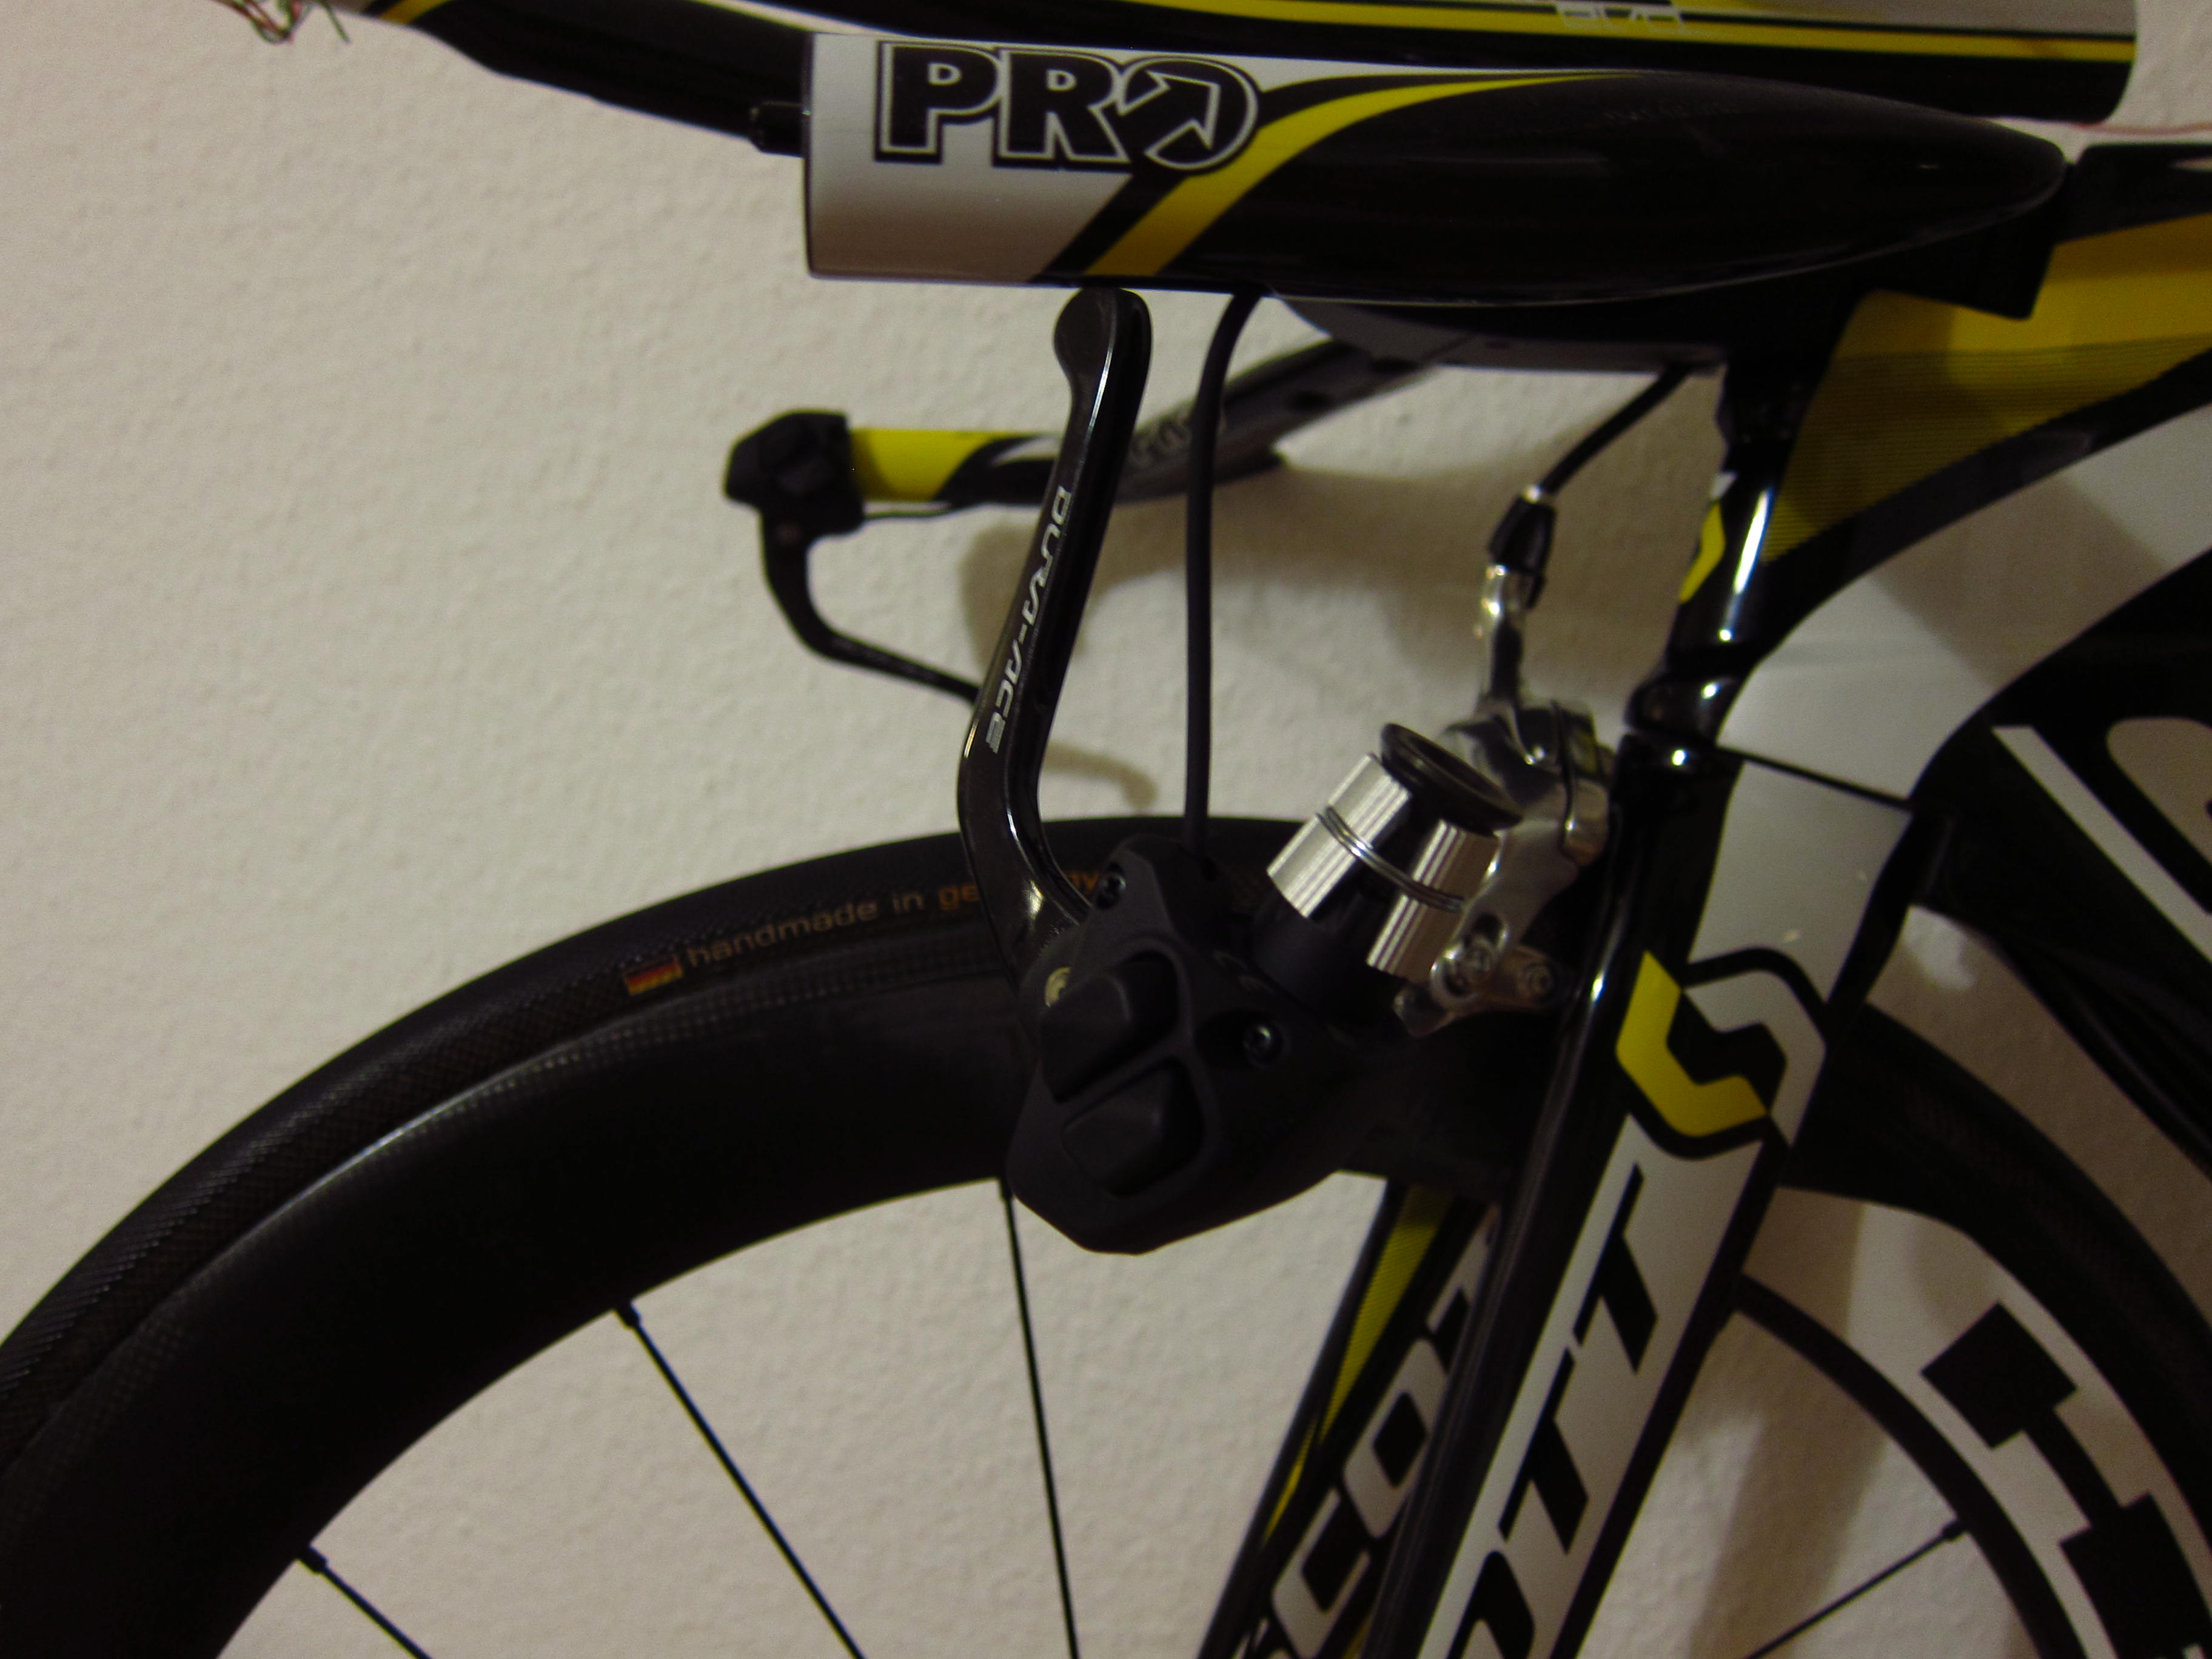
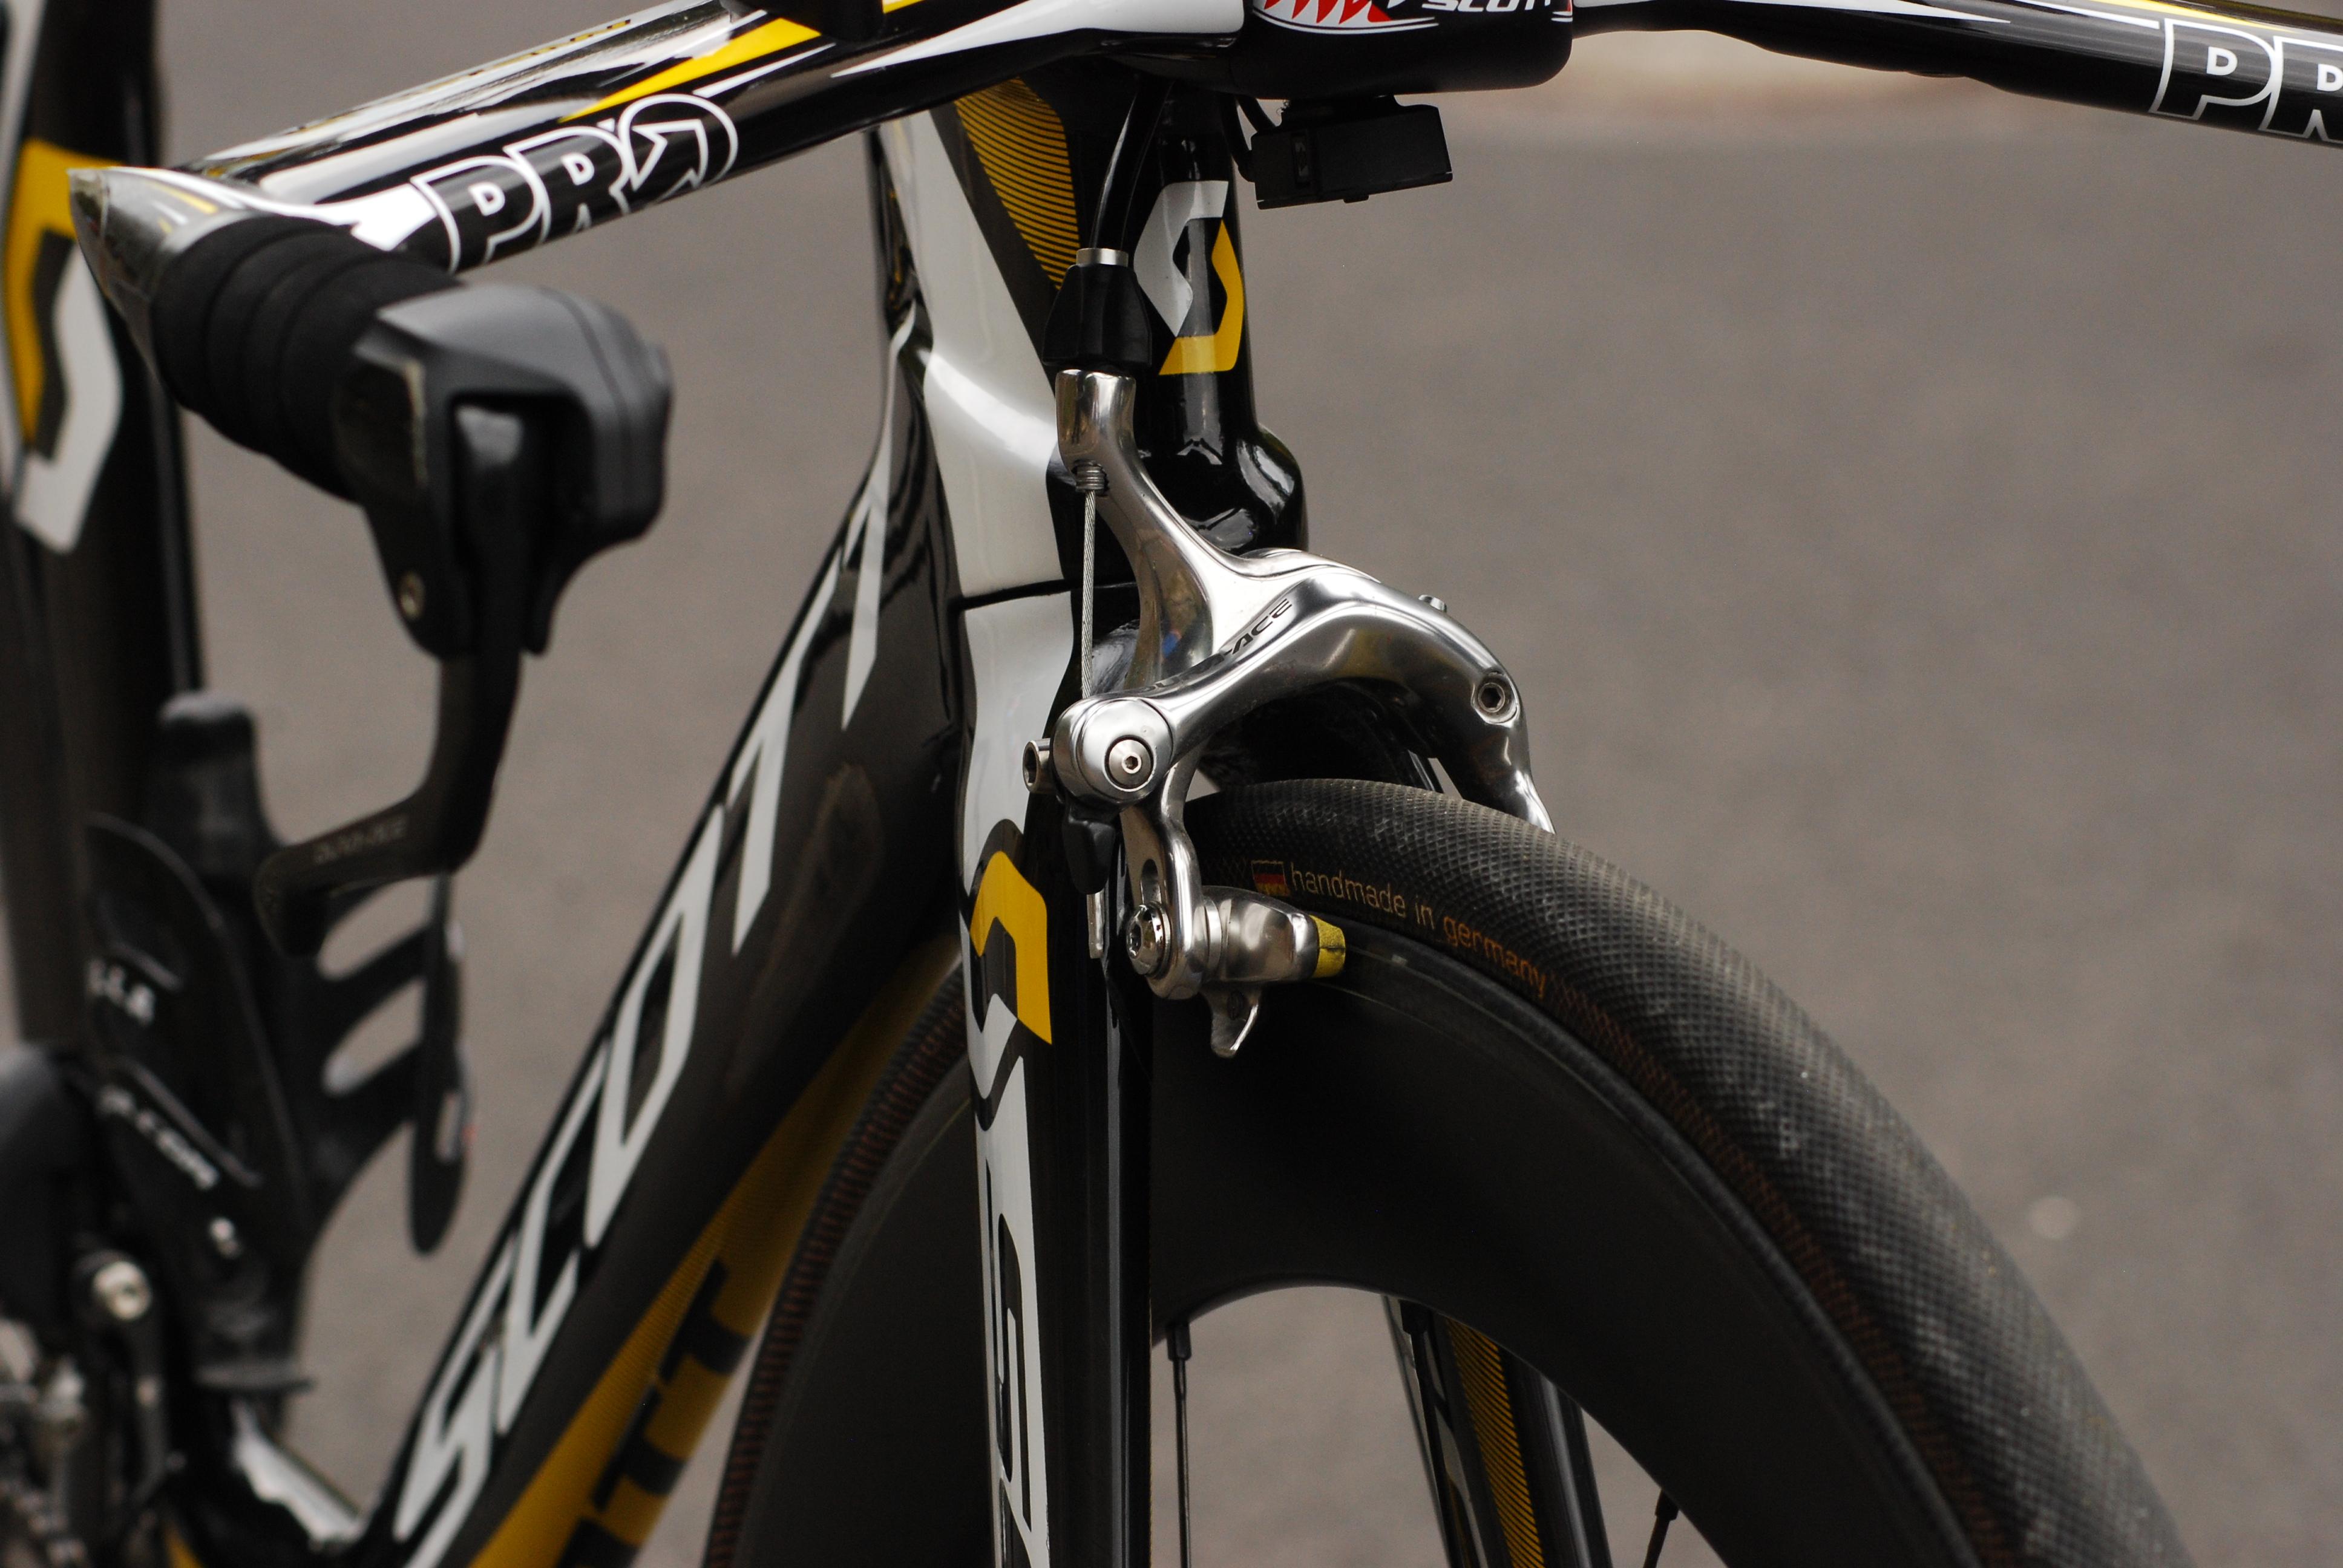
First of all, I started mounting the brakes. While the frame is designed for standard road brakes, …
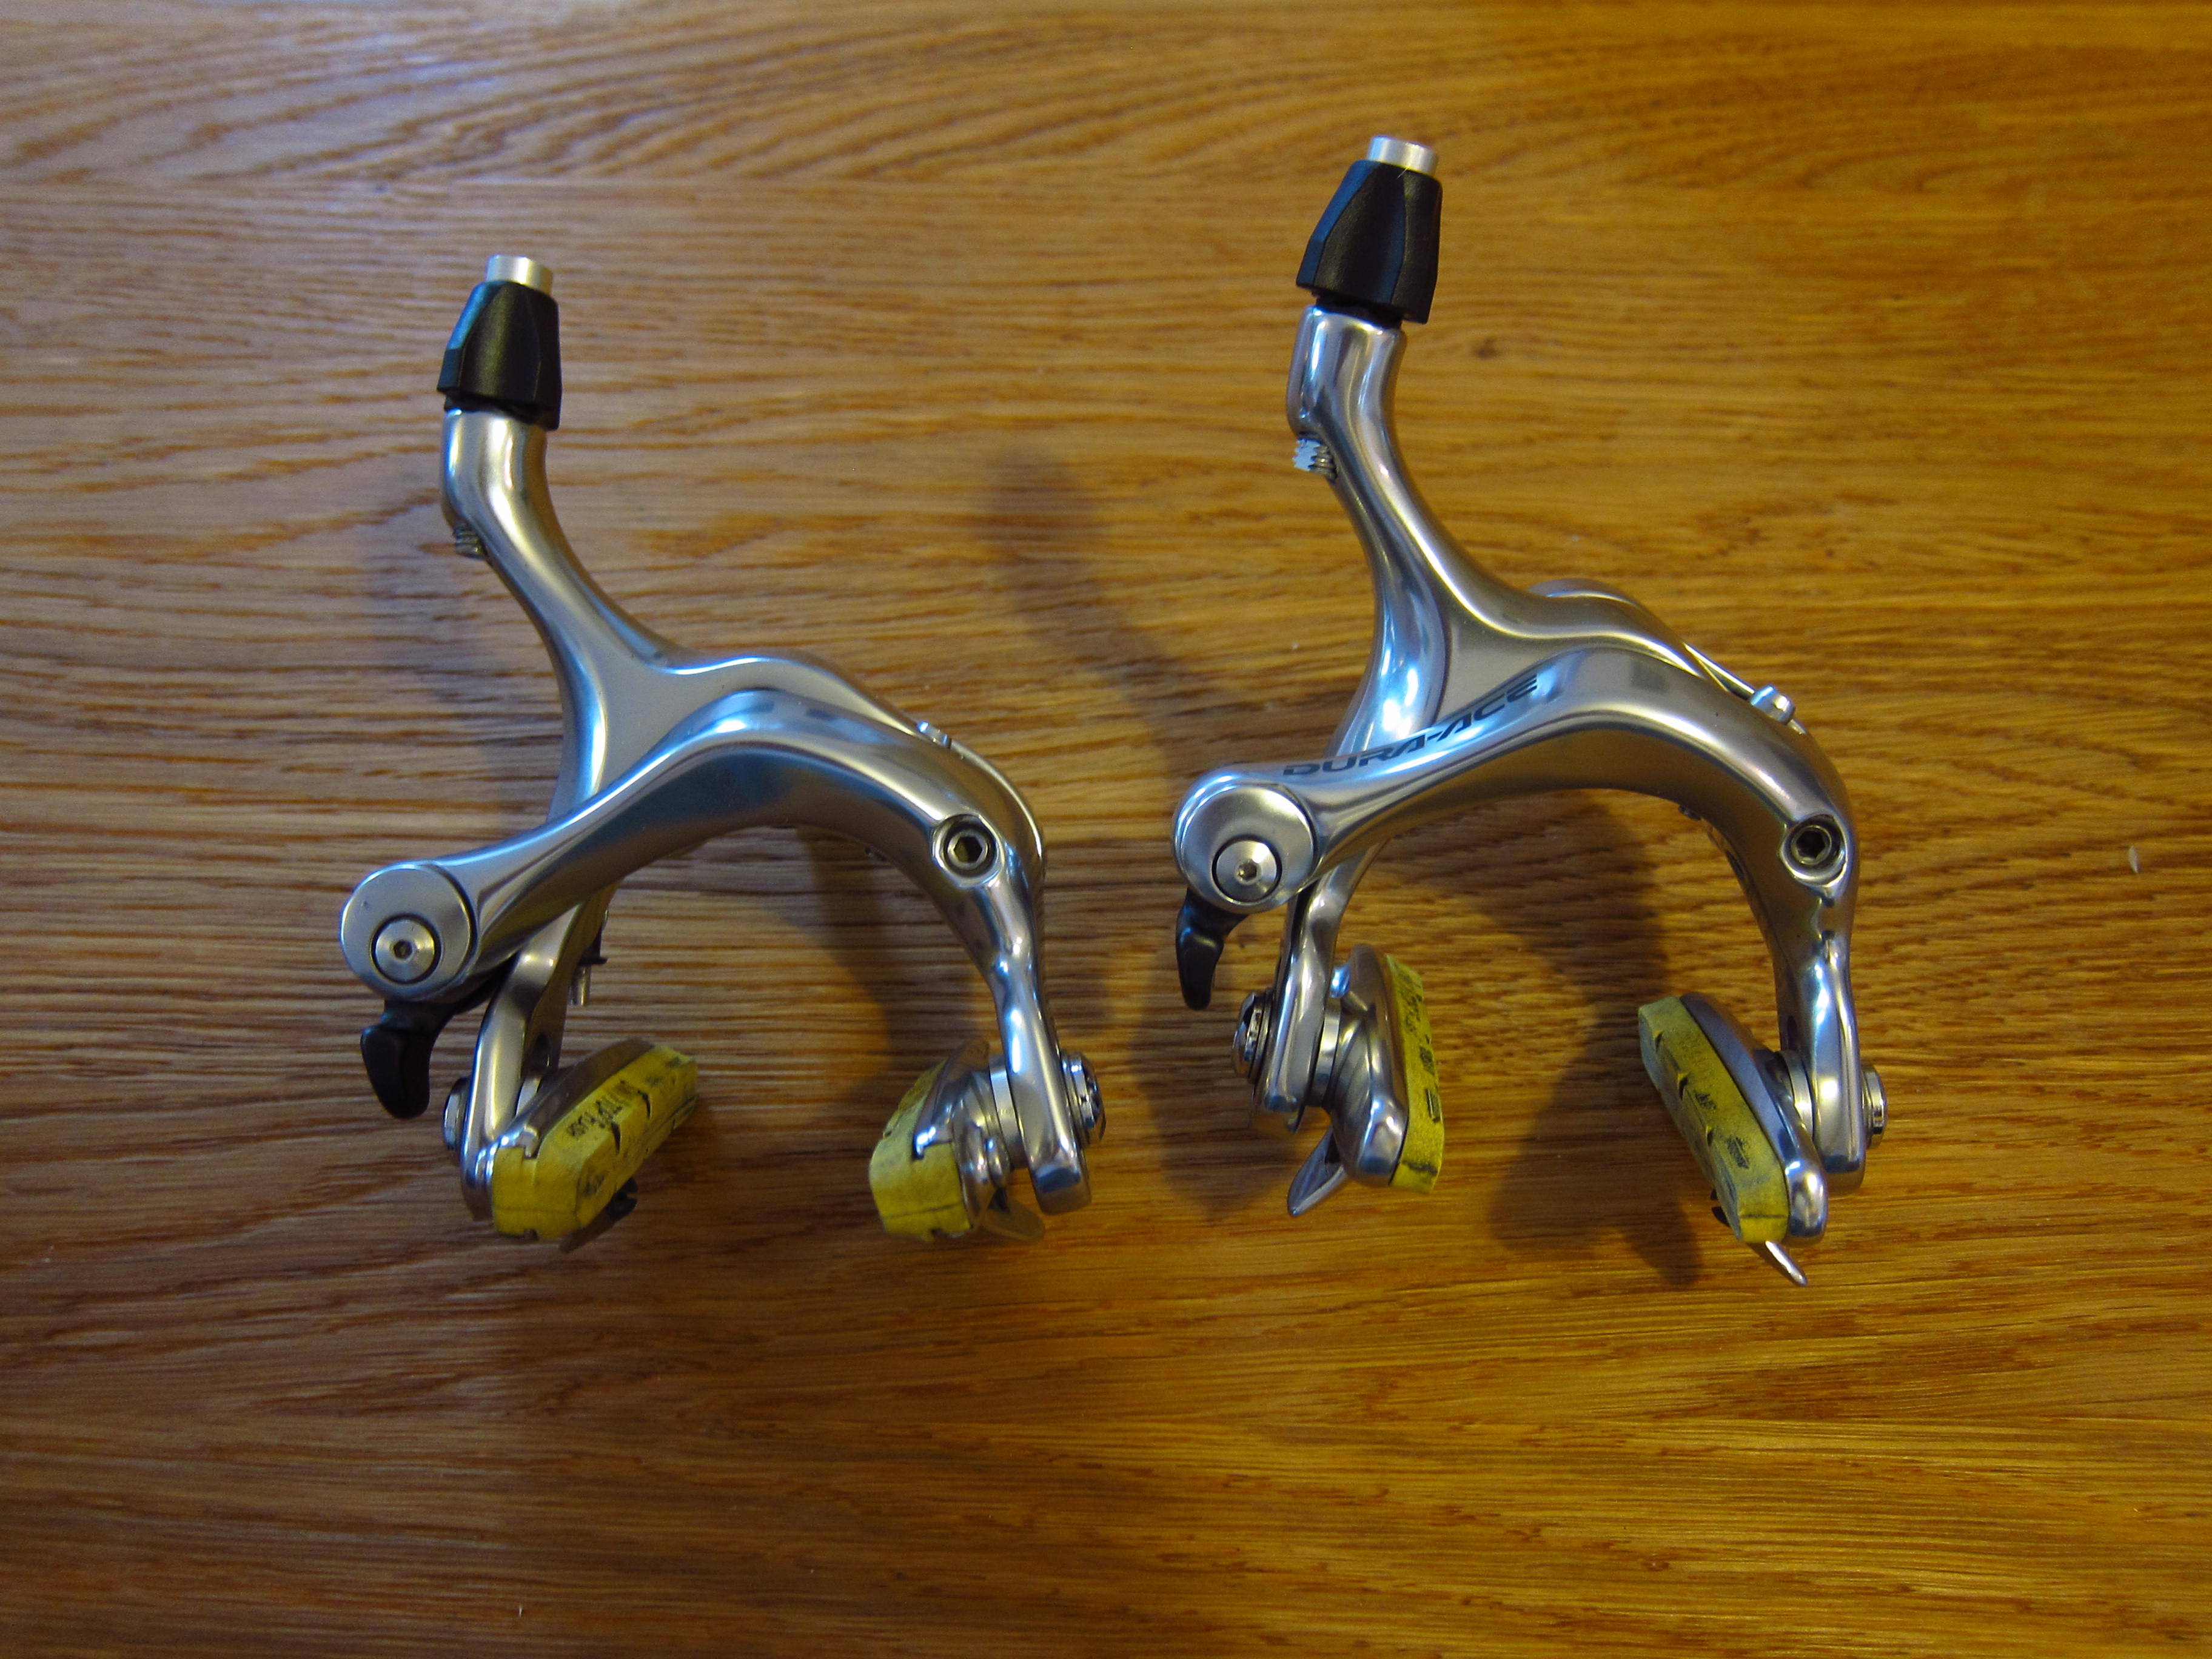
the rear brake must be a Shimano BR-7800 or BR-7900 model to avoid a collision of crank and brake.

Brake installation was quite easy and done in about two minutes. This is really one of the big benefits of this frameset.
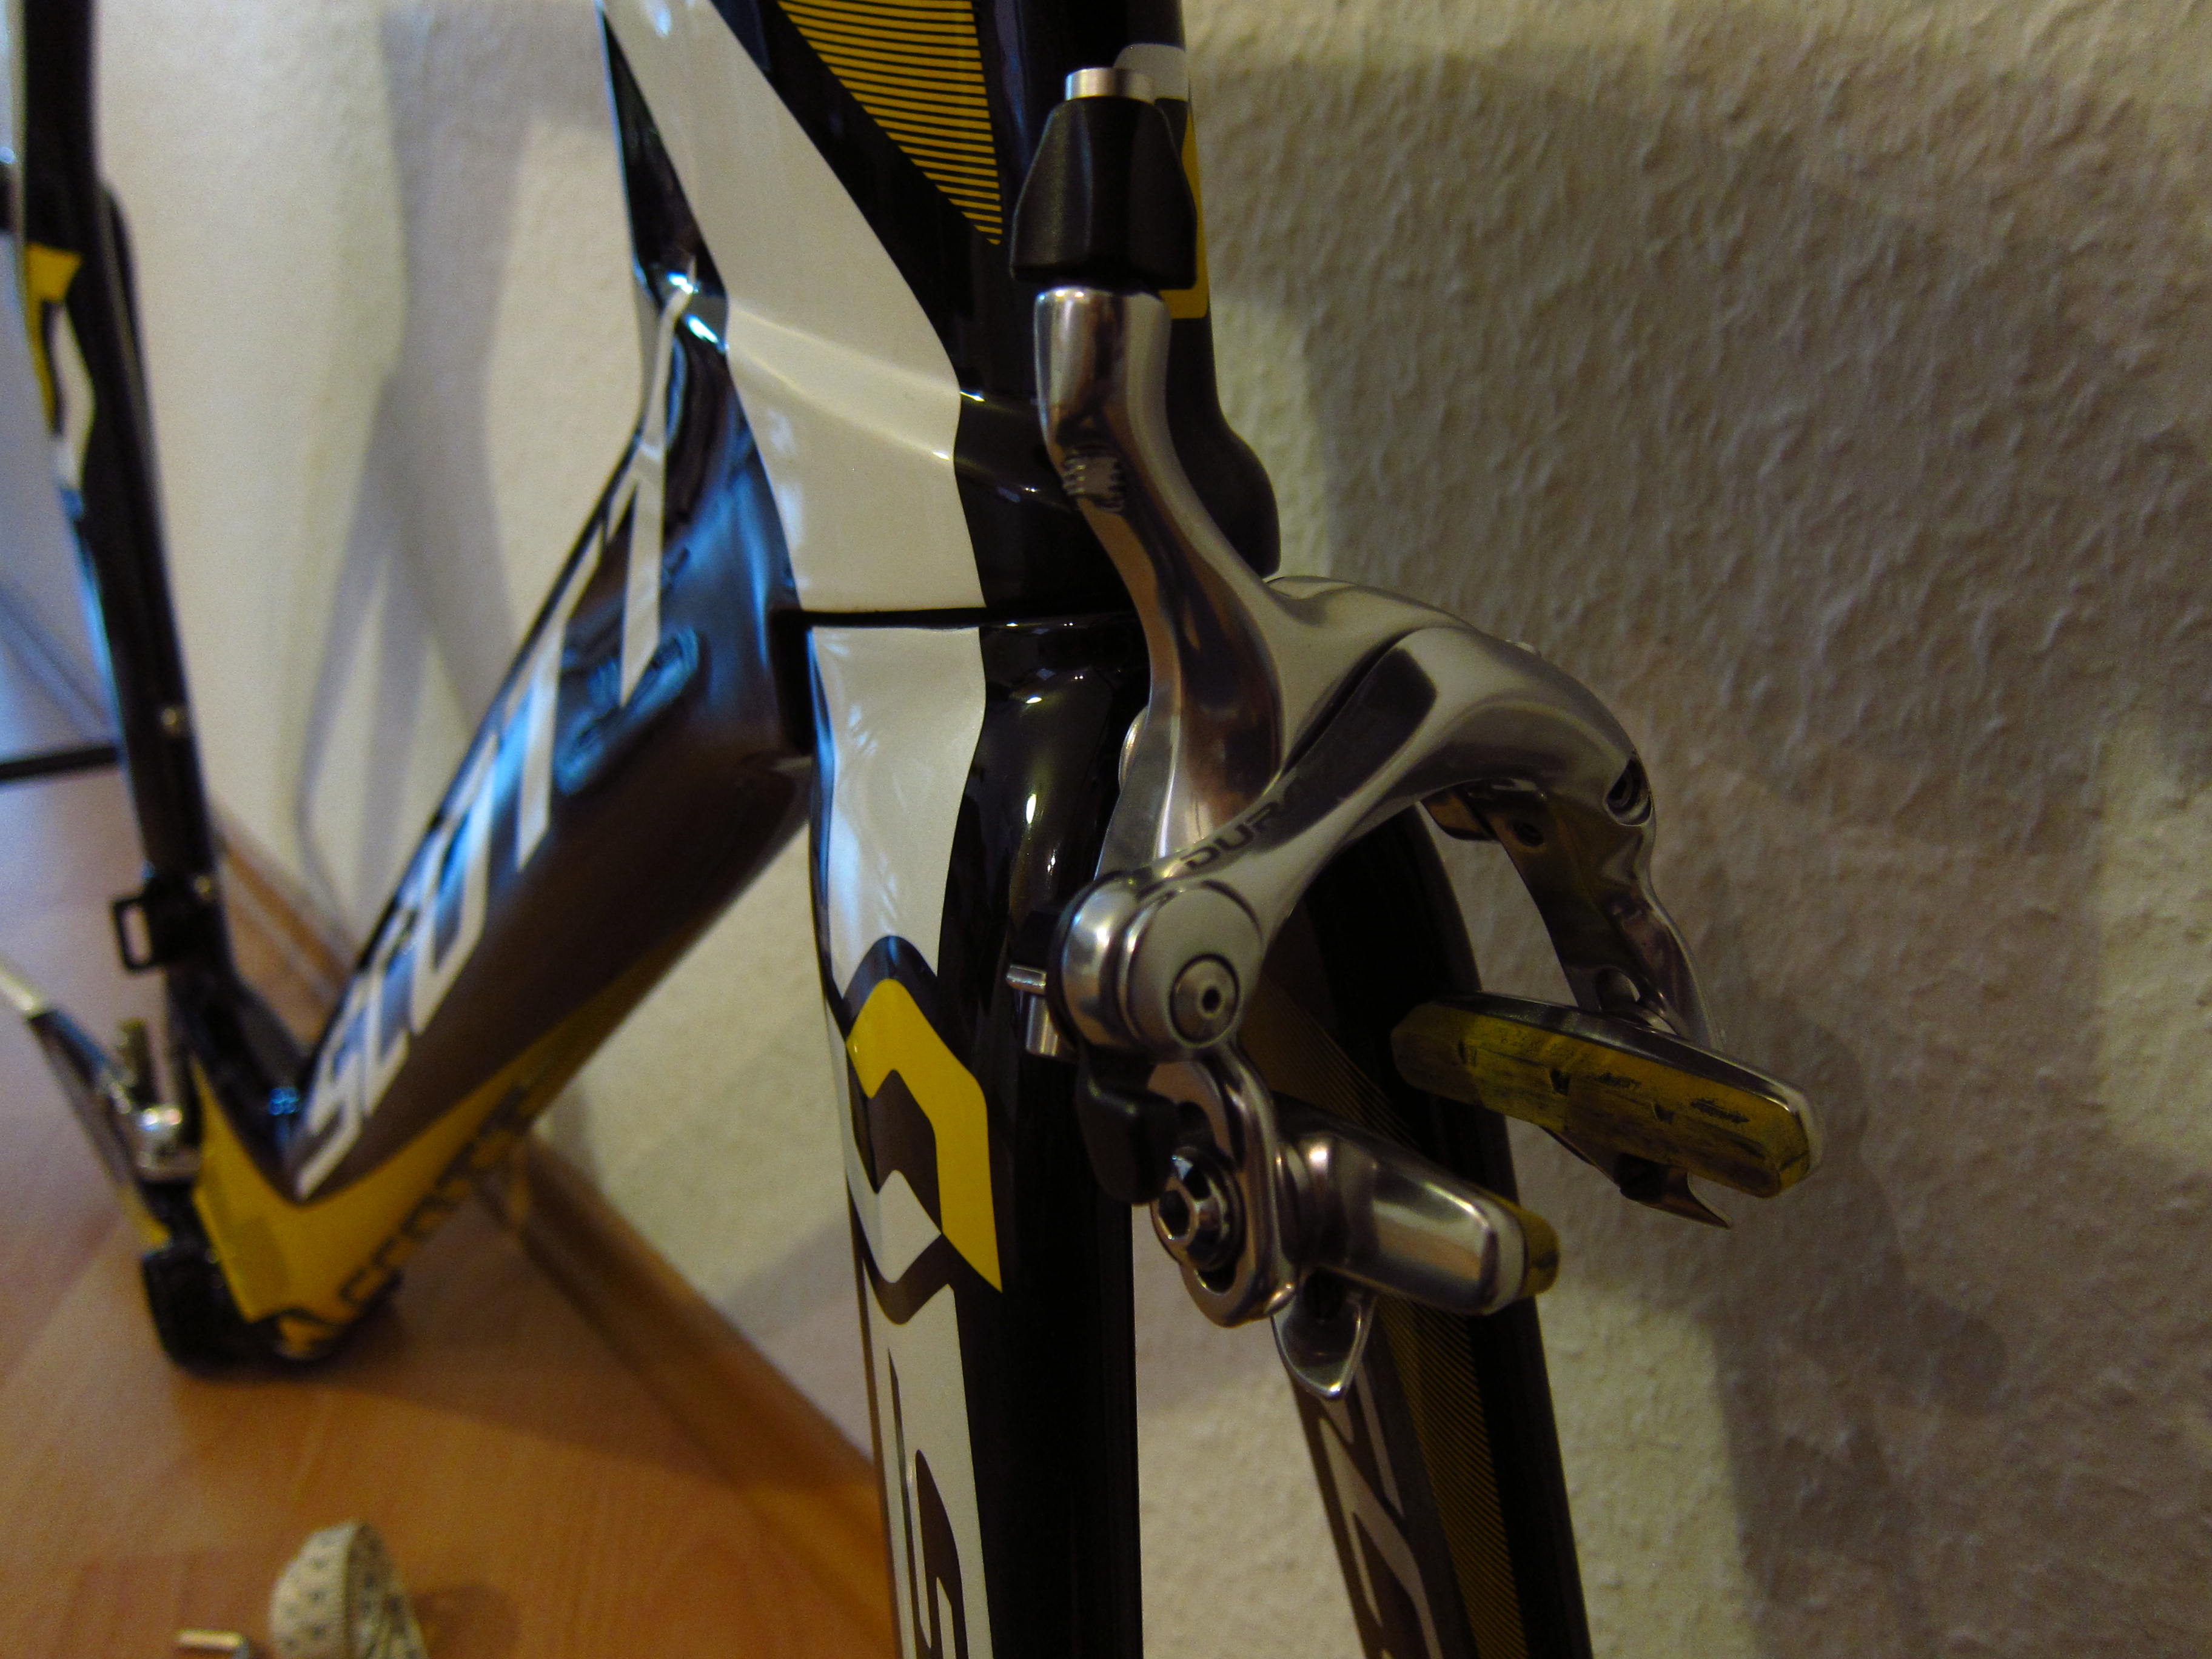
Front brake installation was as easy.
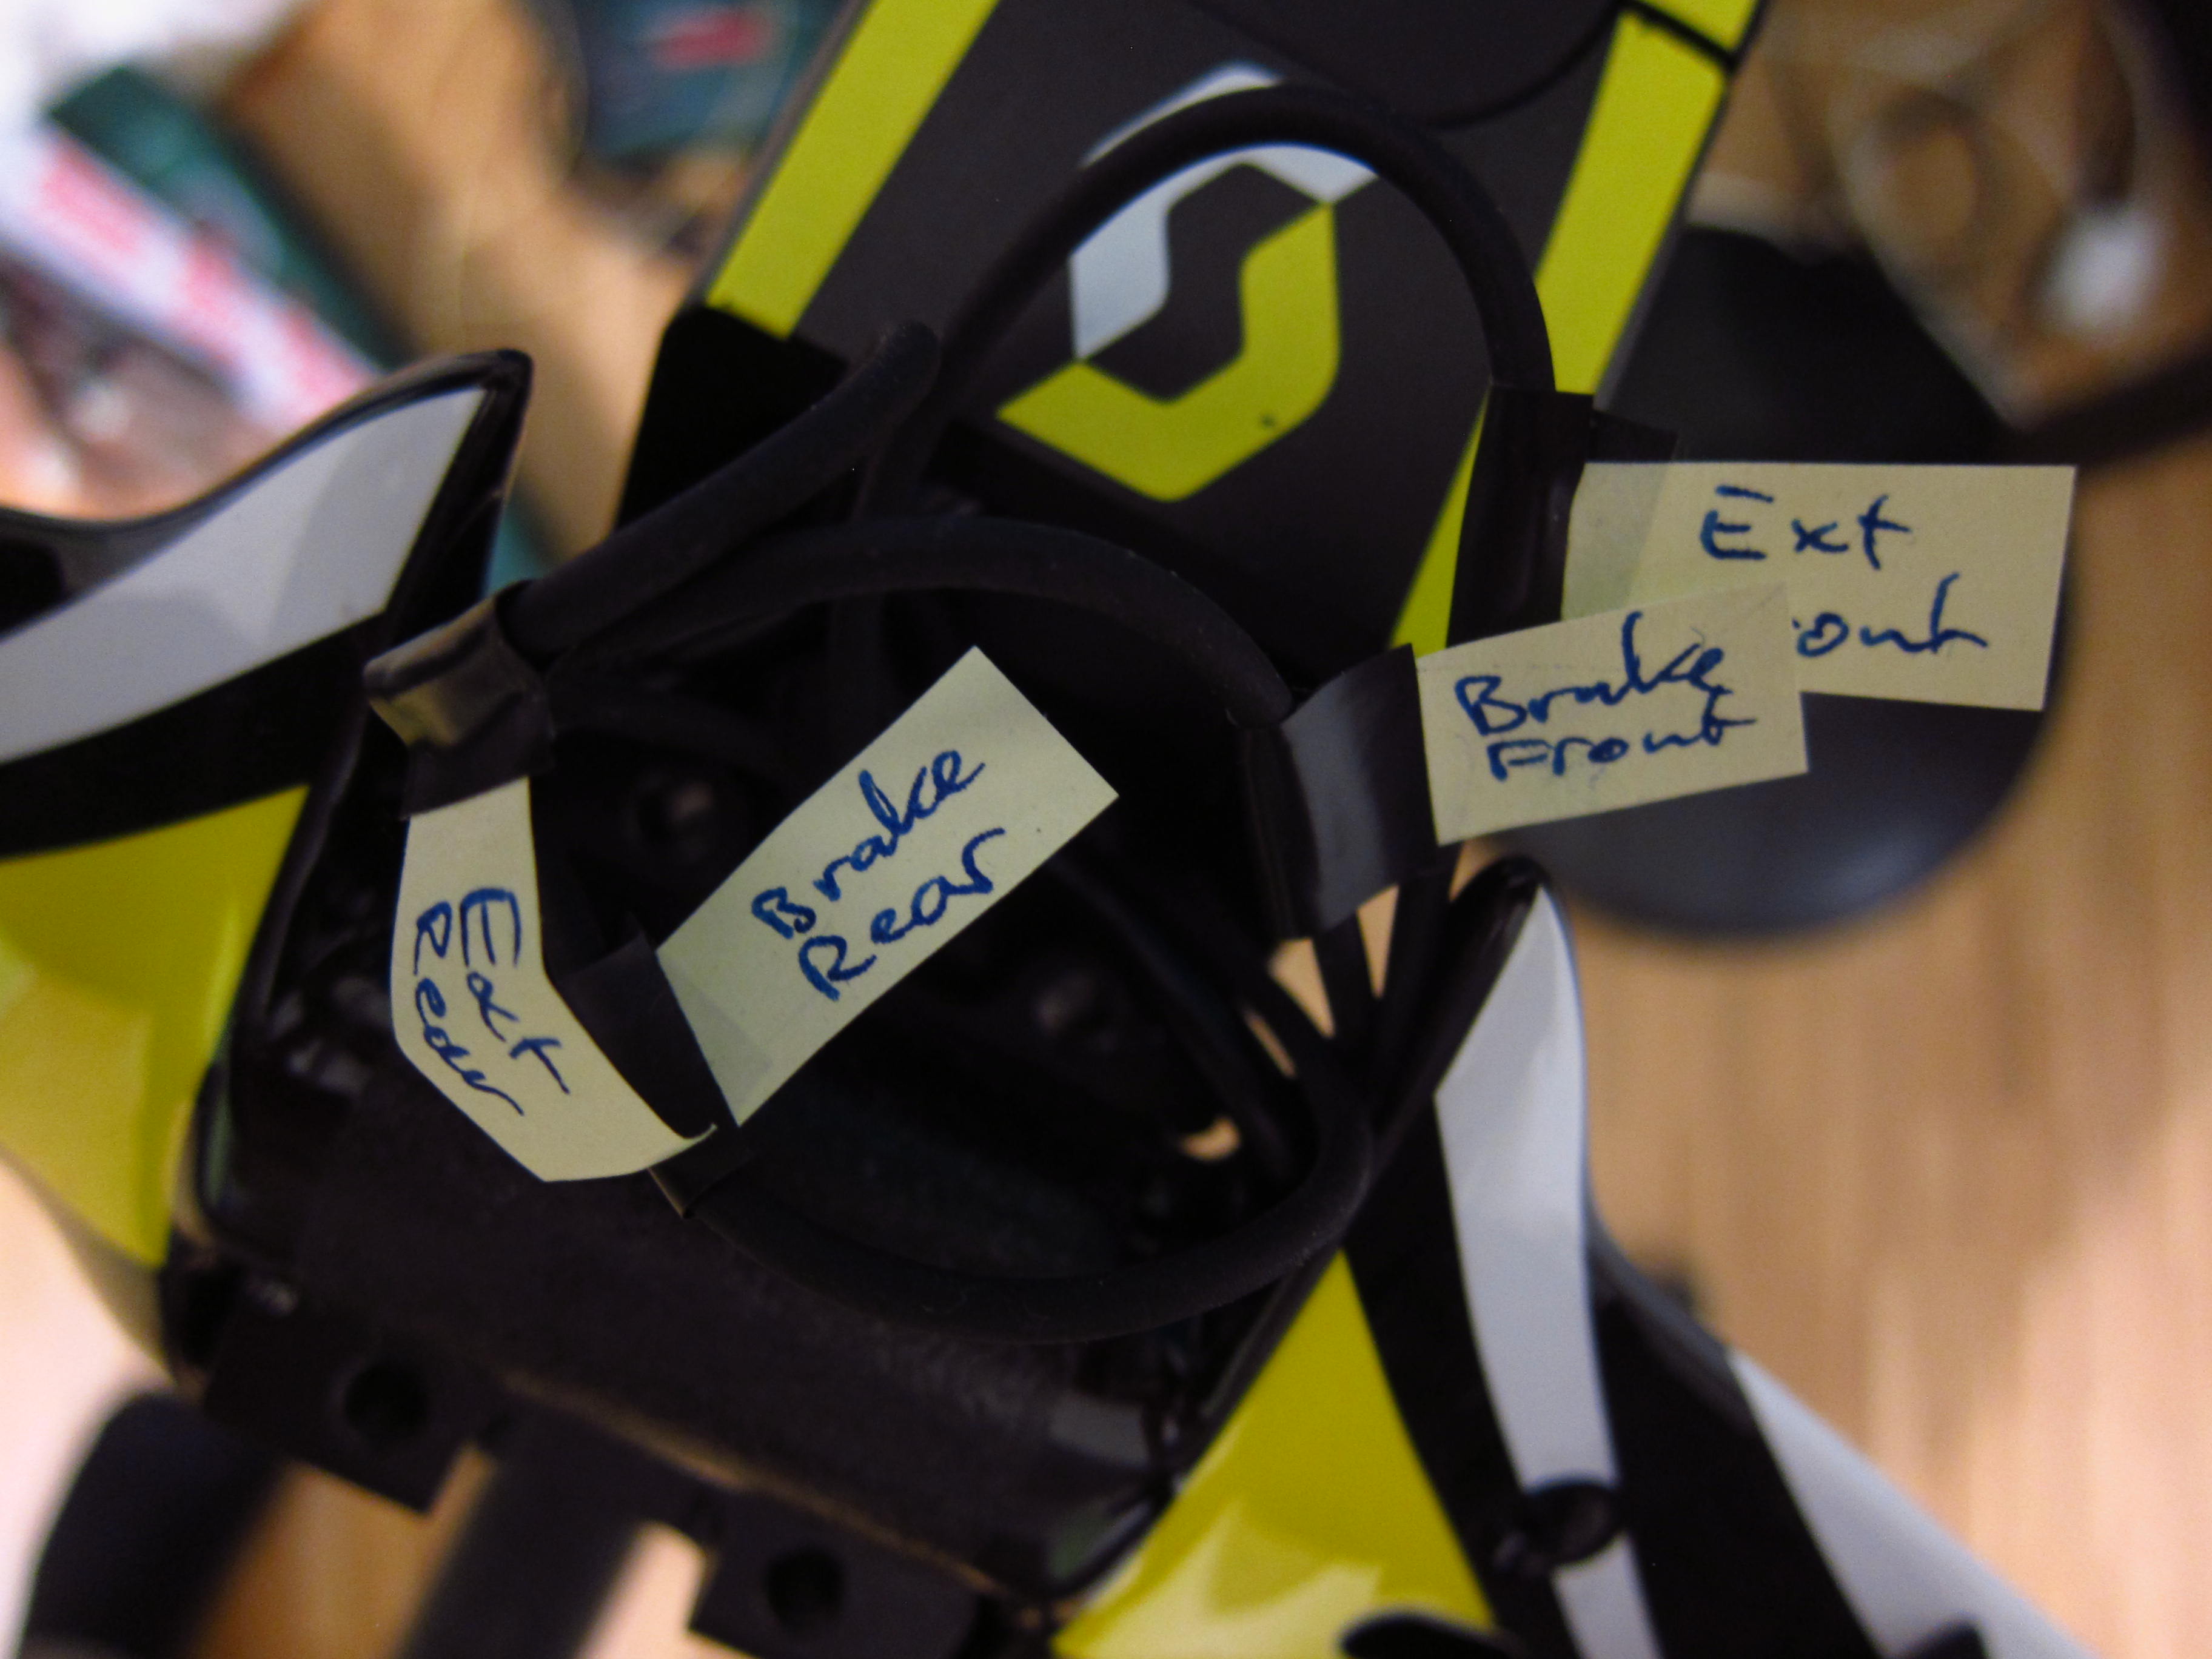
At this stage, I would to give an recommendation regarding the optimal sequence to install the brake and Di2 cables:
- Push rear brake inner wire from bottom bracket to stem, beginning with the plumb
- Attach the Di2 cable (950mm) to the brake wire using electric tape and pull back the brake wire from stem to bottom bracket
- Loosen Di2 cable
- Push rear brake inner wire again from bottom bracket to stem, beginning with the plumb
- Push rear brake outer housing over the inner wire, from bottom bracket to stem
- Pull out rear brake inner wire
- Push outer housing through base bar
- Mount brake lever
- Push inner wire through brake lever, base bar and stem to the bottom bracket. Recommendation: Do not attach base bar to stem or stem to fork before doing that. The radius of the outer housing will be small which makes pushing the inner cable through nearly impossible.
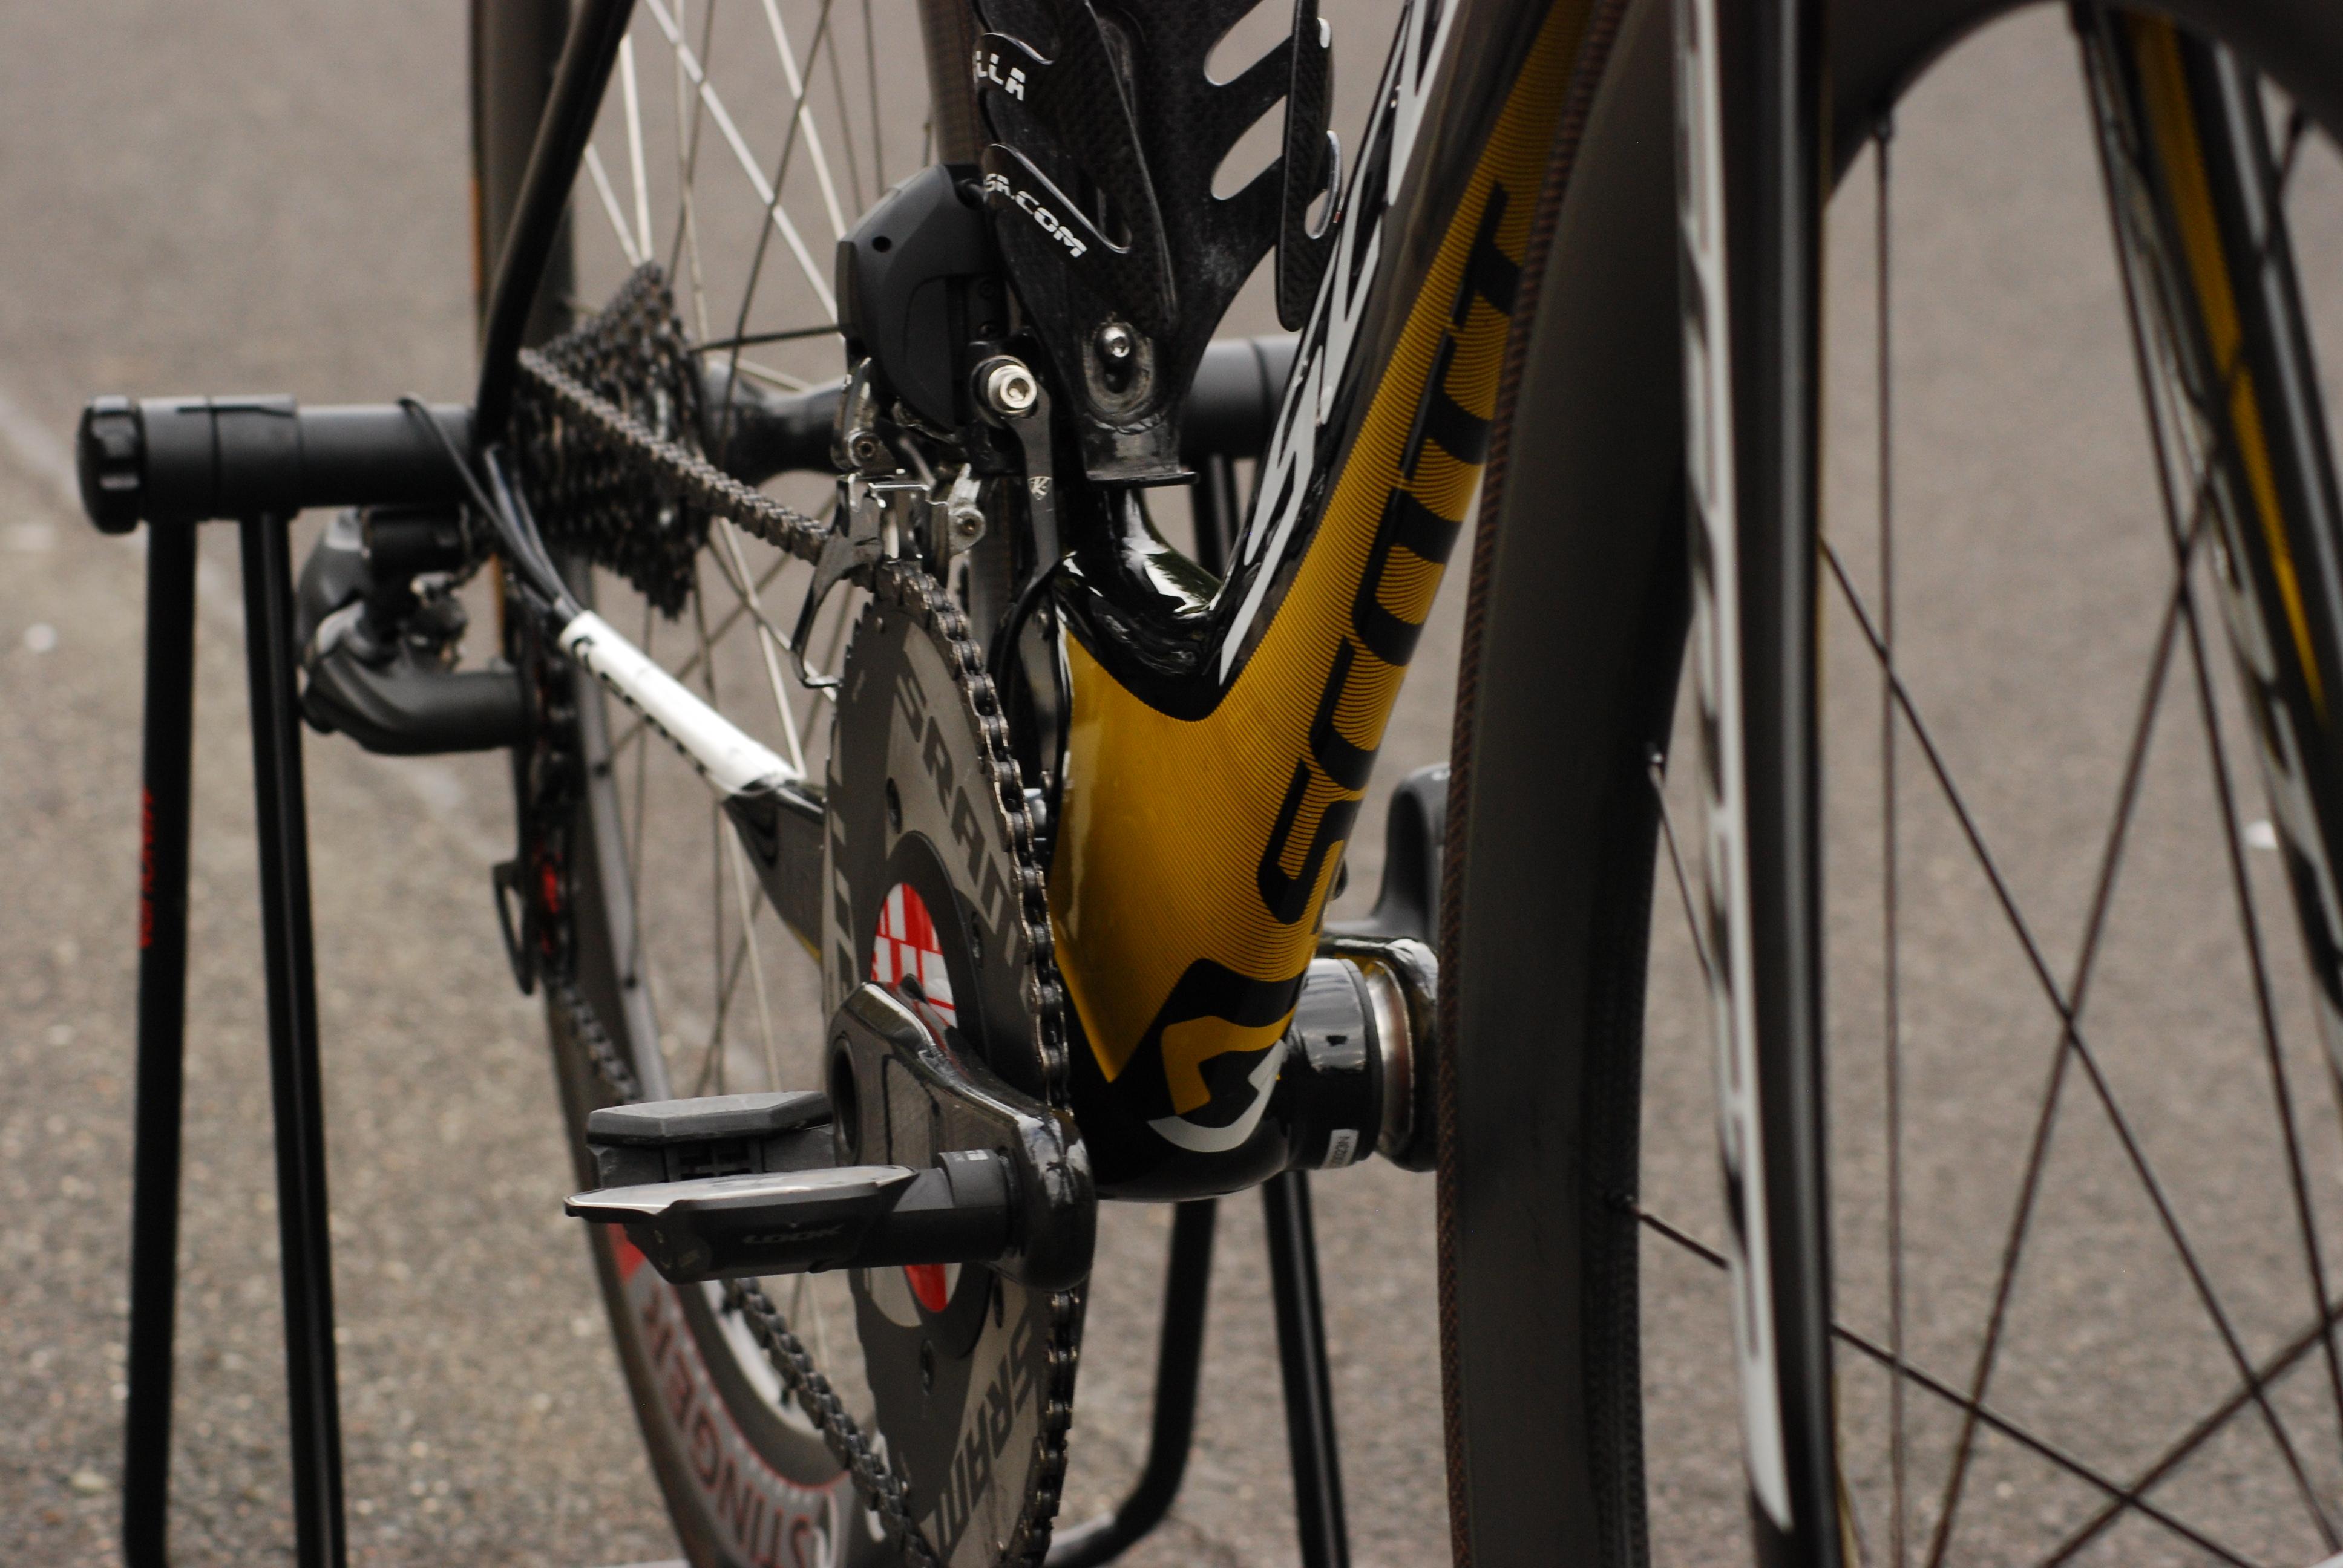
With wheels and seatpost mounted, it starts to look like a bike.
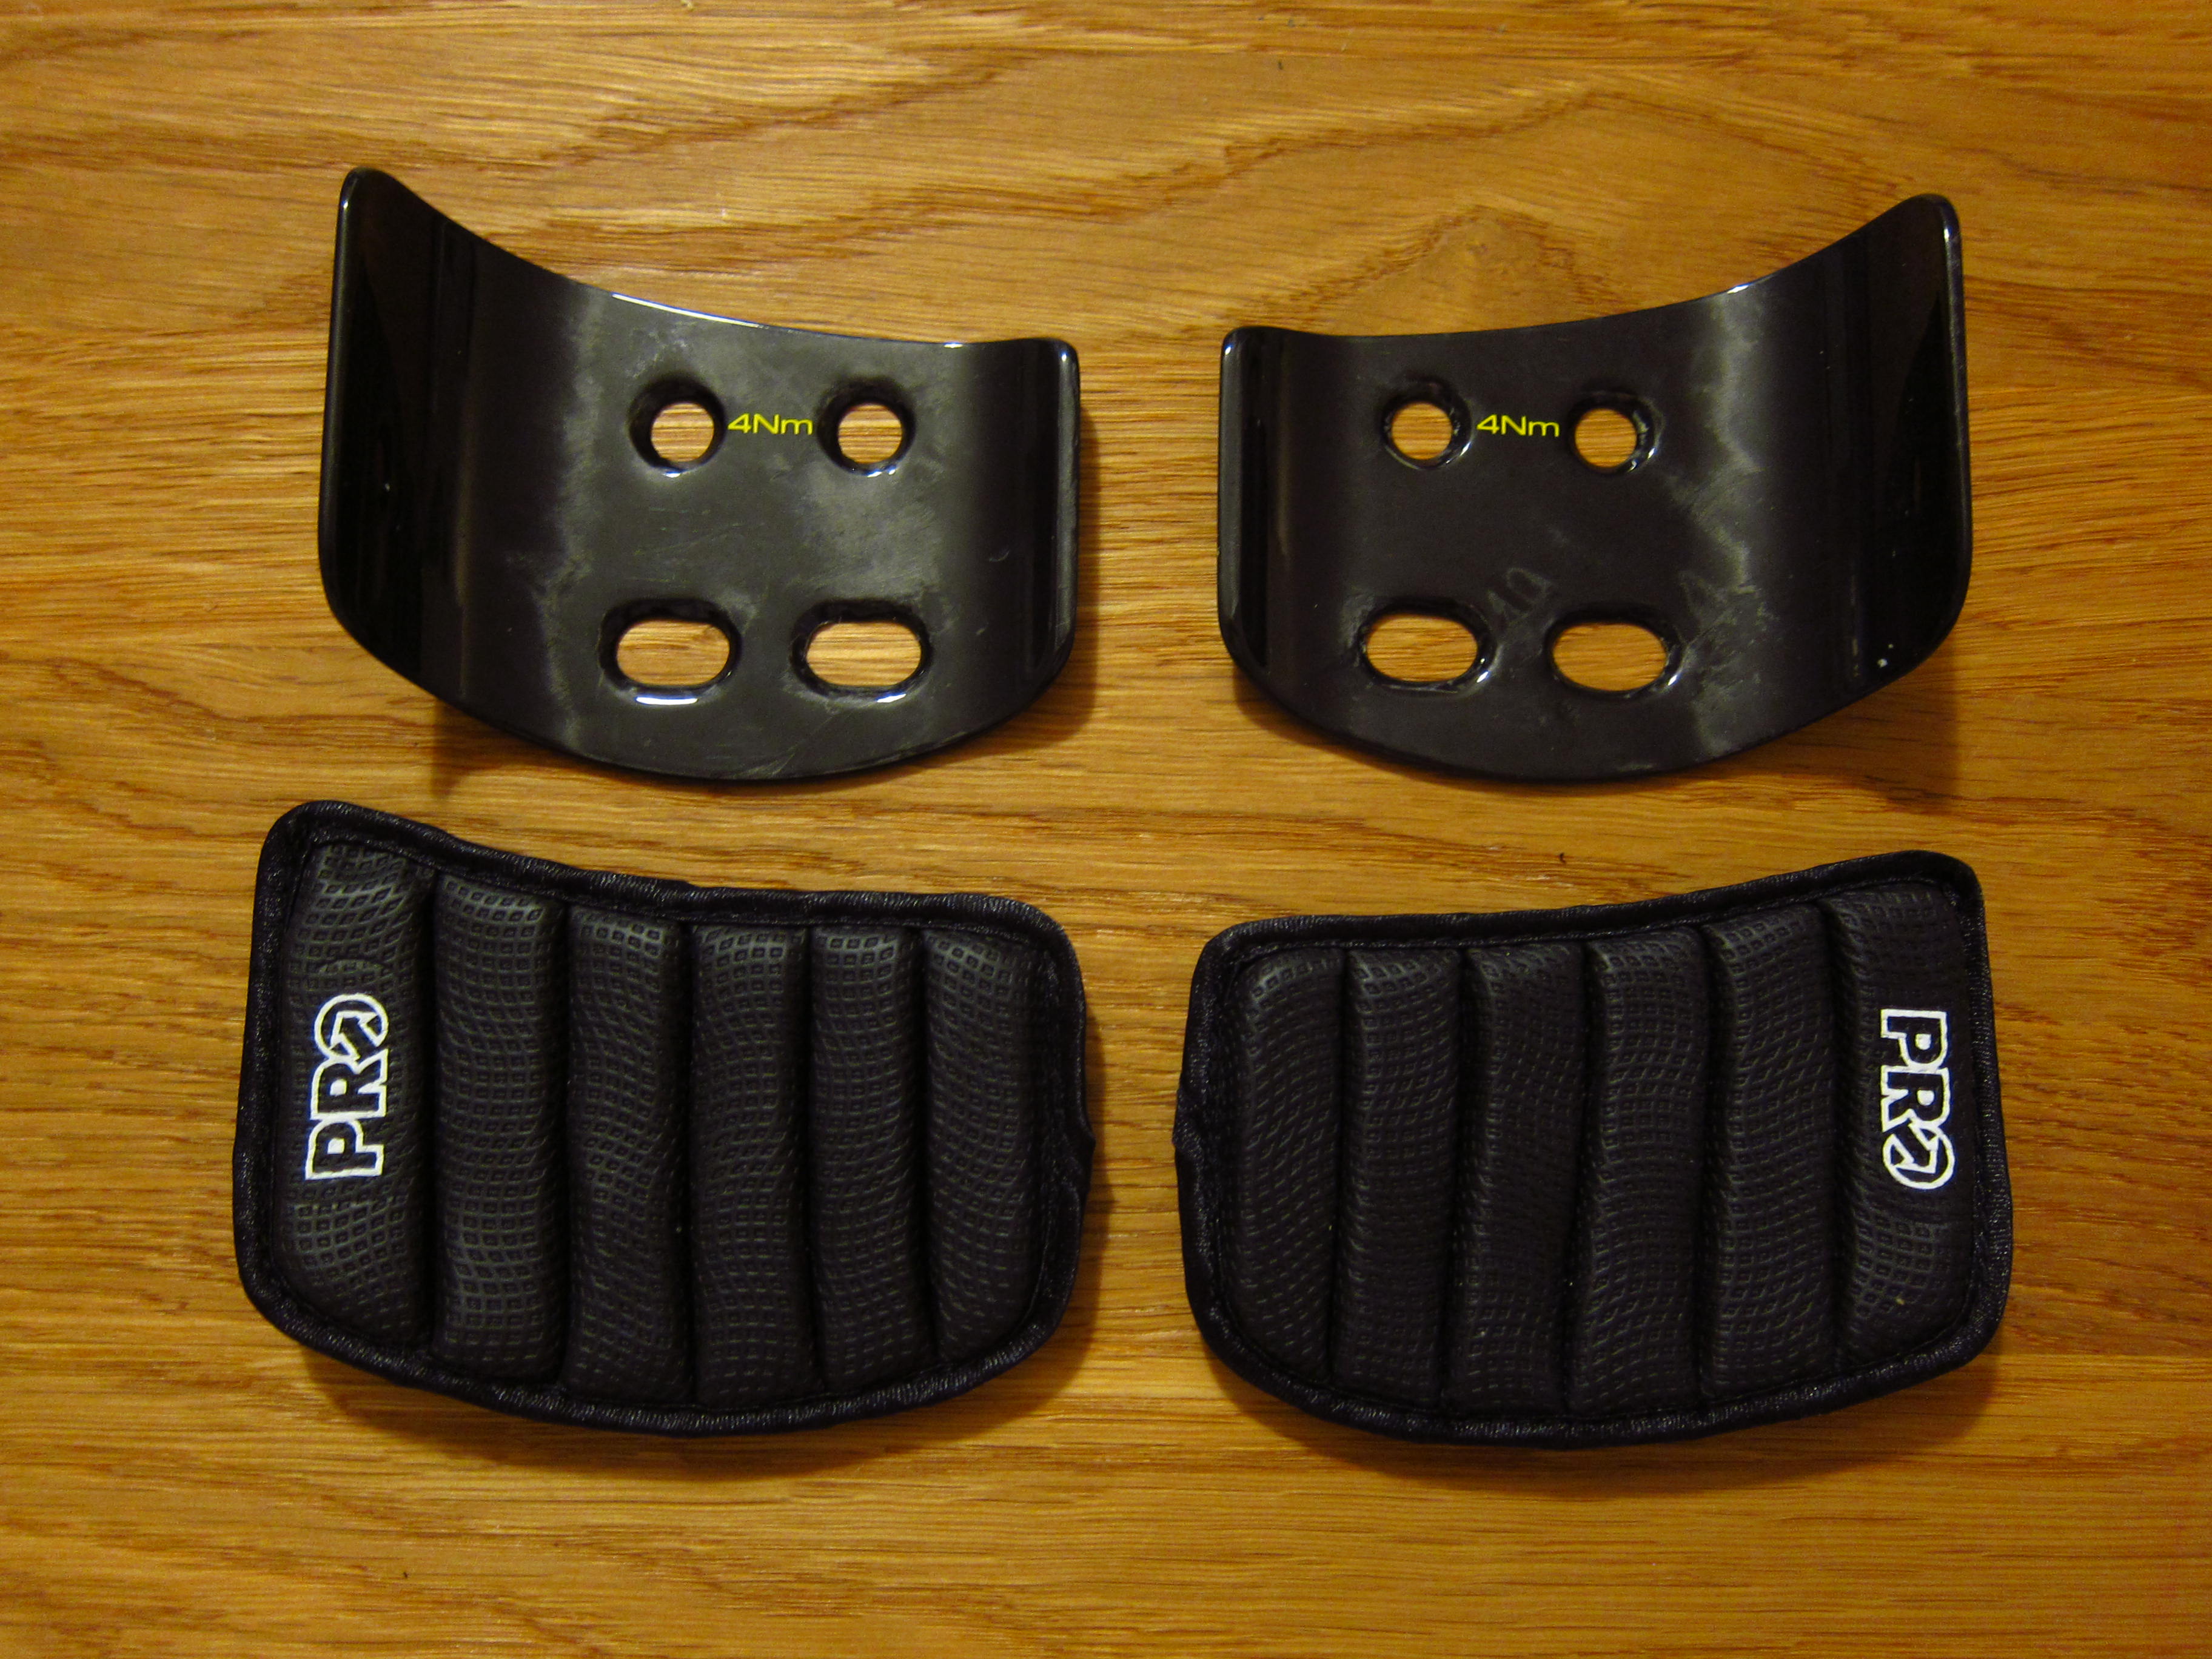
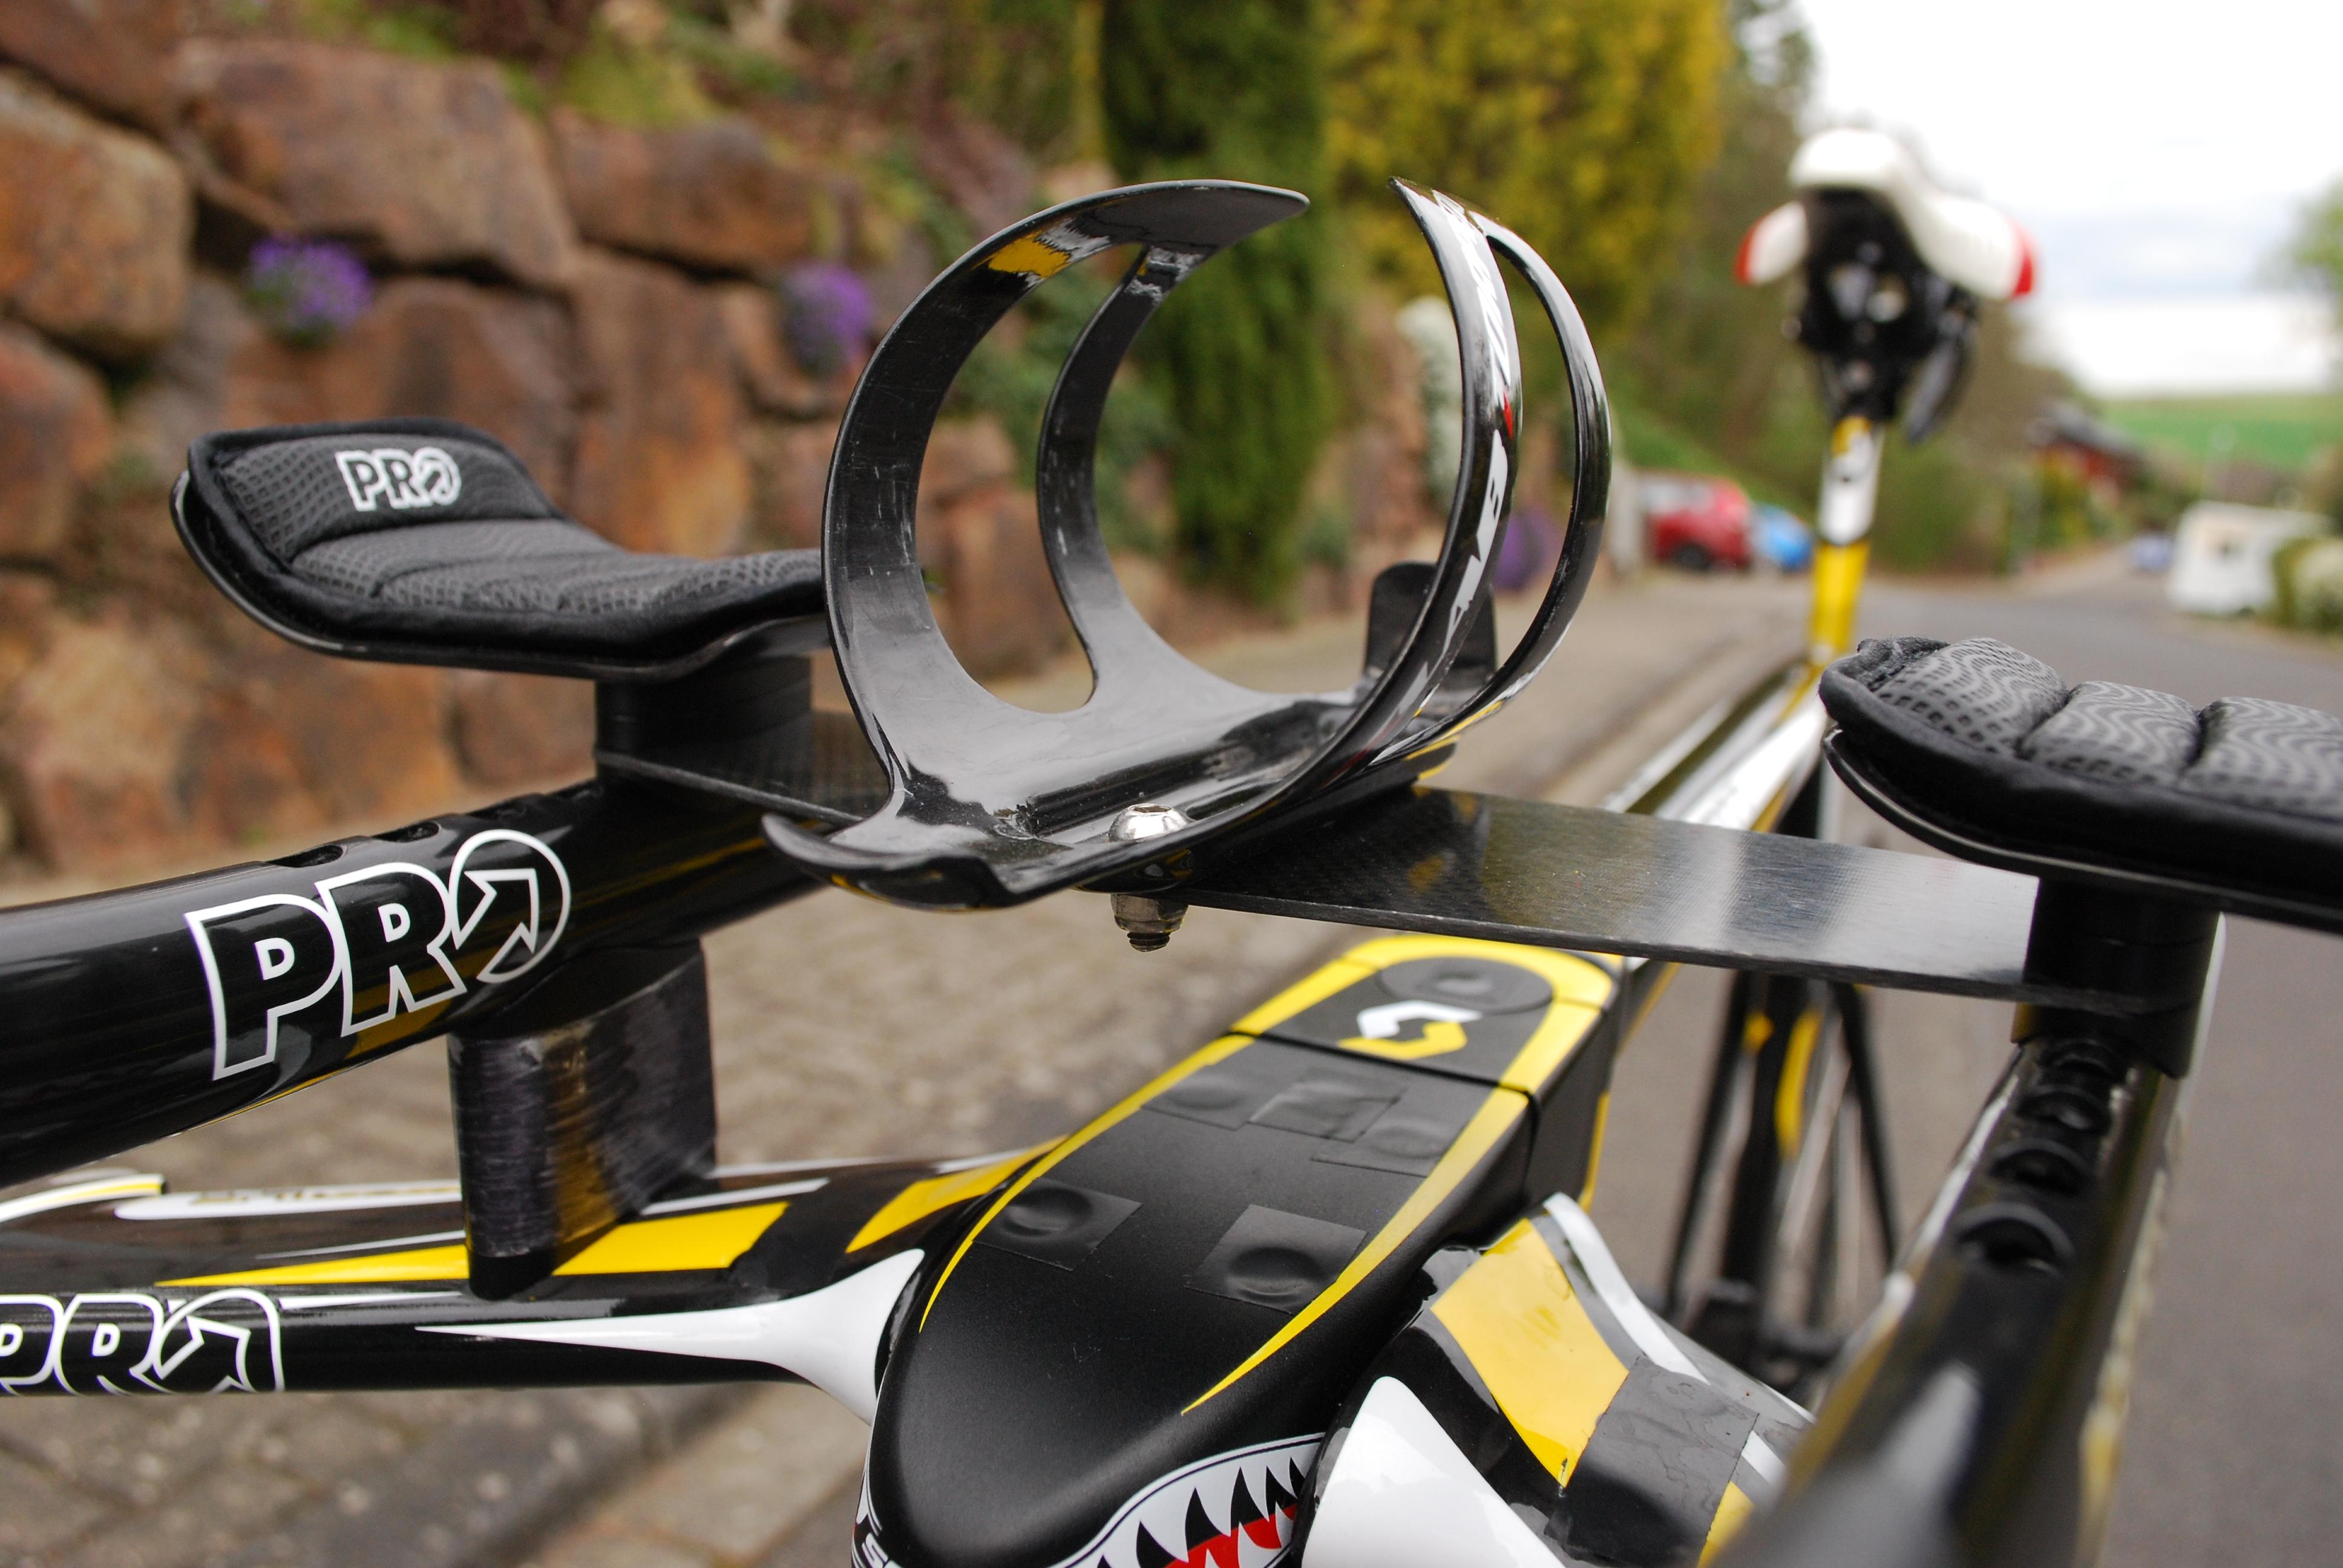
The carbon pad holders are mounted directly to the extensions. The gel pads appear to be quite comfortable.
With basebar and extensions mounted, all I wanted to do is riding this bike as soon as possible.
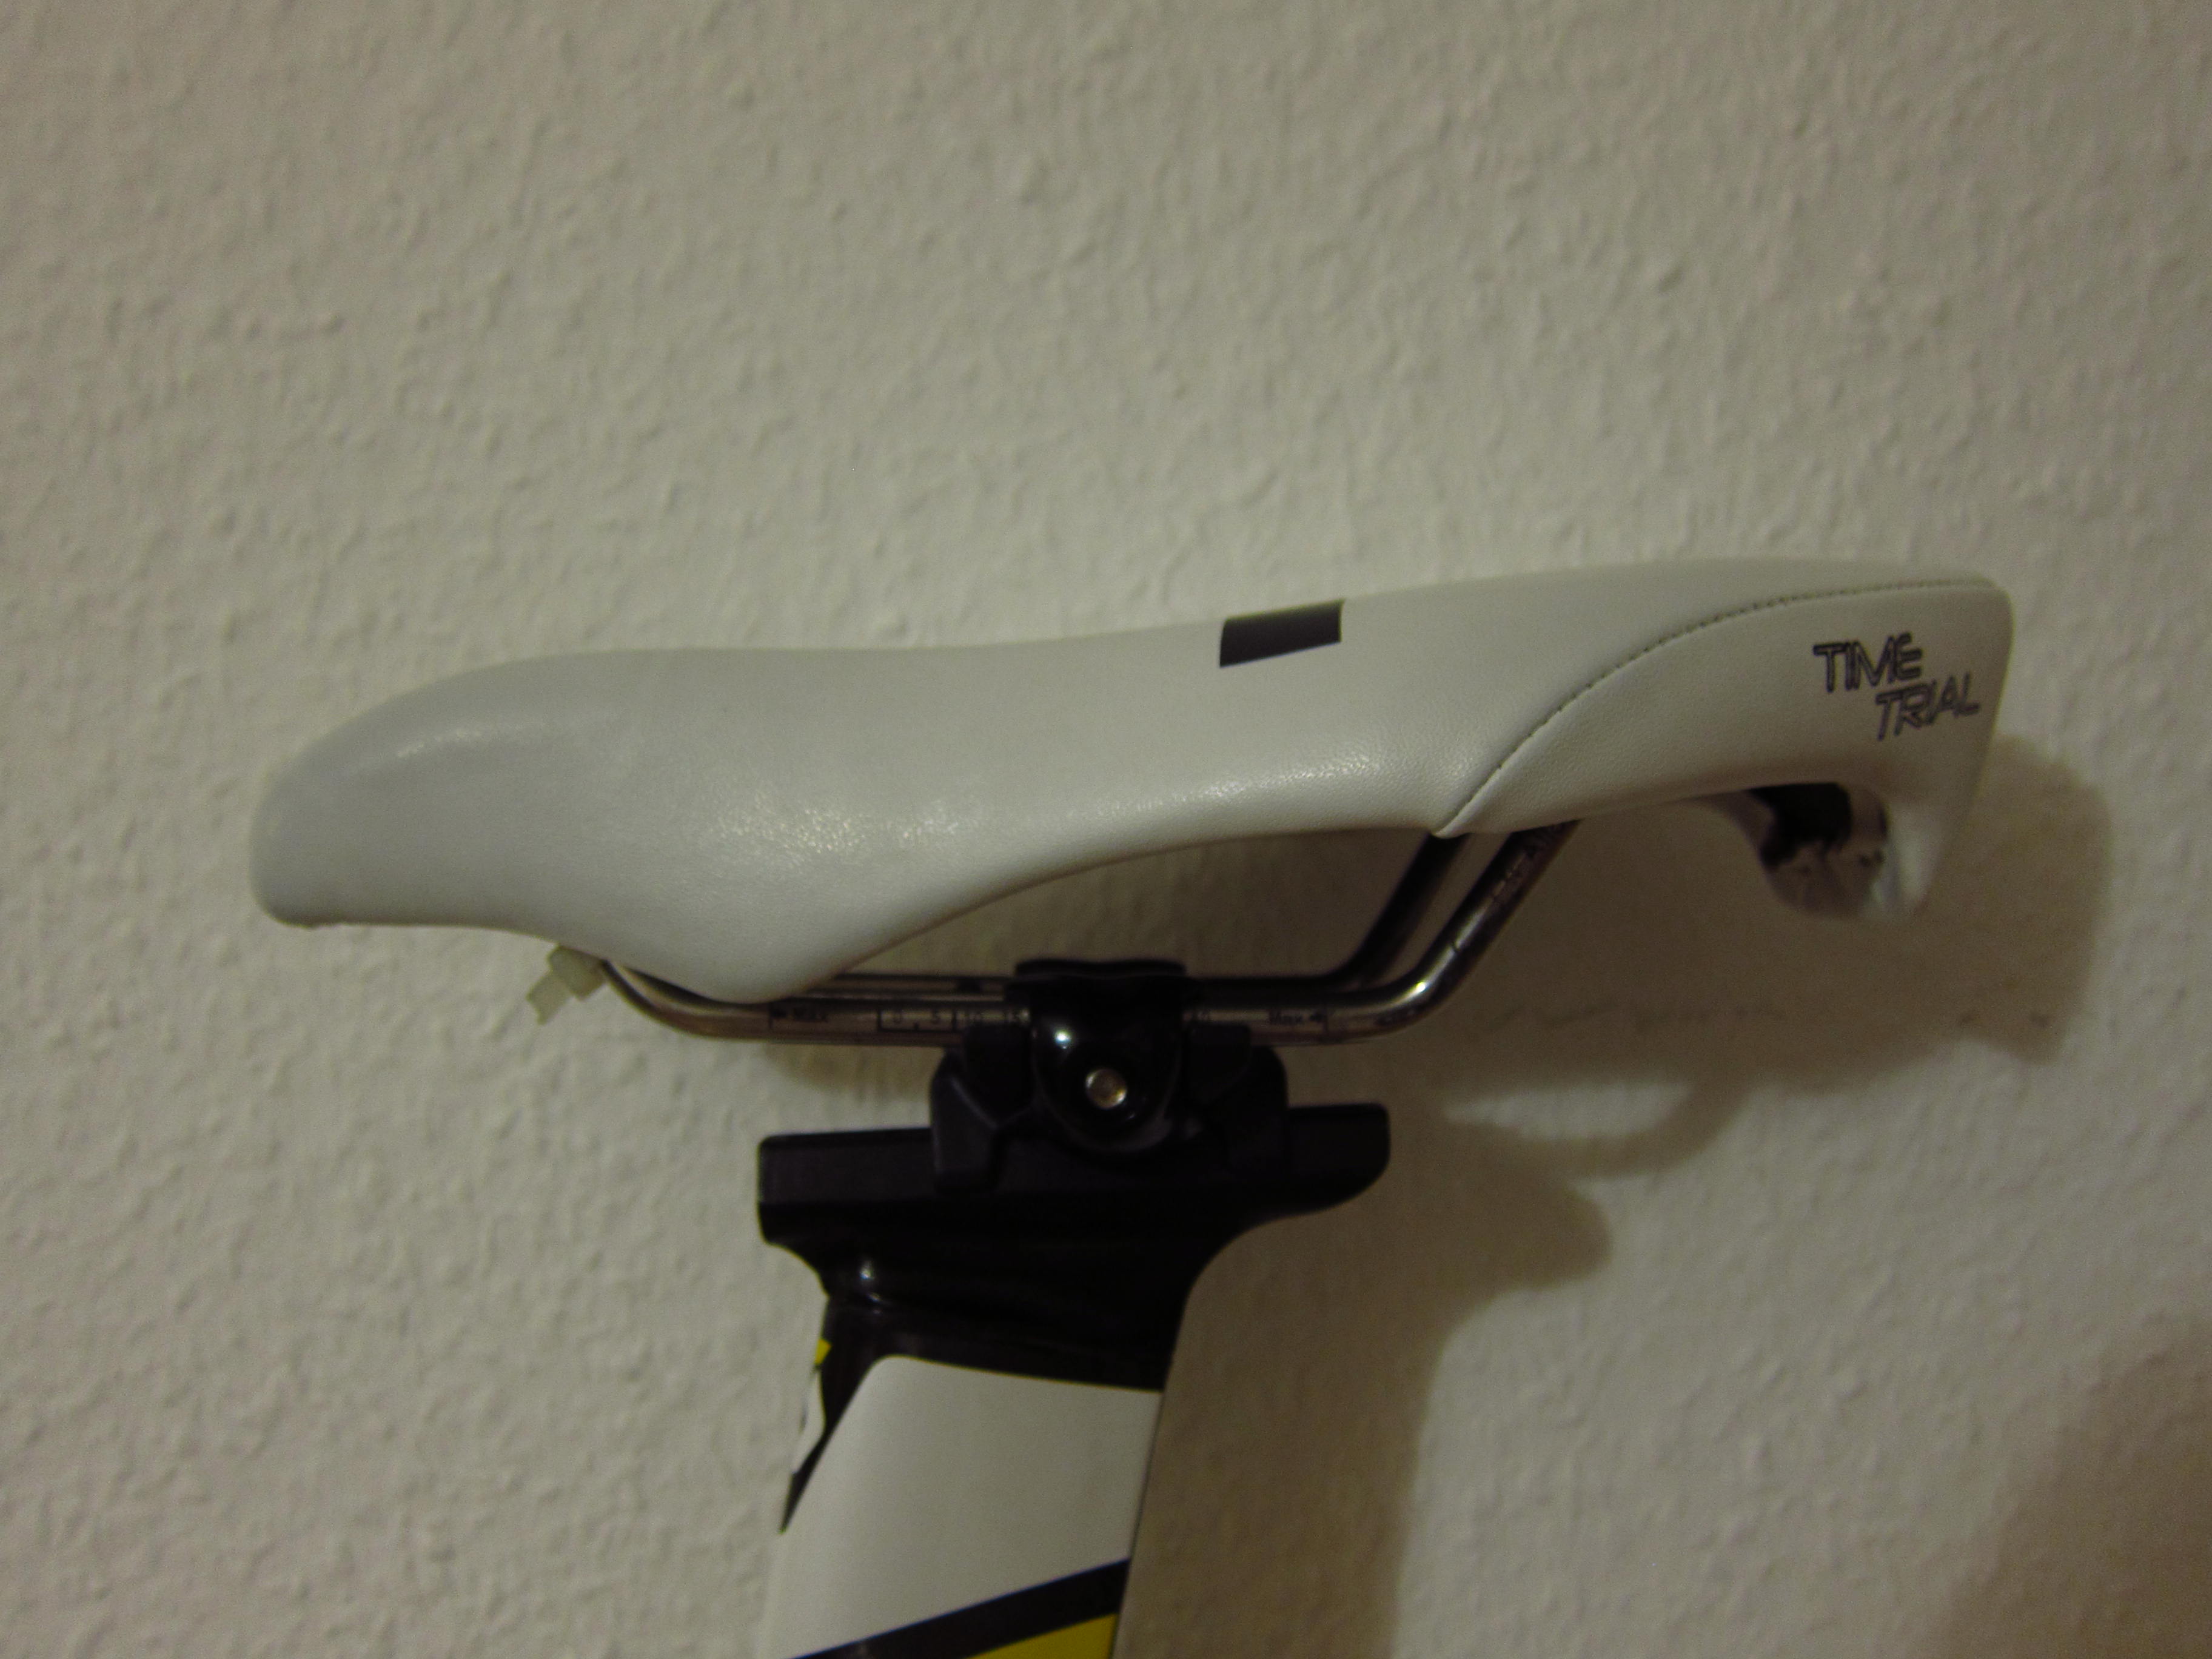
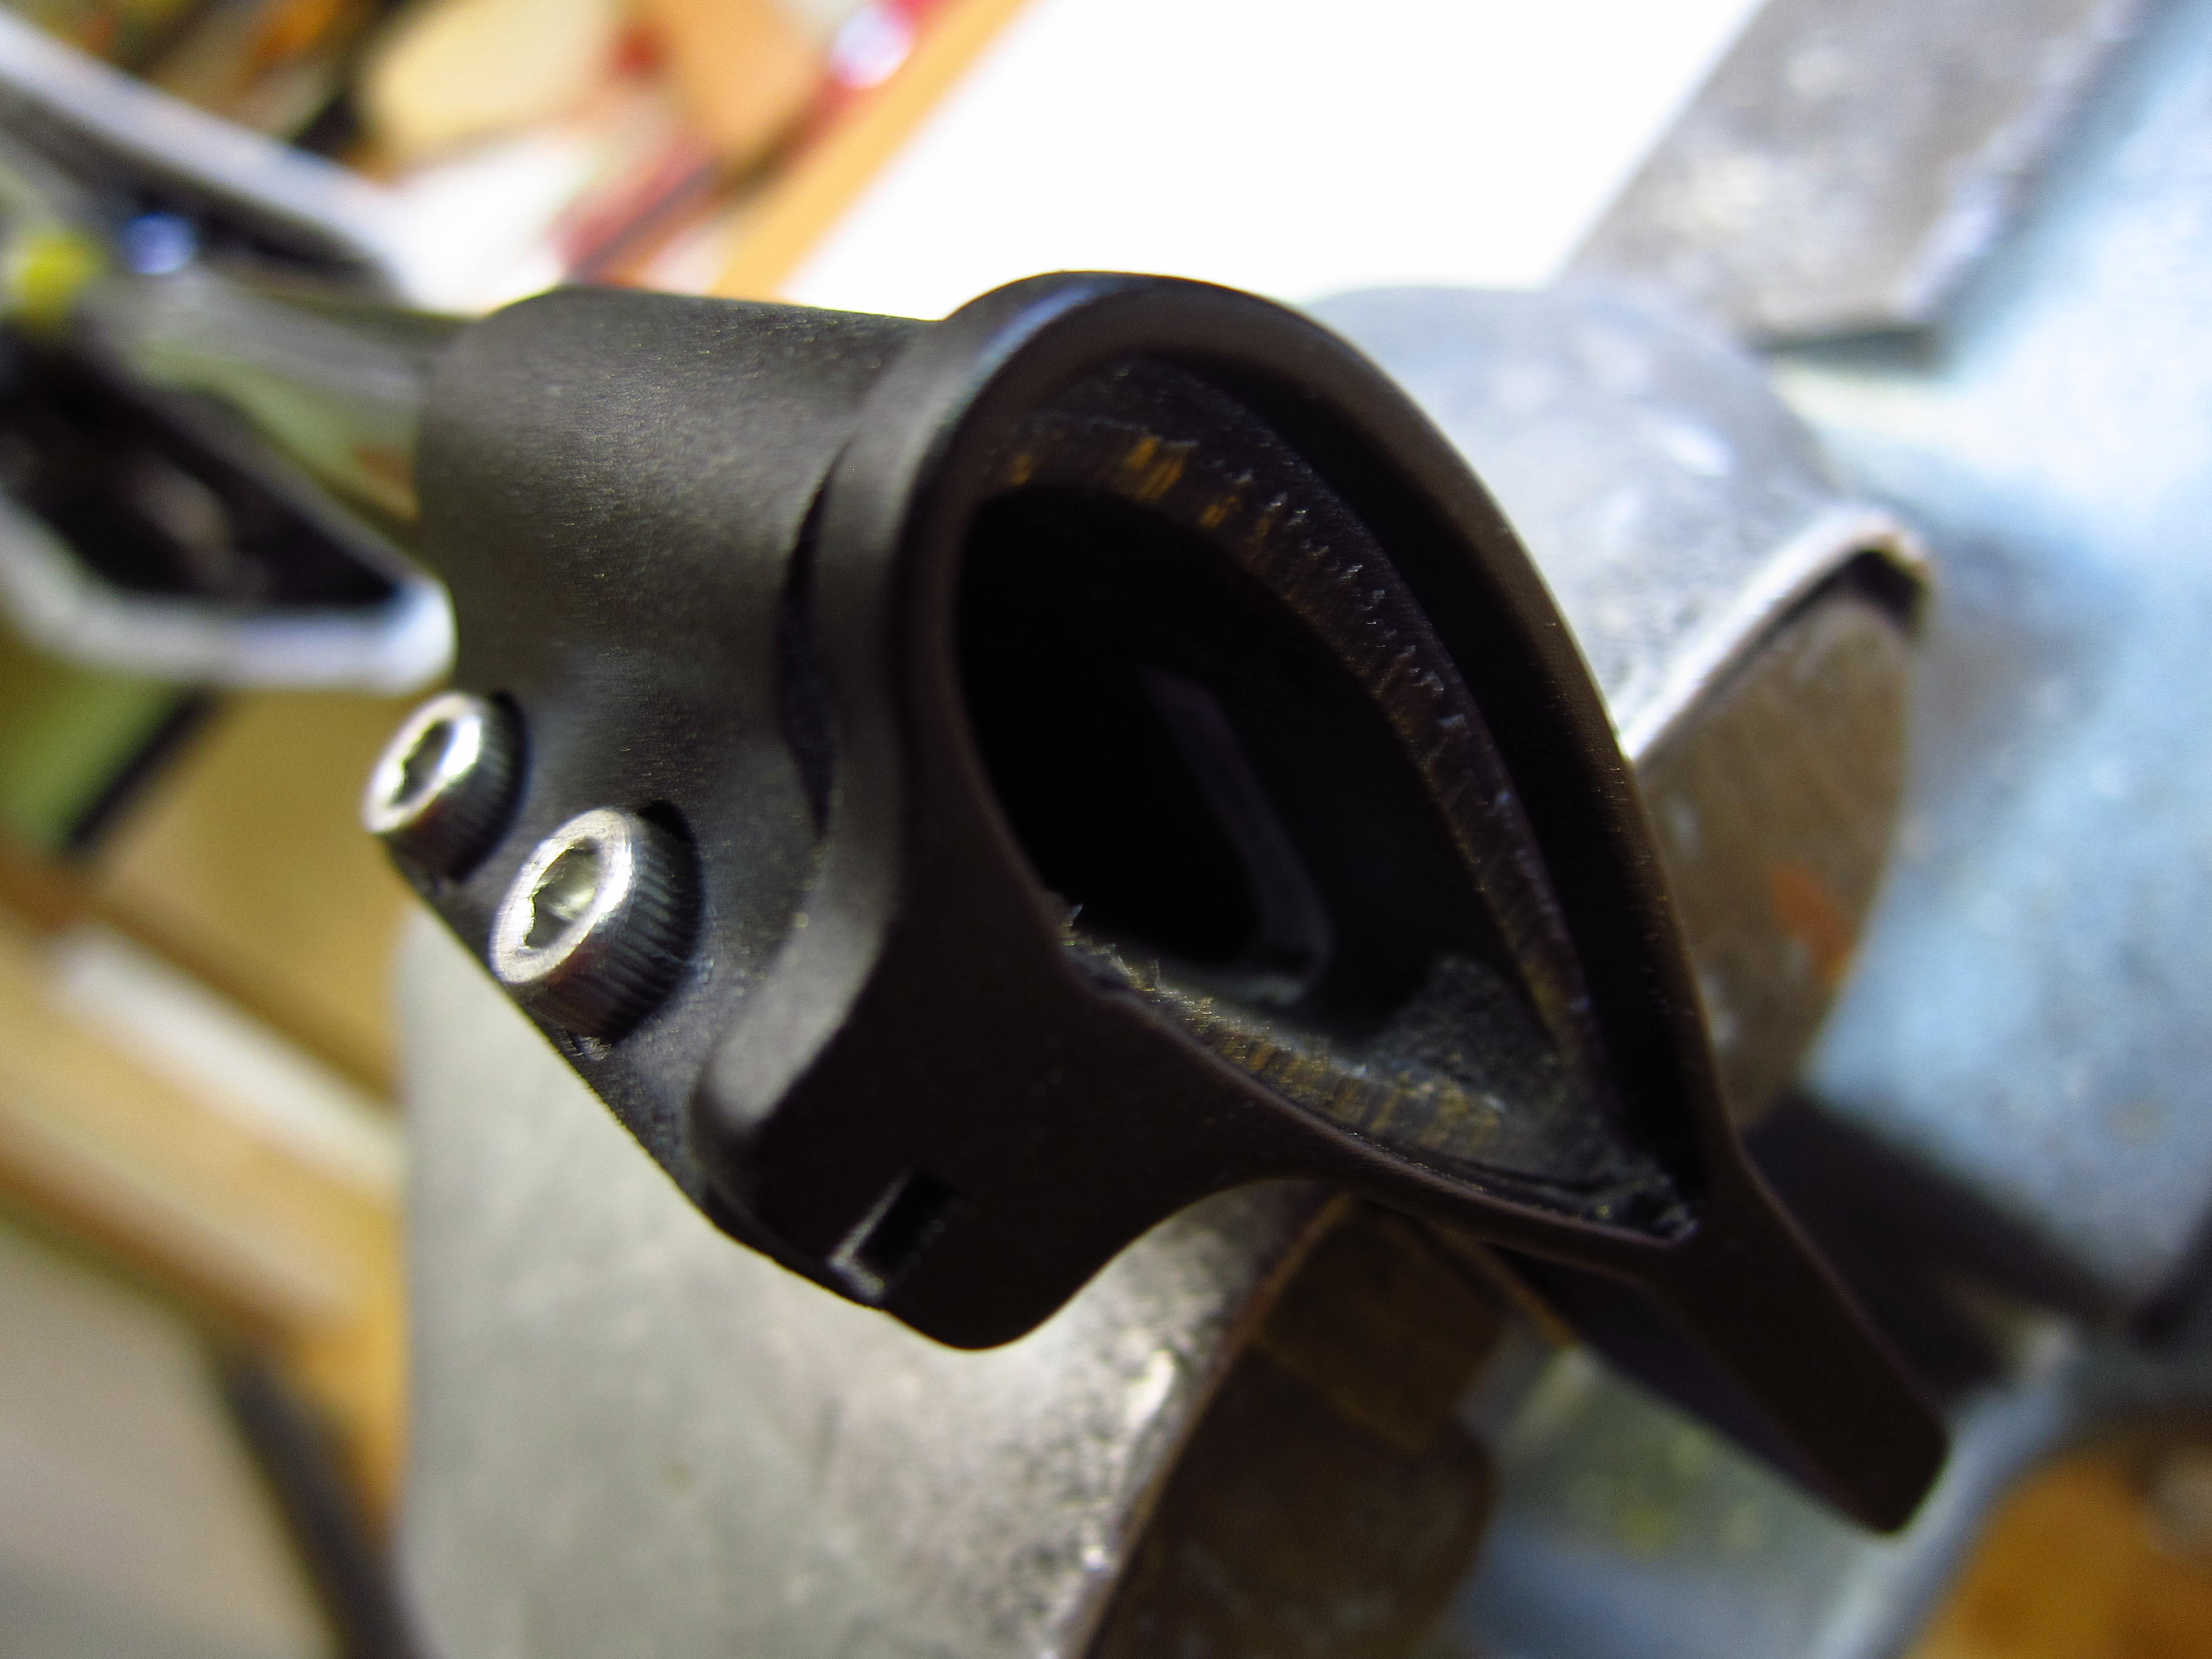
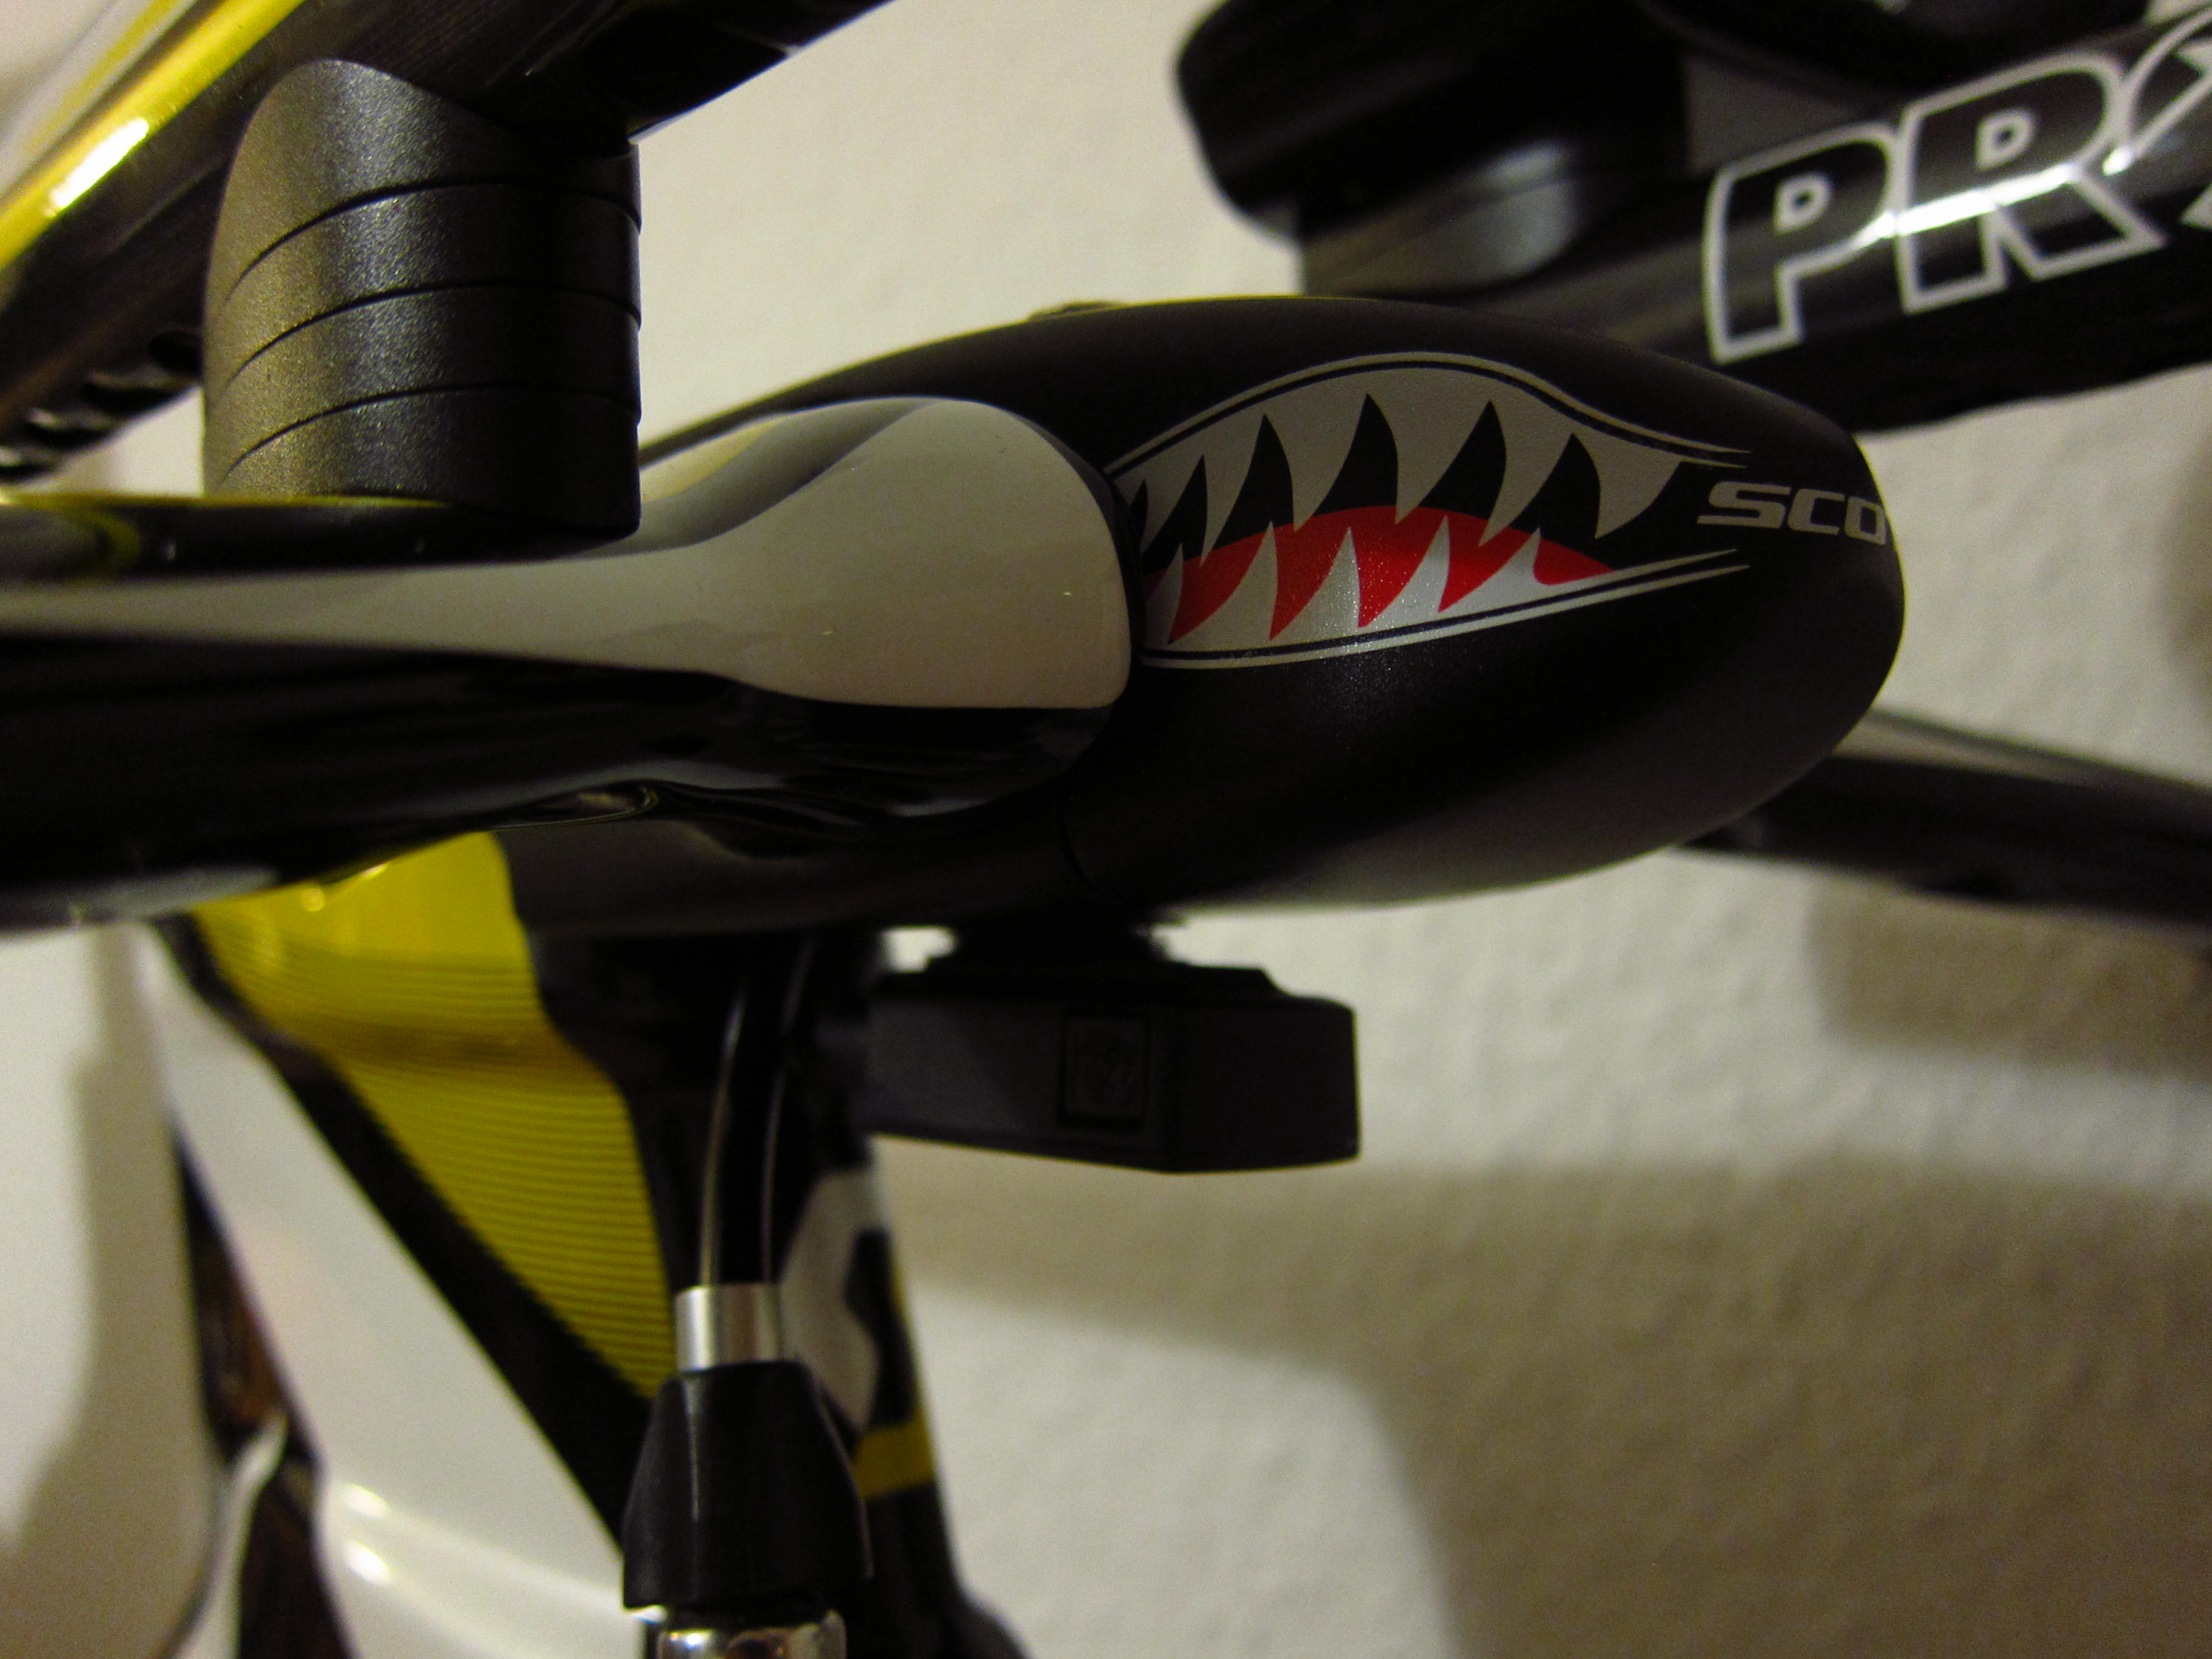
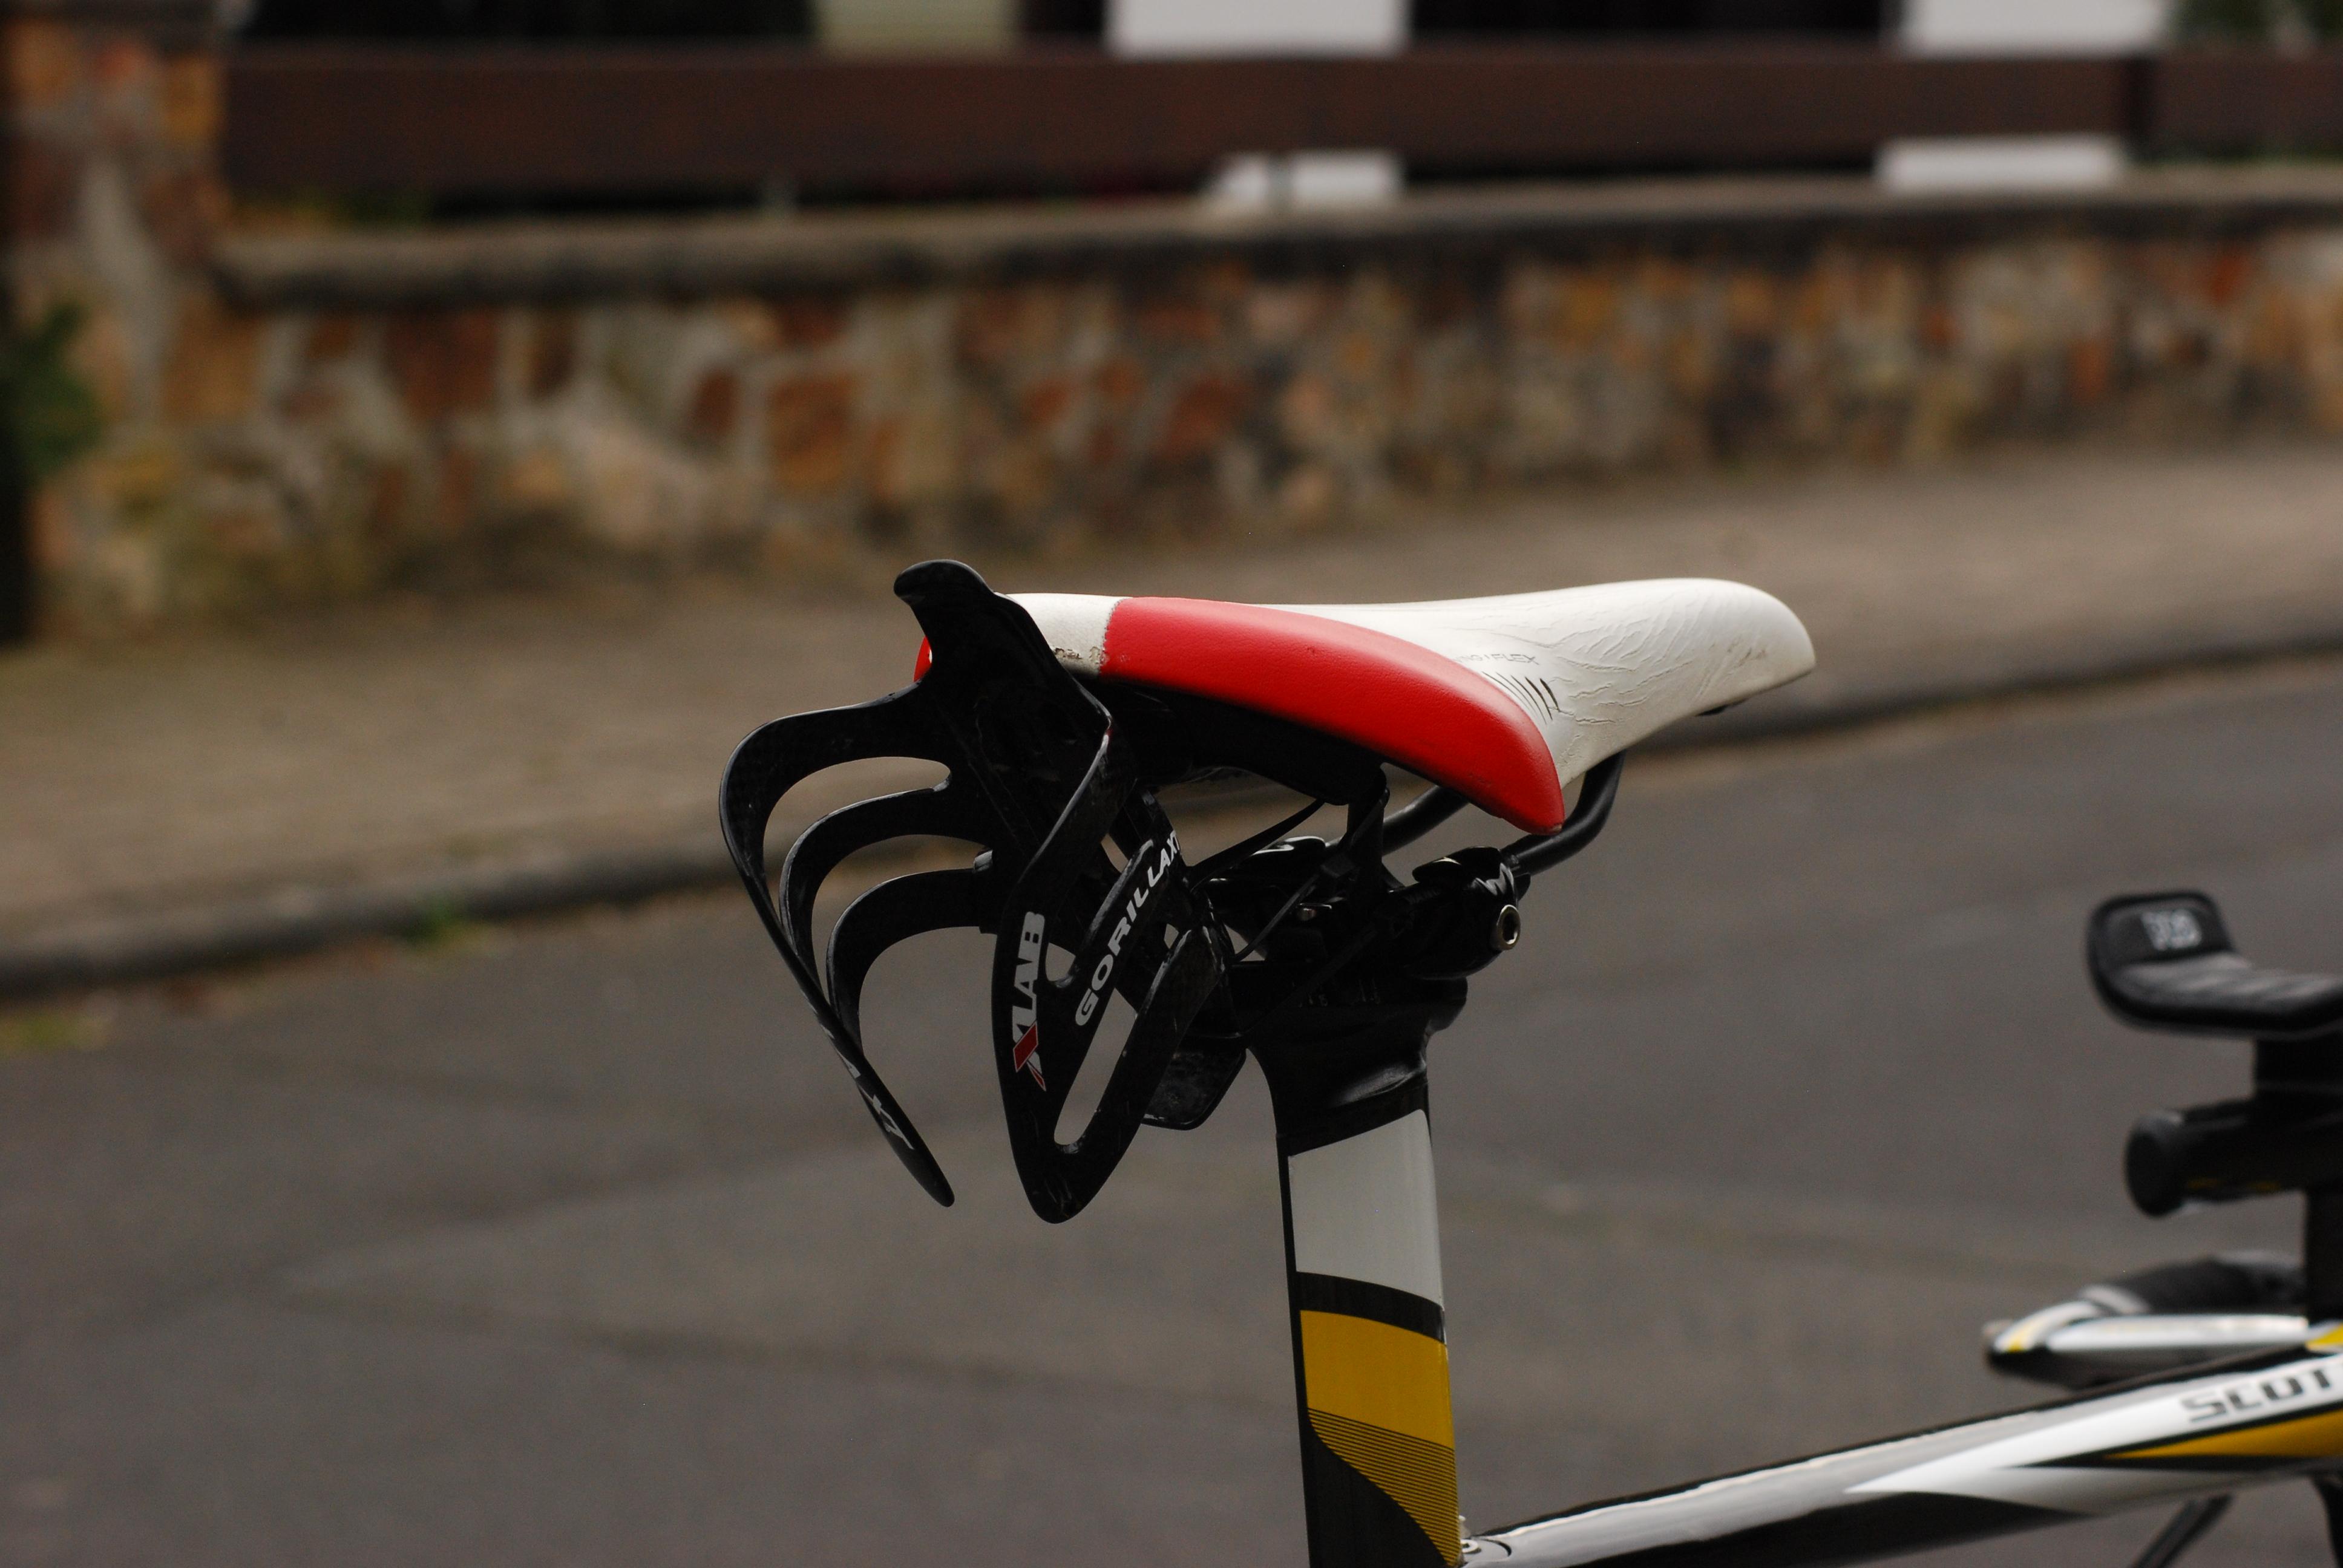
Wait, a saddle would be helpful as well – the Ritchey Seat Post mount proved to be a little bit fiddly.
I will reuse my ISM Adamo Time Trial saddle also on the new bike.
To cut the seatpost to it’s correct length, I measured the distance between pedal axle and top of the saddle on my old bike and afterwards measured the same distance on the new bike with the uncut seatpost. The difference between these two measures was the distance I needed to cut off. I marked this distance with a caliper.
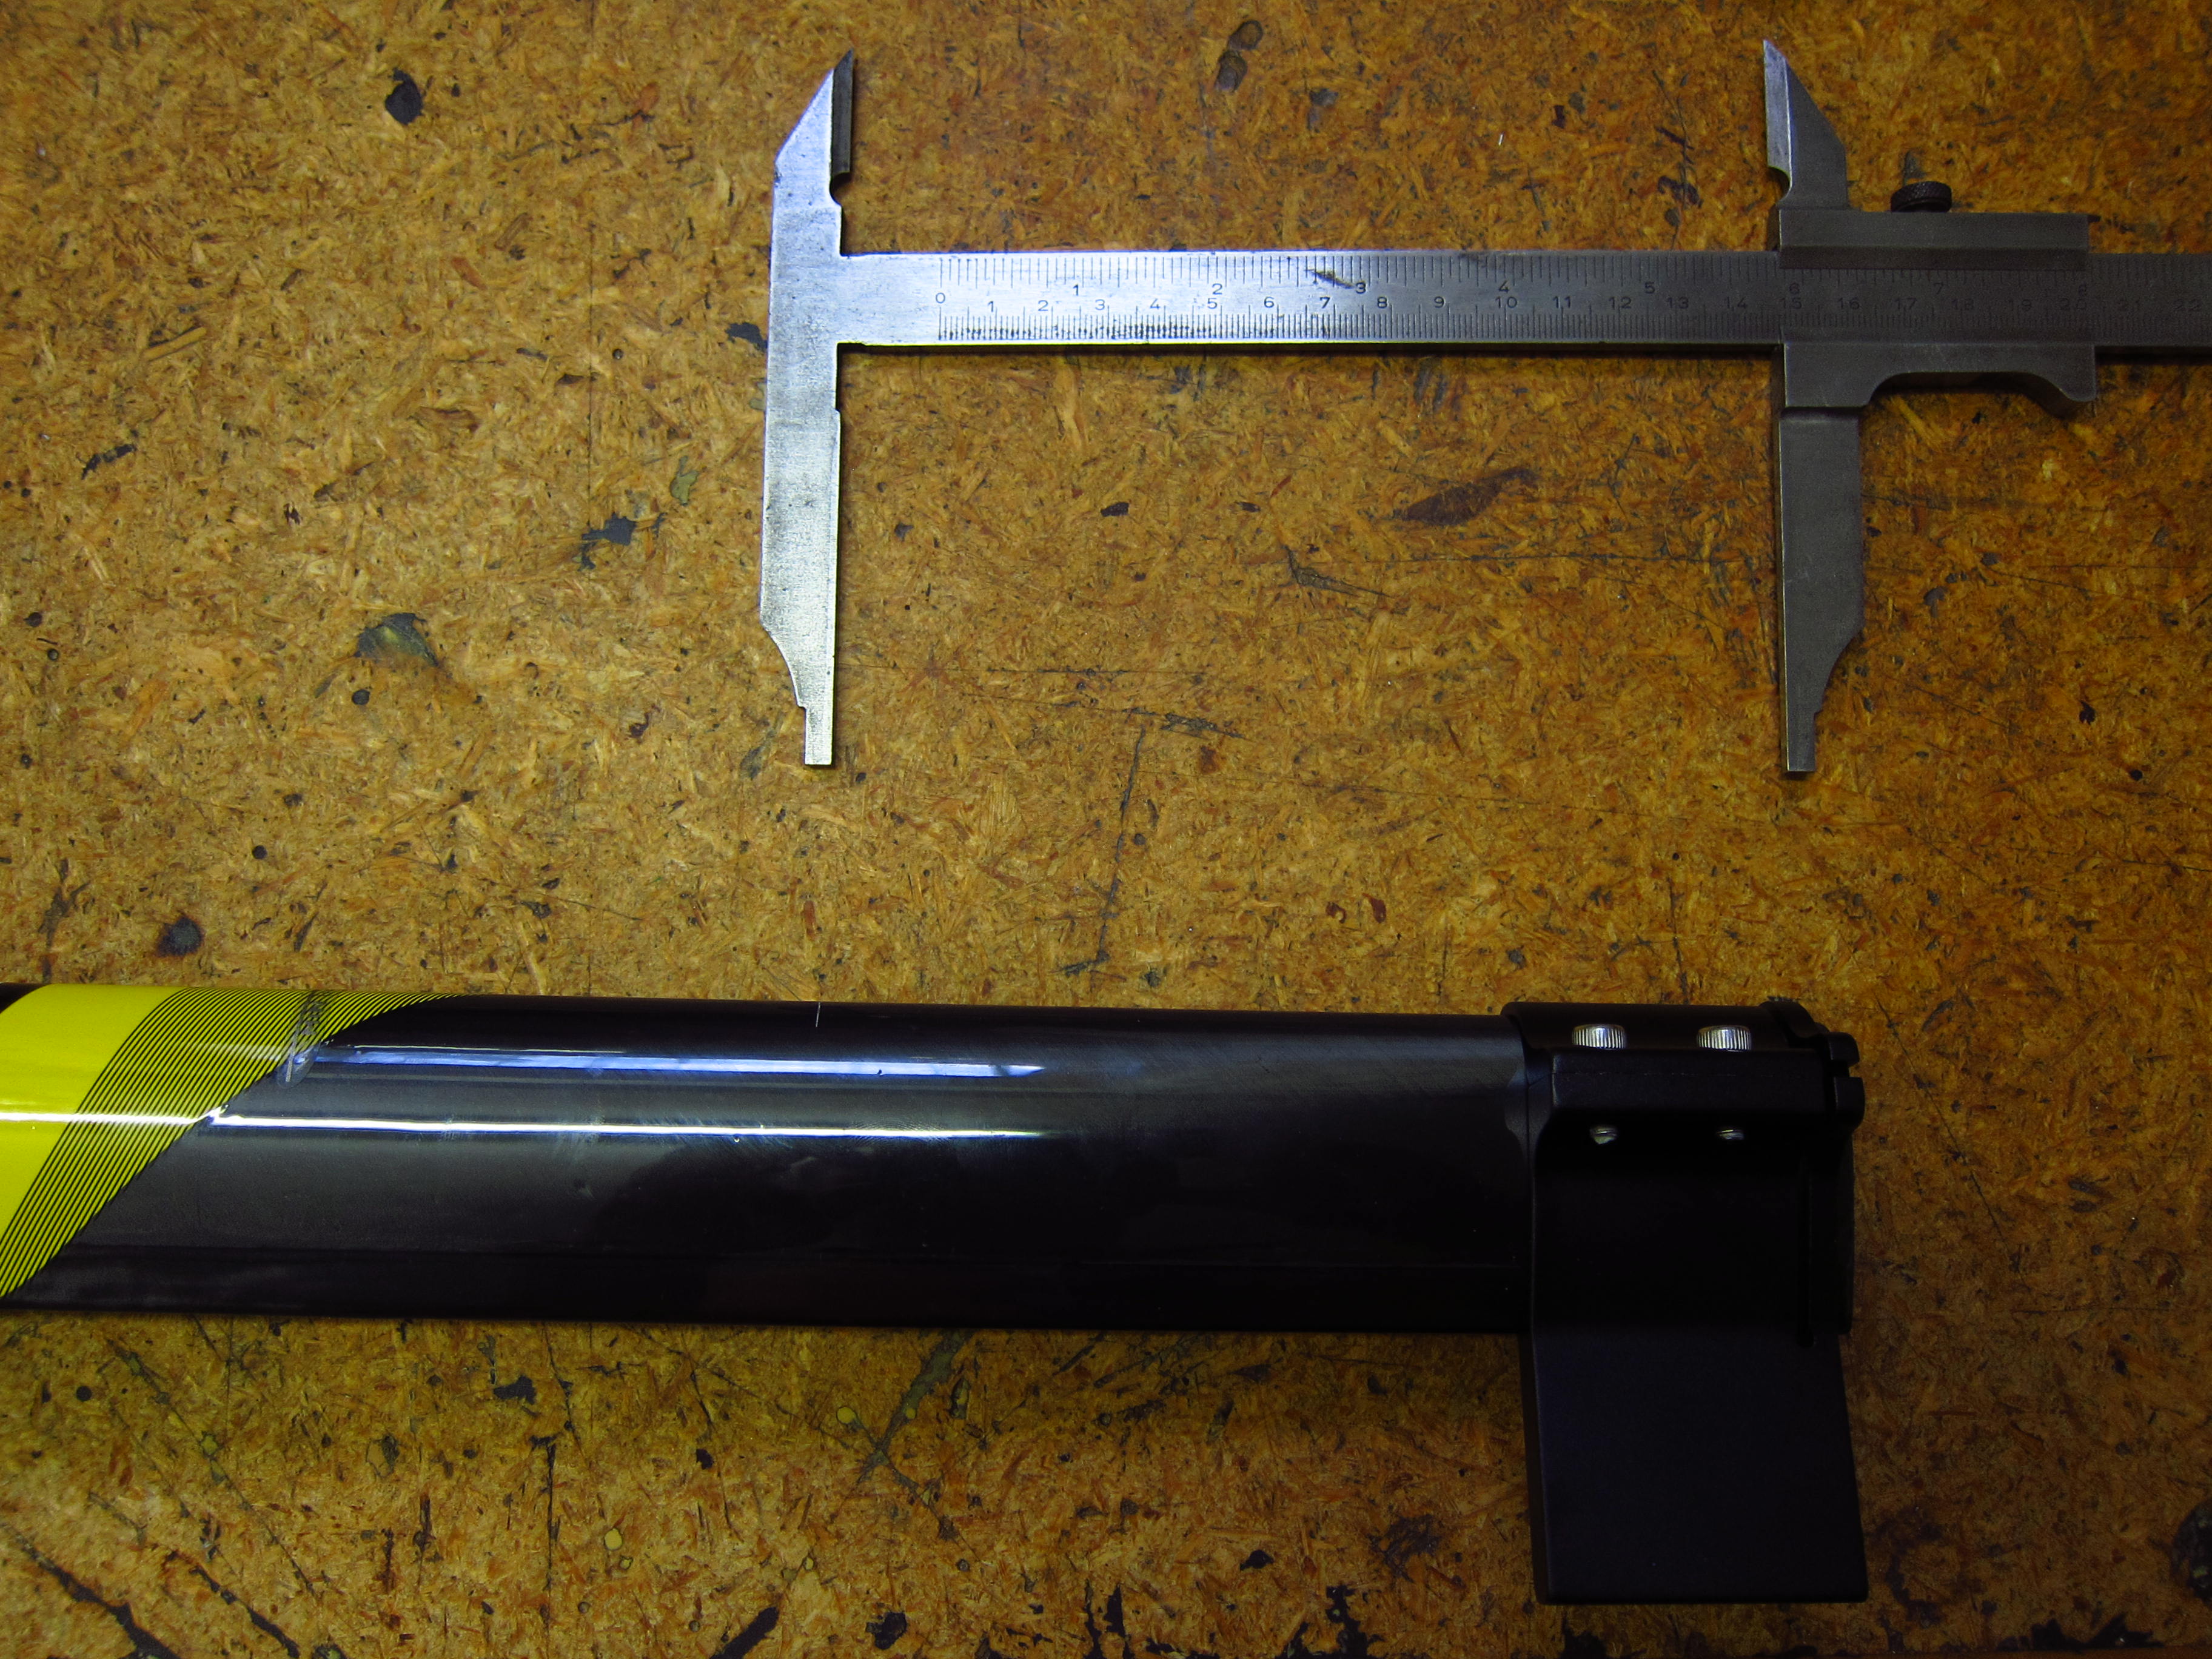
Afterwards, I moved the cutting tool to the mark and fastened the two bolts.
Then, I fastened the cutting tool in a bench vice.
Time for the saw.
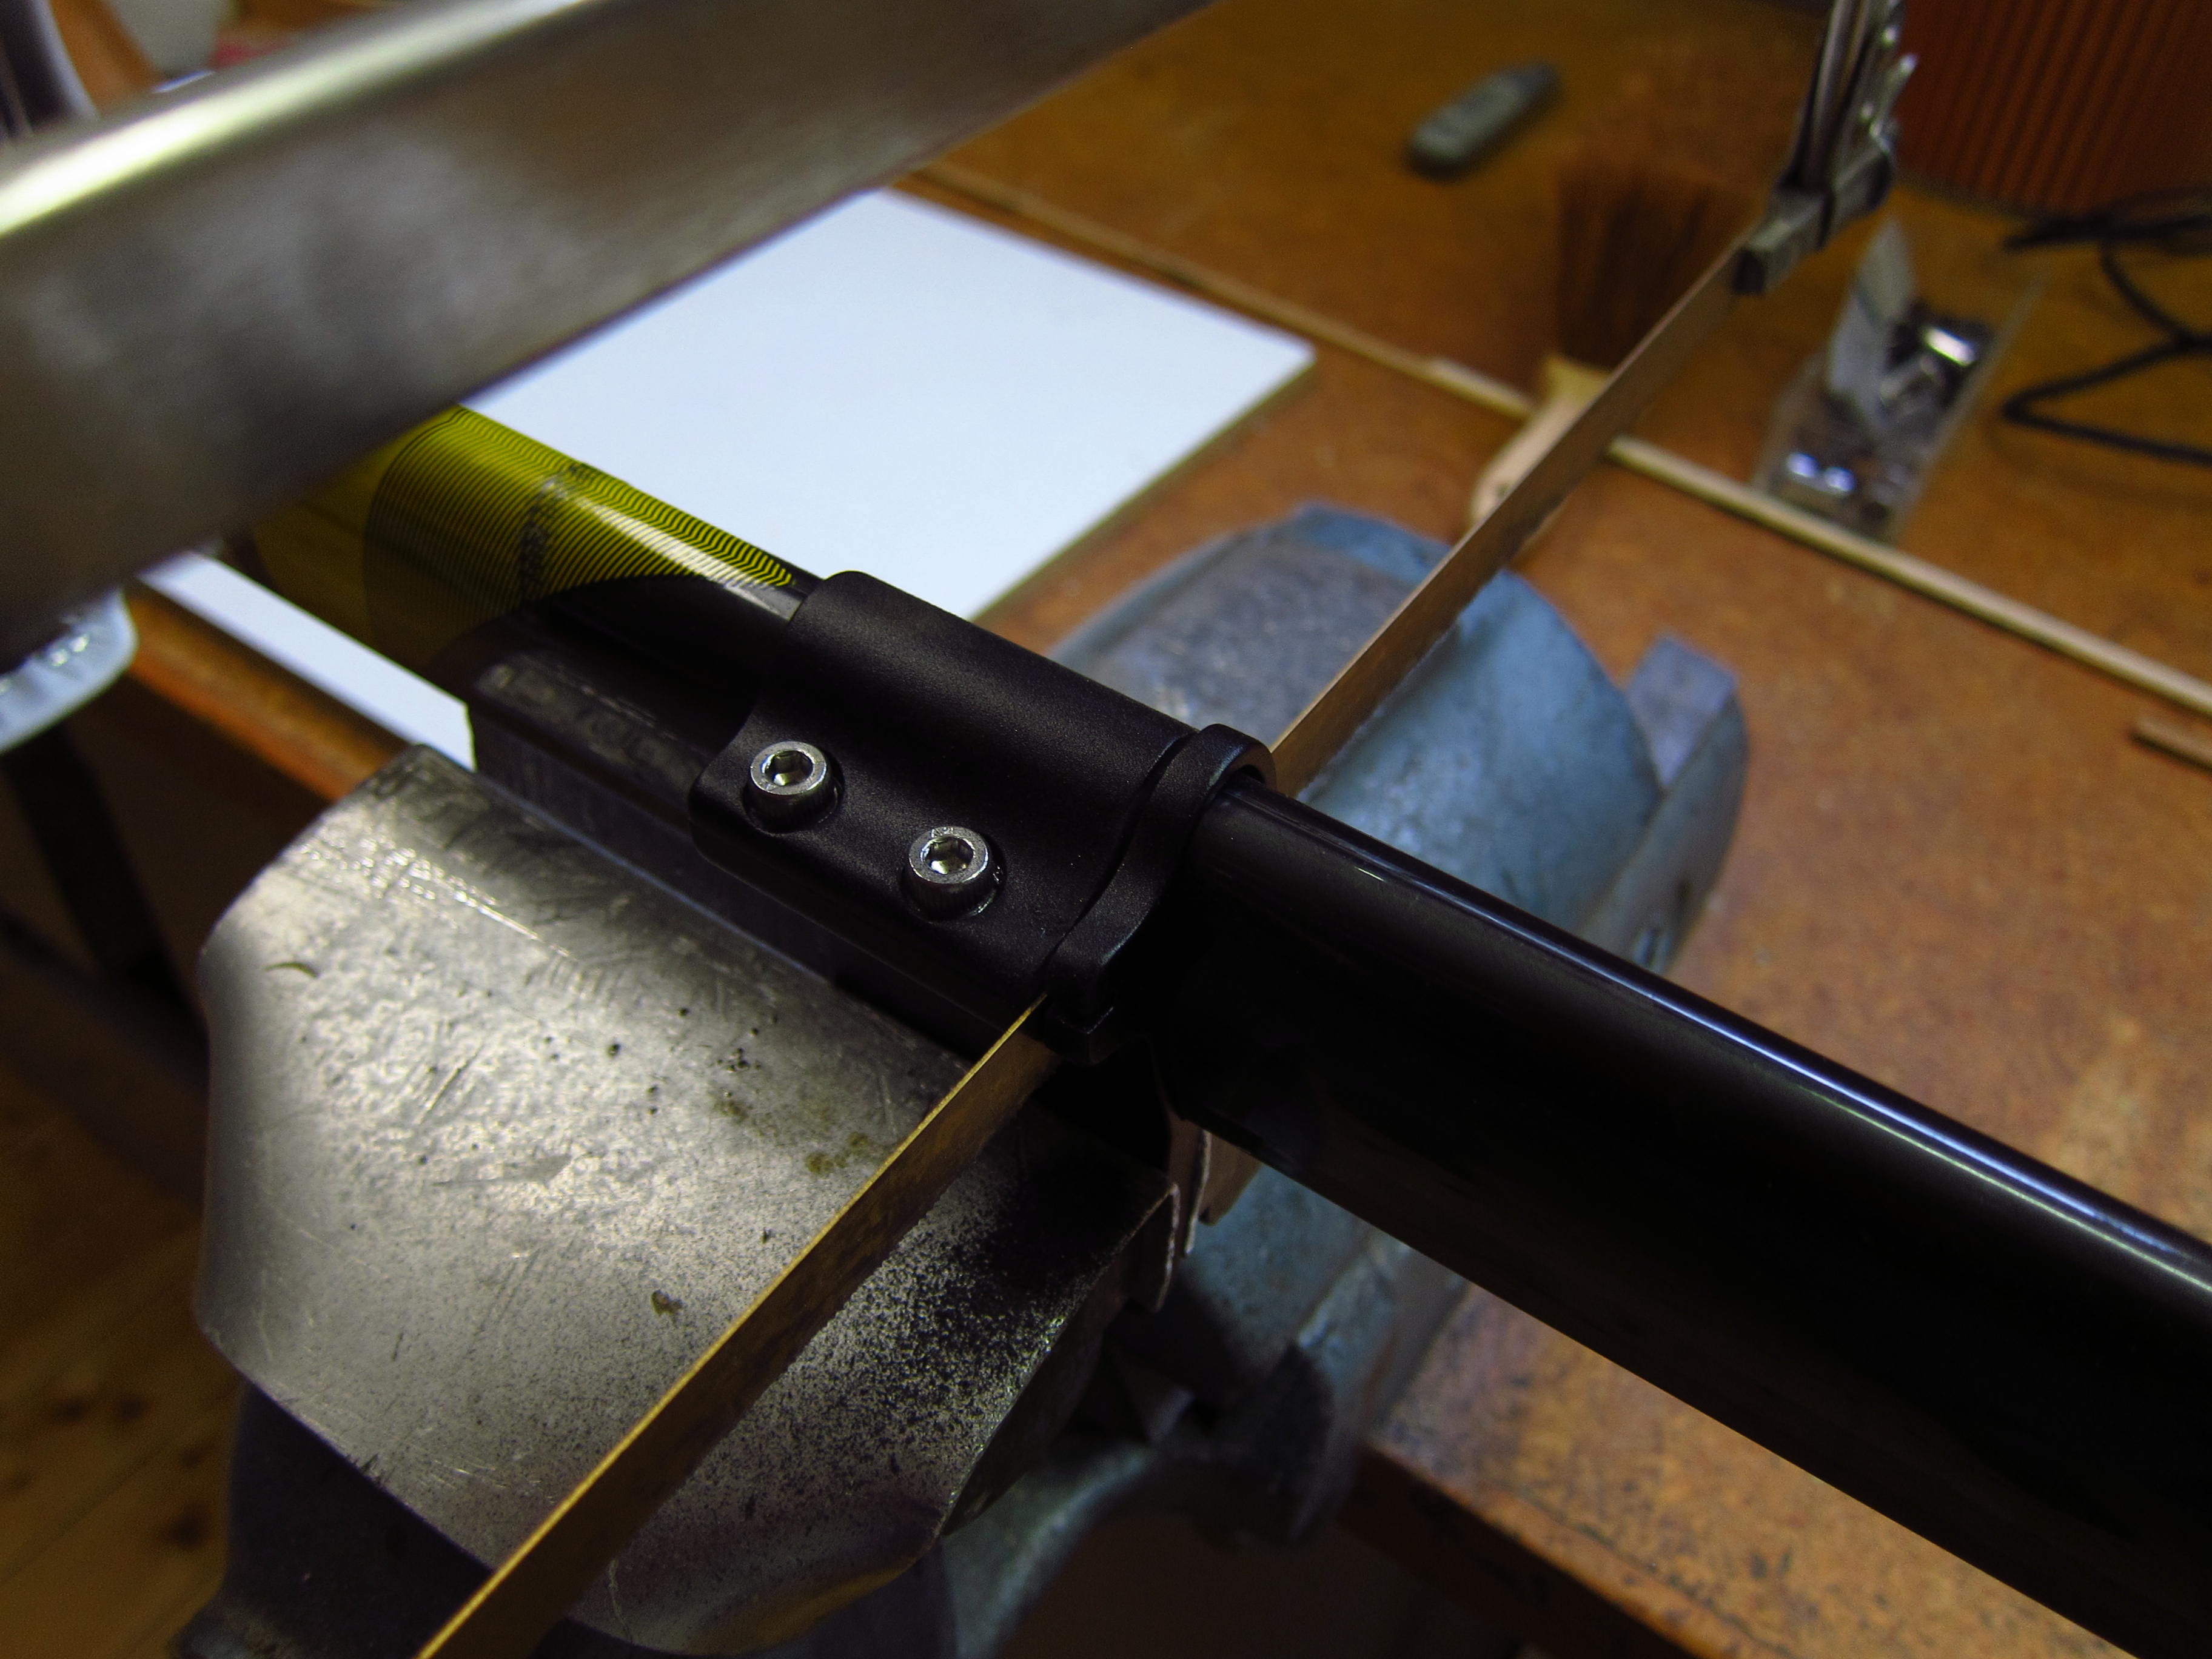
After a few minutes, the cut was complete.
After installing the basic components, the more delicate part of the build commenced: The installation of Shimano Ultegra Di2 electronic shifting components.

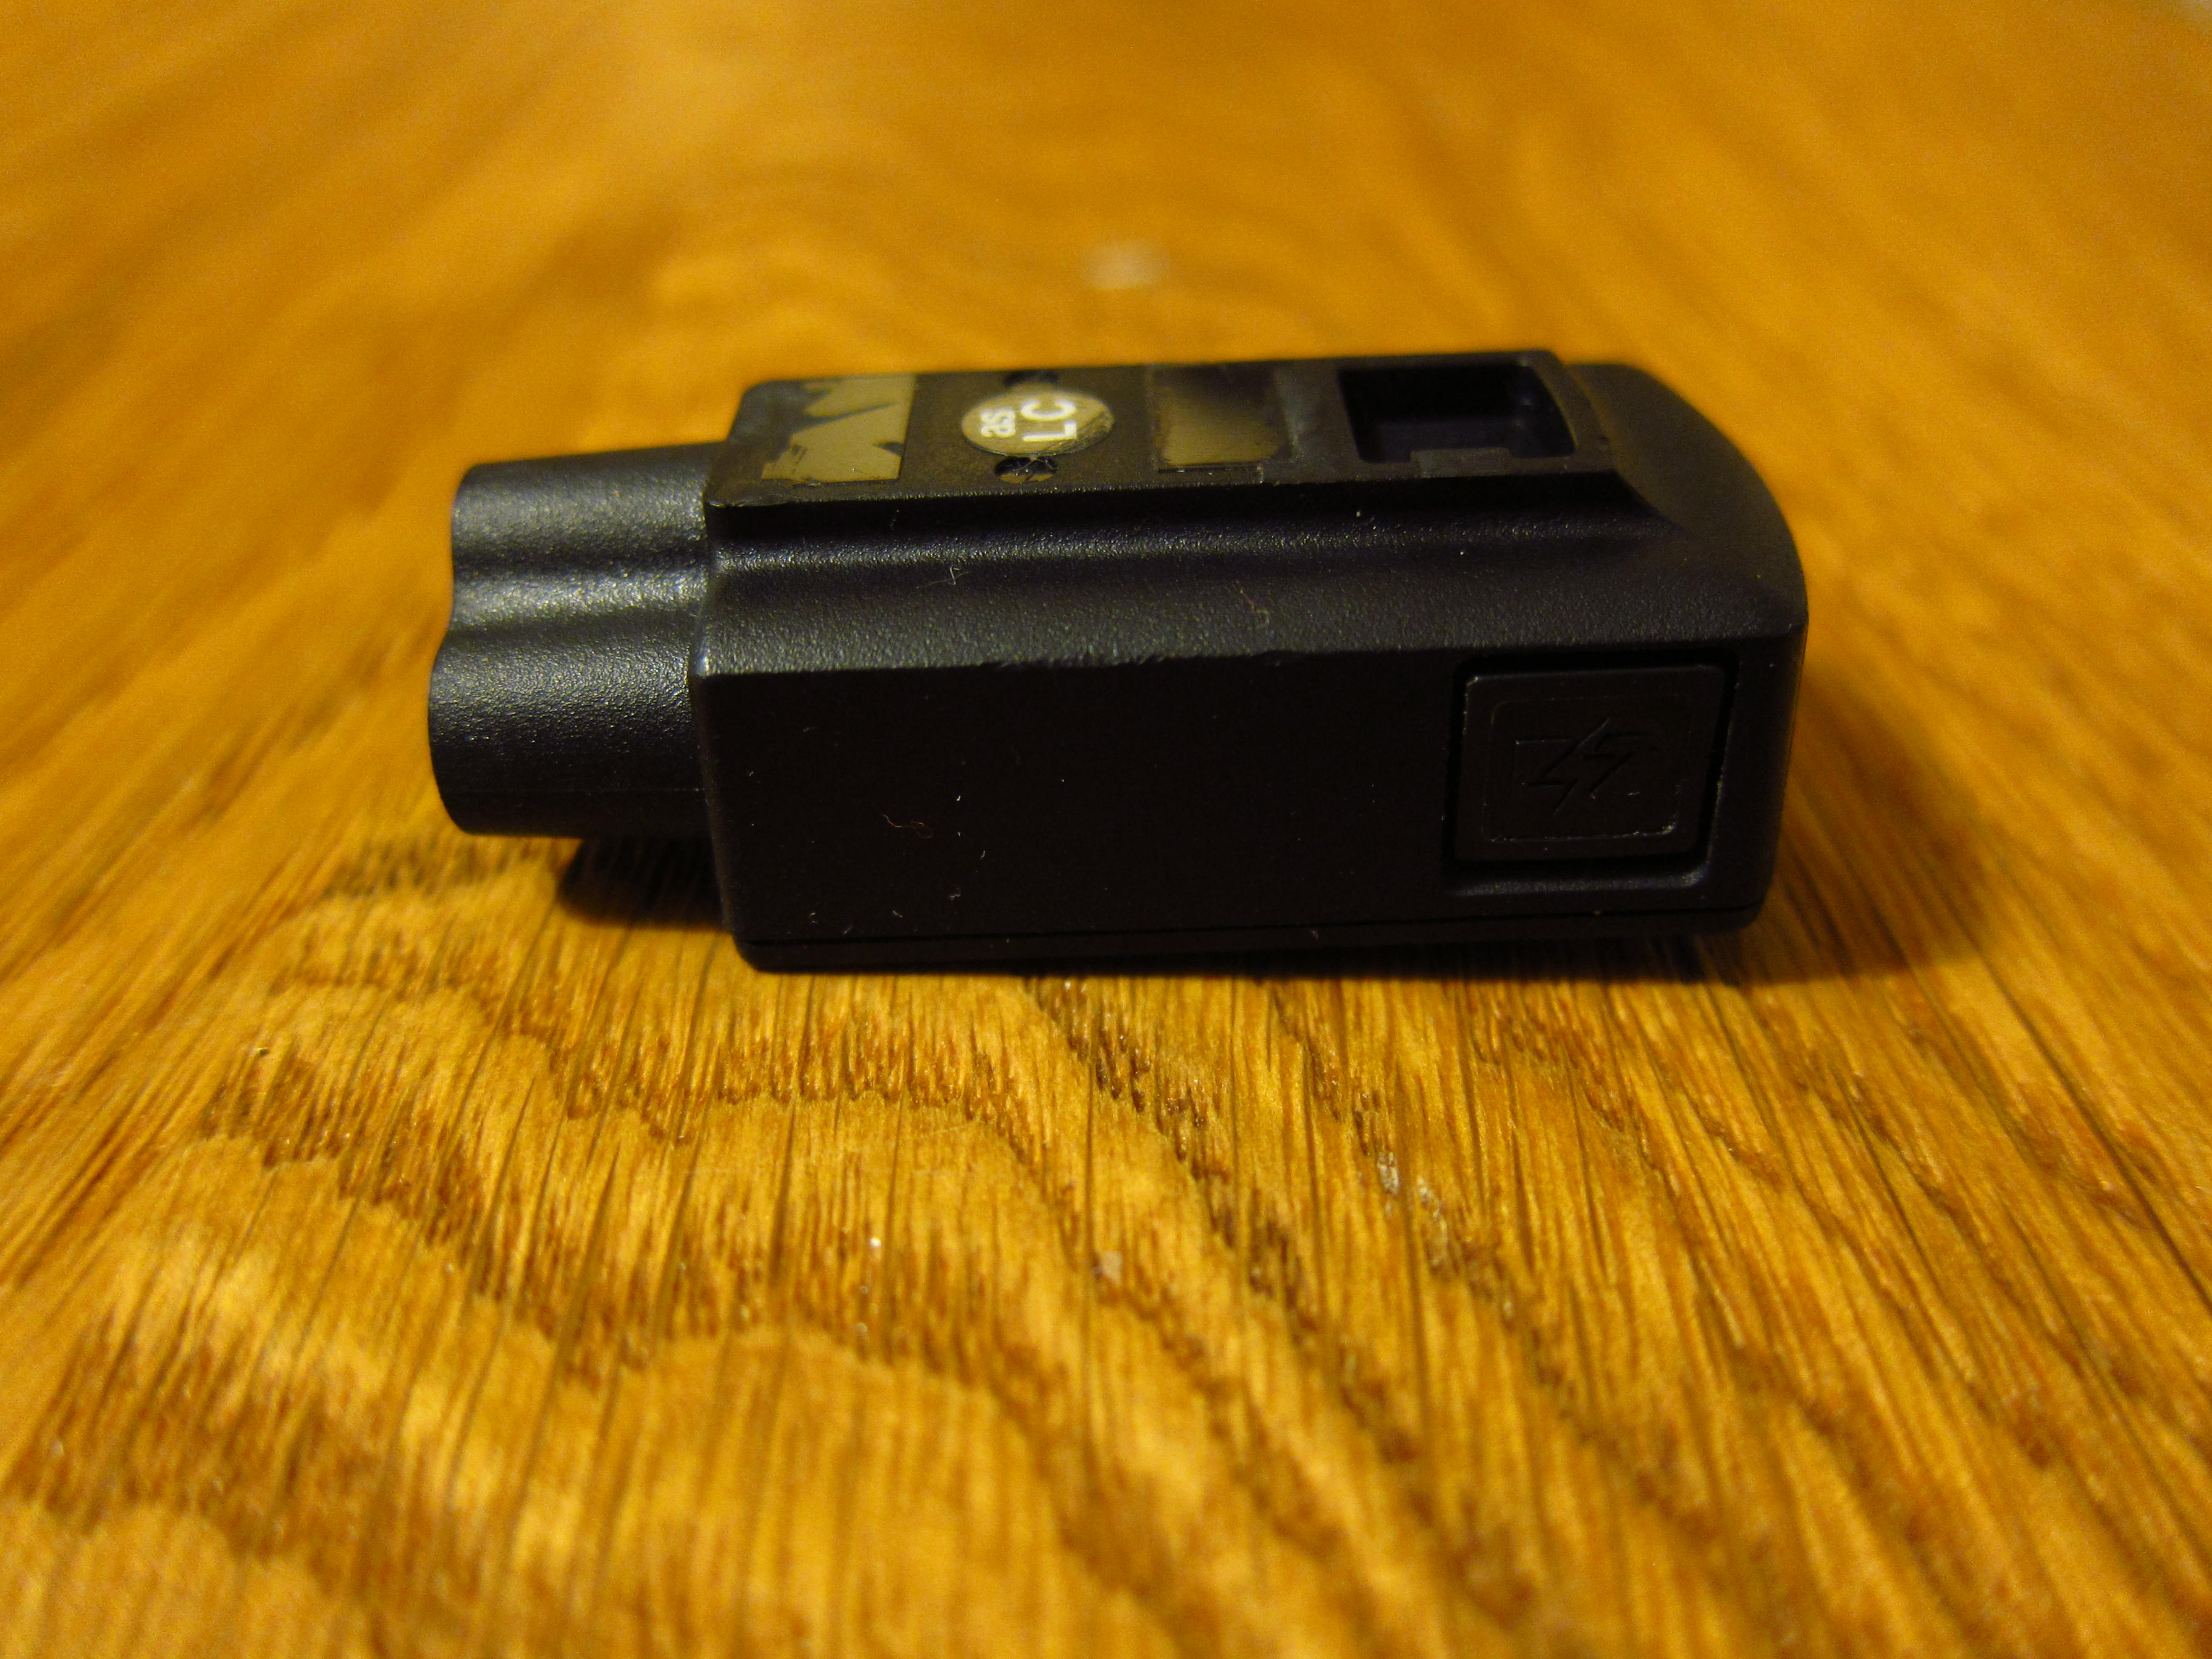
Those consisted out of the JC-41 Rear Junction Box,…
the SM-EW-90A Front Junction Box,…

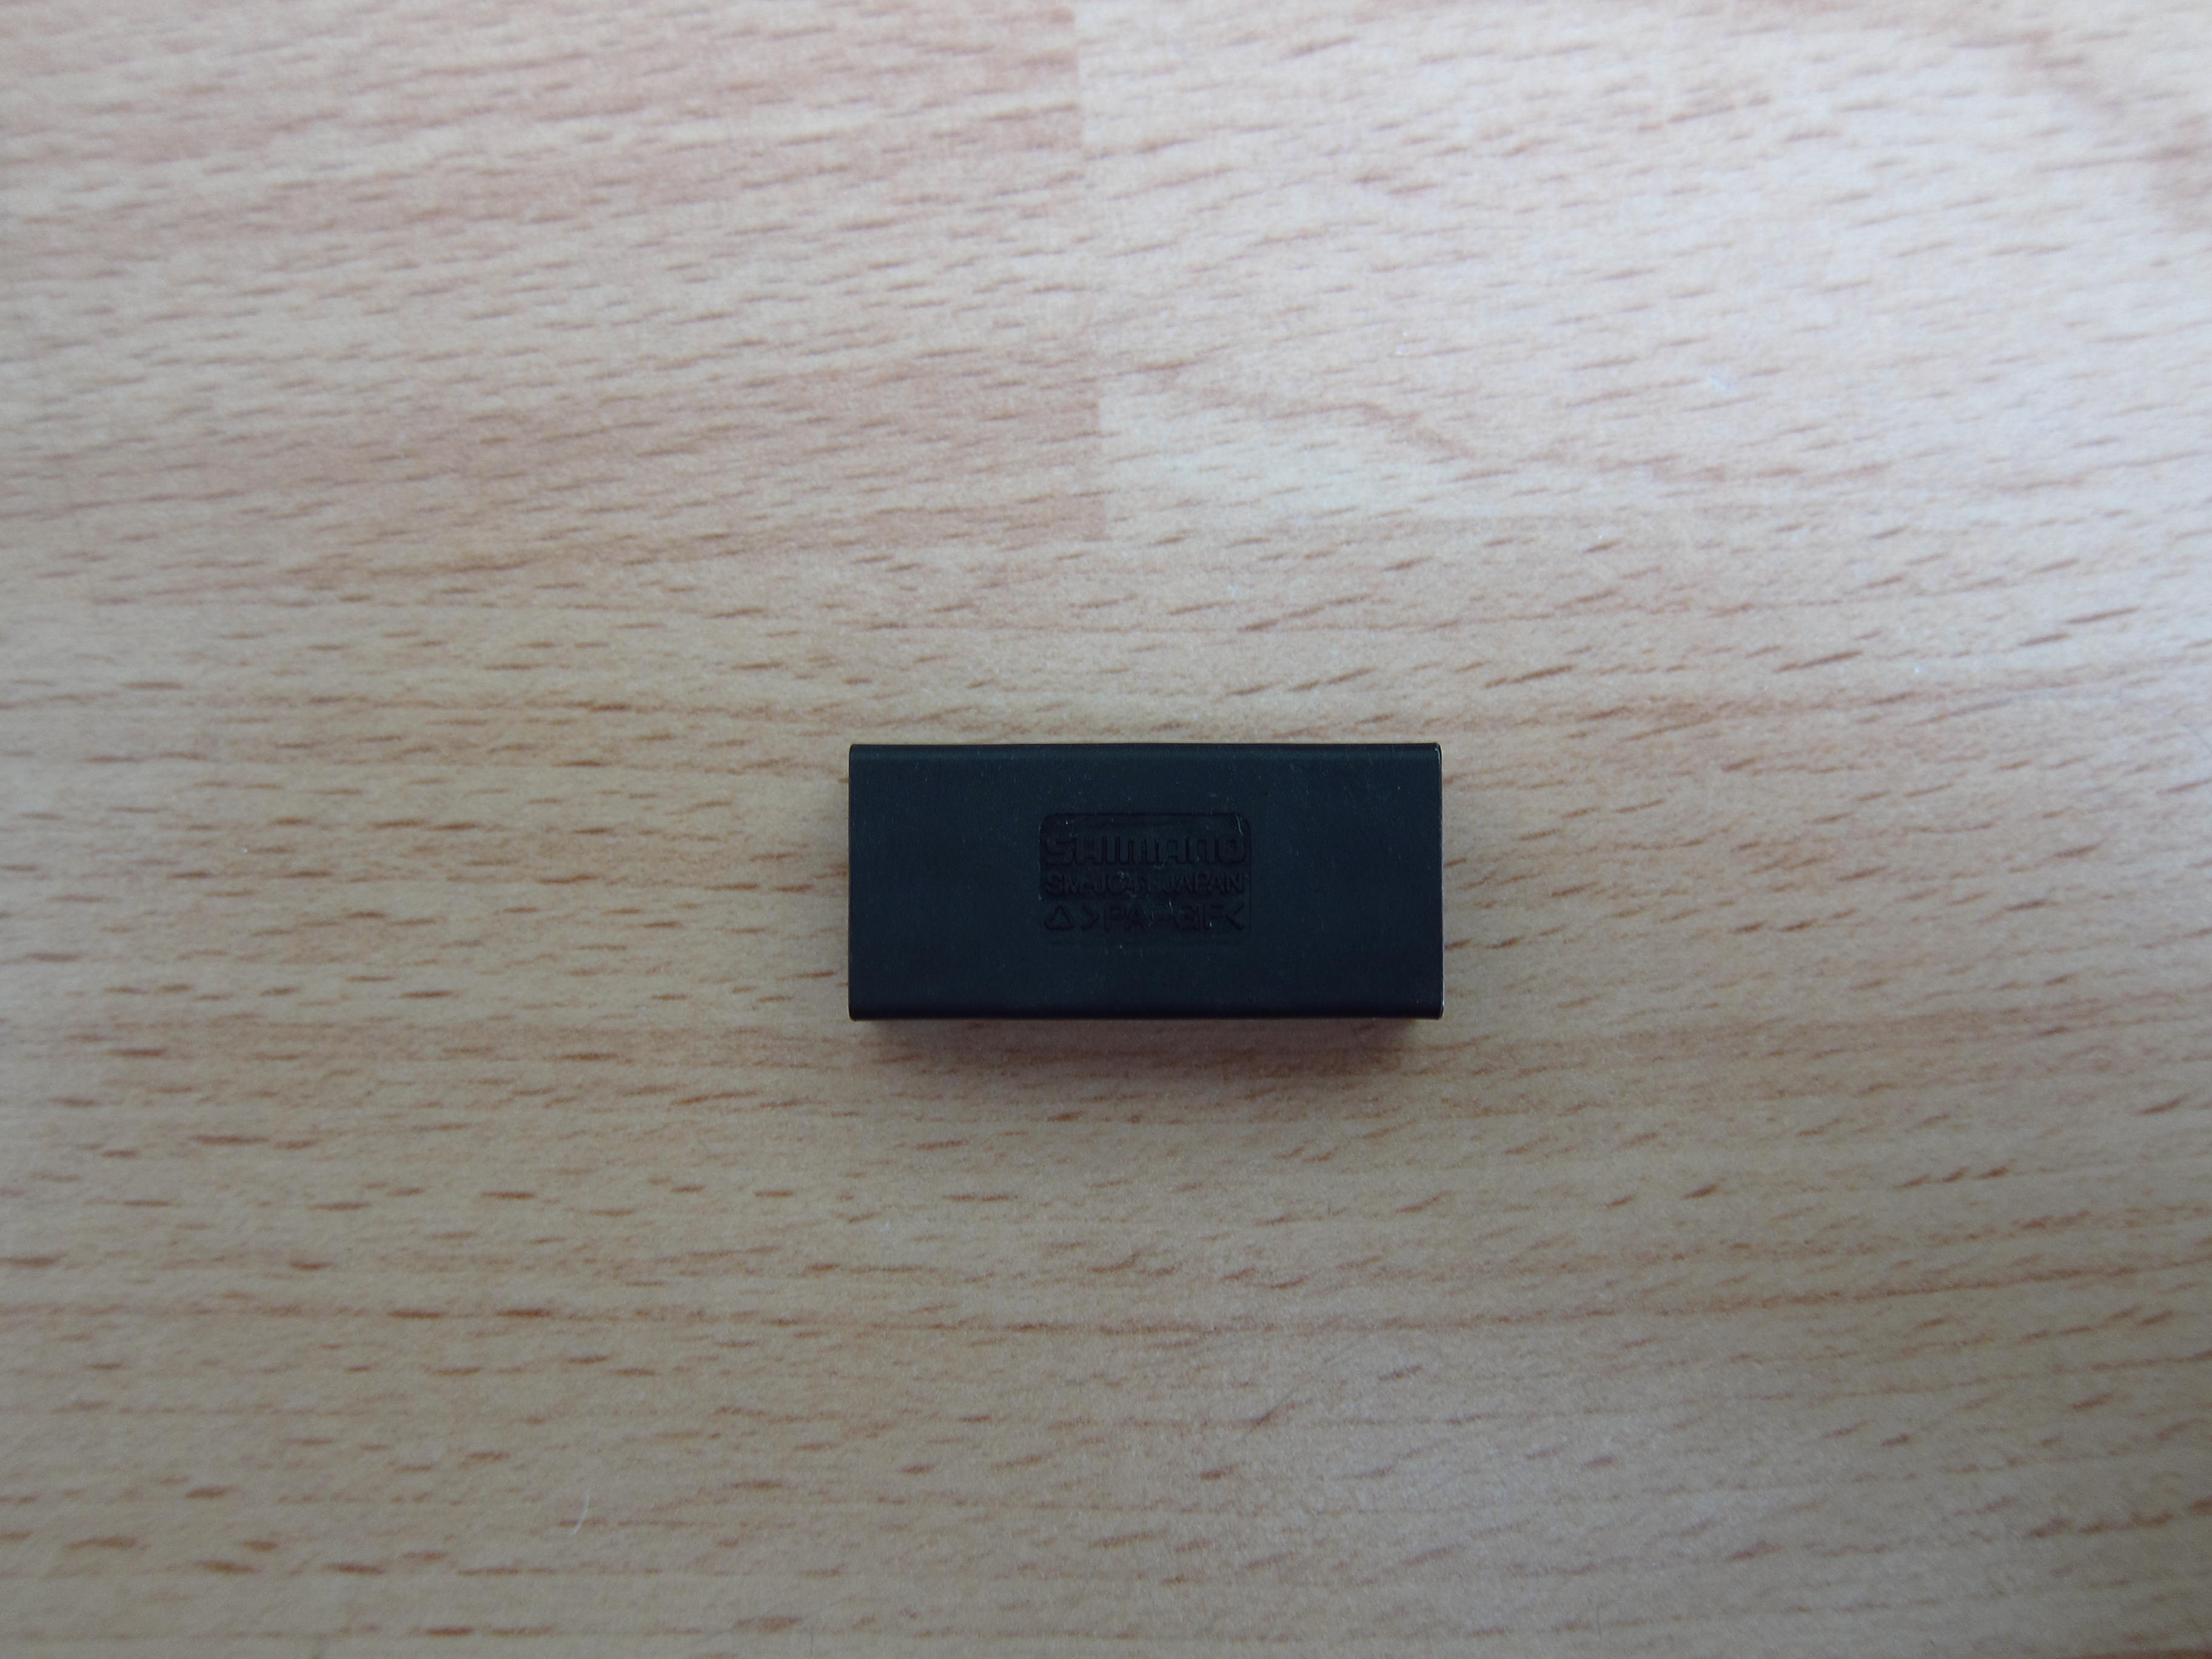
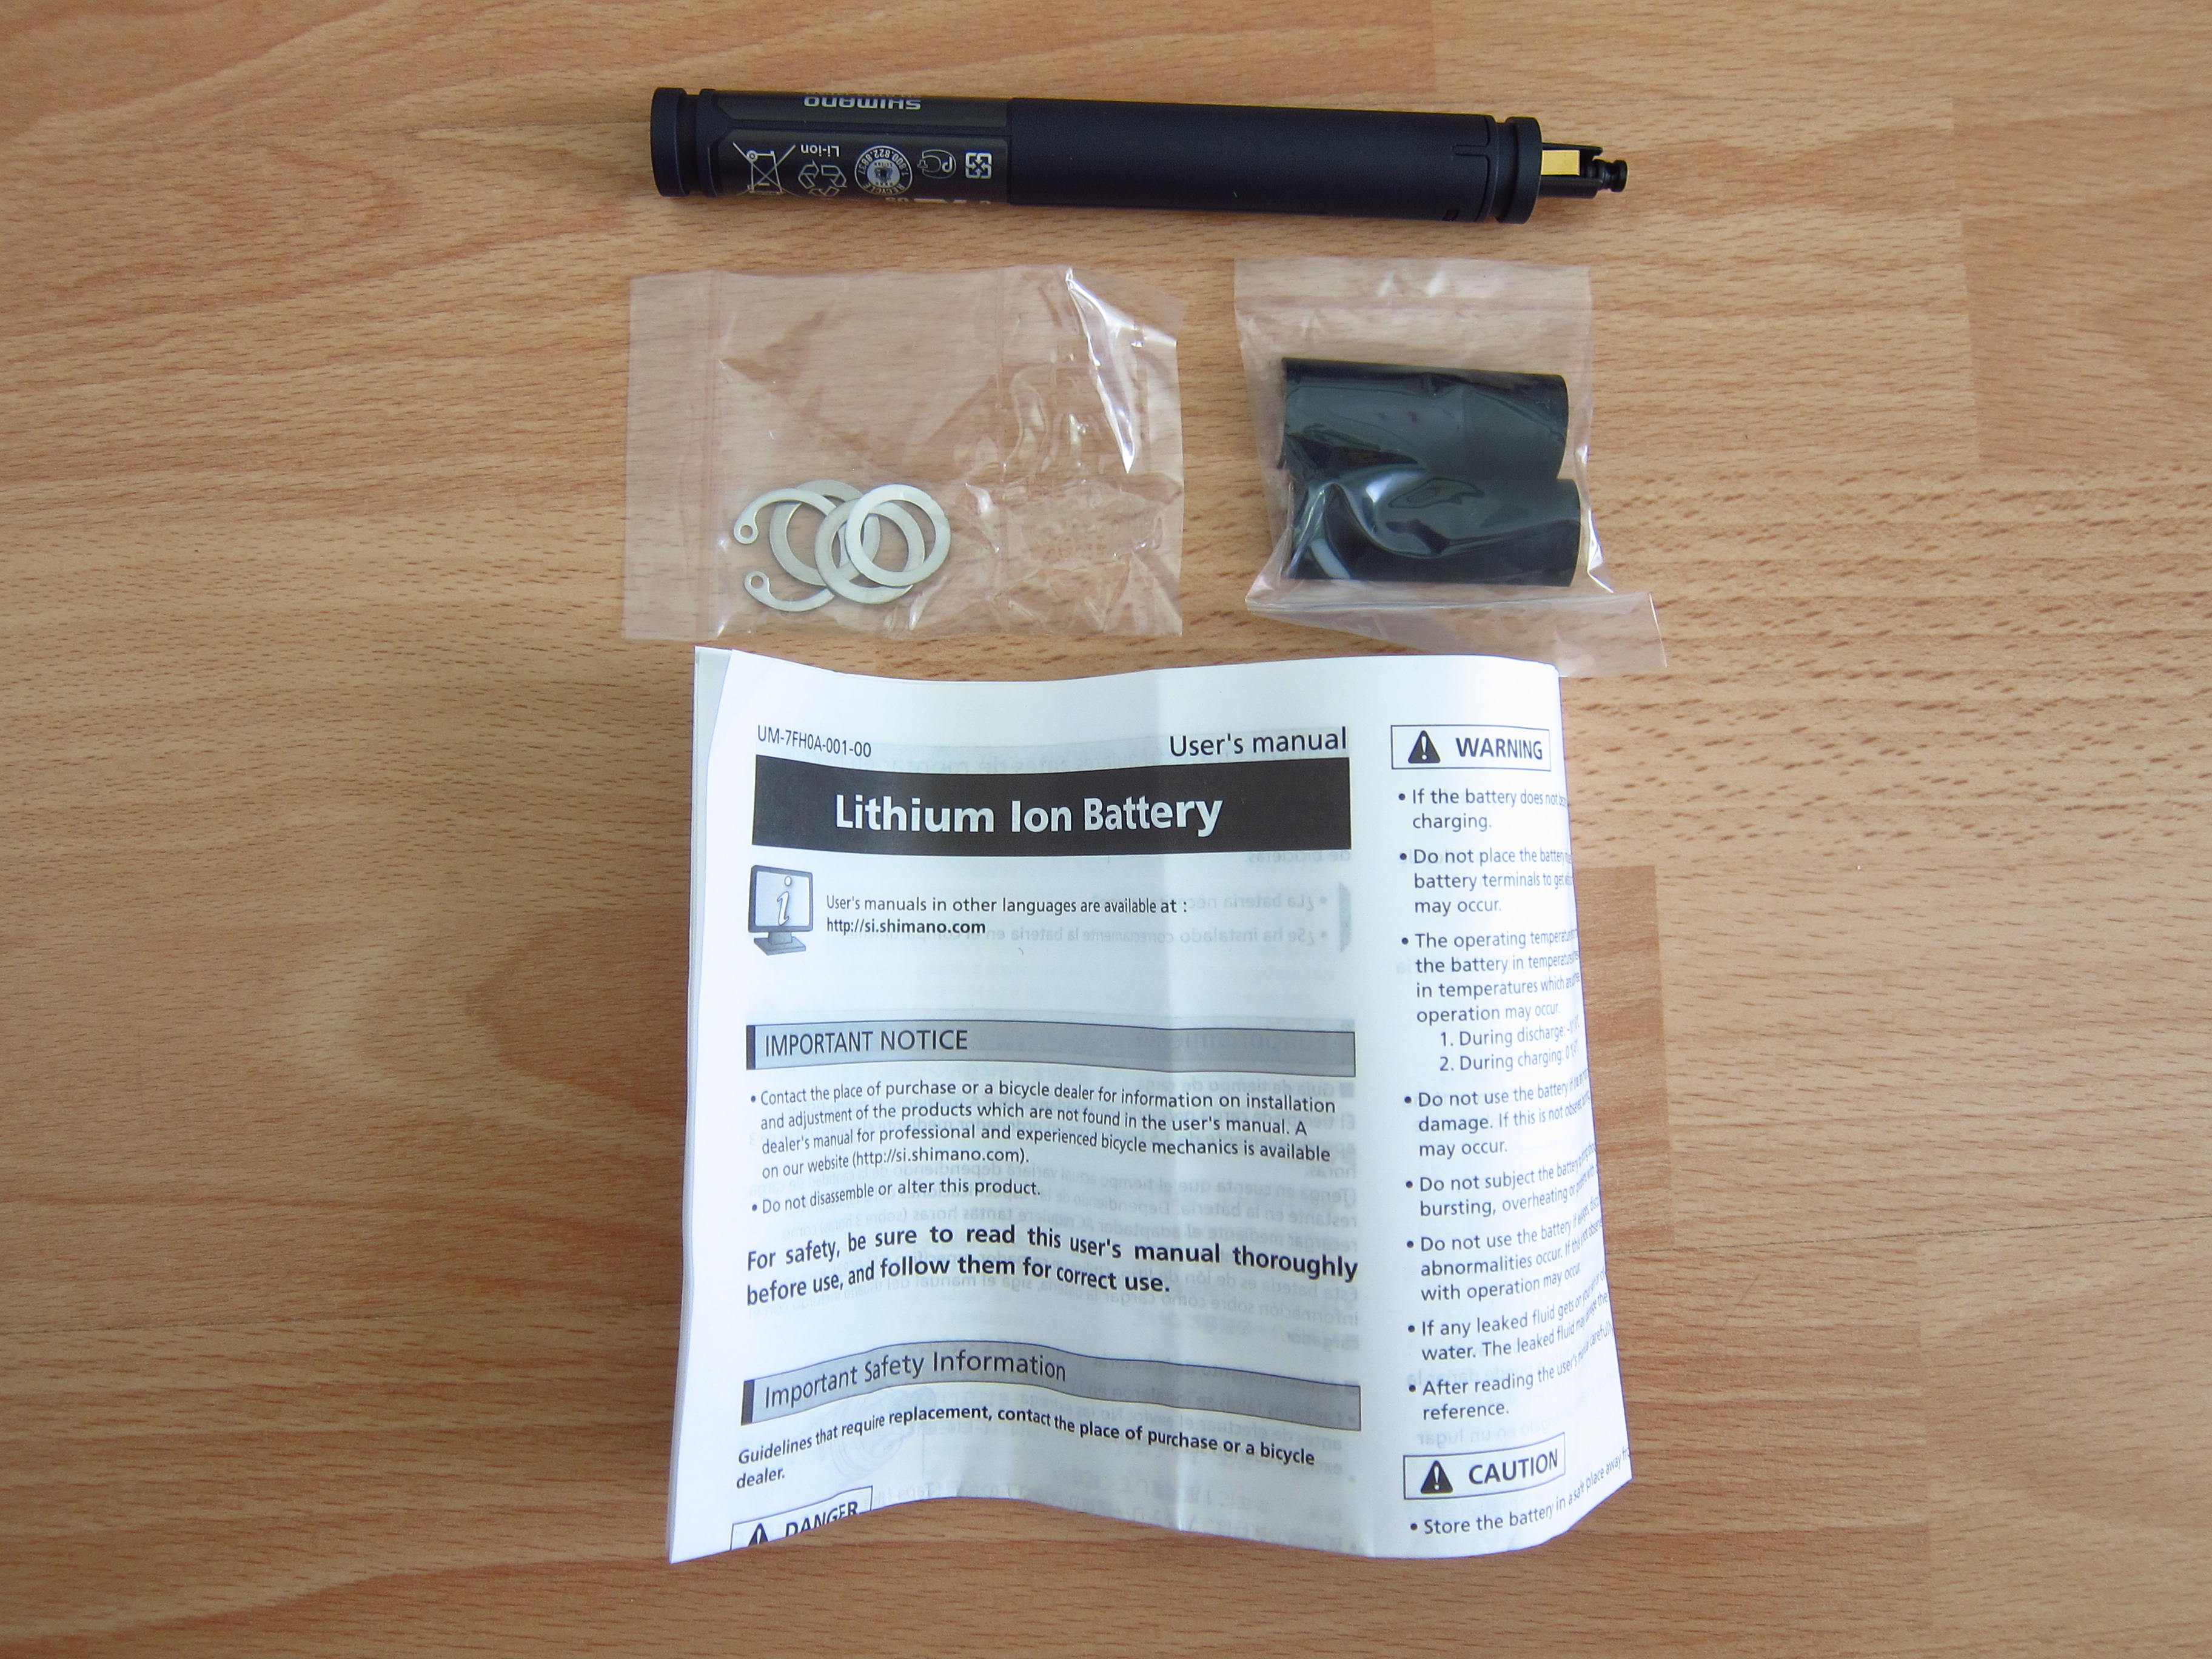
the SM-BTR-2 internal battery,…
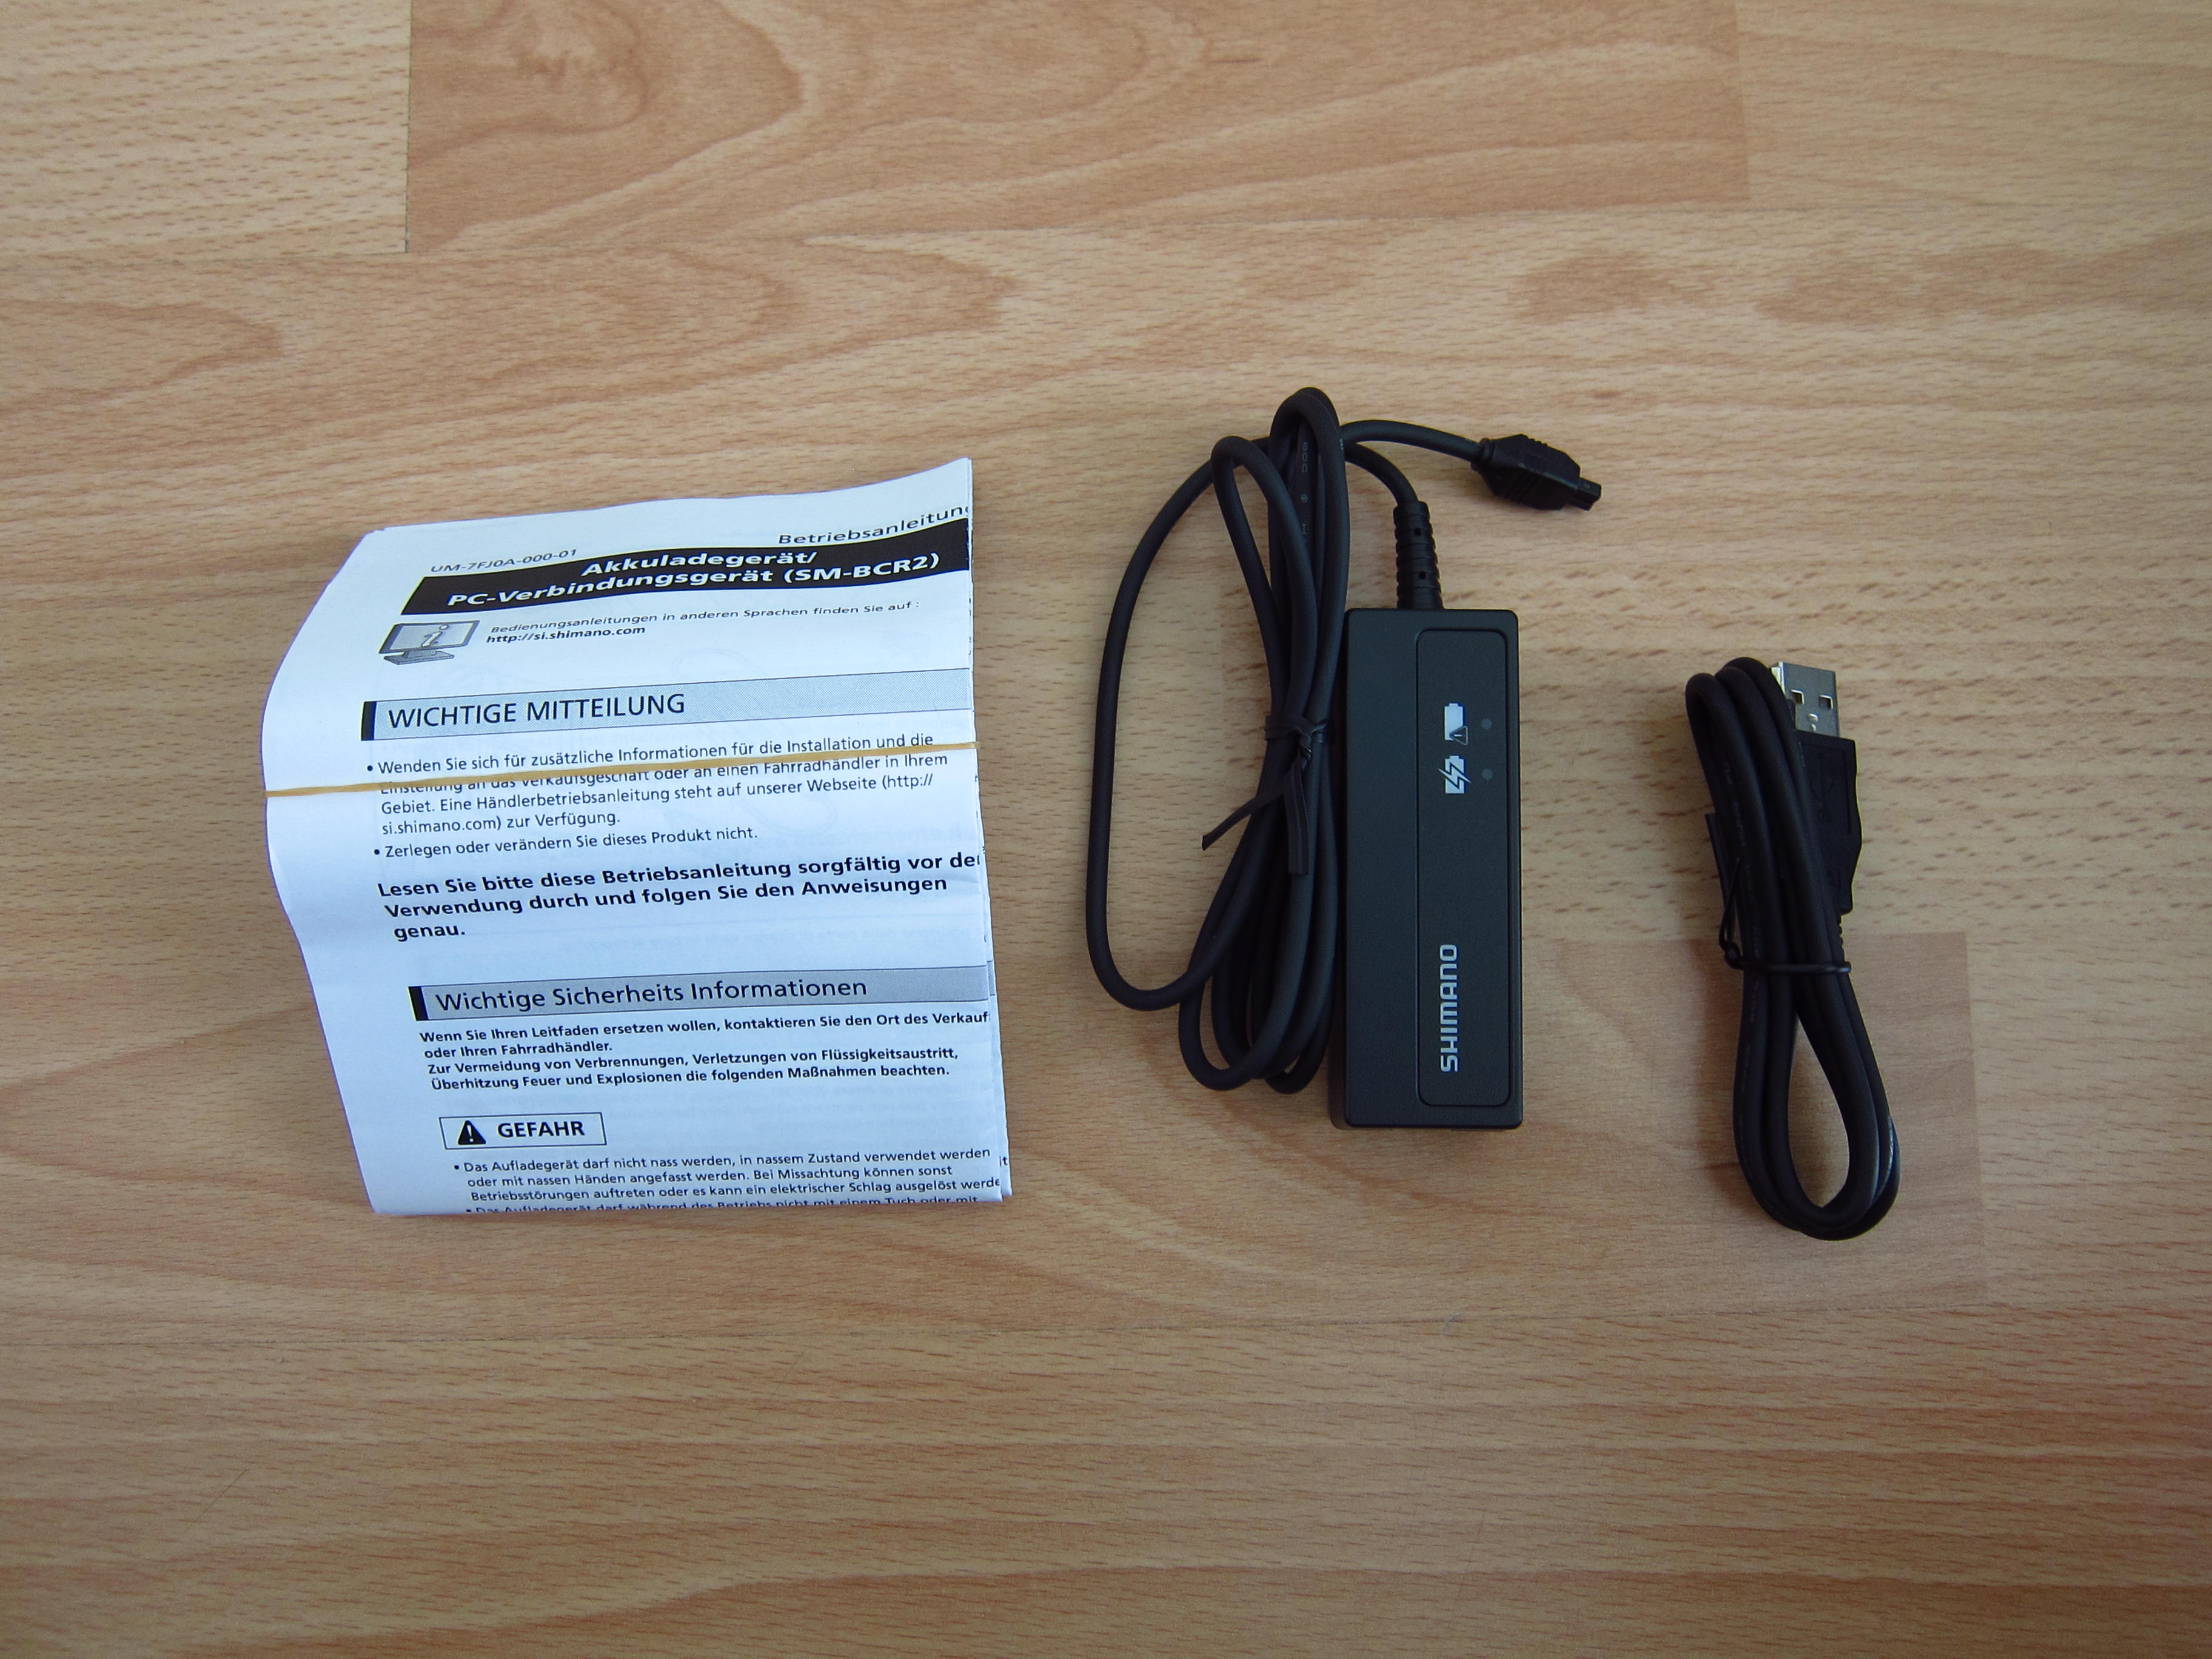
the SM-BCR-2 charger an PC connection,…
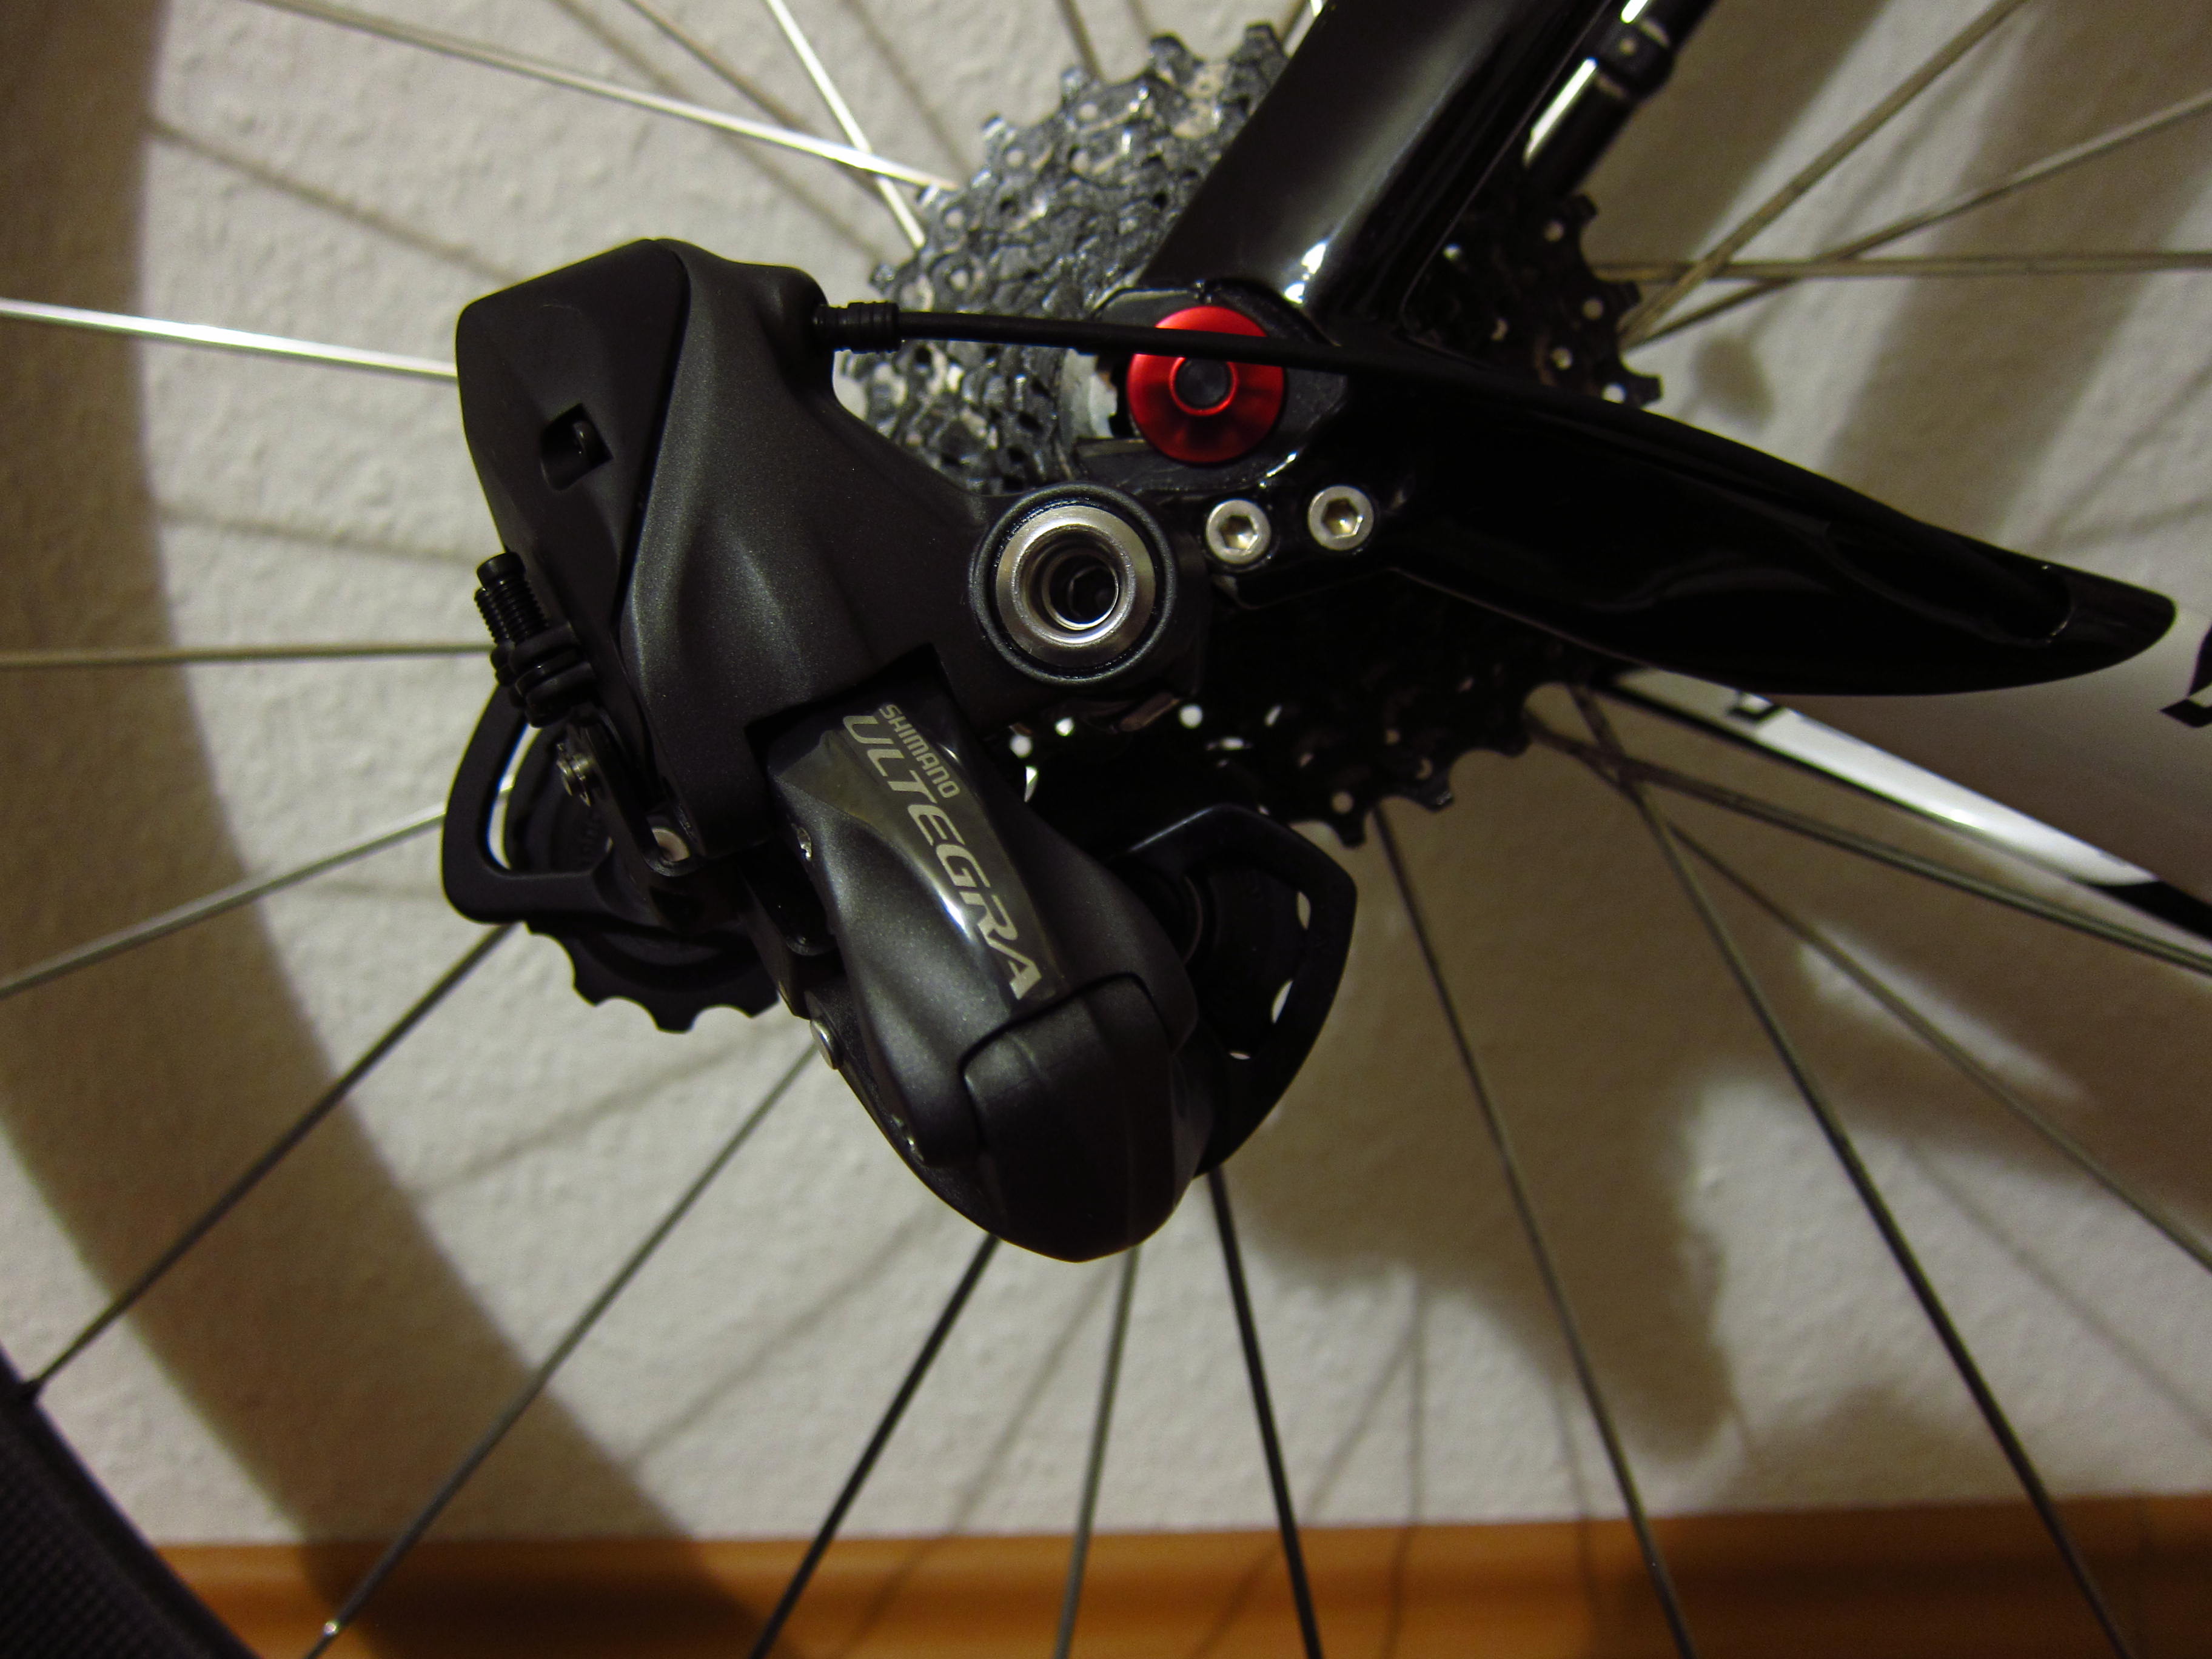
the FD-6770 front derailleur,…

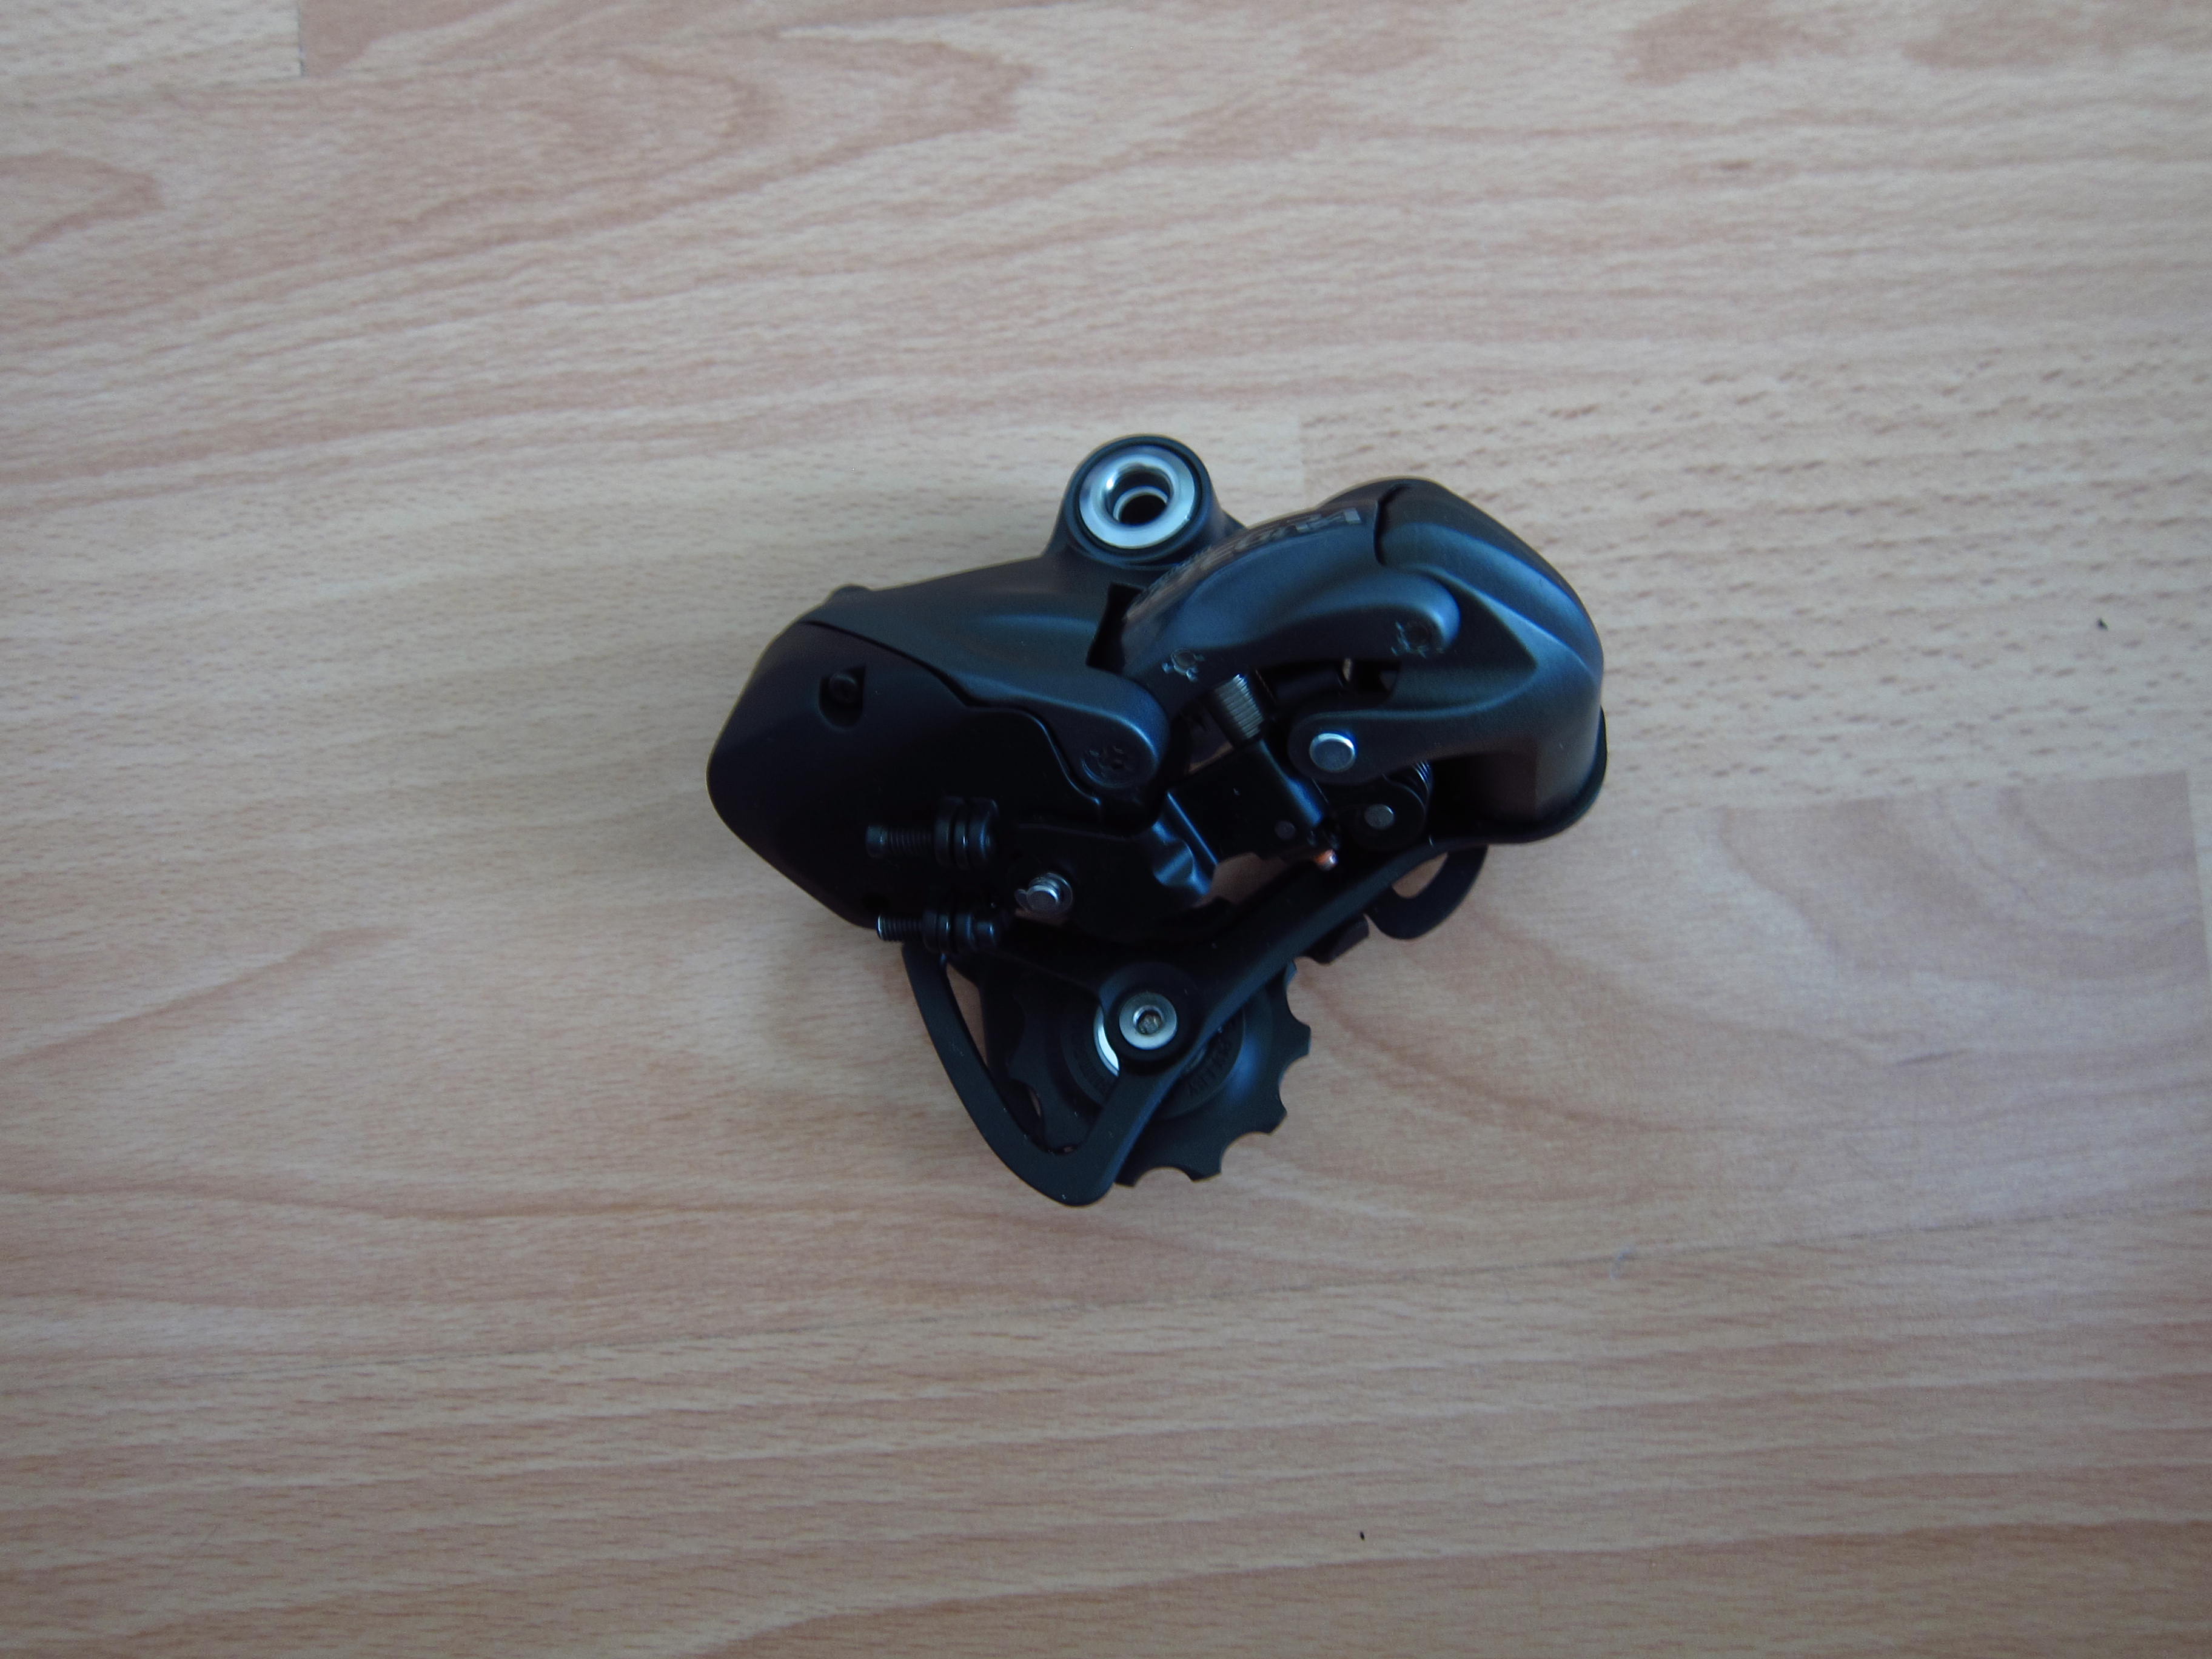
the RD-6770 rear derailleur,…
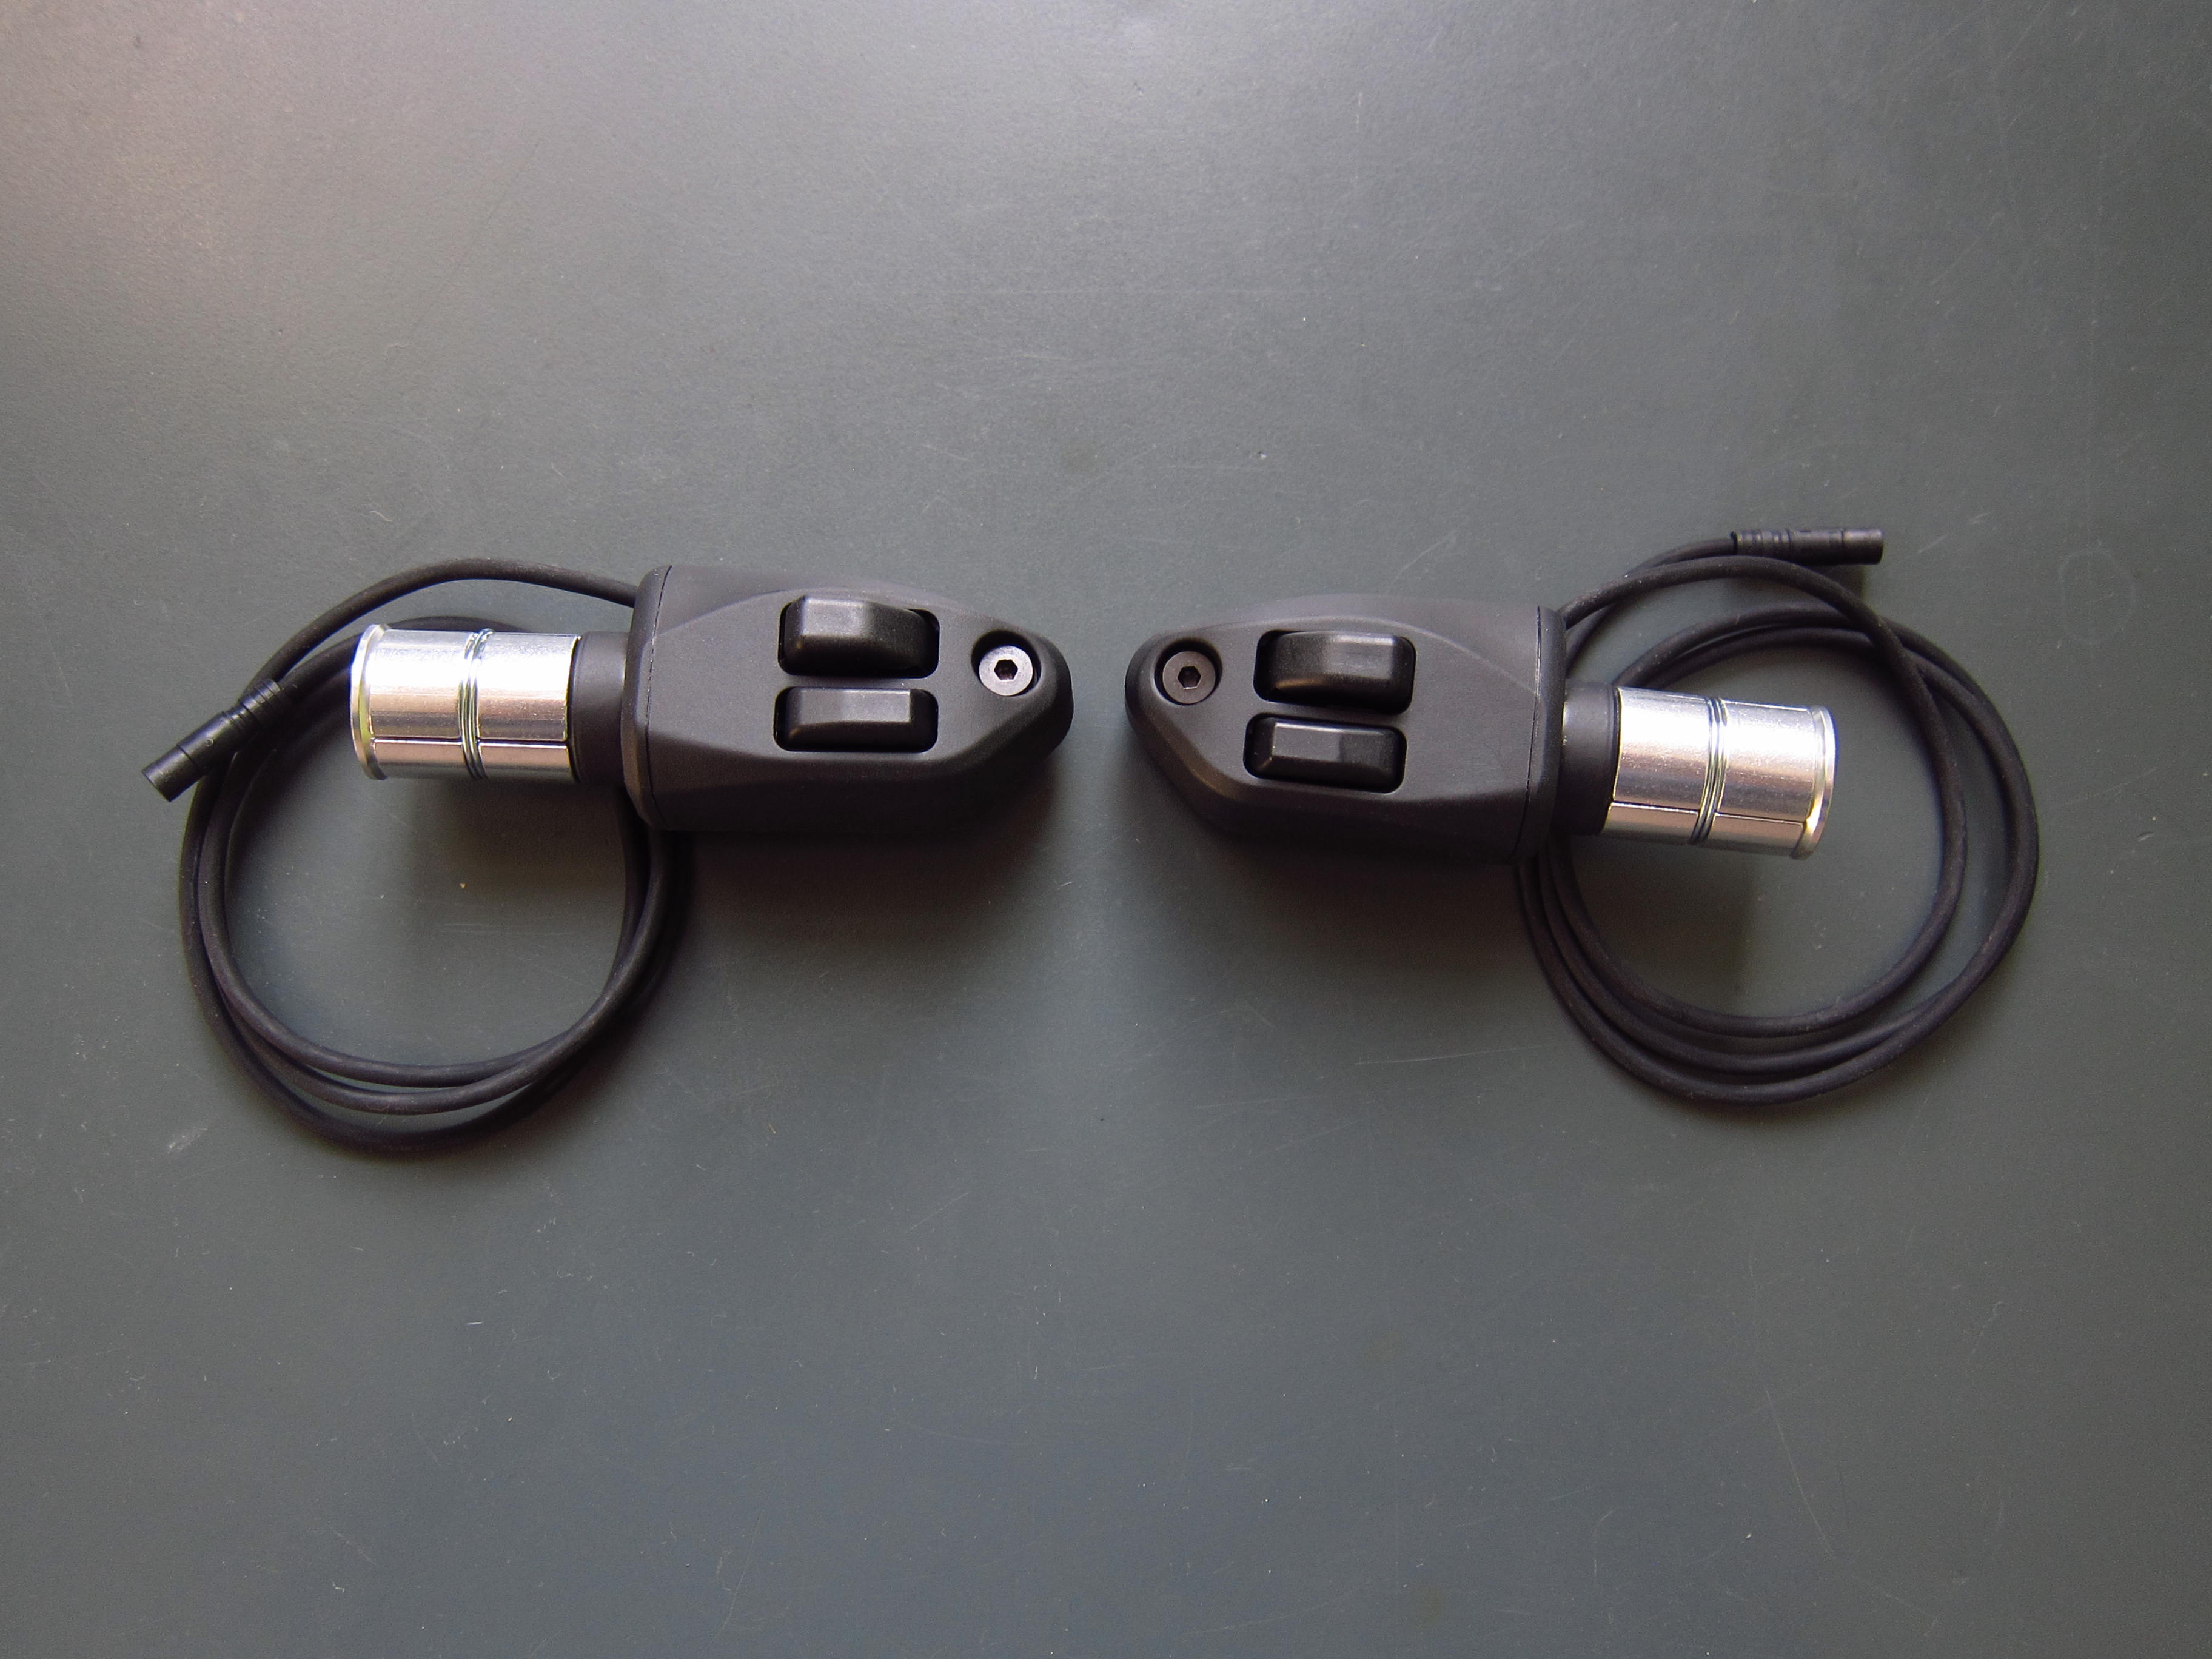
the ST-9071 brake shift levers and…
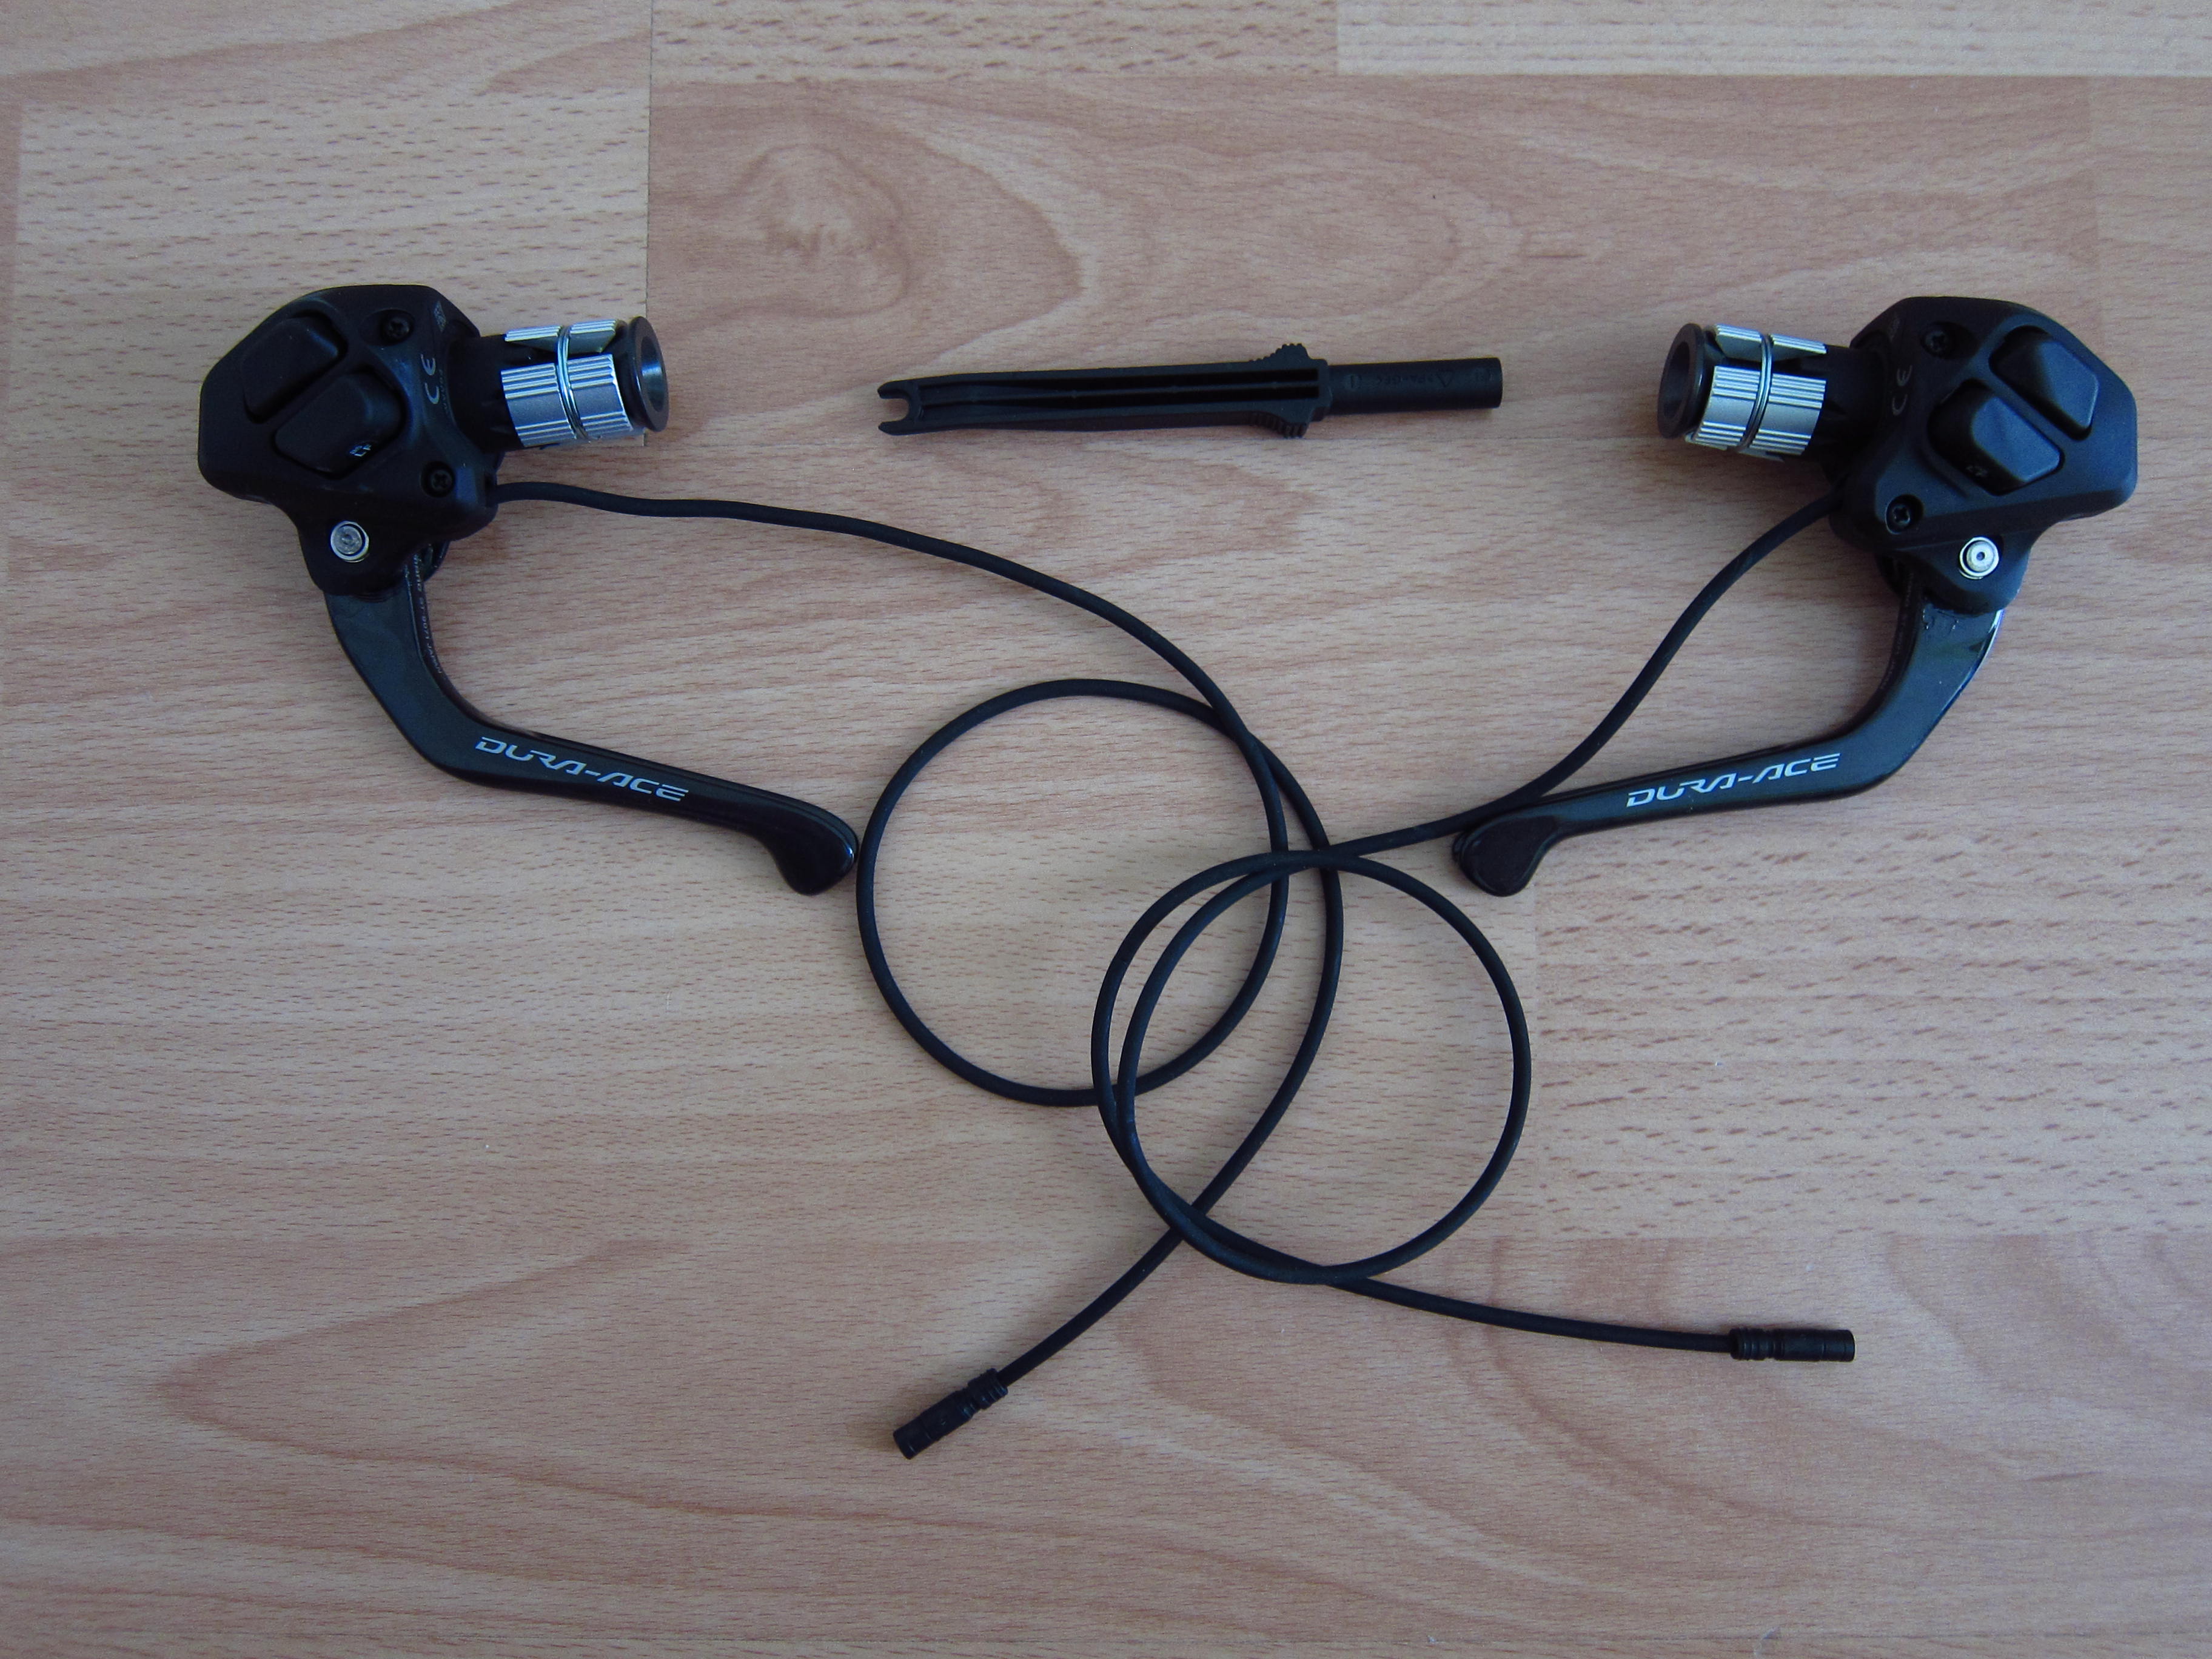
last not least the ST-R671 extension shifters.
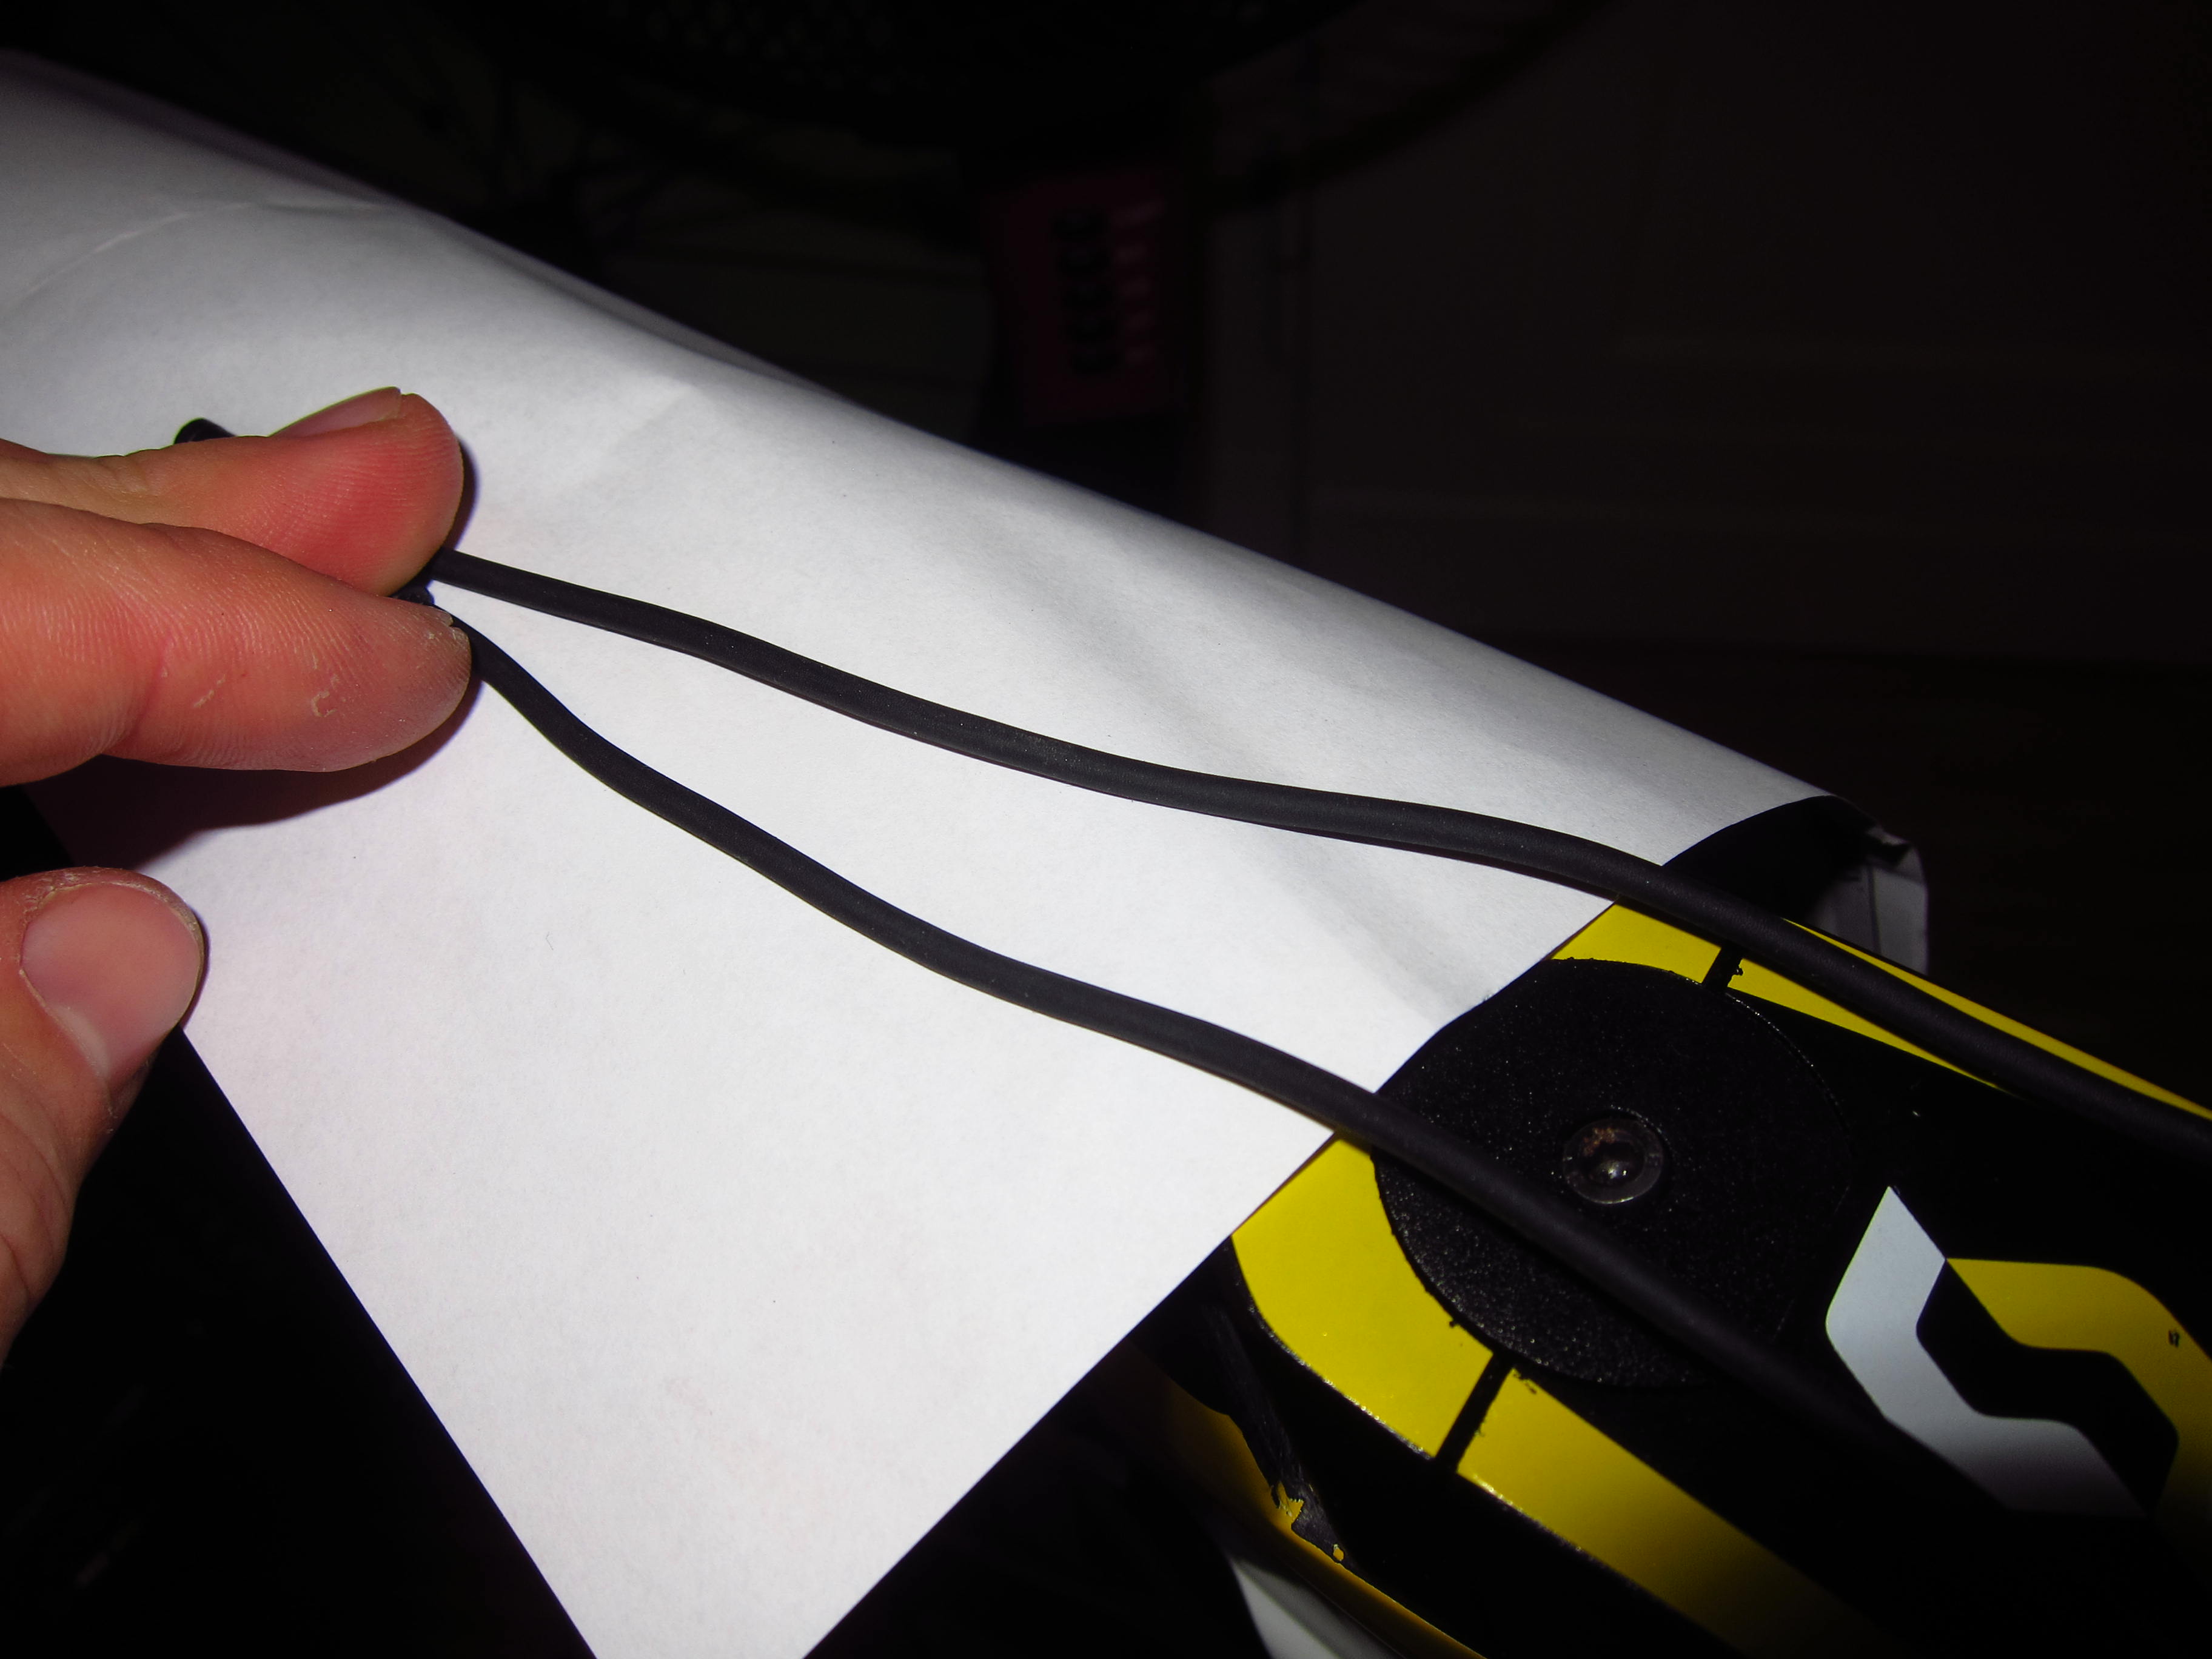
The rear derailleur installation was quite easy, just one bolt which needs to be tightened against the RD hanger. The cable was routed from the rear entry to the bottom bracket, a cable length of 500mm is sufficient.
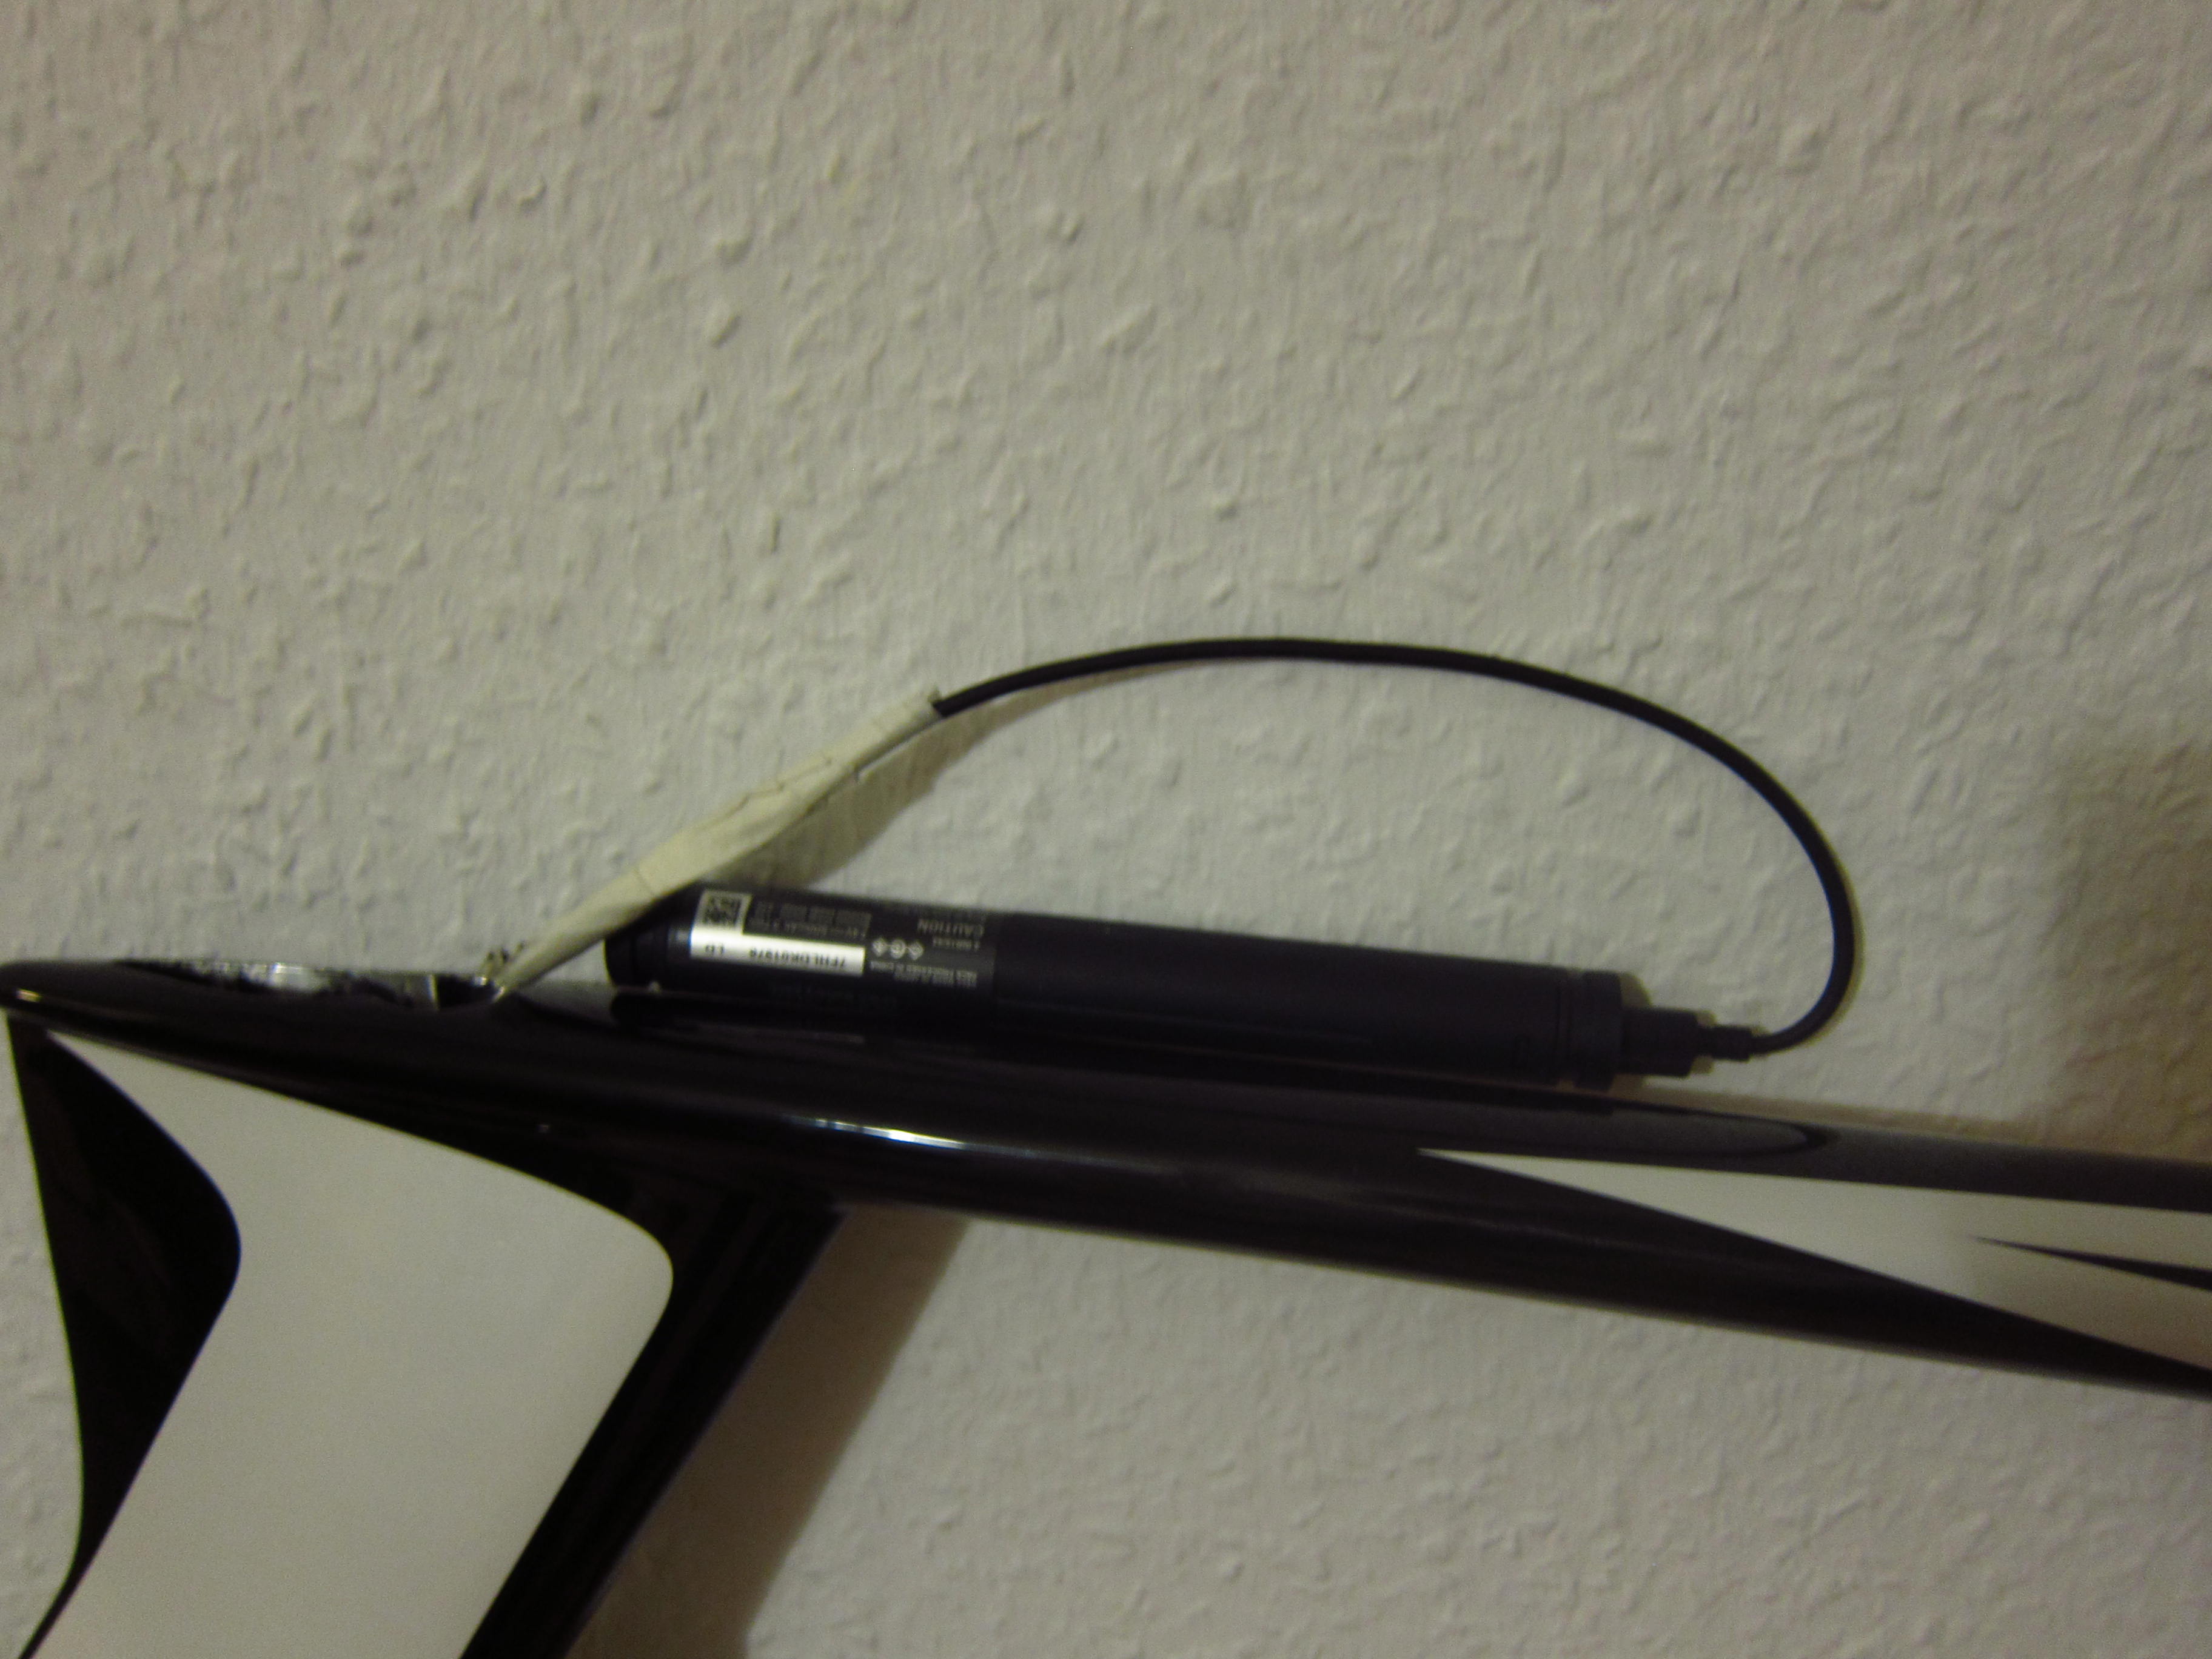
The internal battery was put into the seatpost. A cable length of 250mm is sufficient. However, to get the battery cable to the bottom, I had to route a brake cable from the bottom bracket to the seat post and pull the battery cable trough.
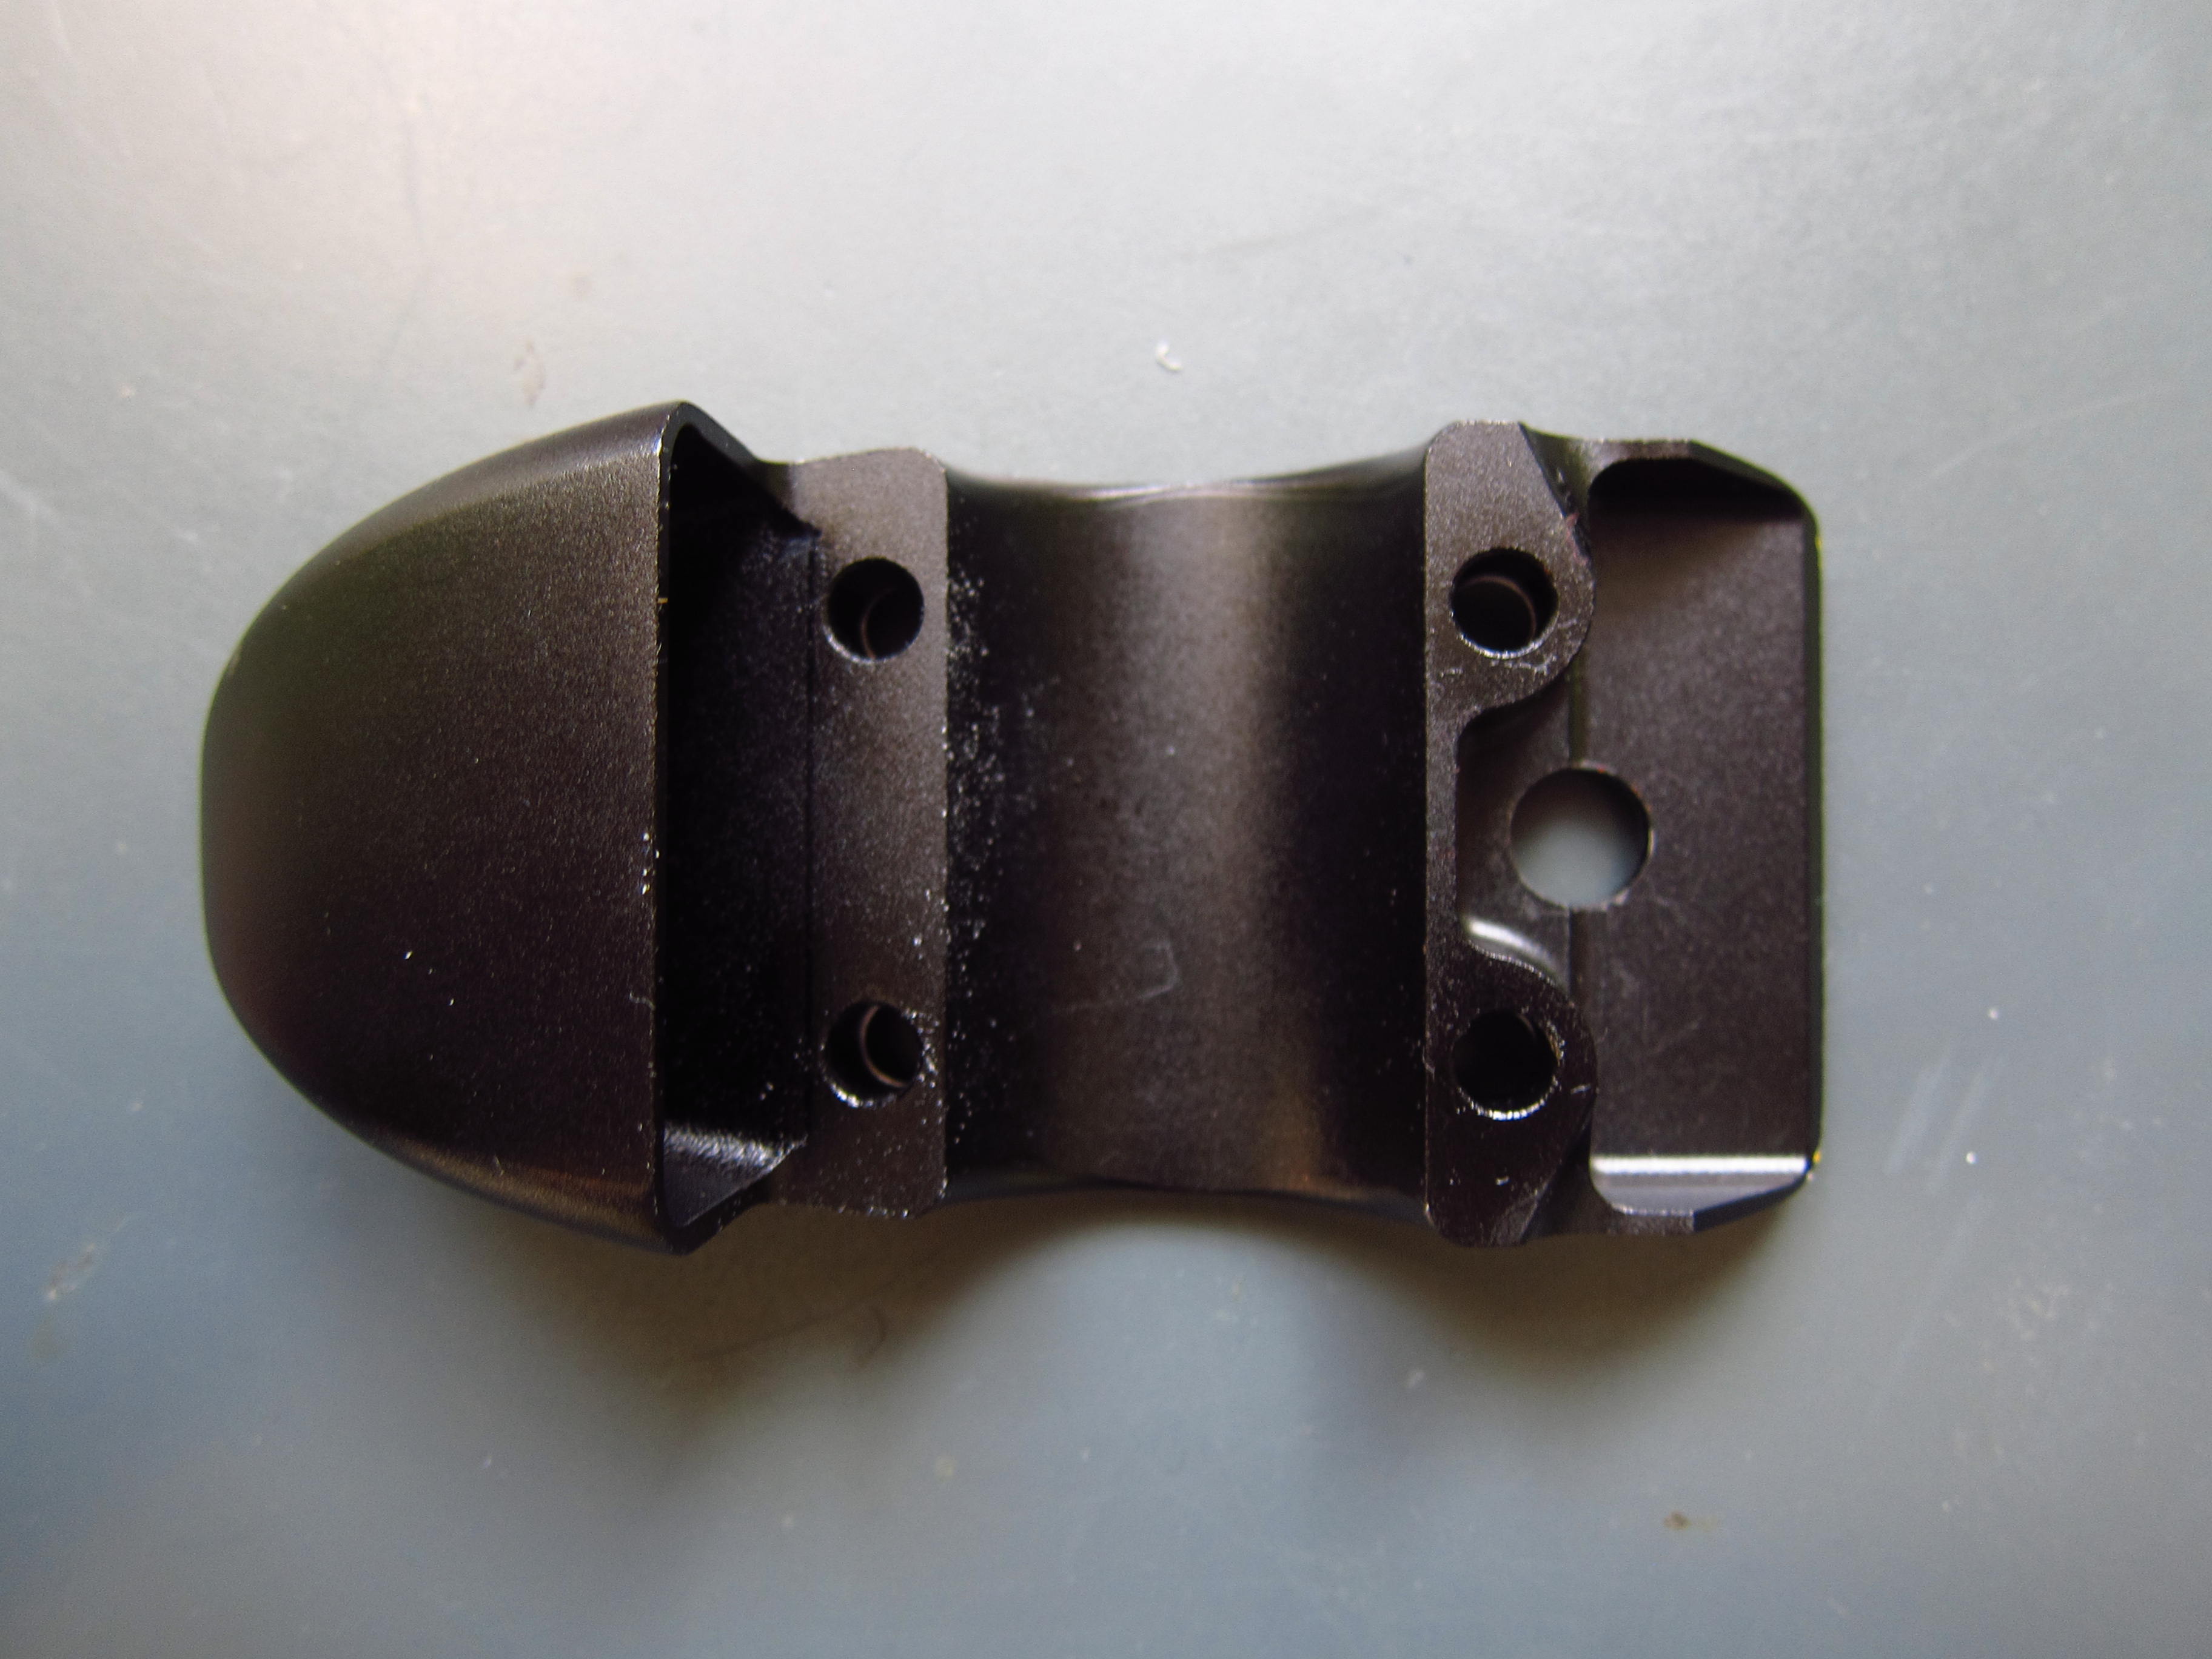
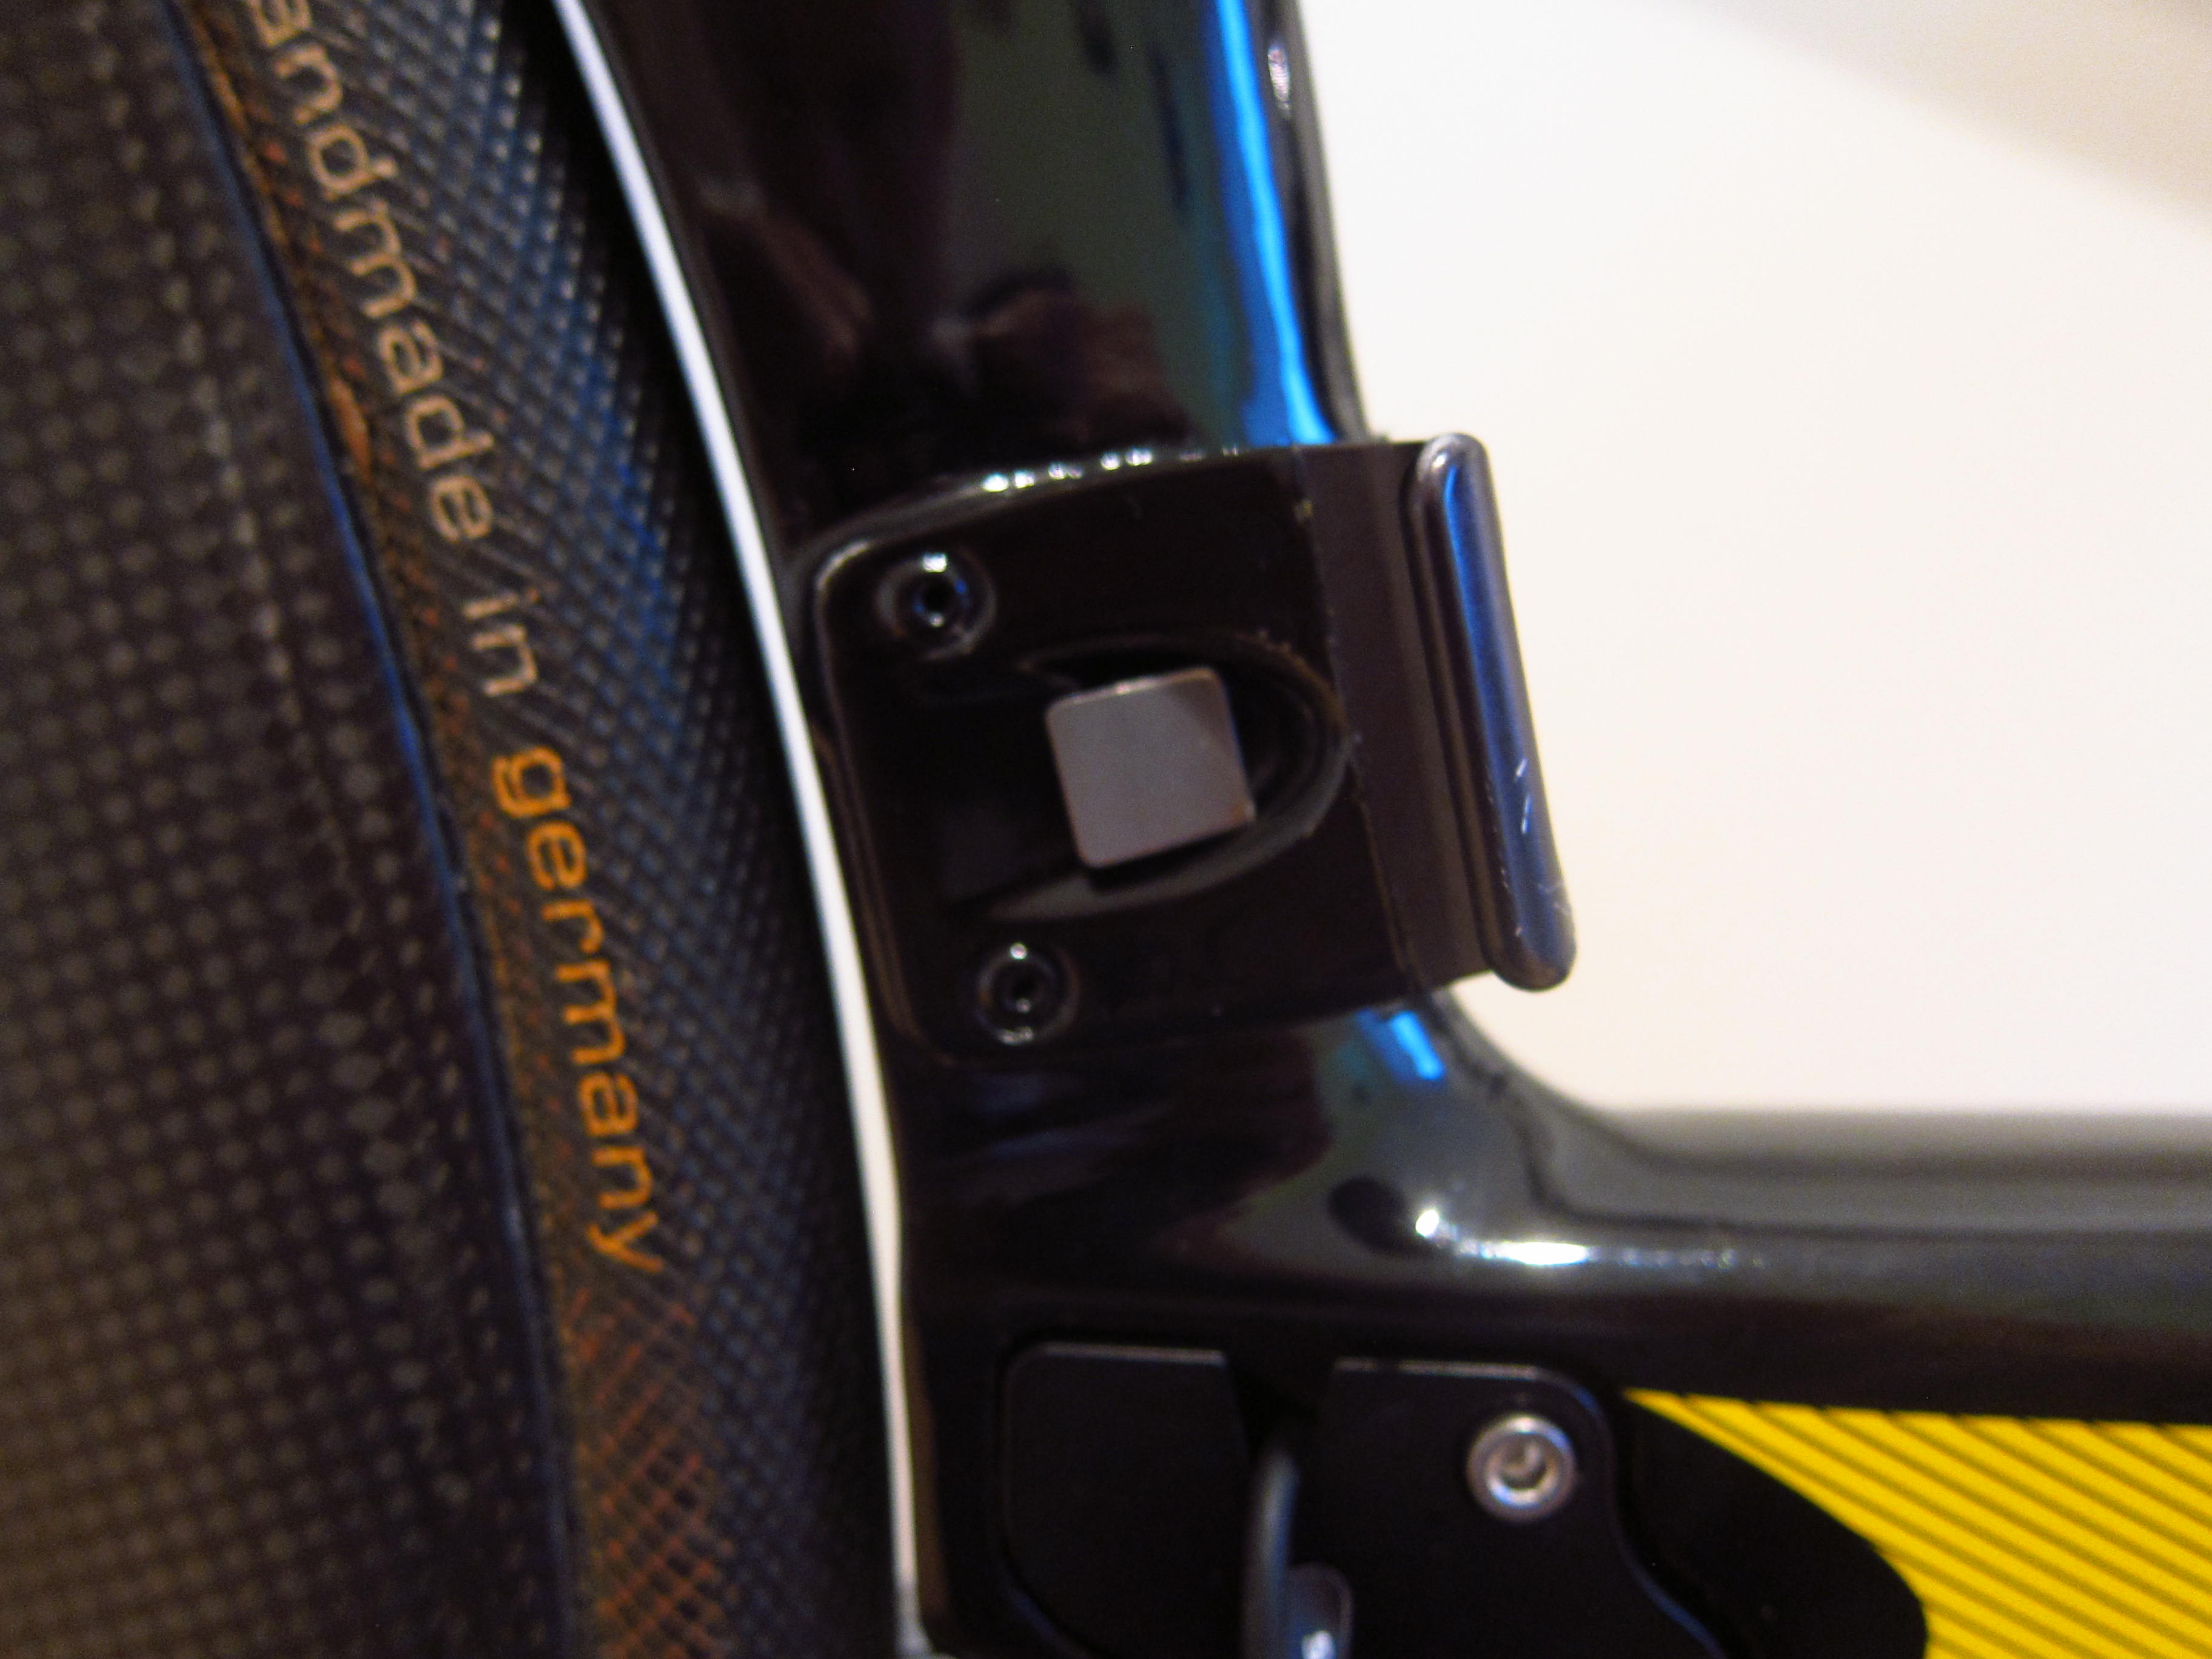
To mount the front derailleur, first of all a small metal plate needs to be attached to the frame.
This plate is for the front derailleur to push against.
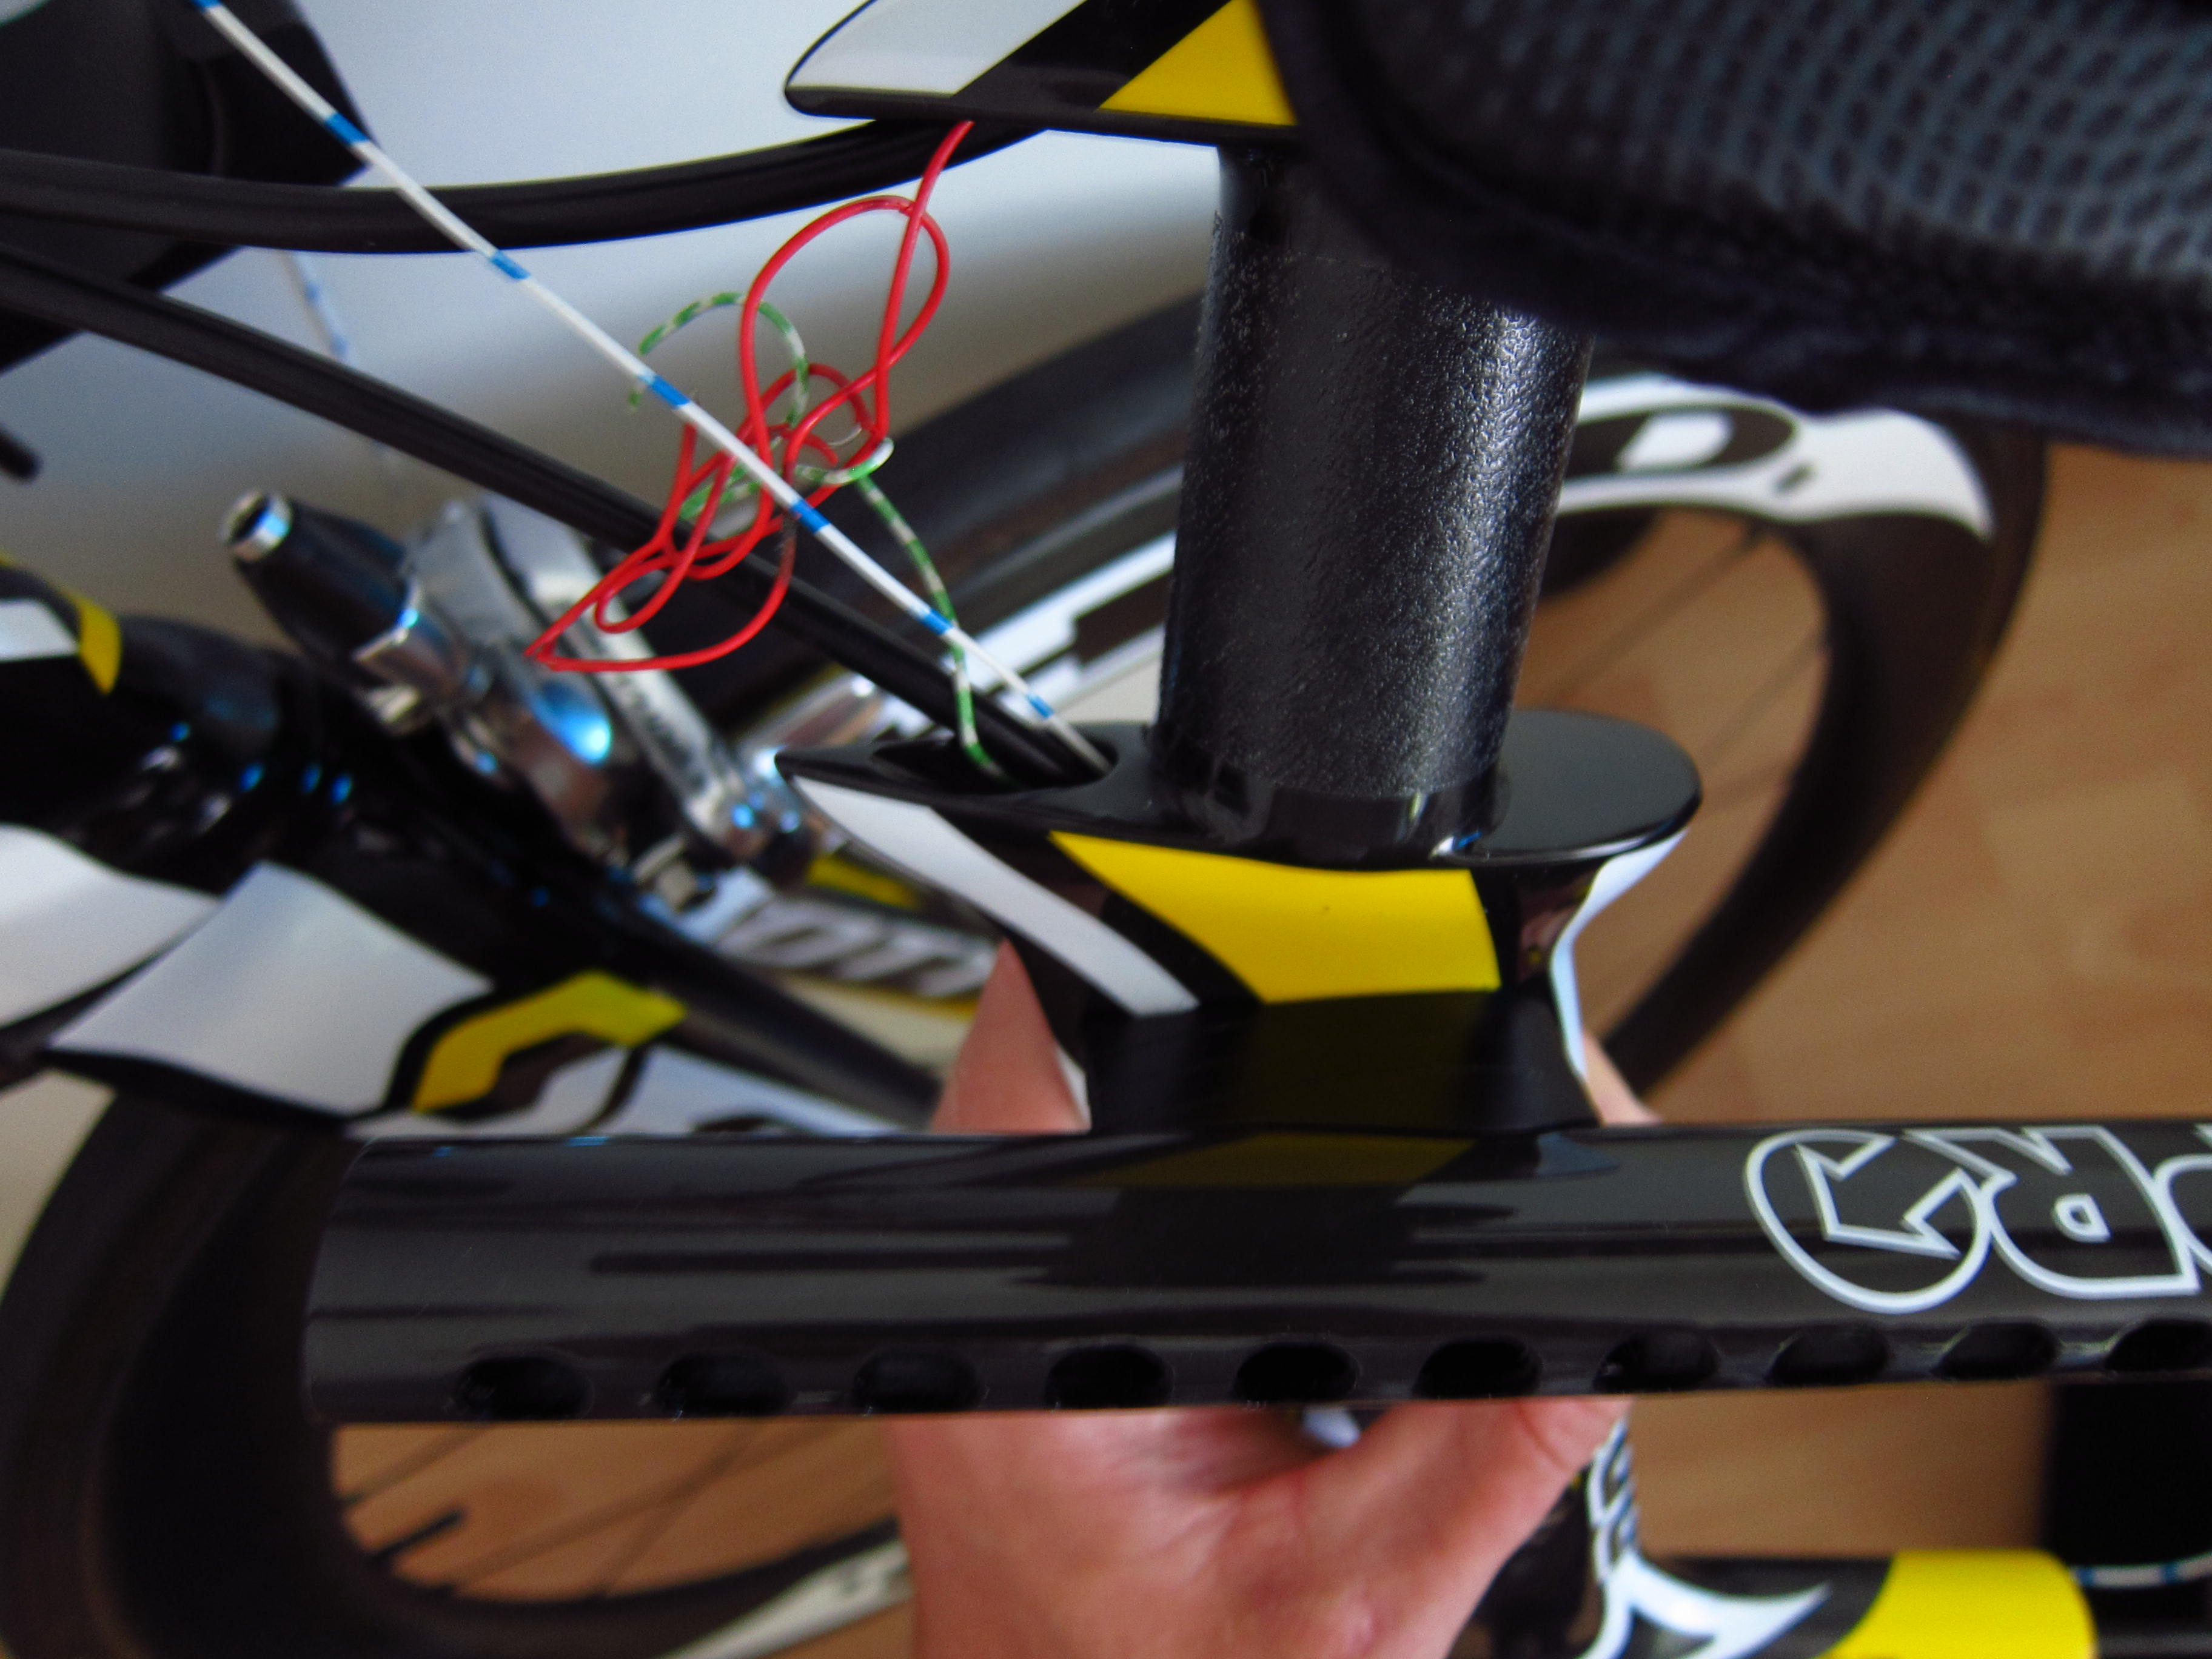
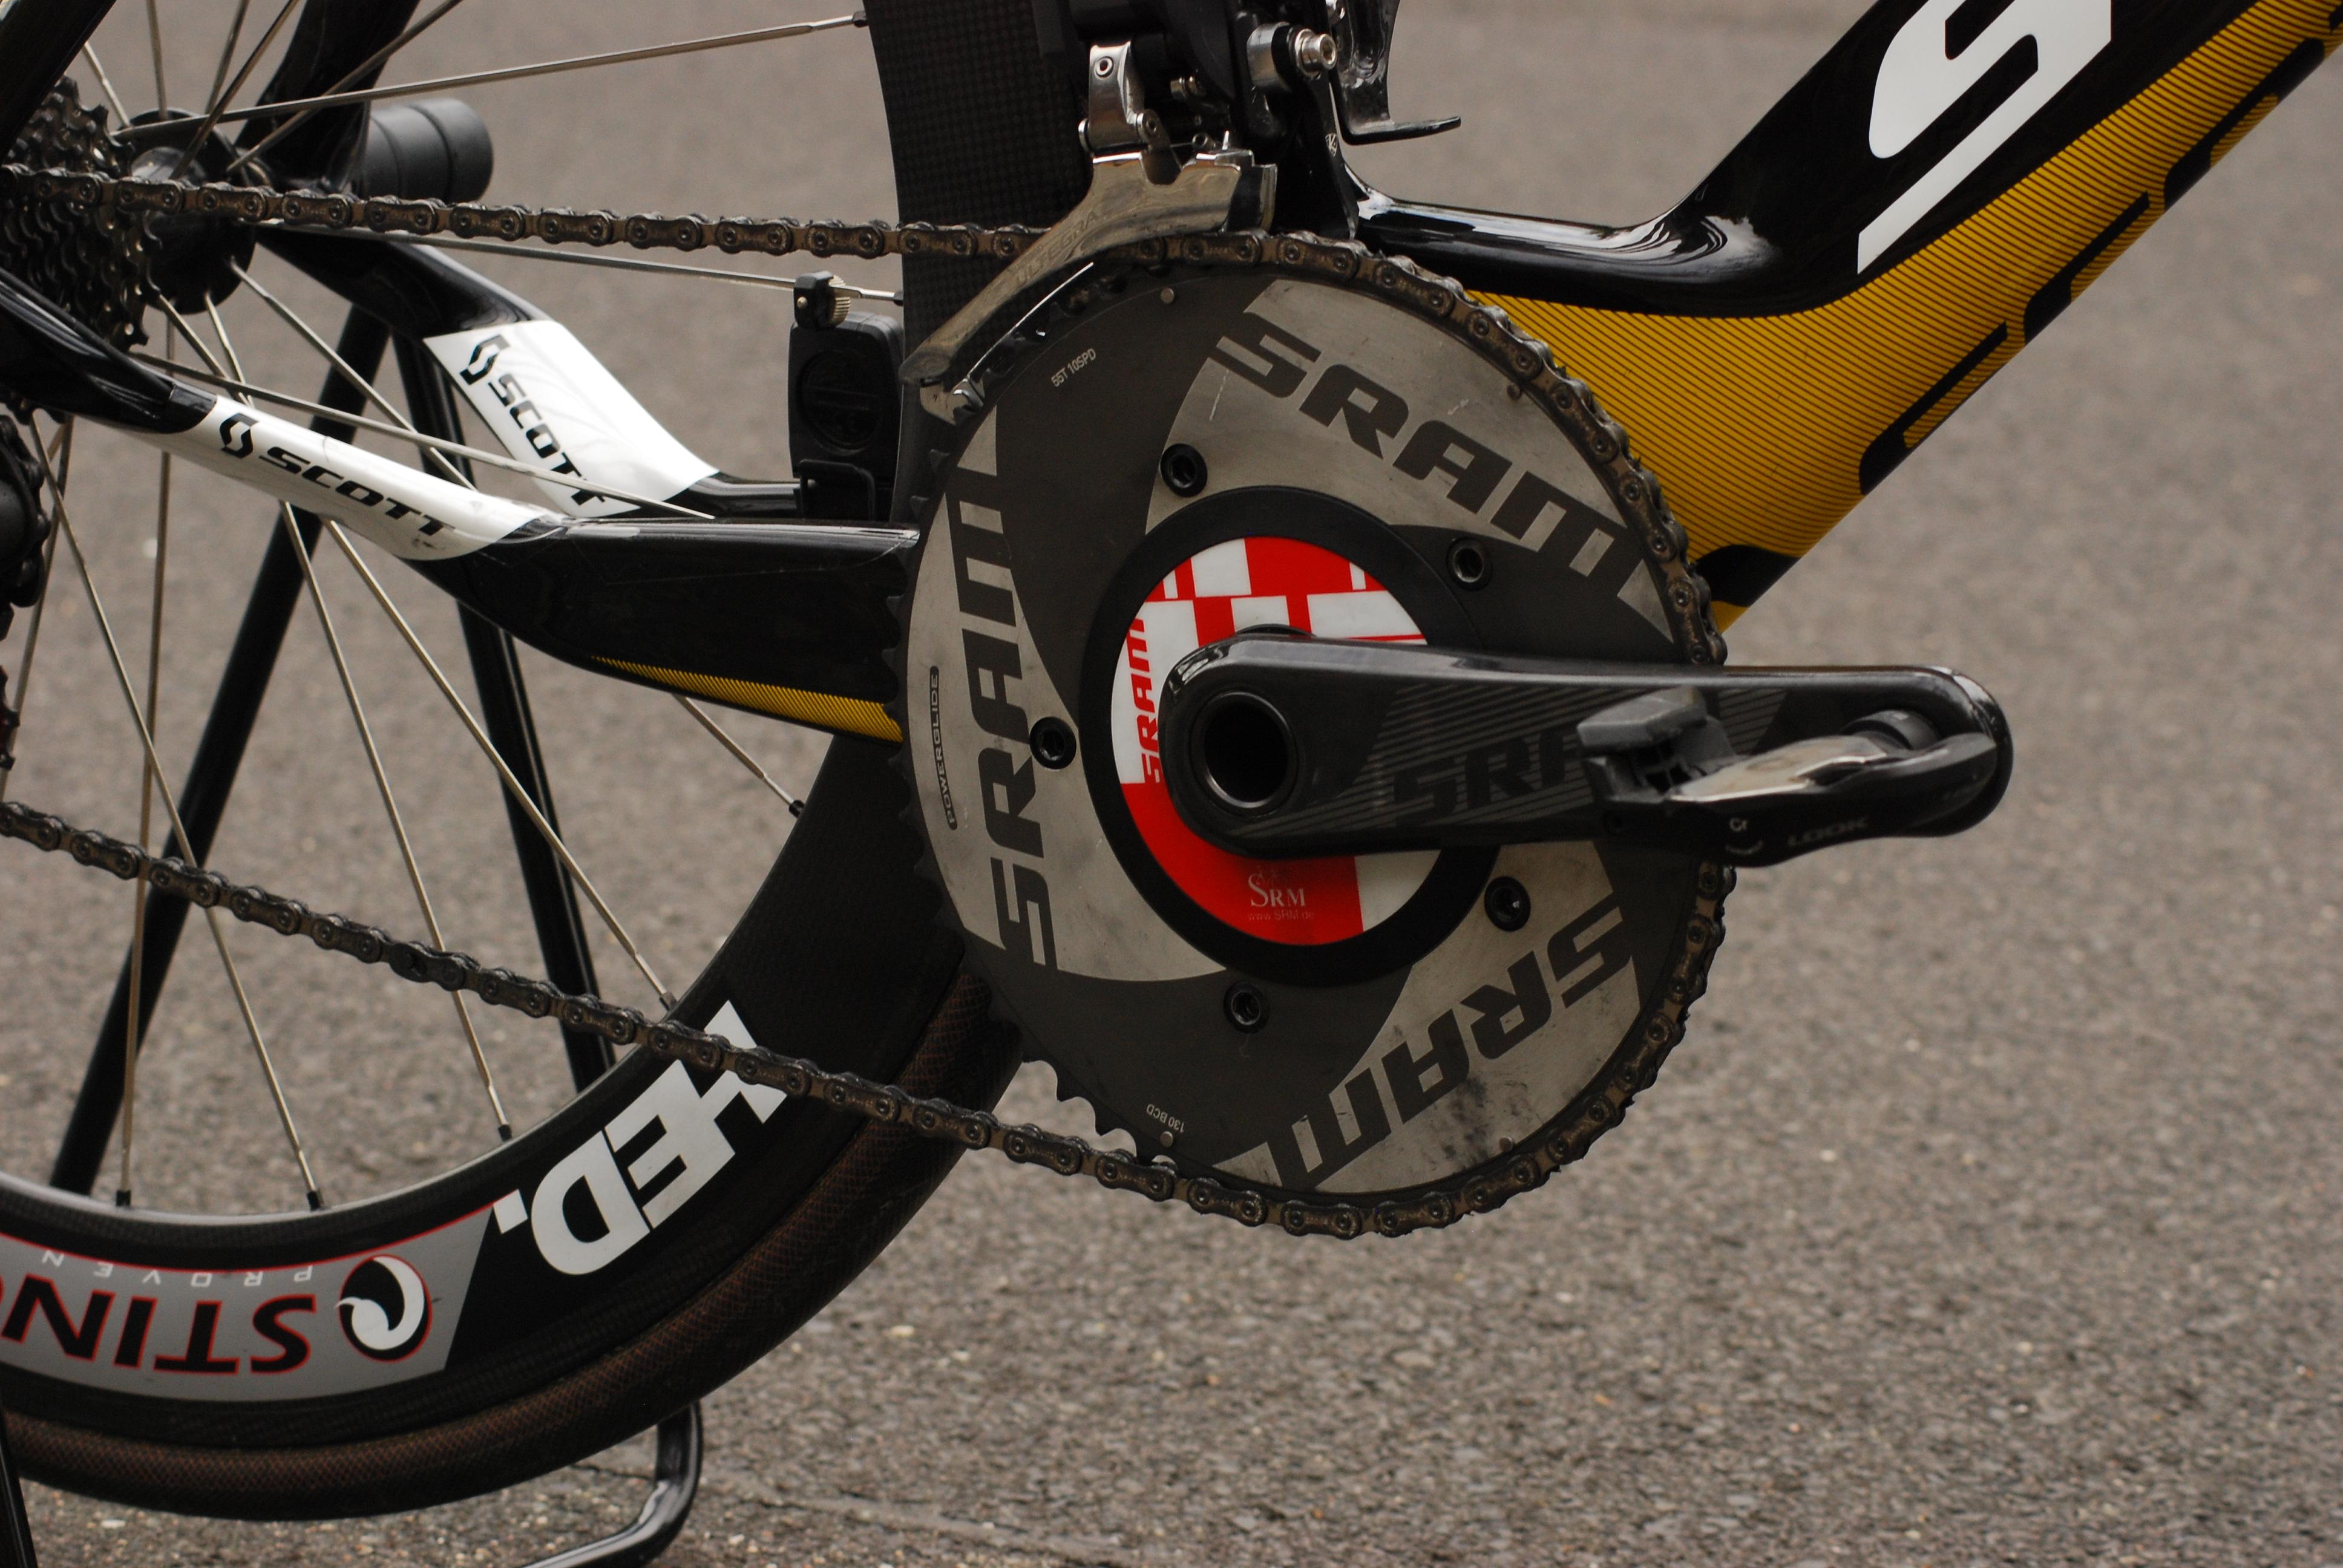
After both derailleurs and the battery were installed, I connected all wires to the rear junction box and pulled one cable from the stem to the rear junction box. Finally, the bottom bracket and the crank could be installed. I reused the SRM SRAM GXP S975 Powermeter which was already installed on my previous bike.
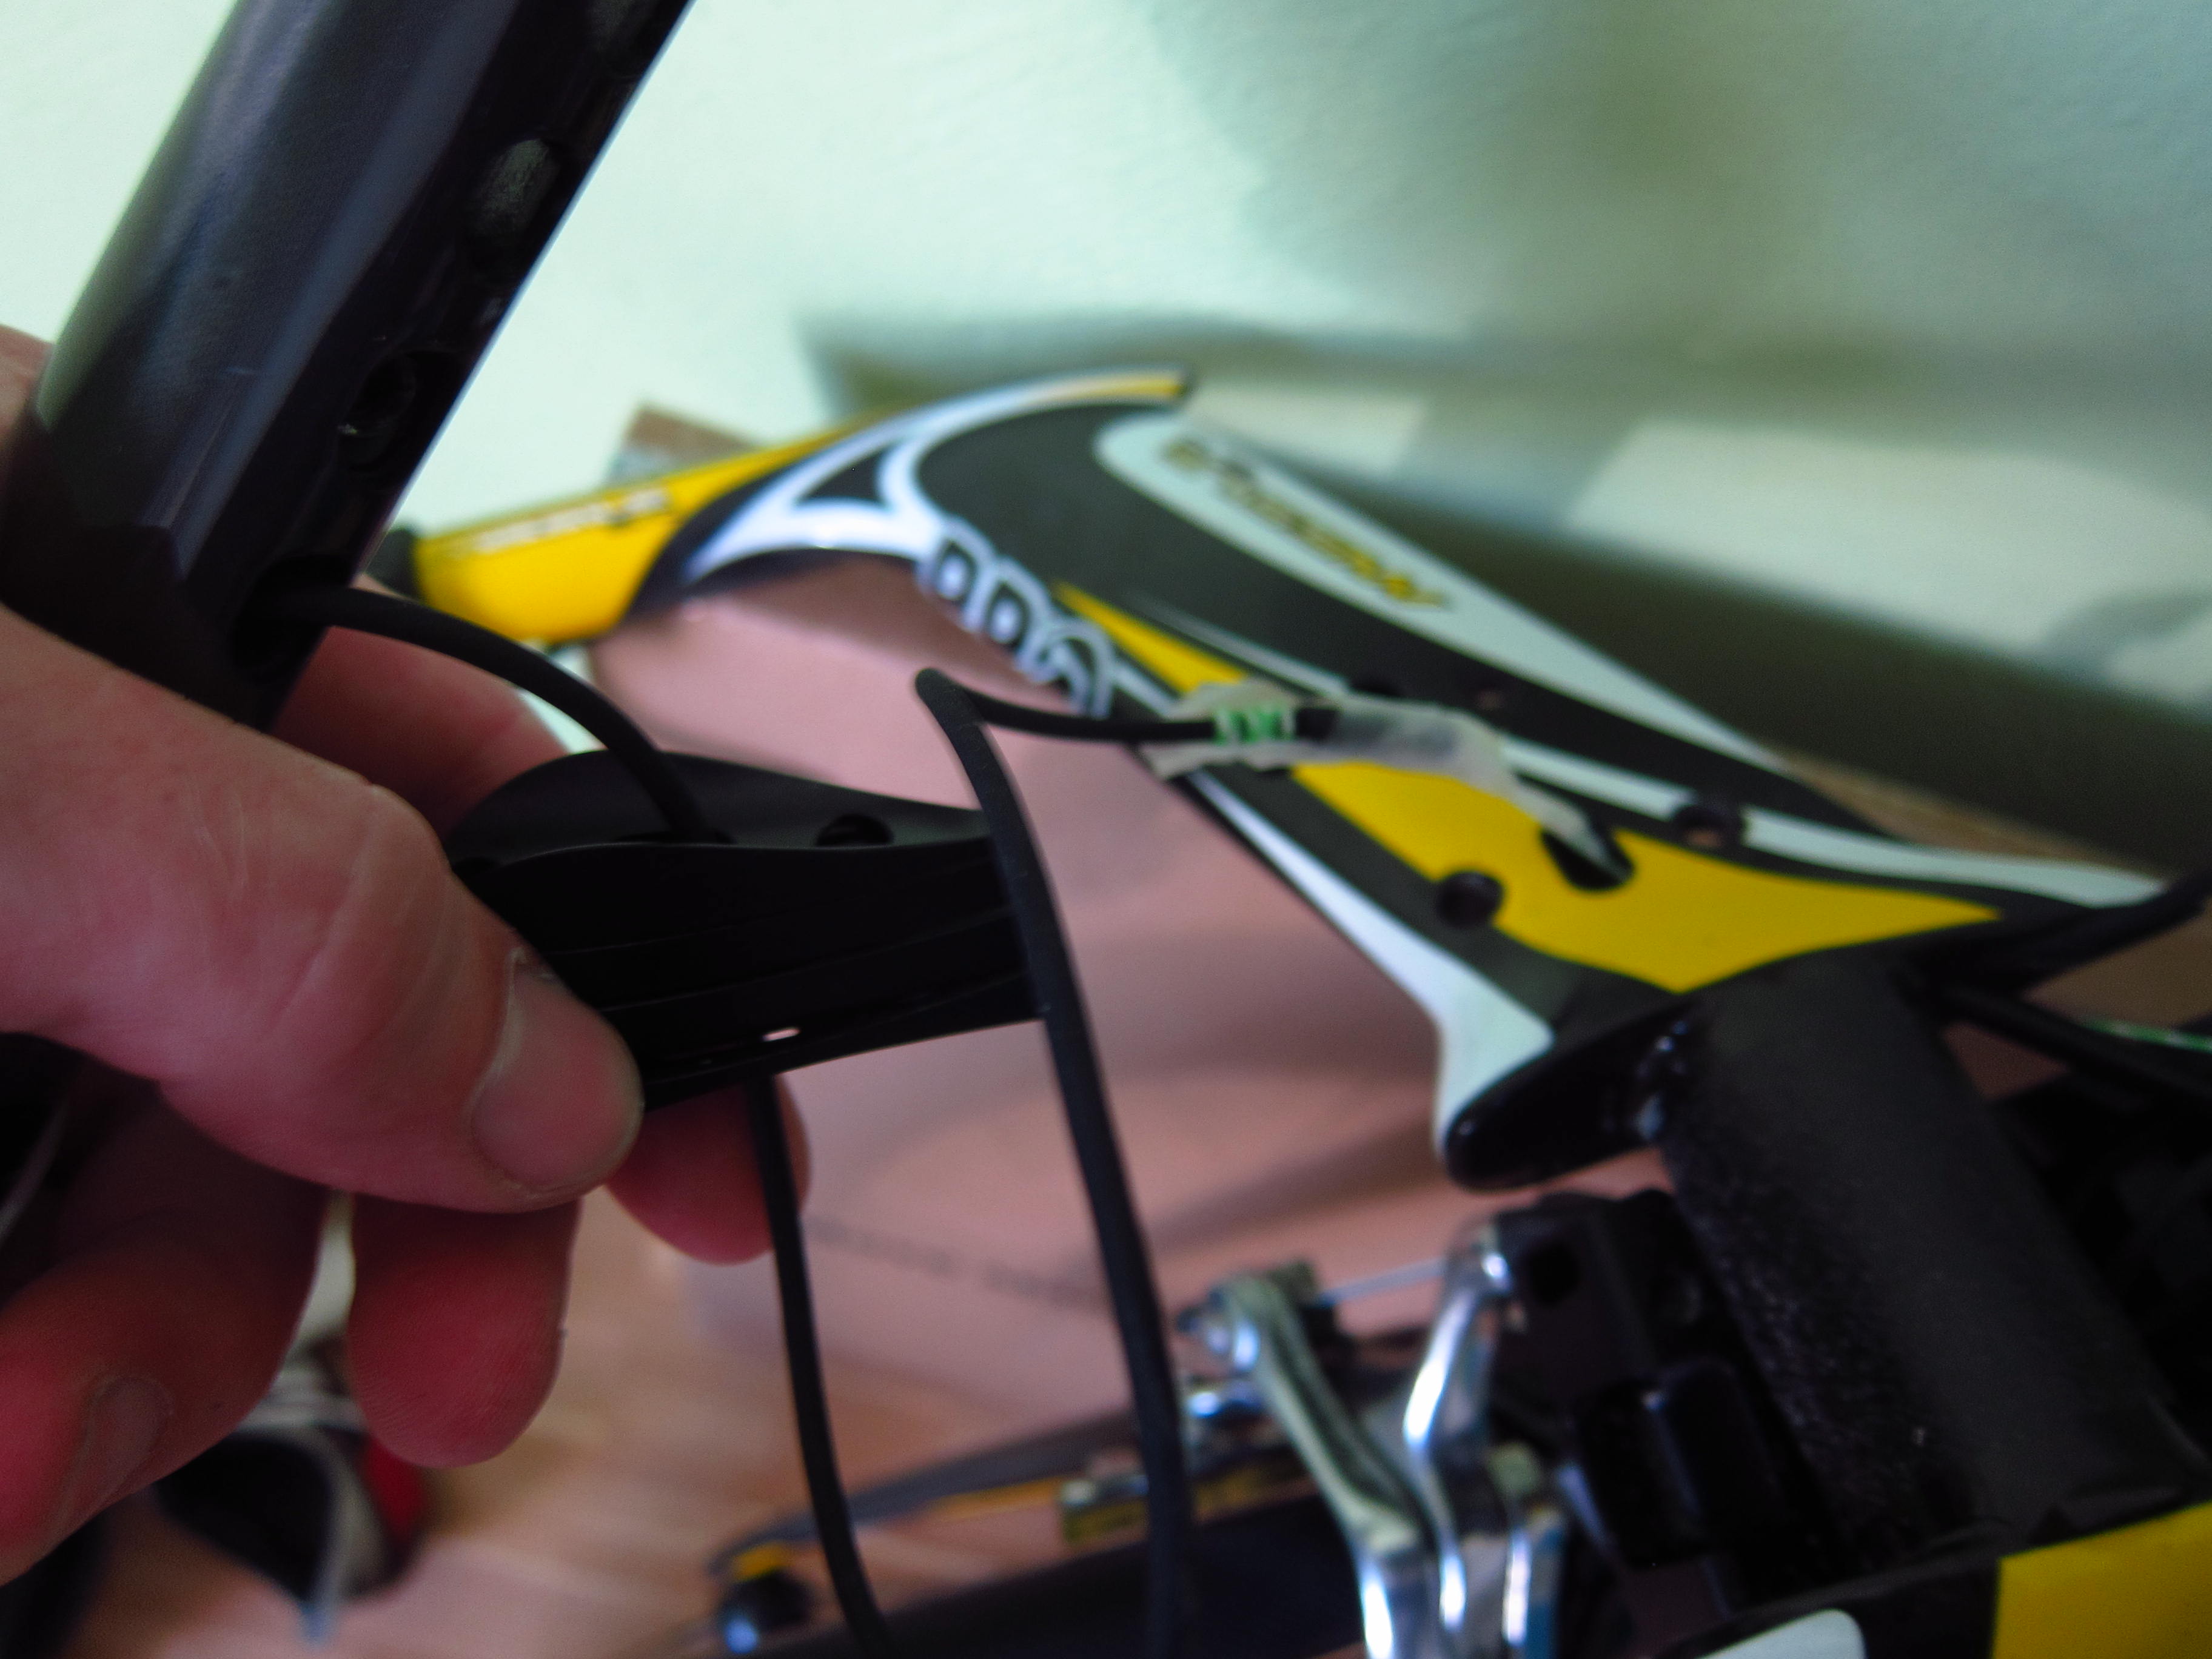
Now comes the rather tricky part – installing all cables in the base bar and the extensions. I started with pushing through the outer brake cables from the stem to the bull horns. Afterwards, I pushed through tiny cables to pull back the shifter wires.
Pushing the cables through the bull horns…
and pulling back the Di2 wires.
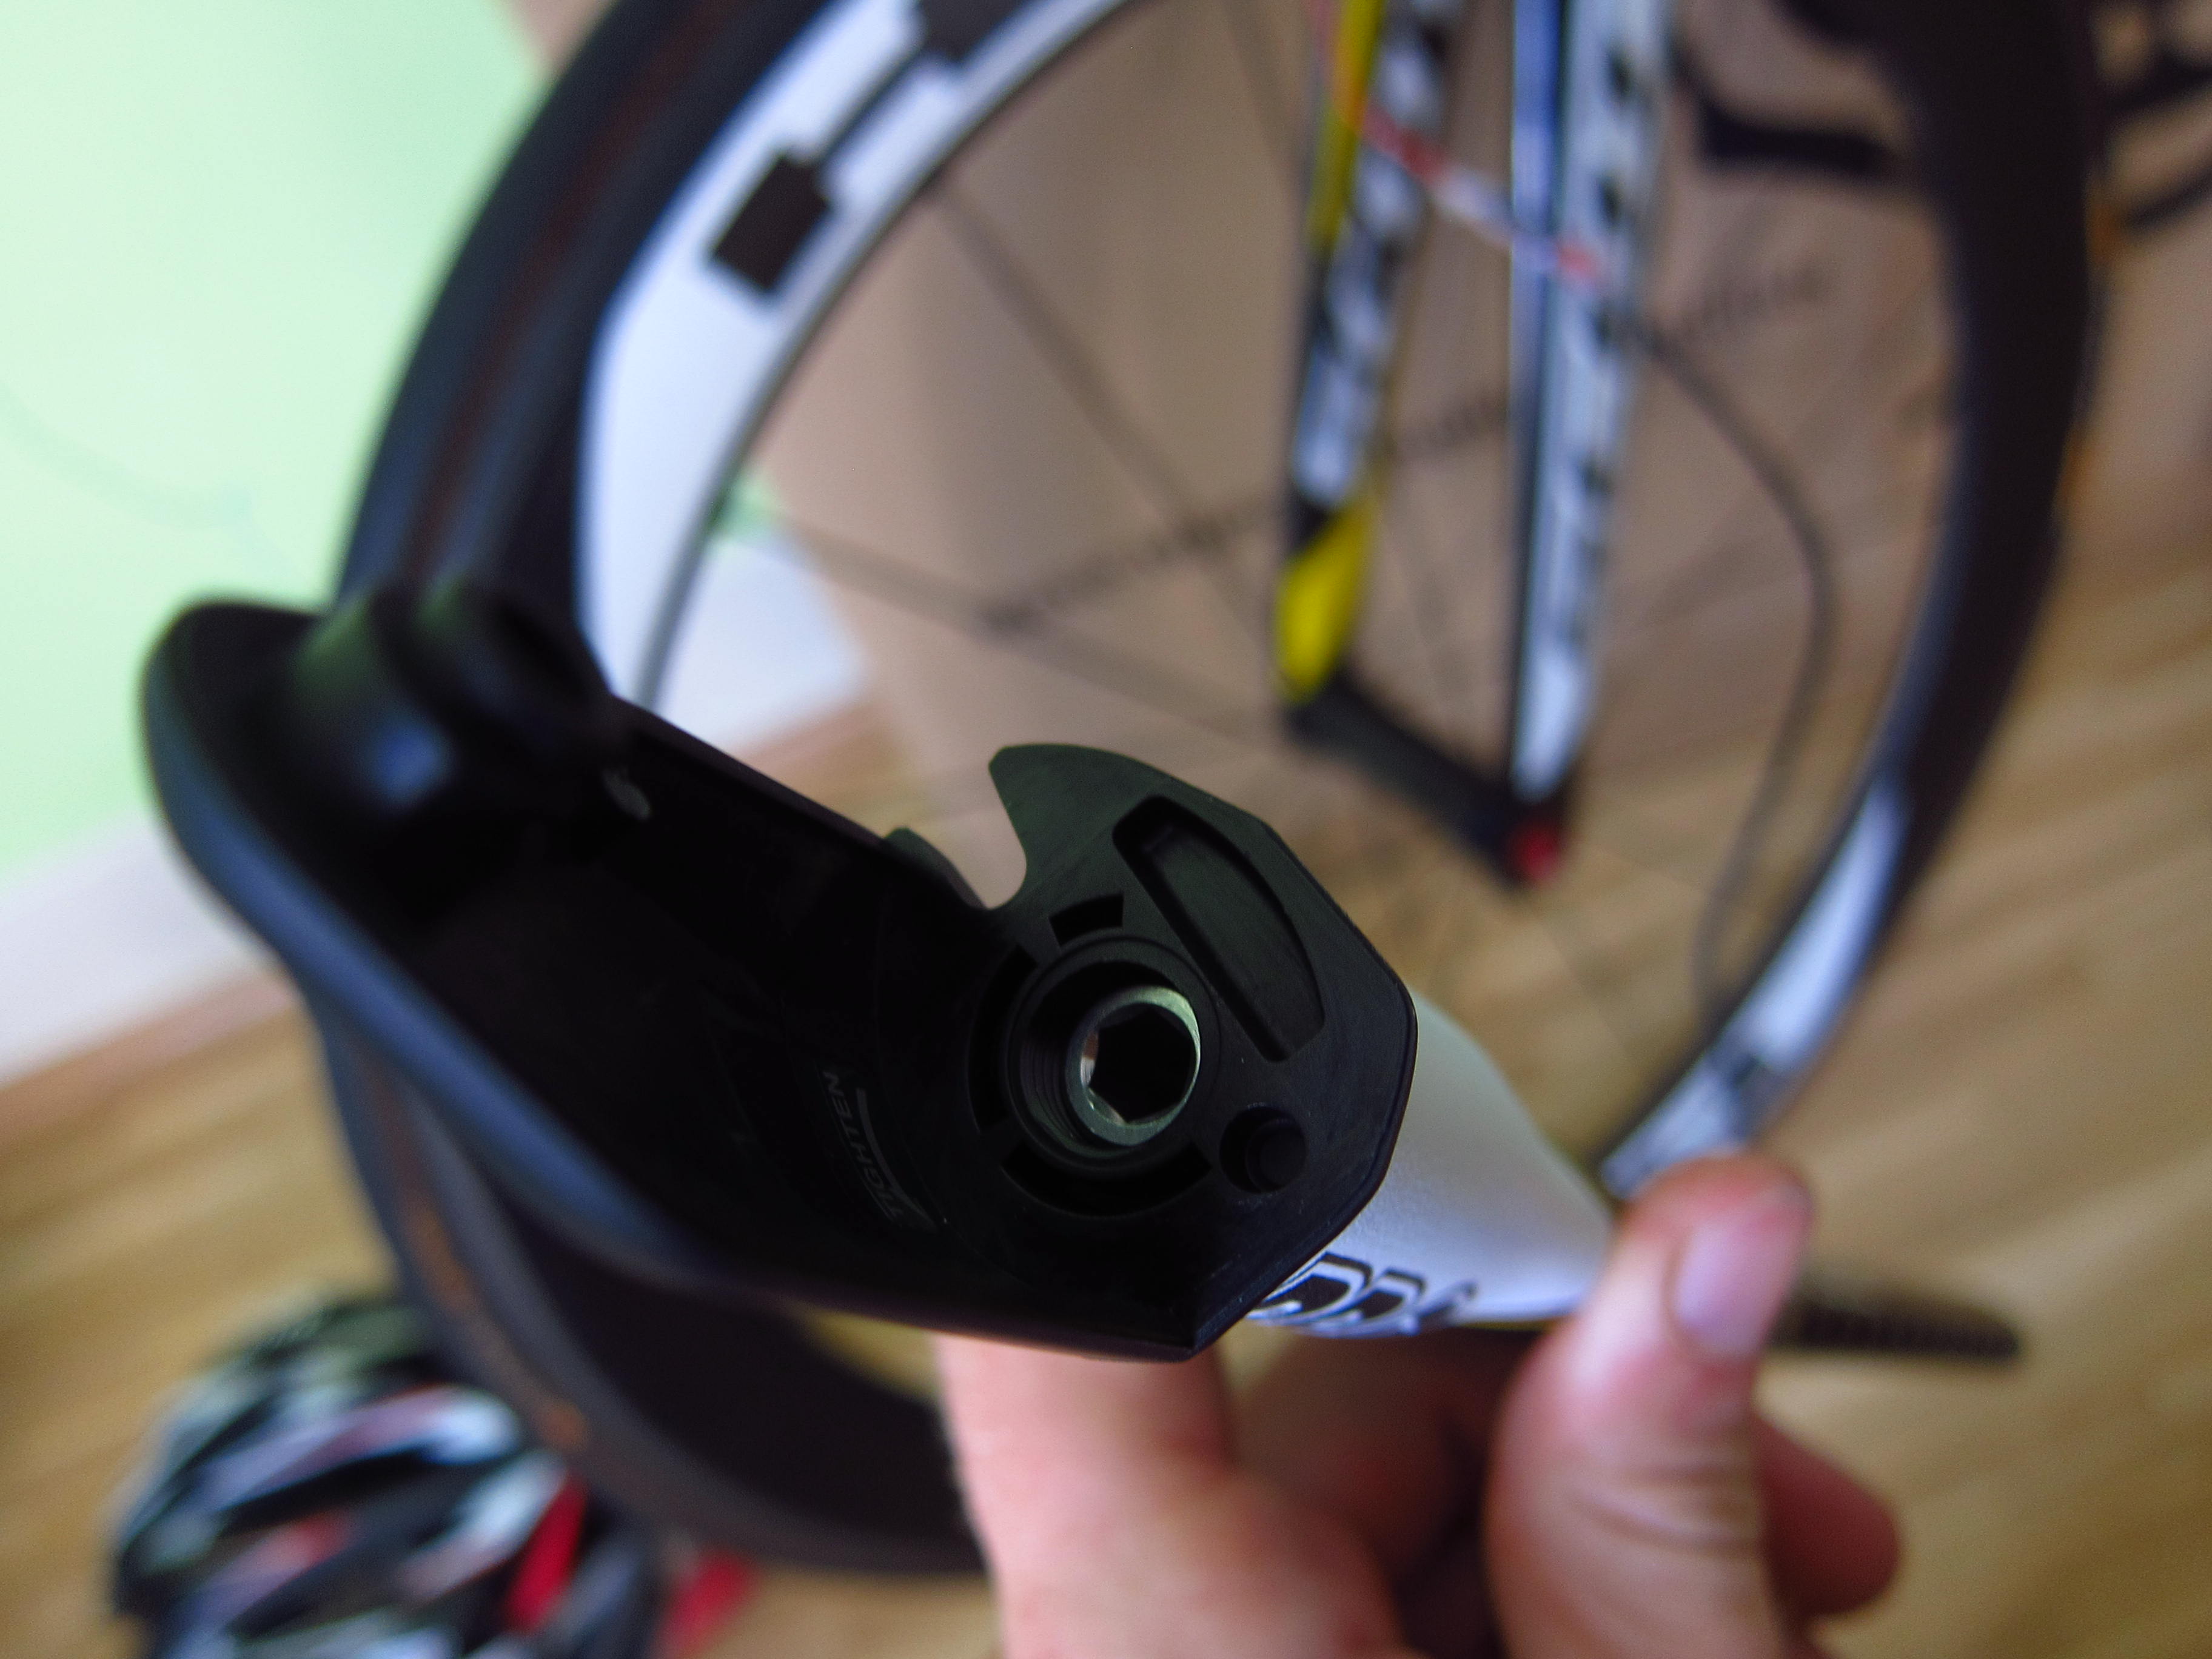
The first plug comes out of the base bar – three more to go.

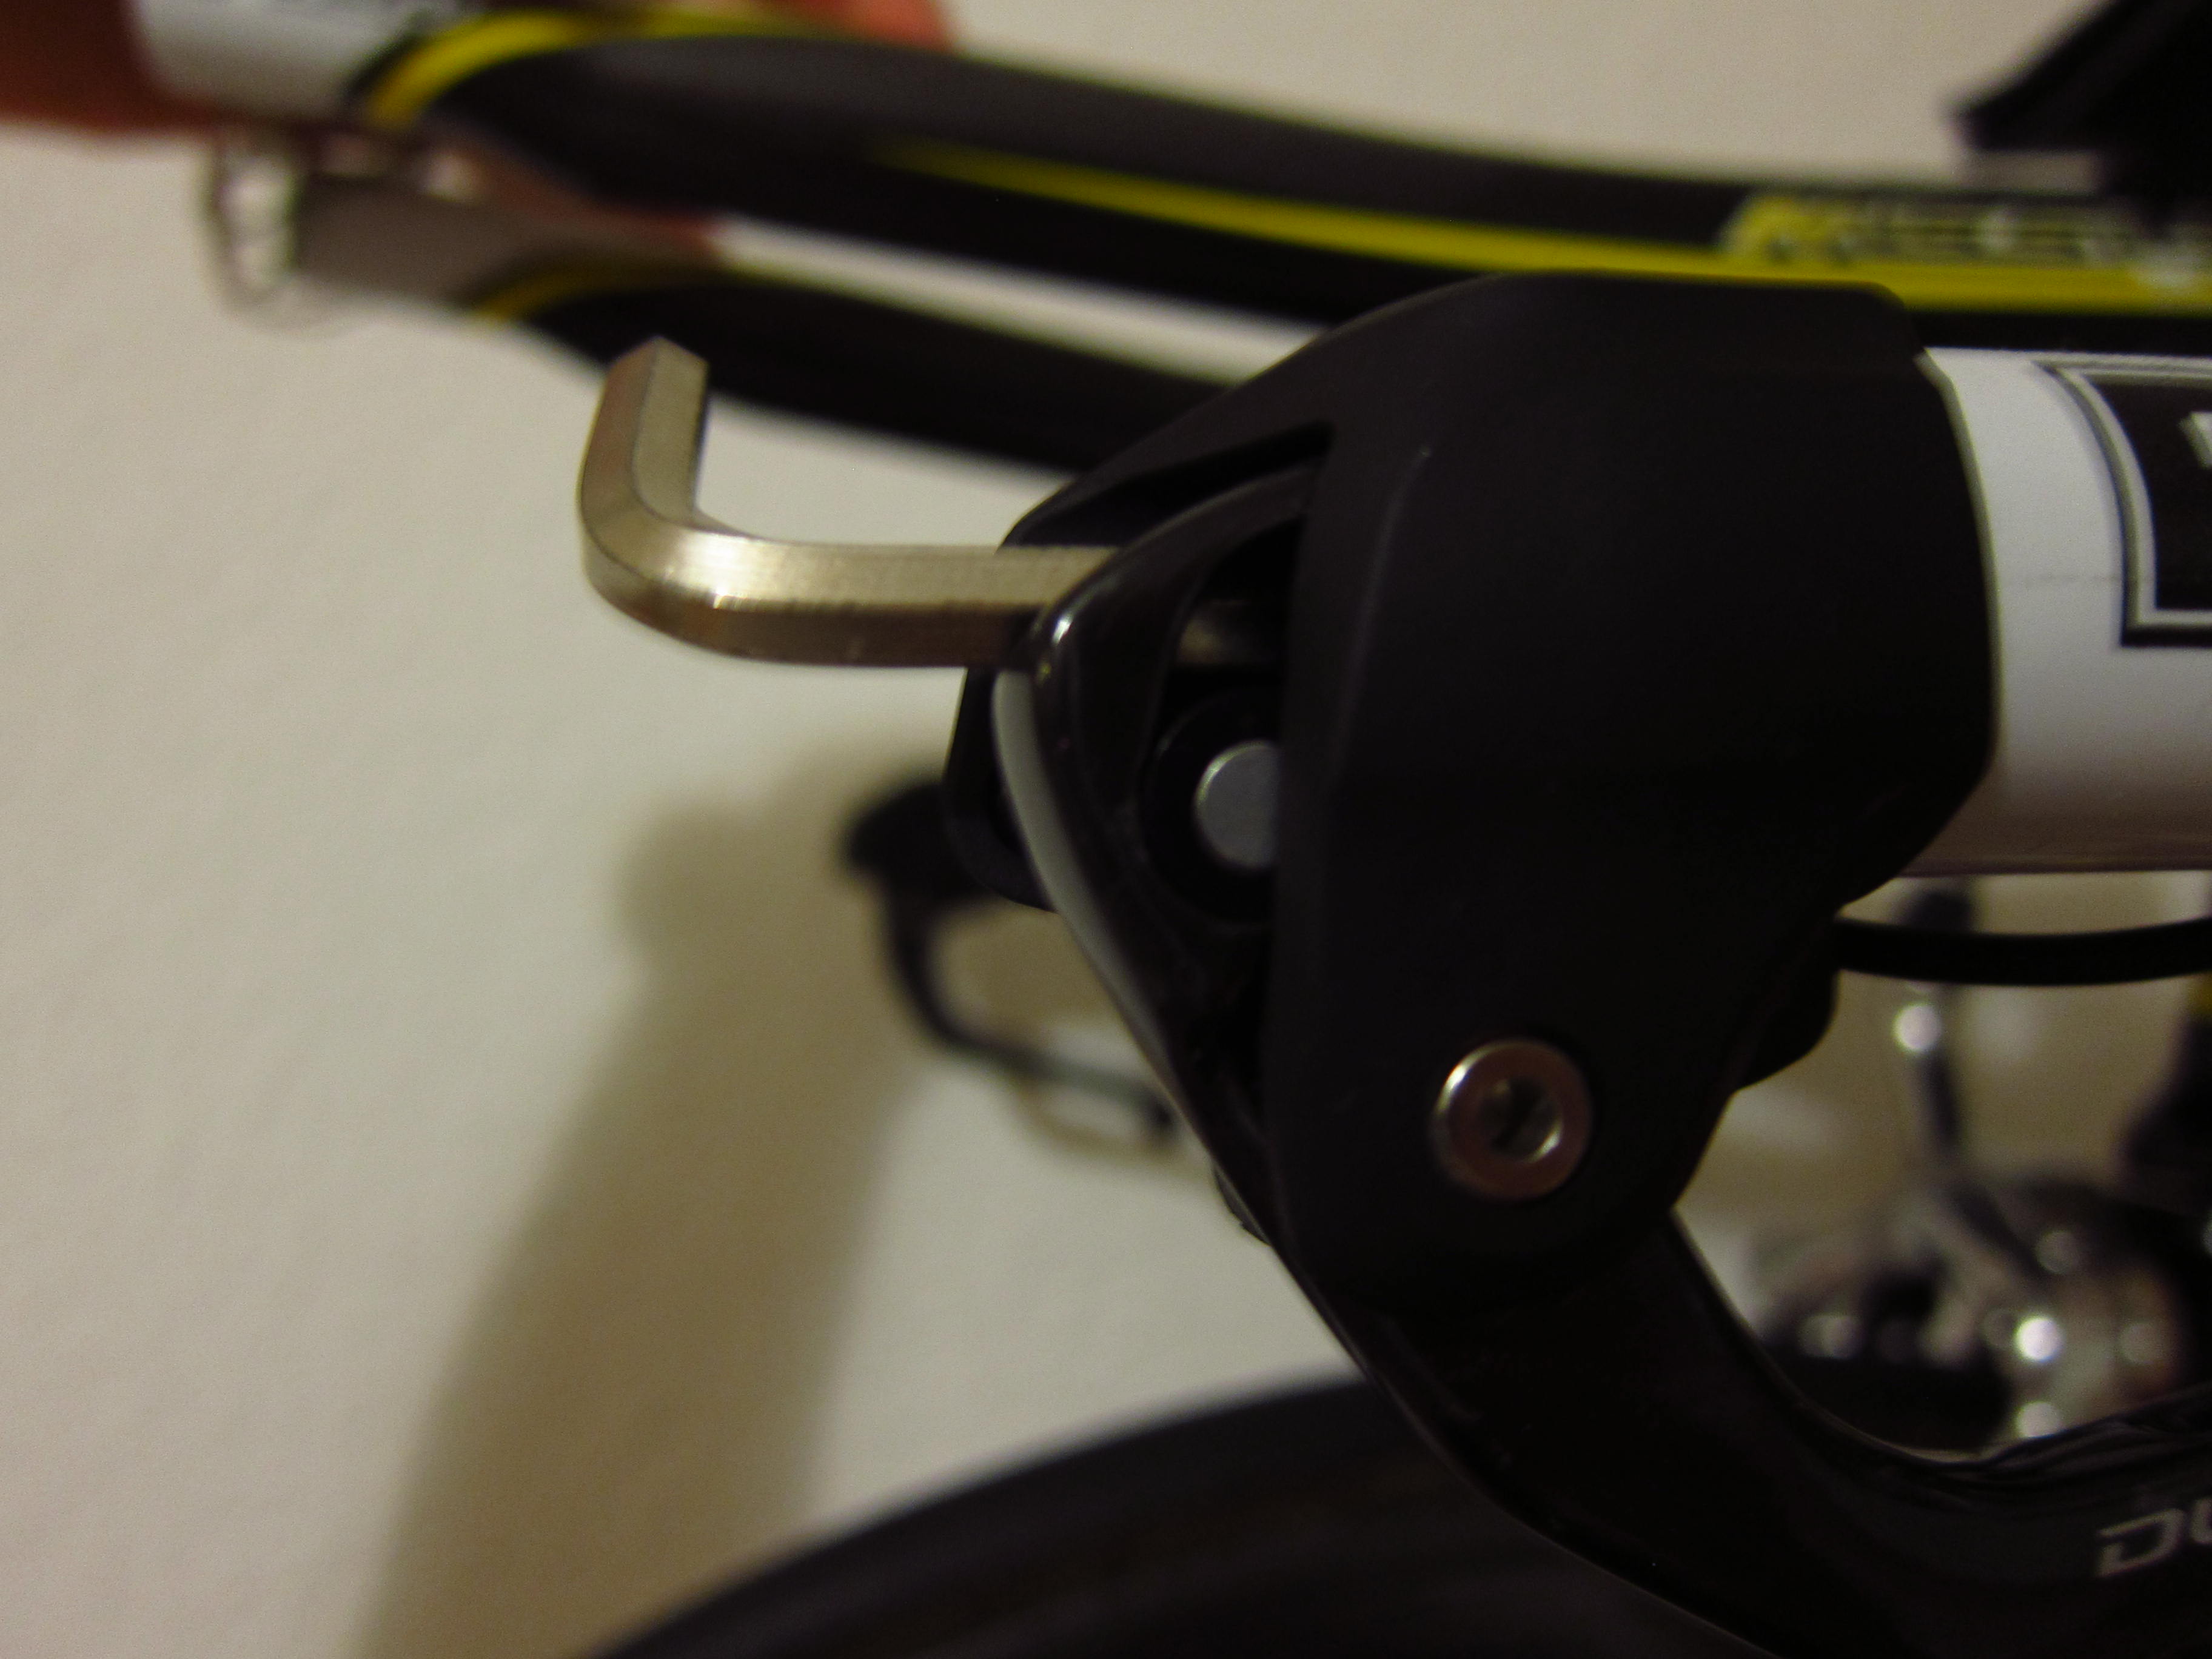
The brake shift lever dangling around the bull horn.
And fixed with a hex key.
The extension shifters mounted to the extensions.
The extension shifter cables have to run trough the spacers beneath the extensions…
and trough the basebar.
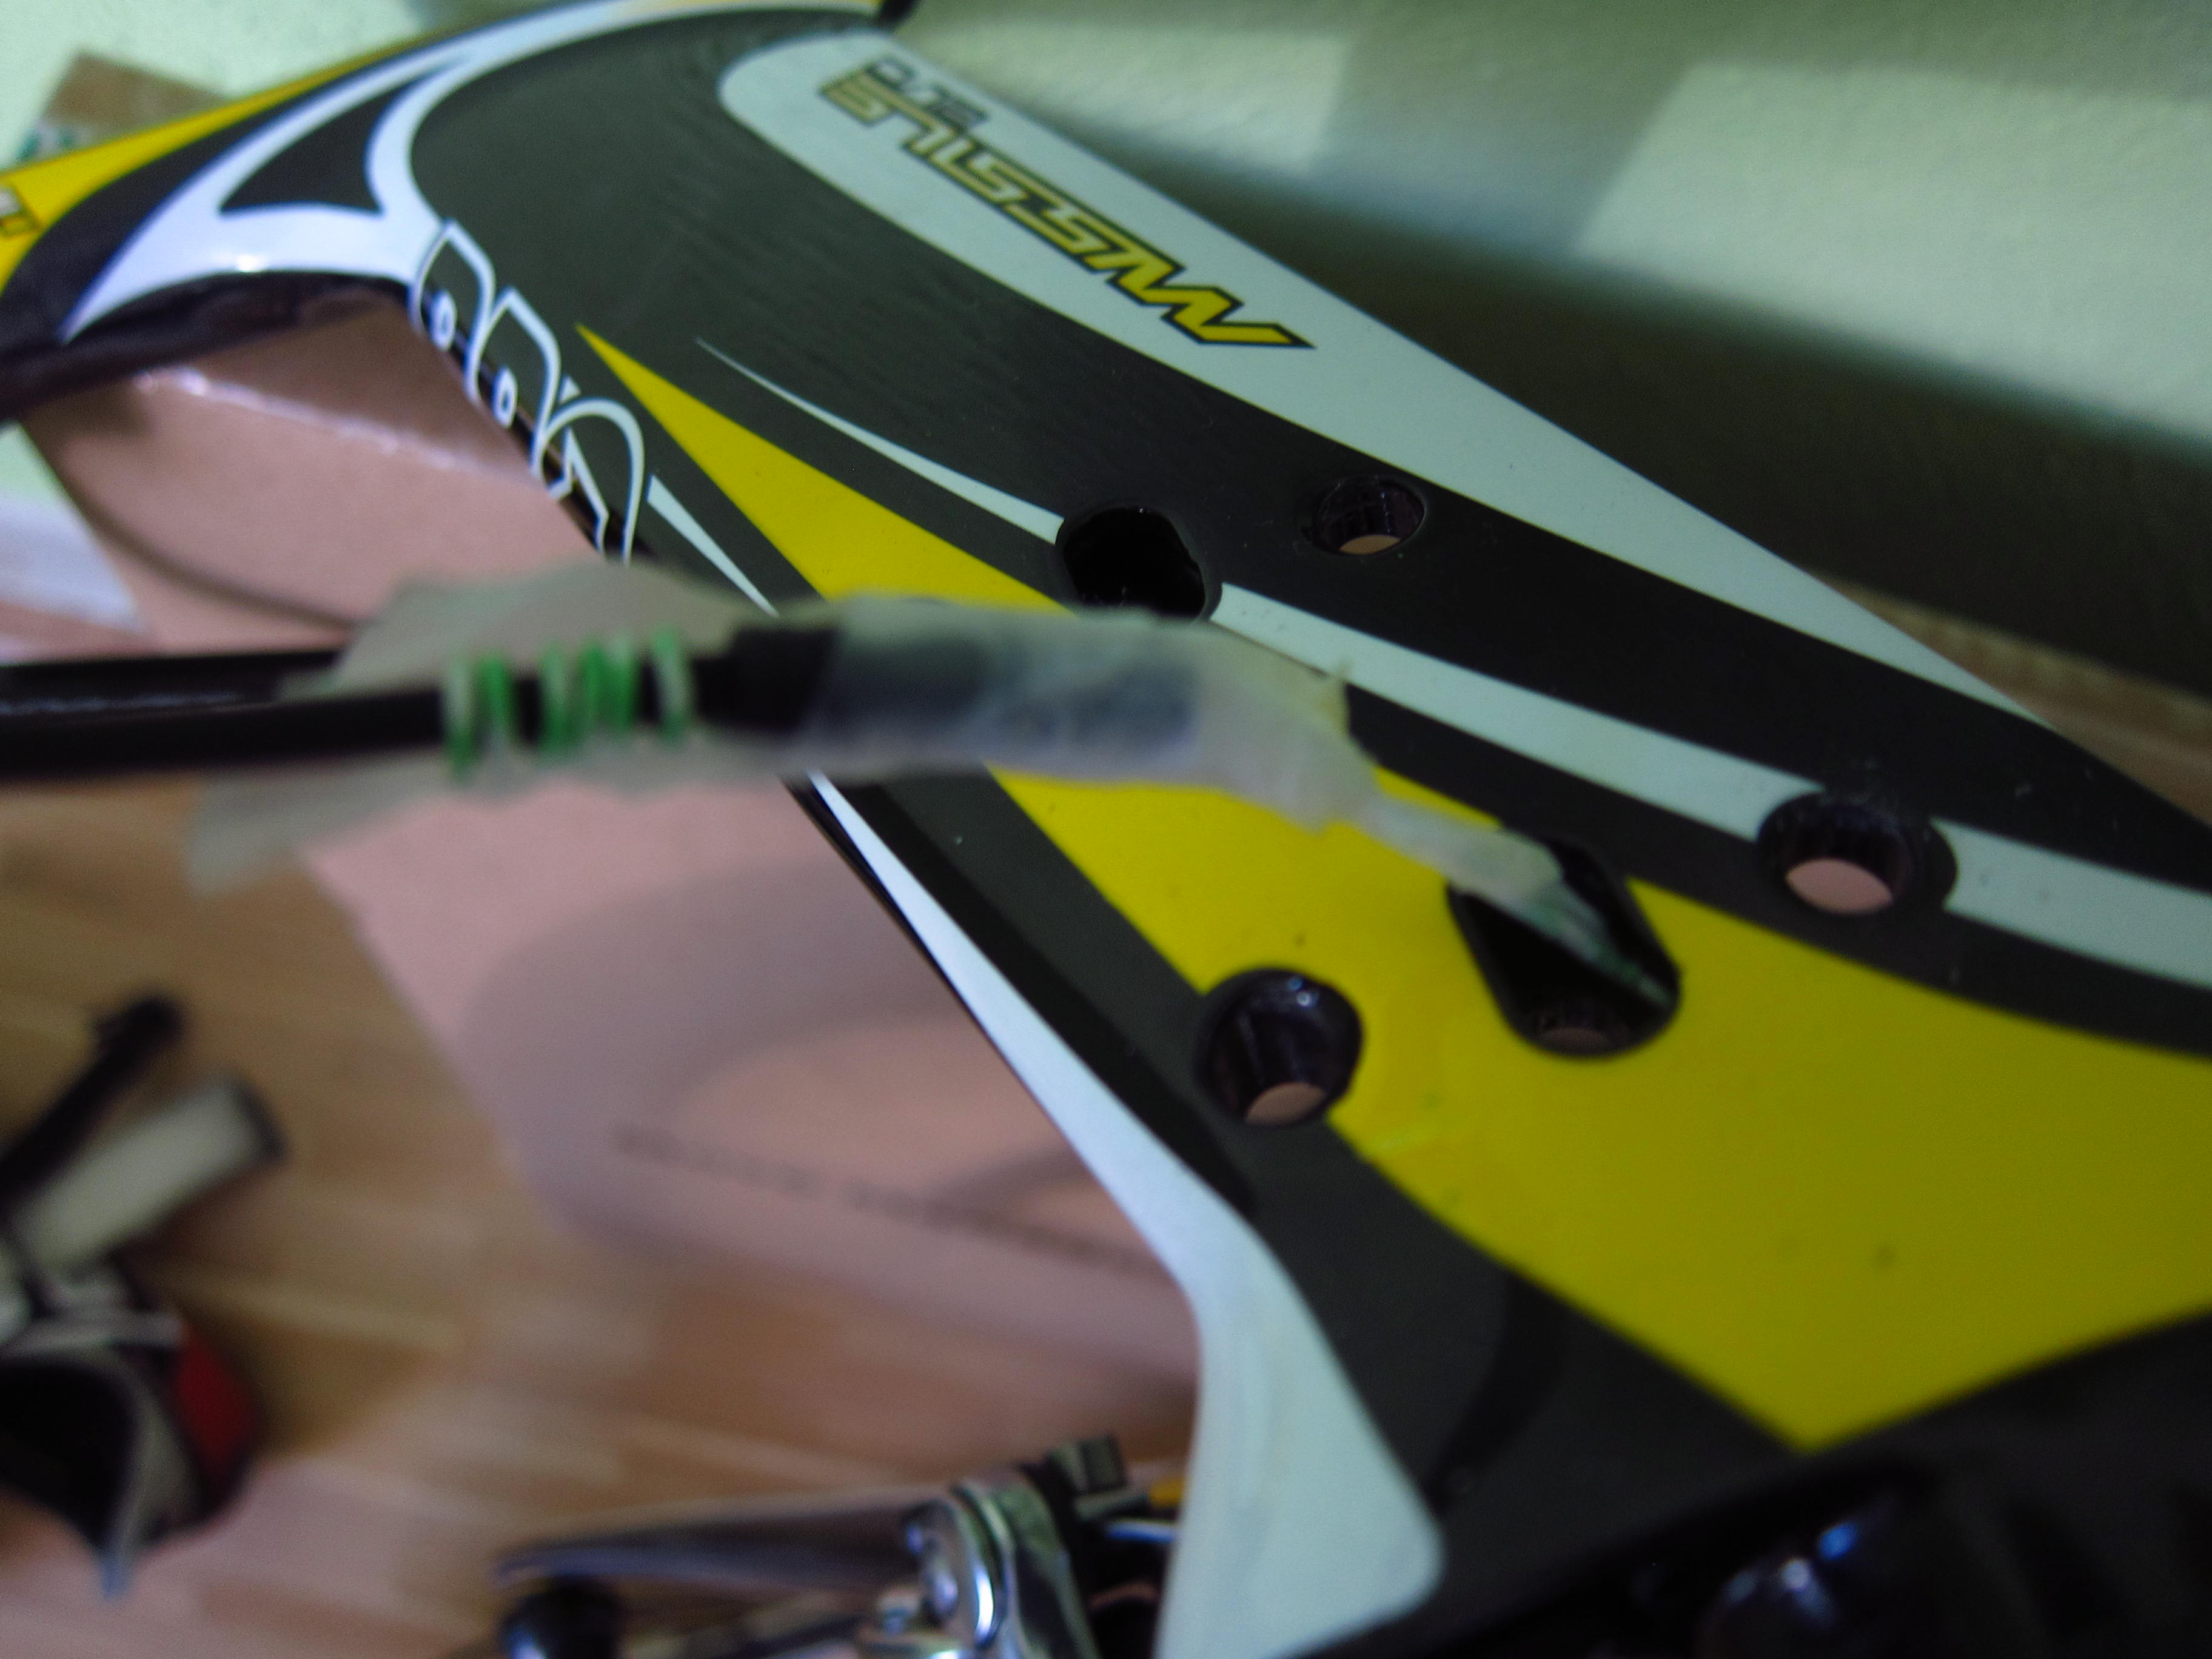
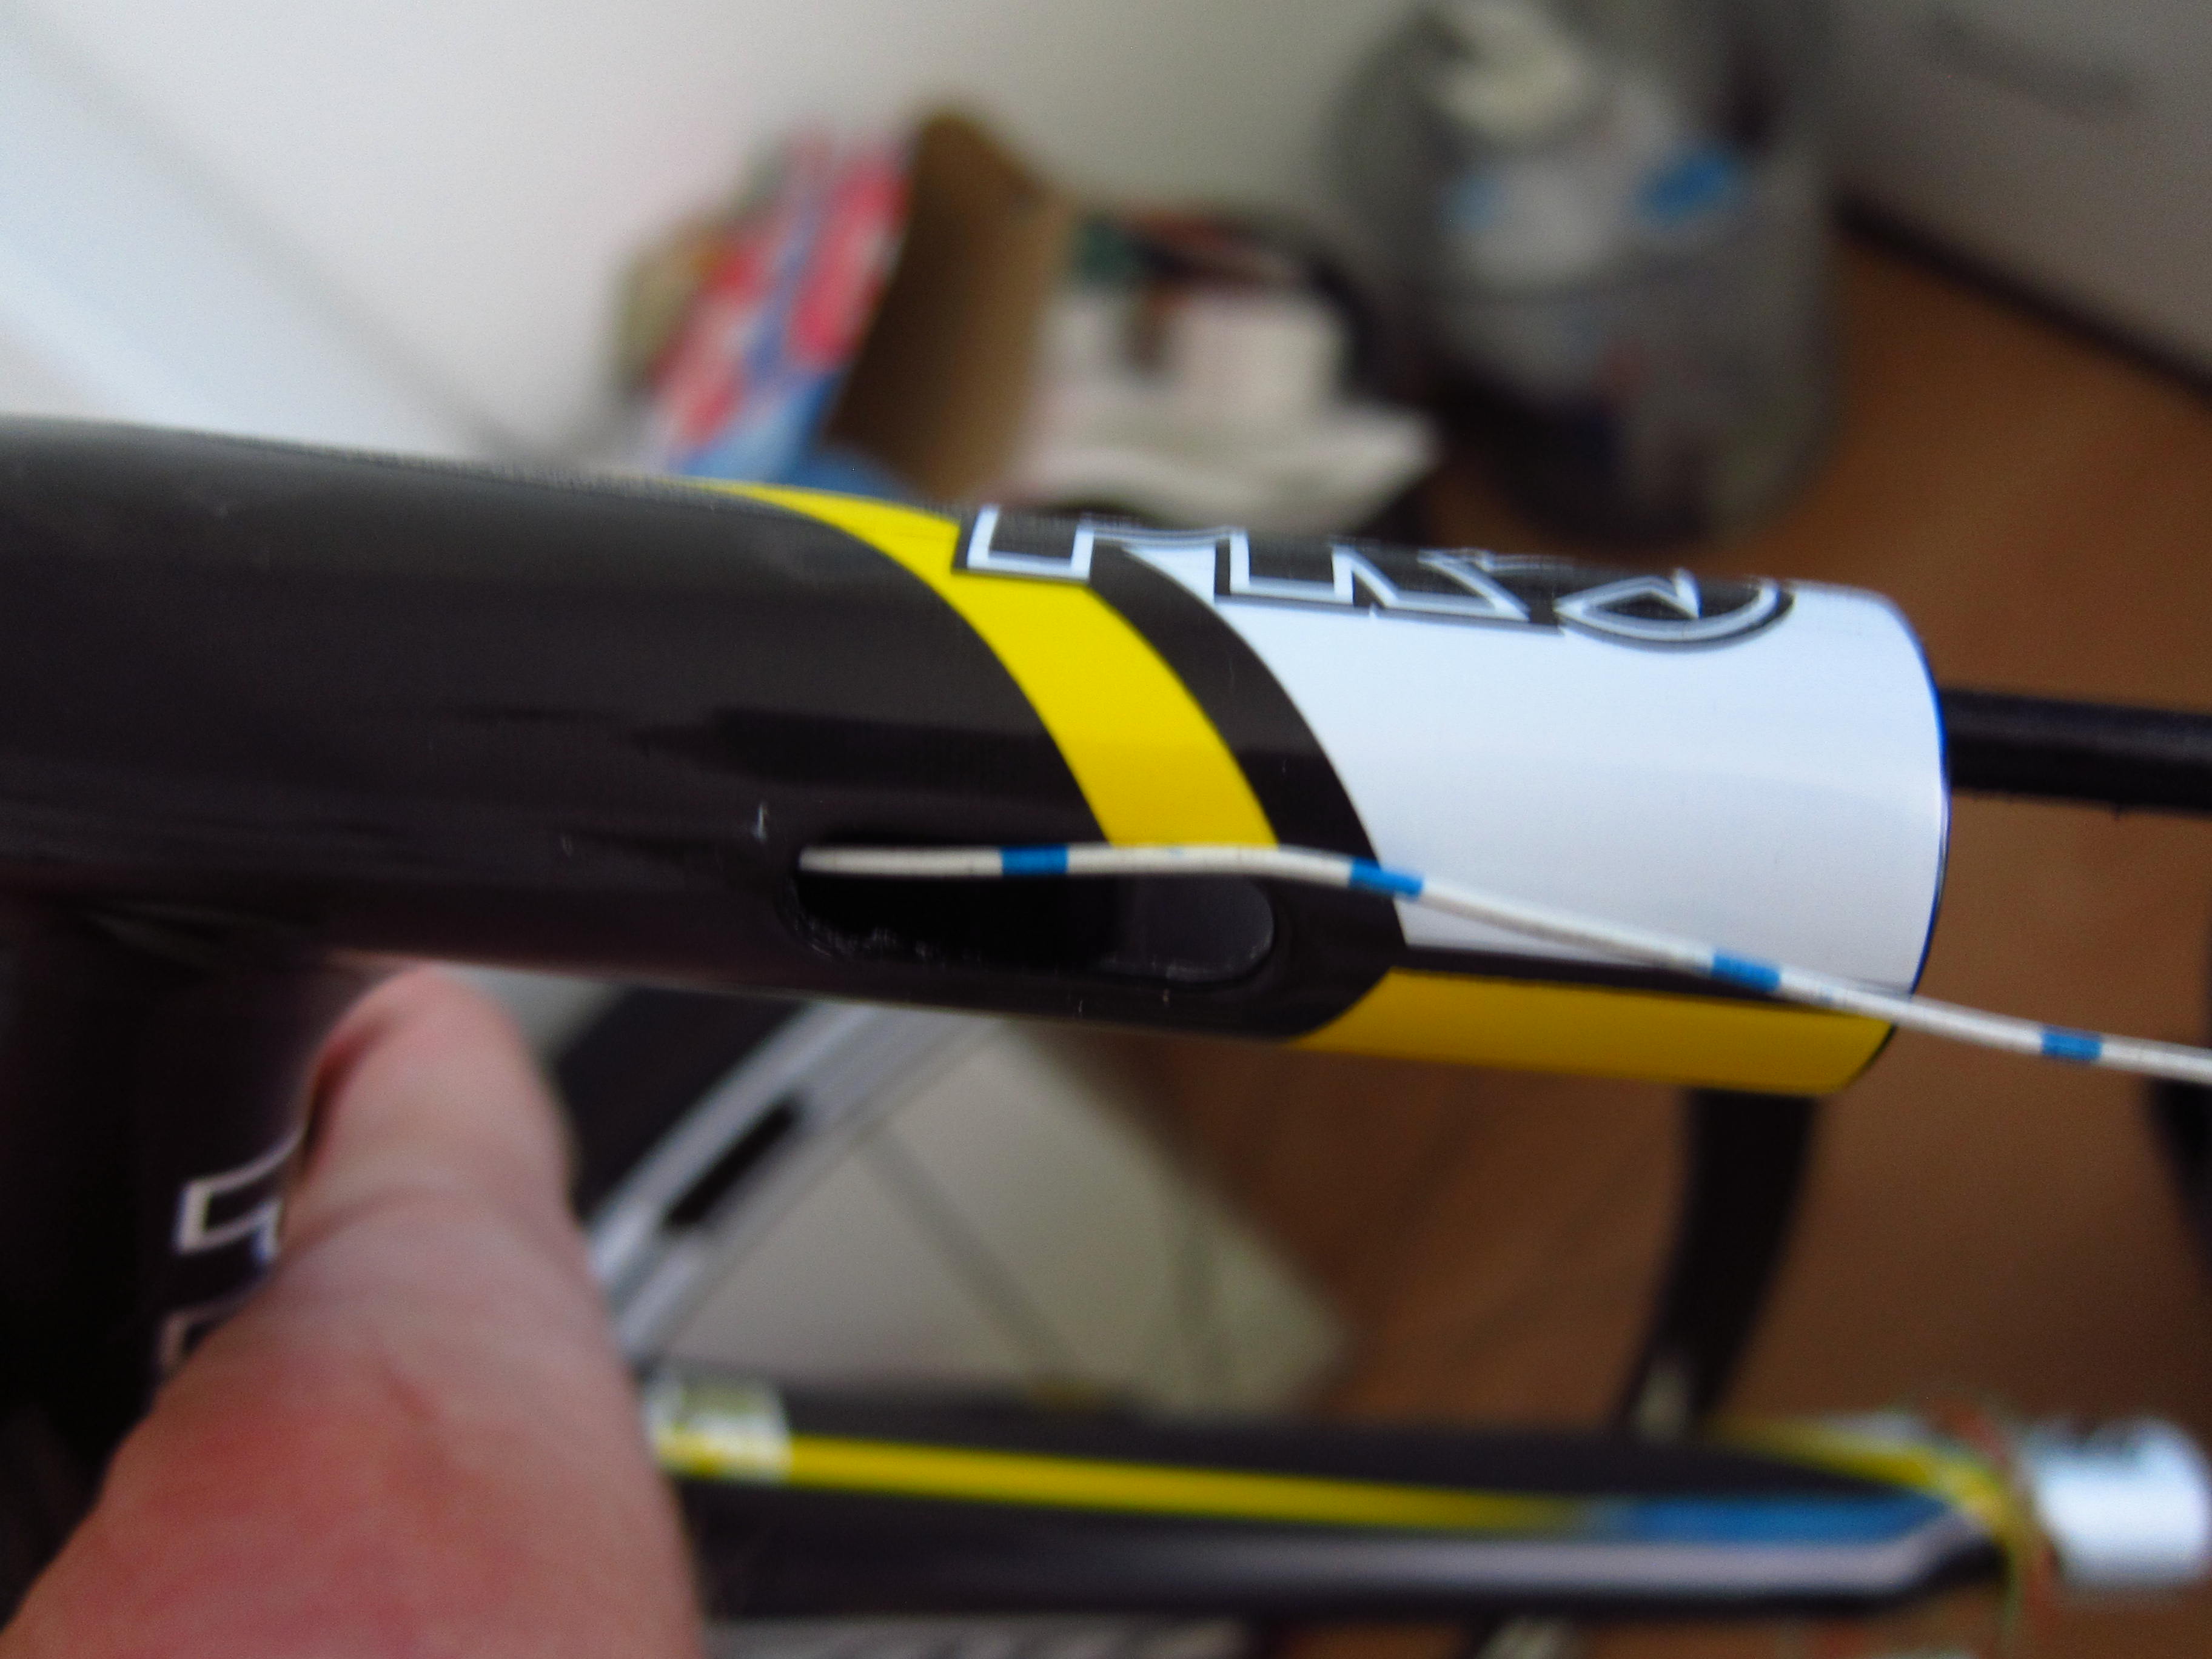
The plugs will finally arrive at the cavity of the stem.
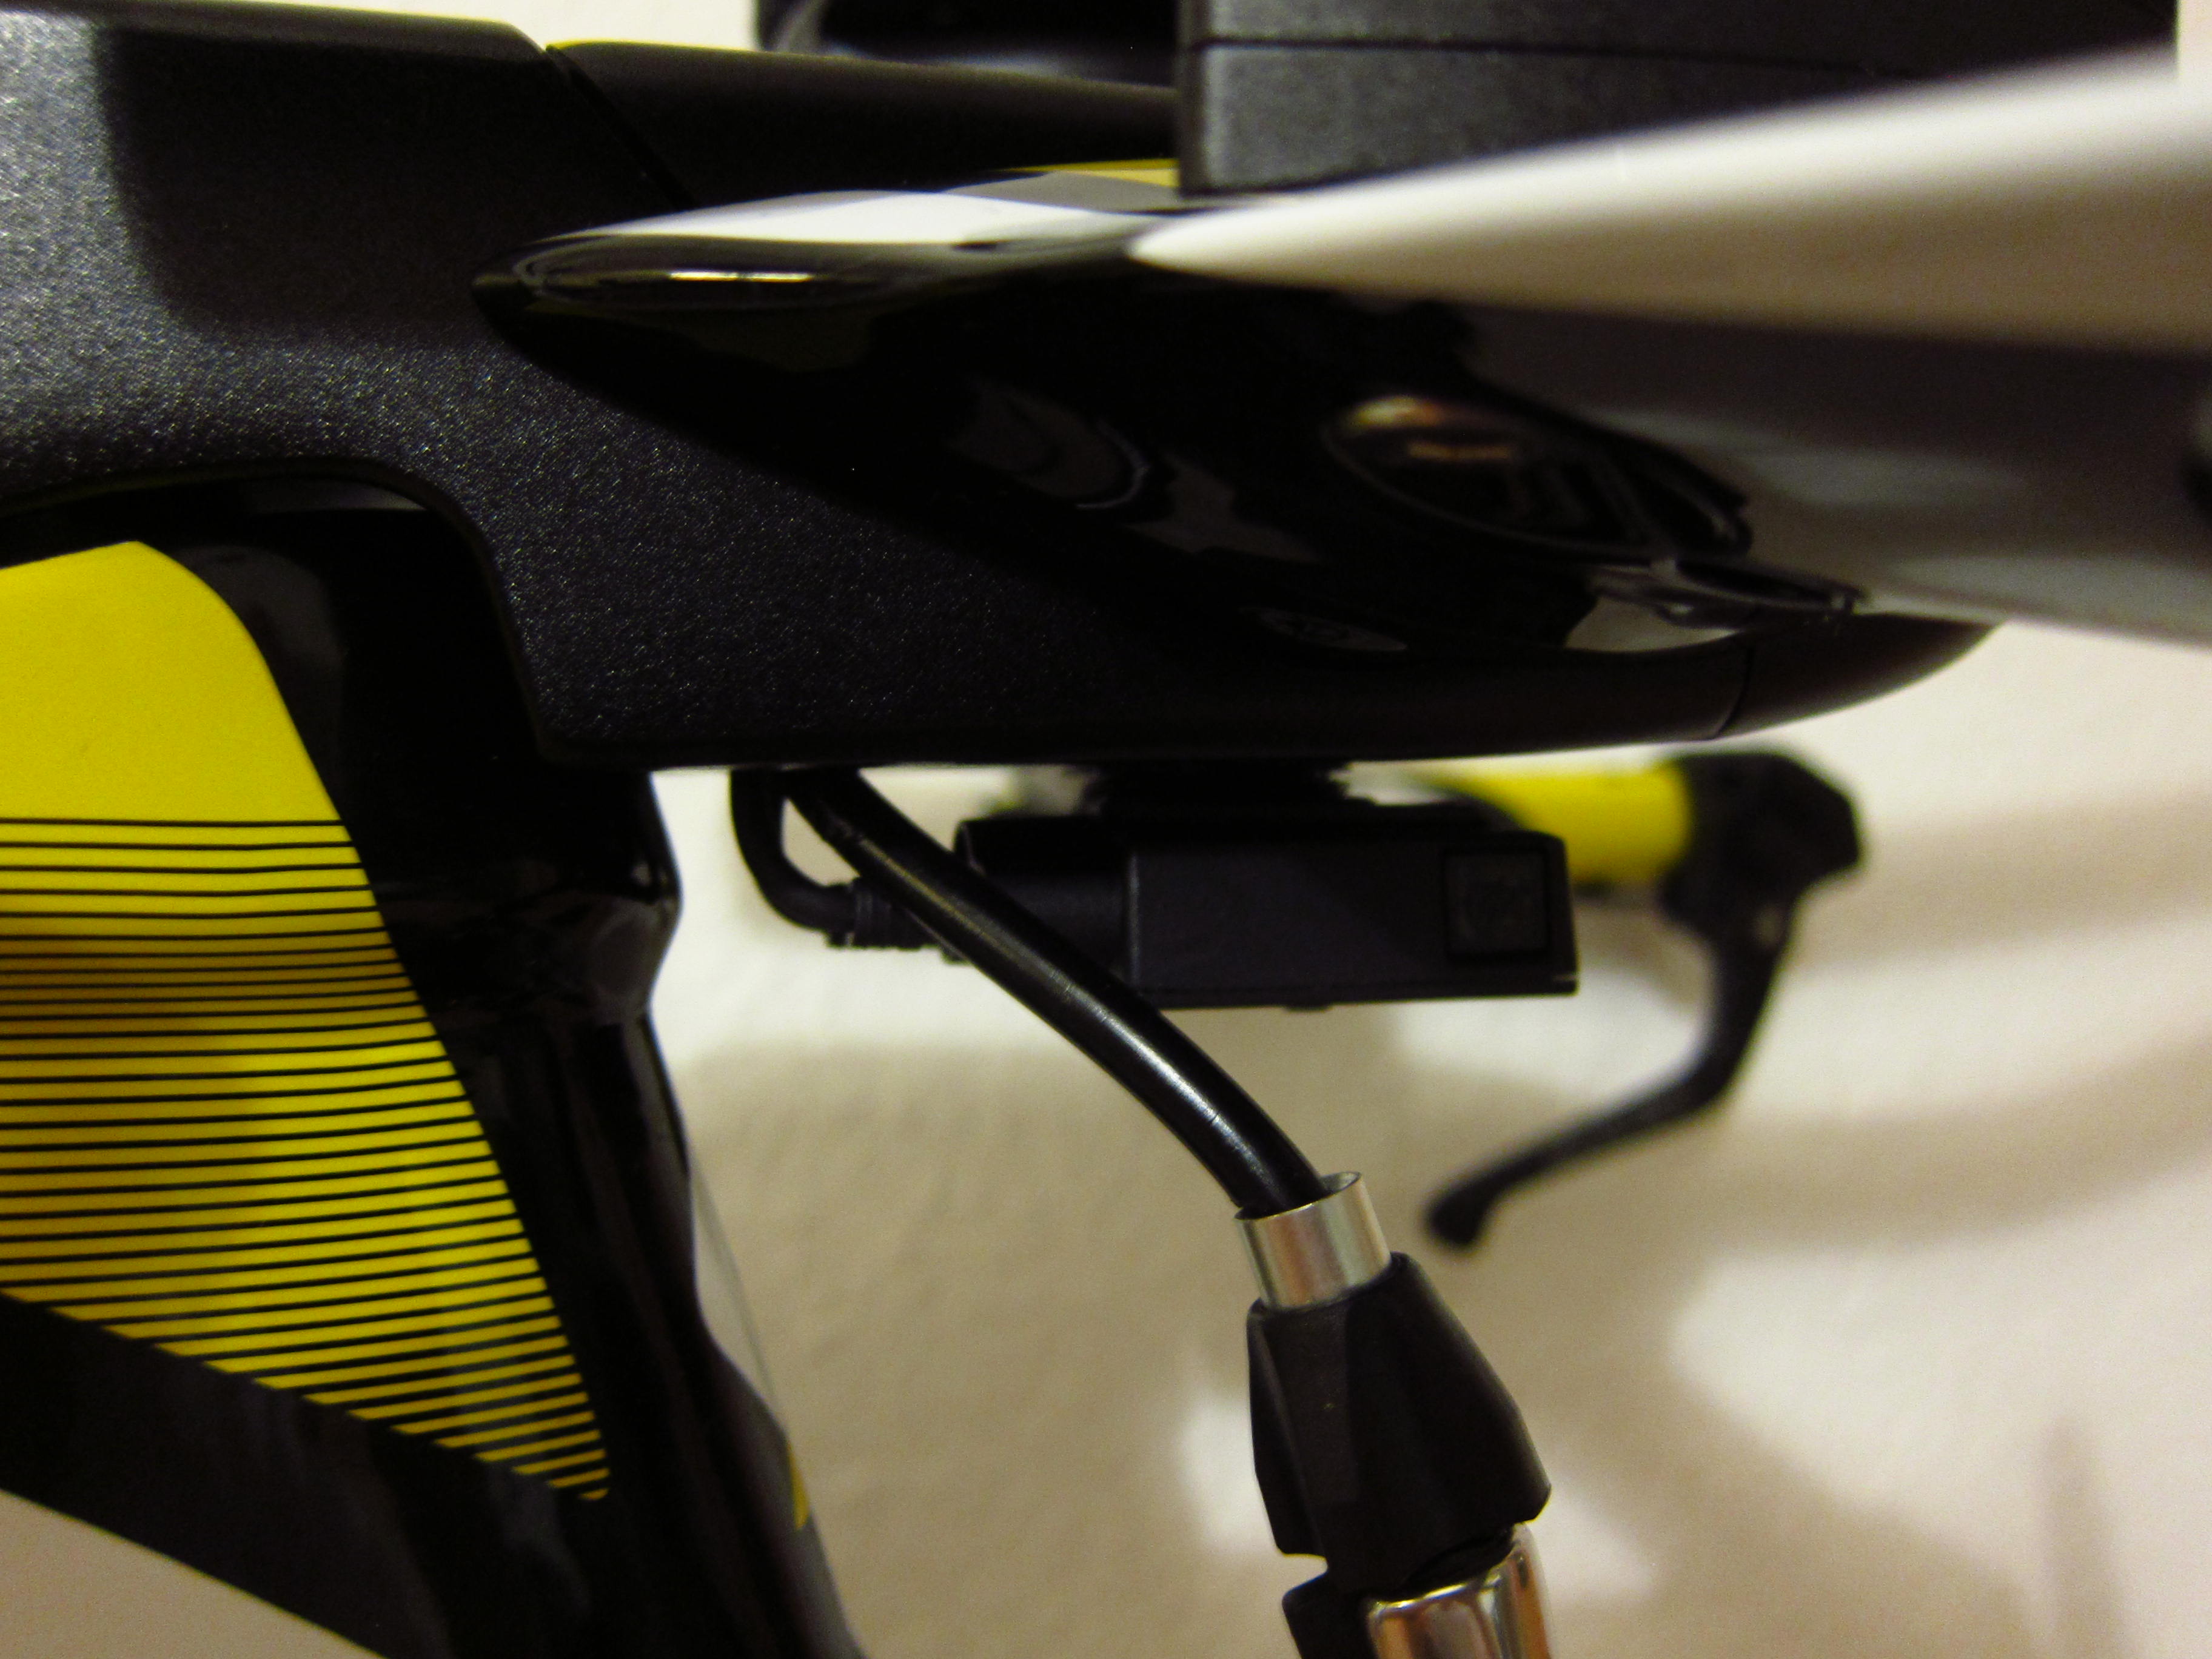
The original plan was to put the front junction box into the cavity.
Despite grinding off some plastic extensions of the front junction, I wasn’t successful to achieve that – the box is a couple of millimeters to long.
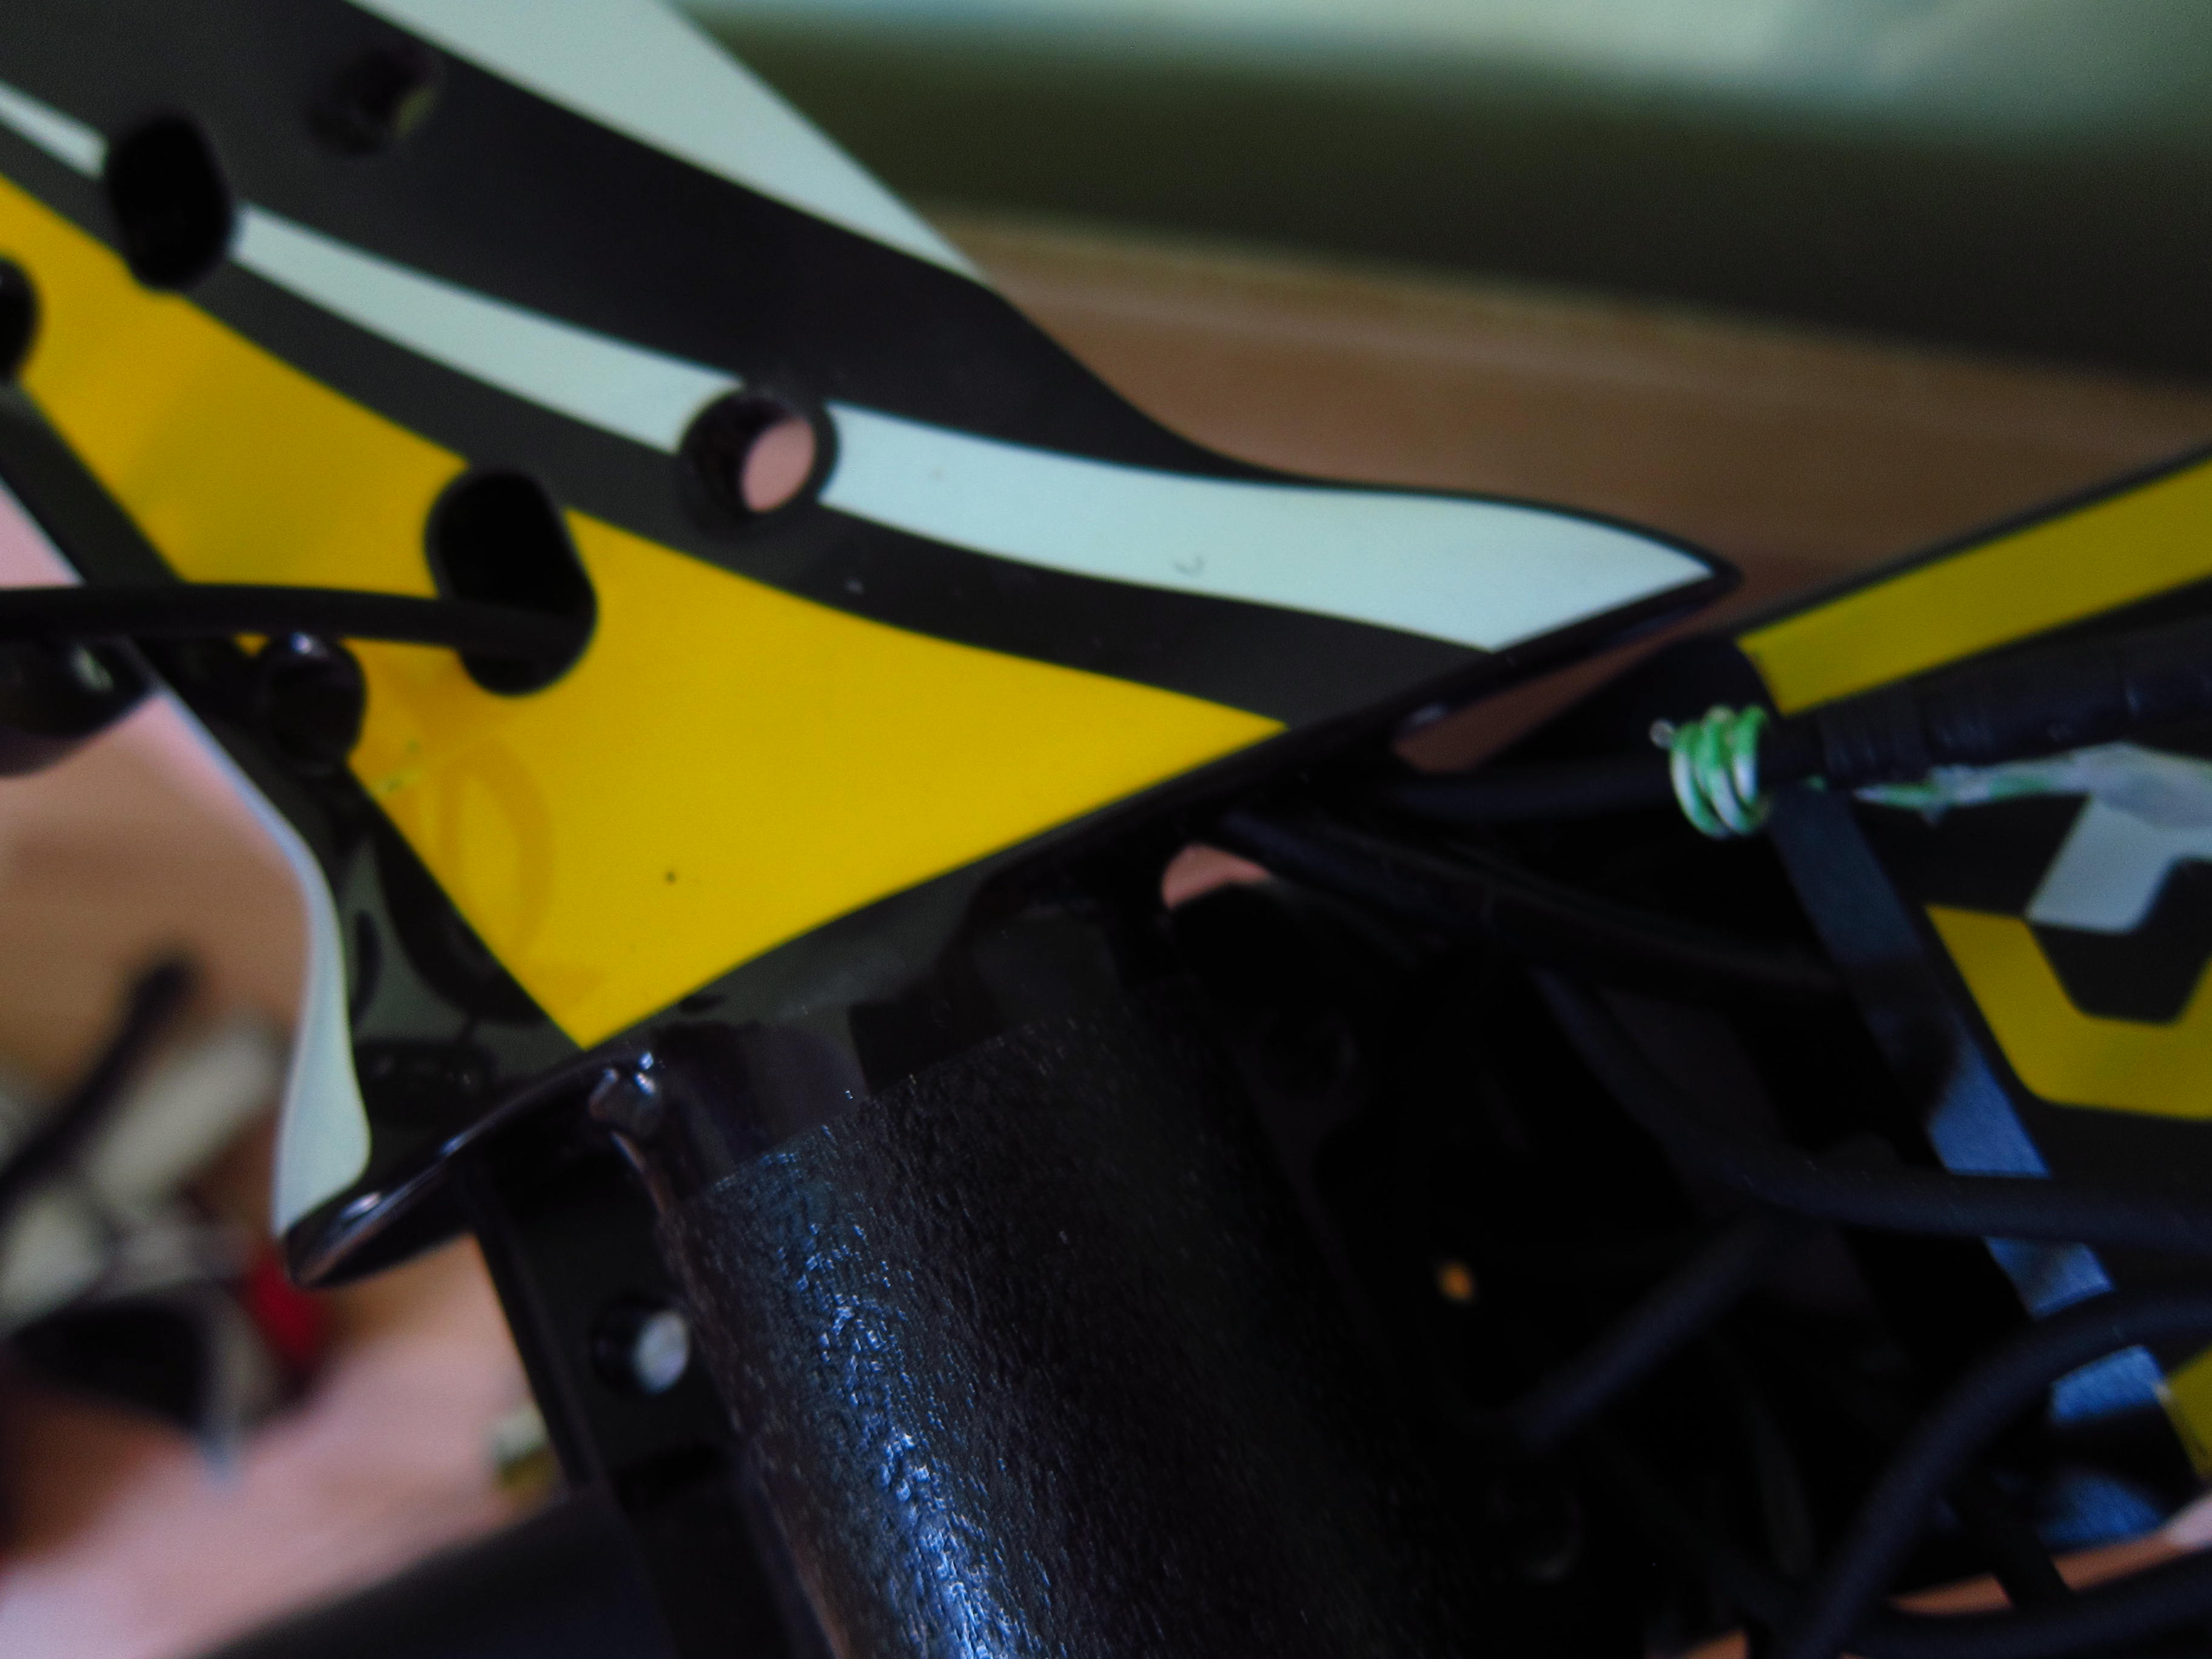
So I decided to mount the front junction directly beneath the stem and to merge all Di2 wires by a custom junction box within the stem – as a result, only one shifter cable will leave the stem.
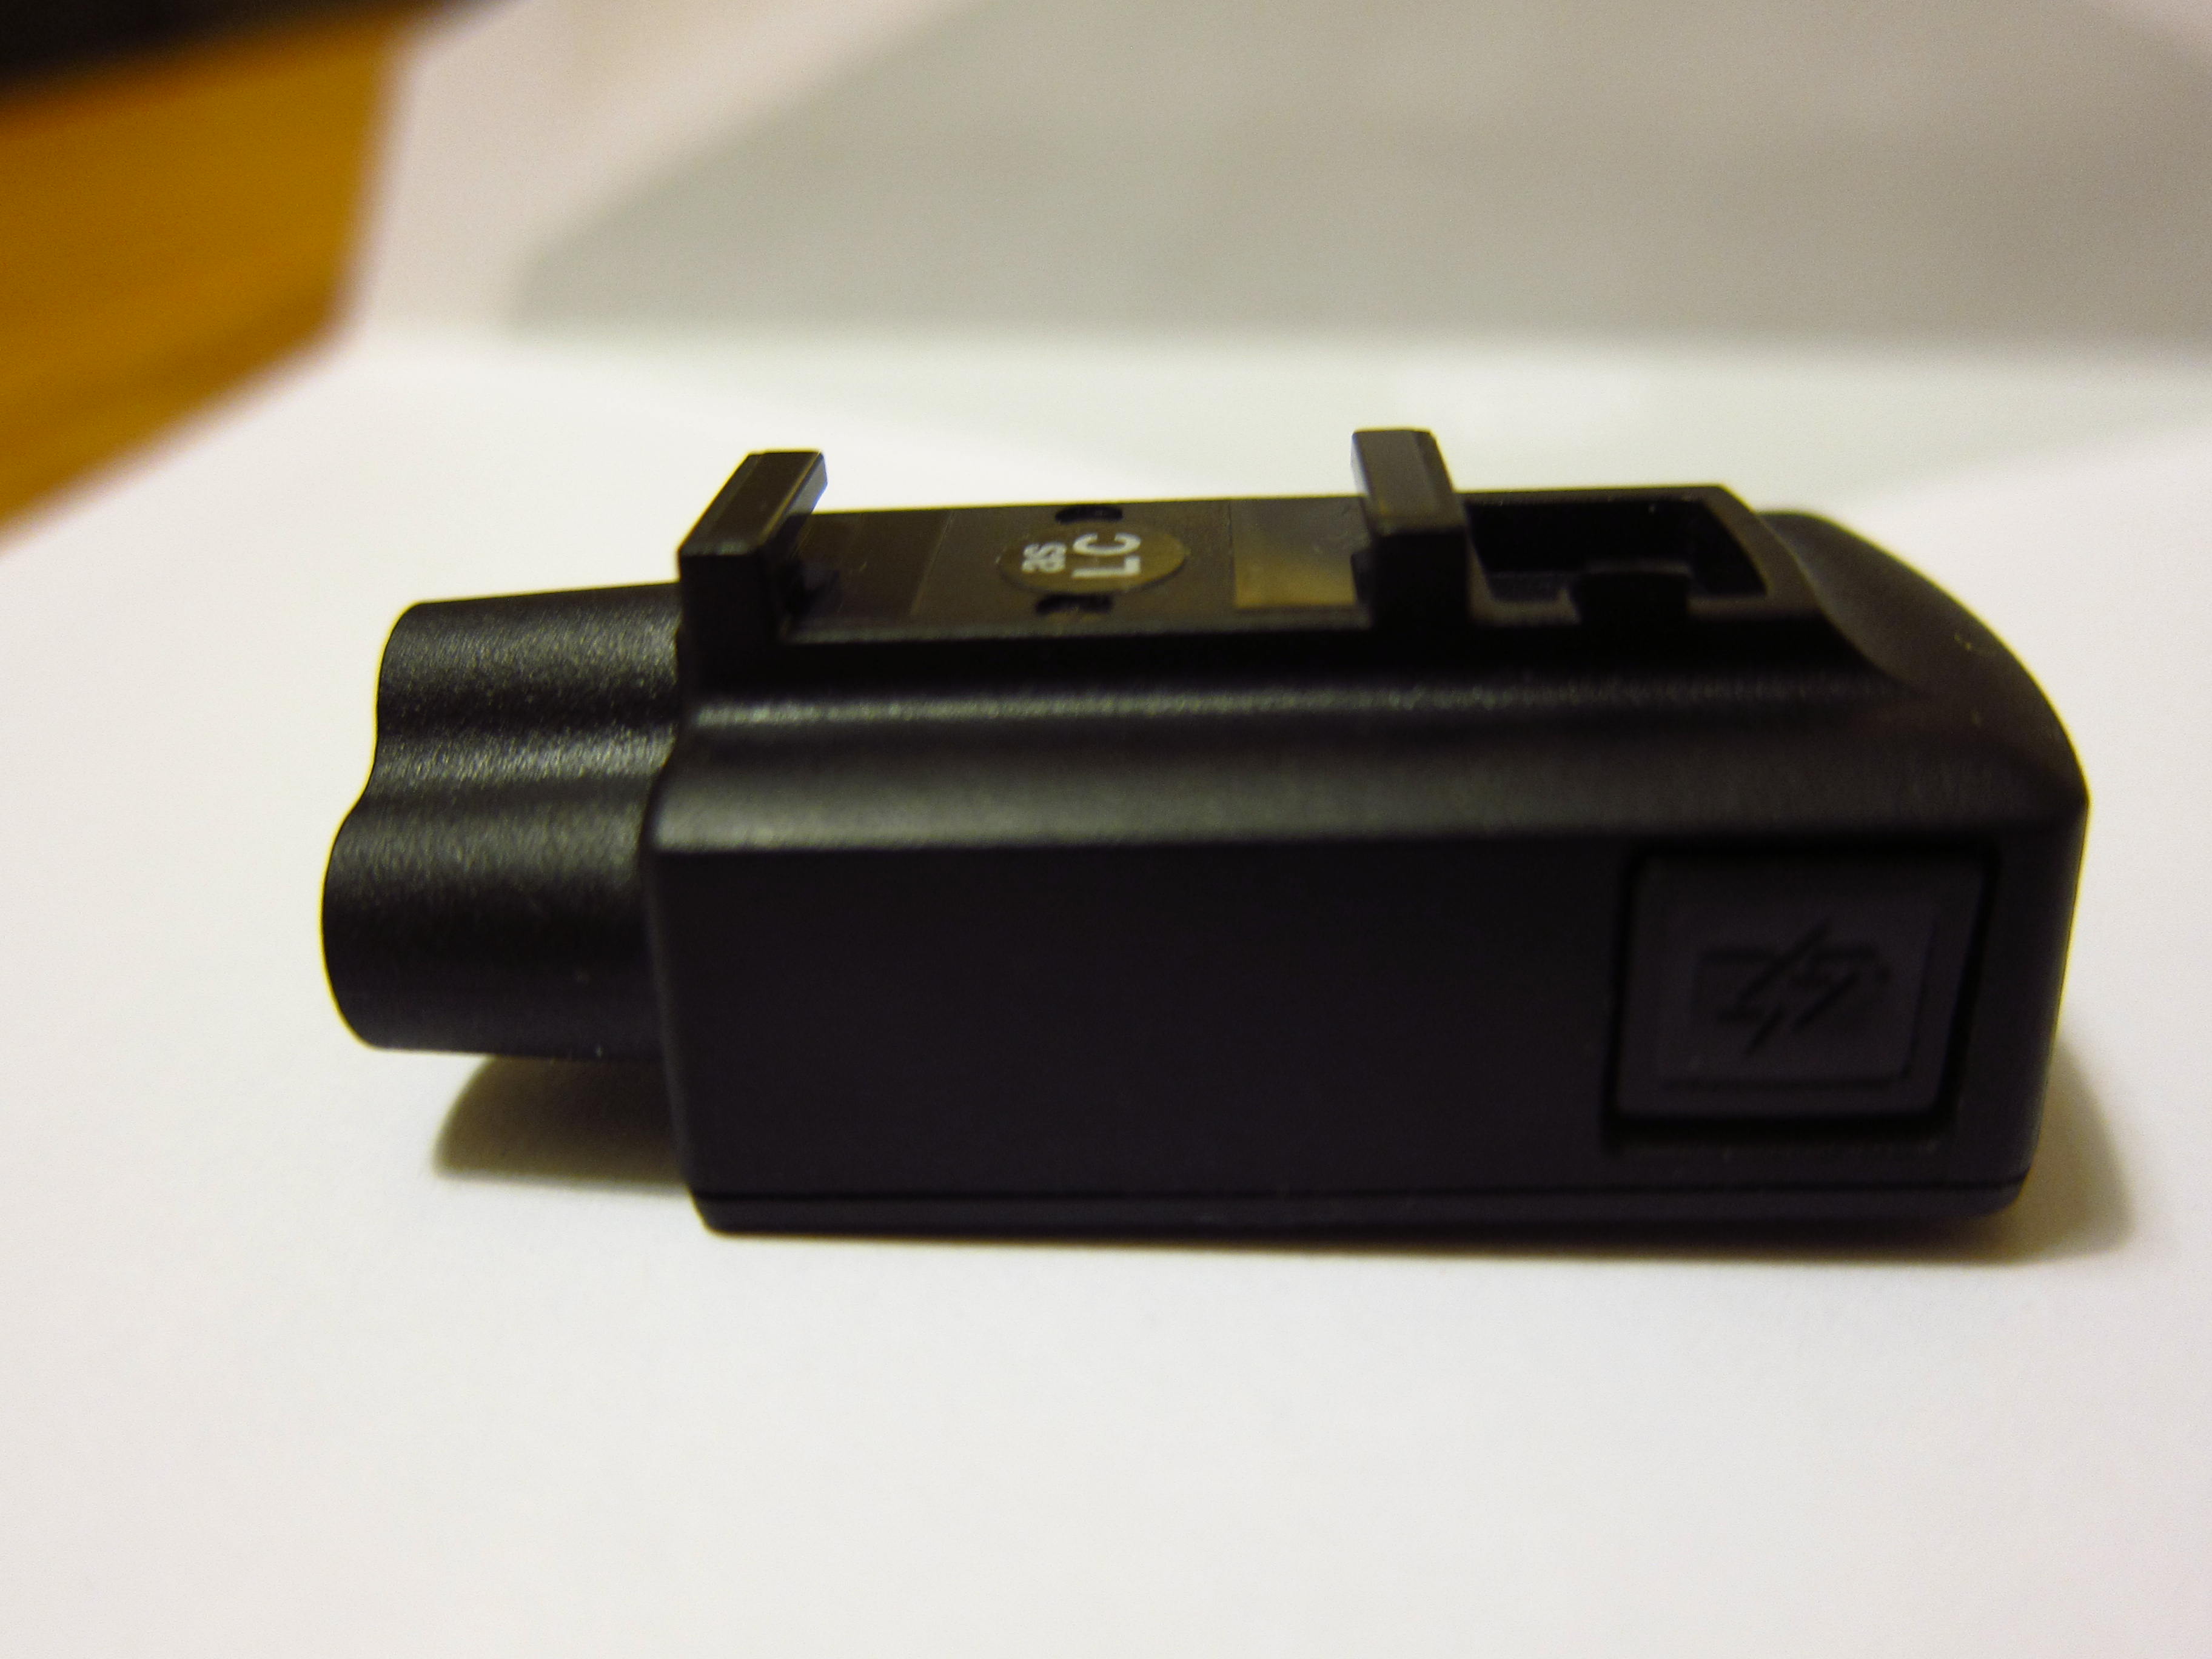
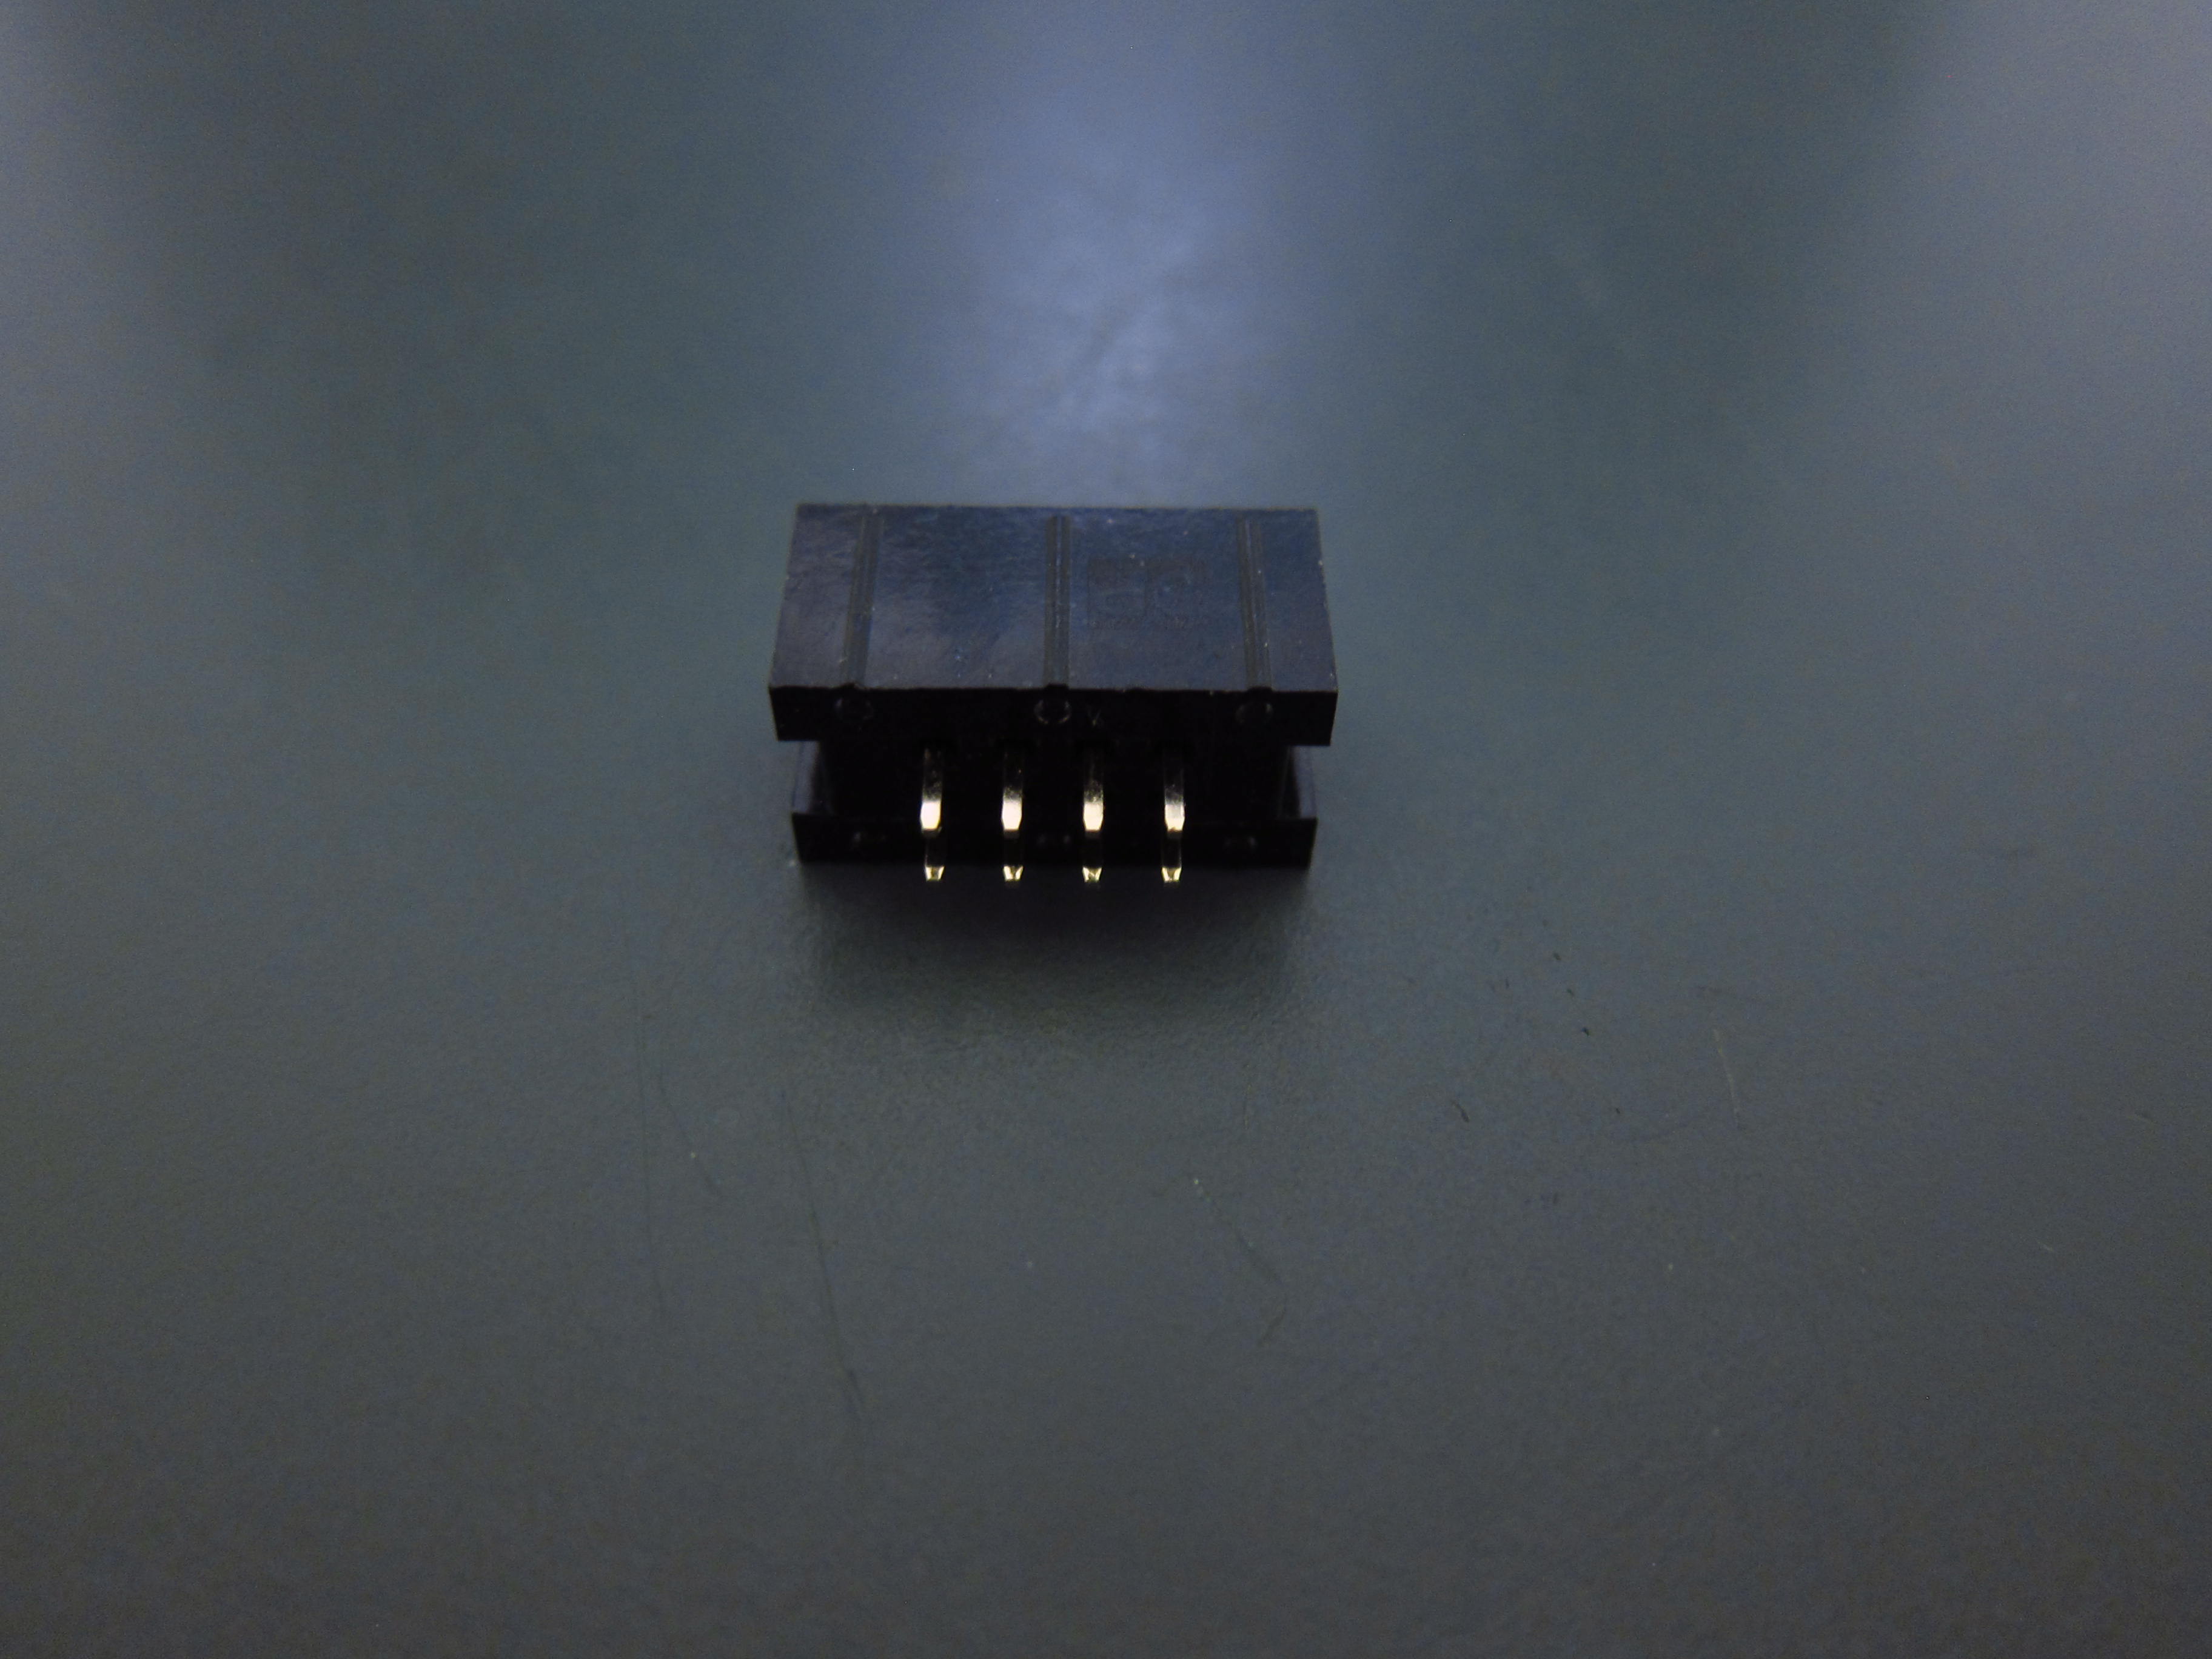
This custom junction box is based on a plug most commonly used on PC mainboards.
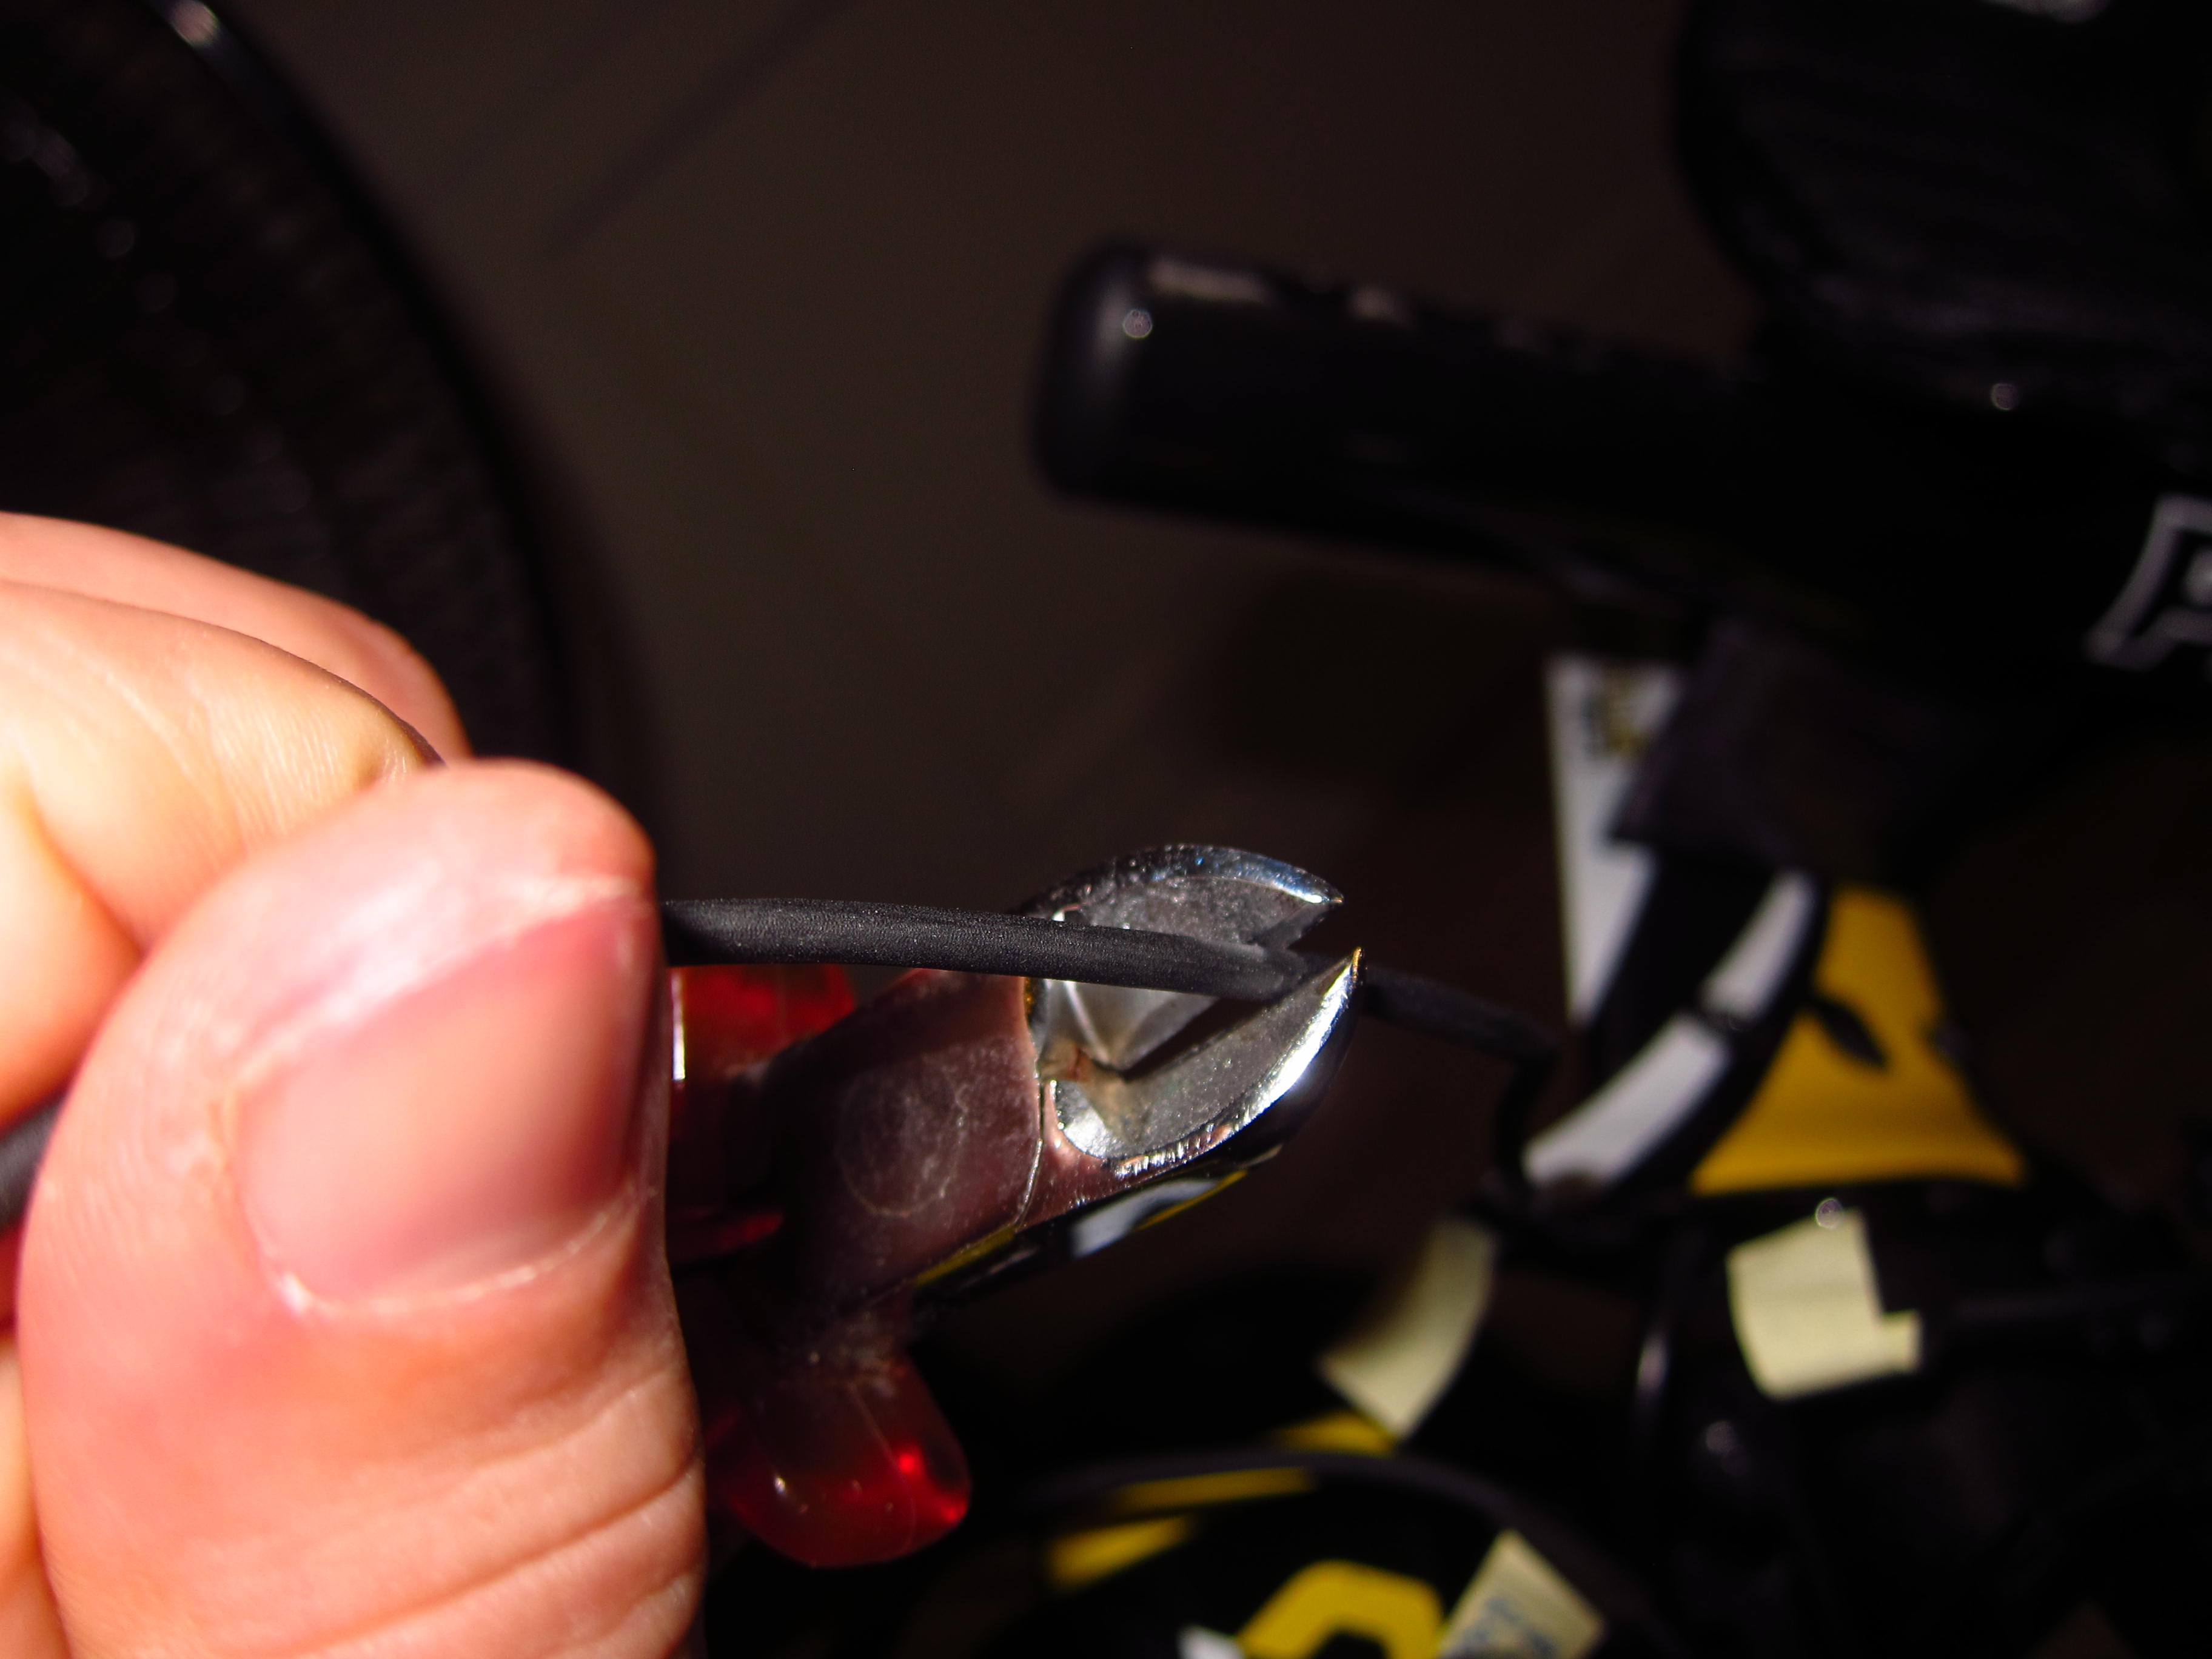
Before cutting of the original Shimano plugs, I labeled all cables.
After that, I determined the necessary remaining cable length…
and made the cuts.
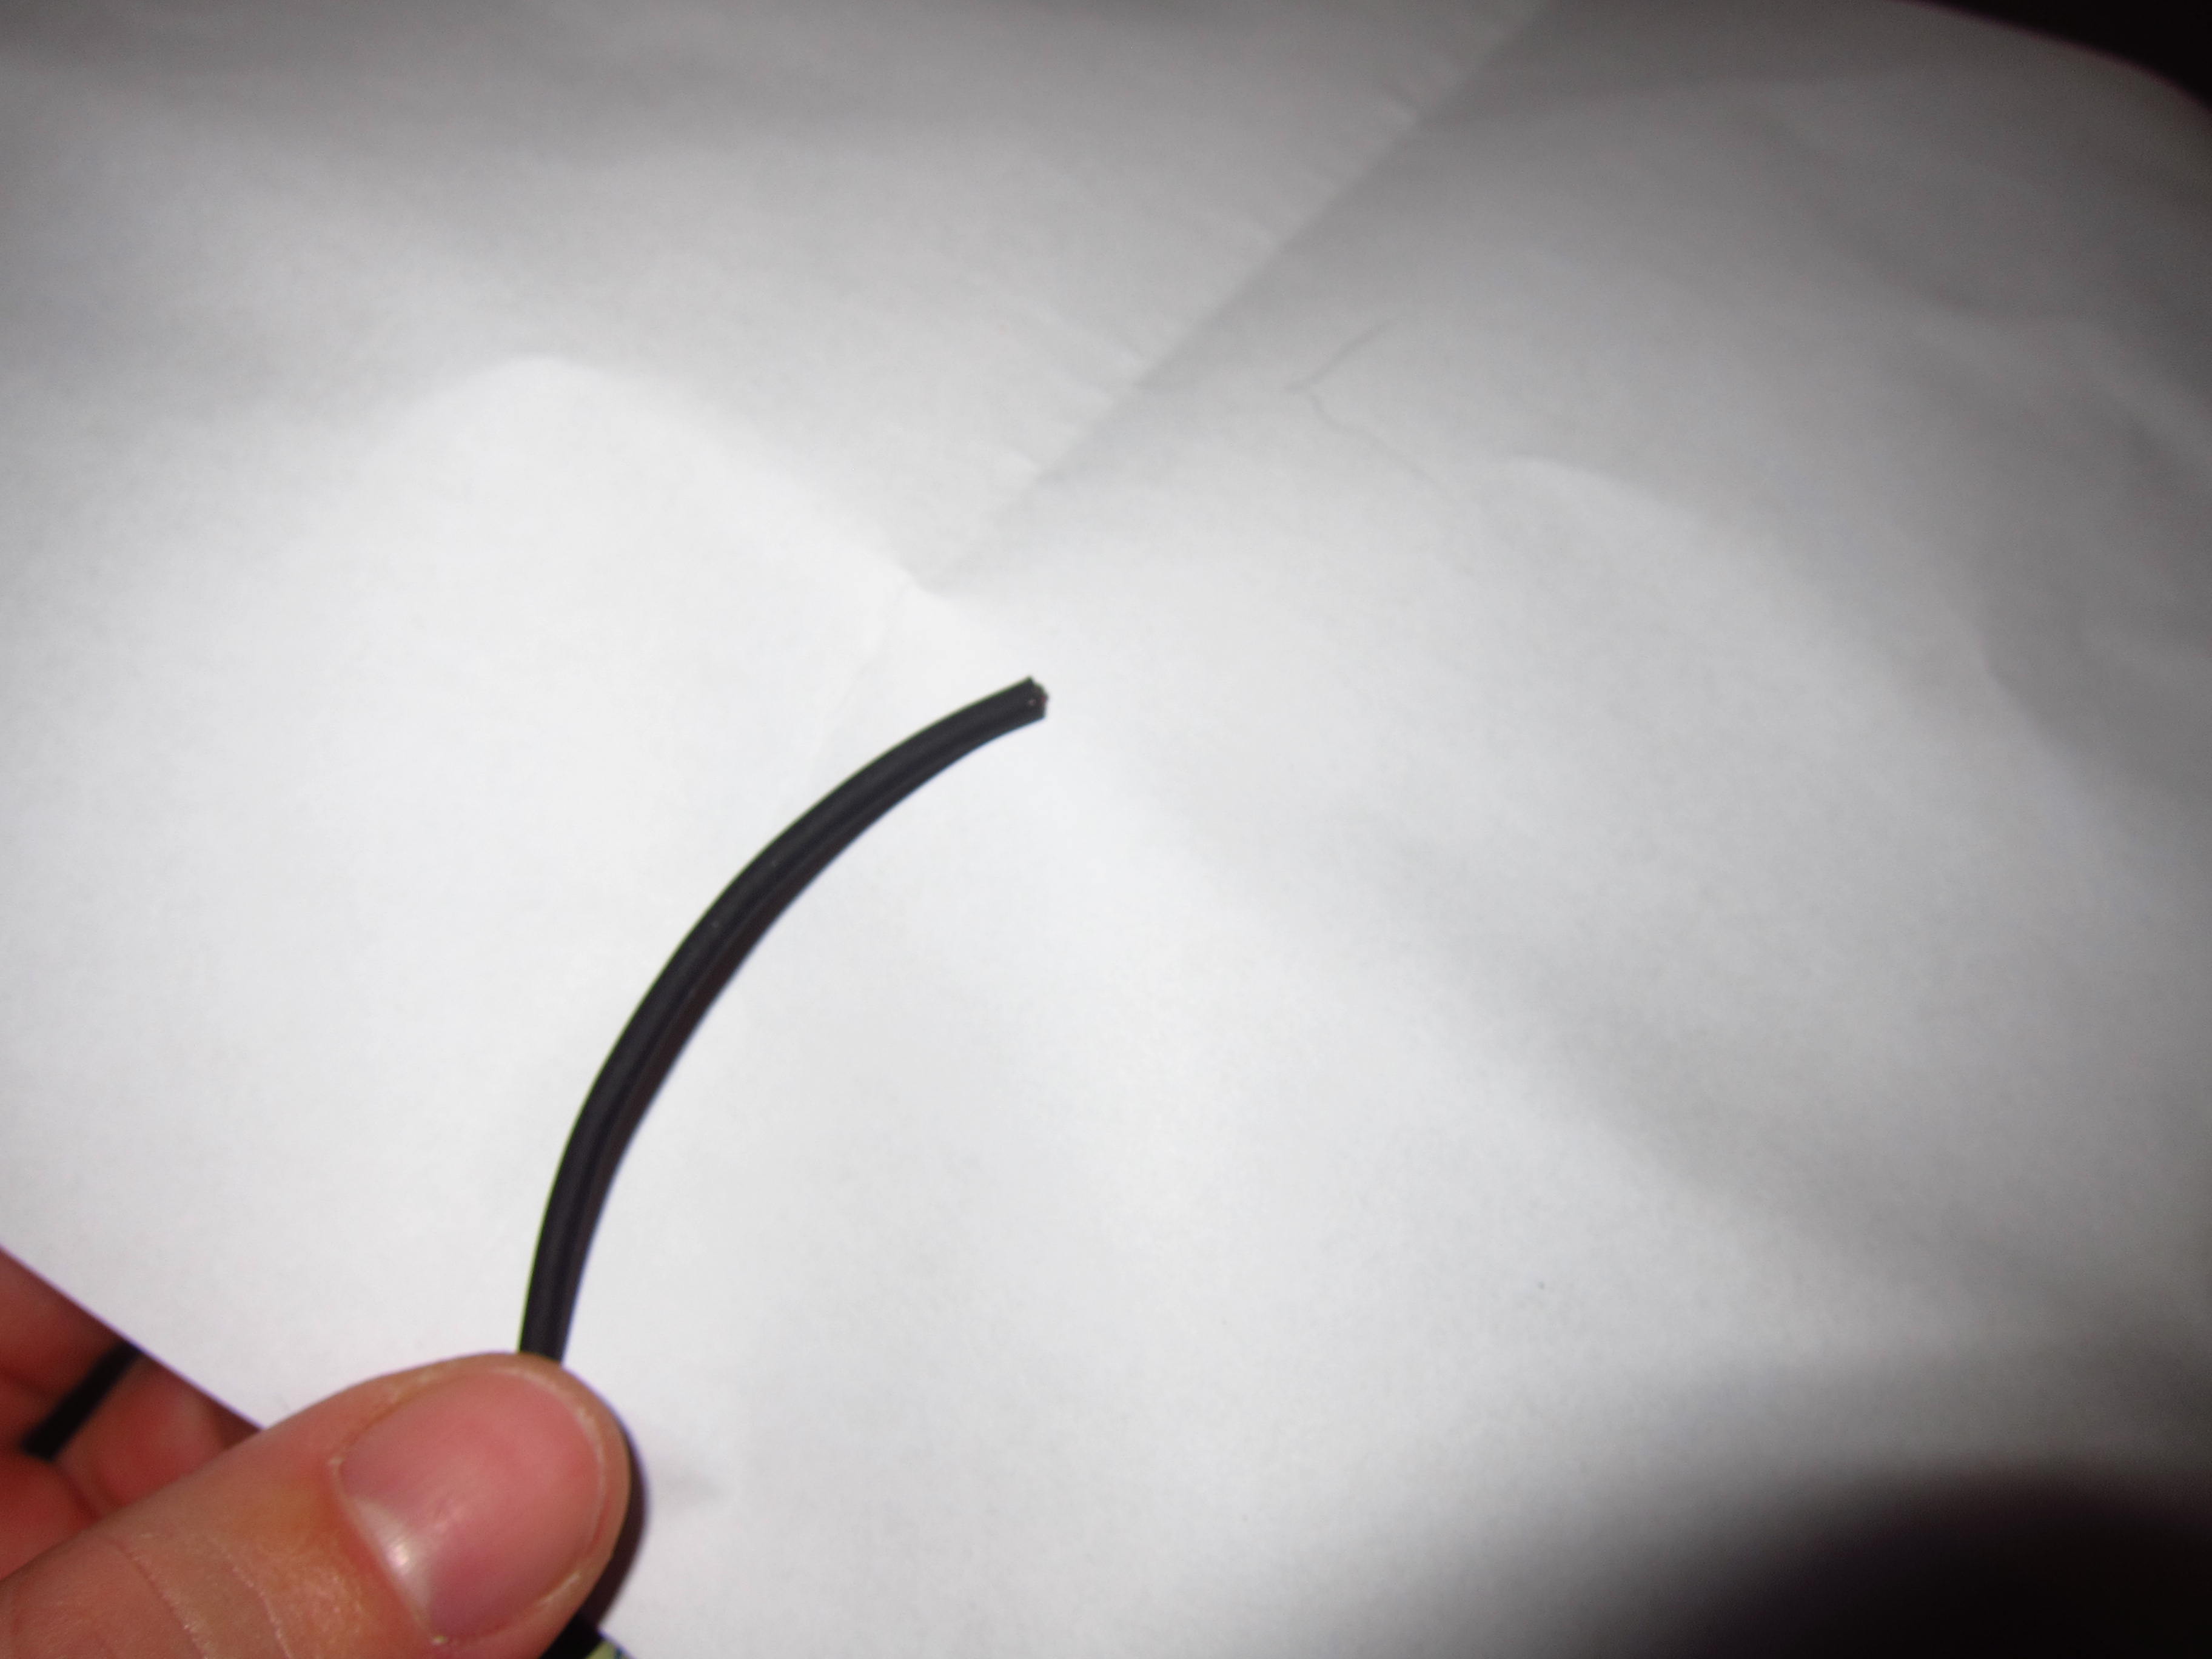
The newer Shimano electronic shifting gruppos use a so called “eTube platform” which is, from an engineering perspective, a CAN bus system. This system utilizes only two wires for both power supply and signal transmission. So it wasn’t a surprise to find only two wires after removing the insulation.
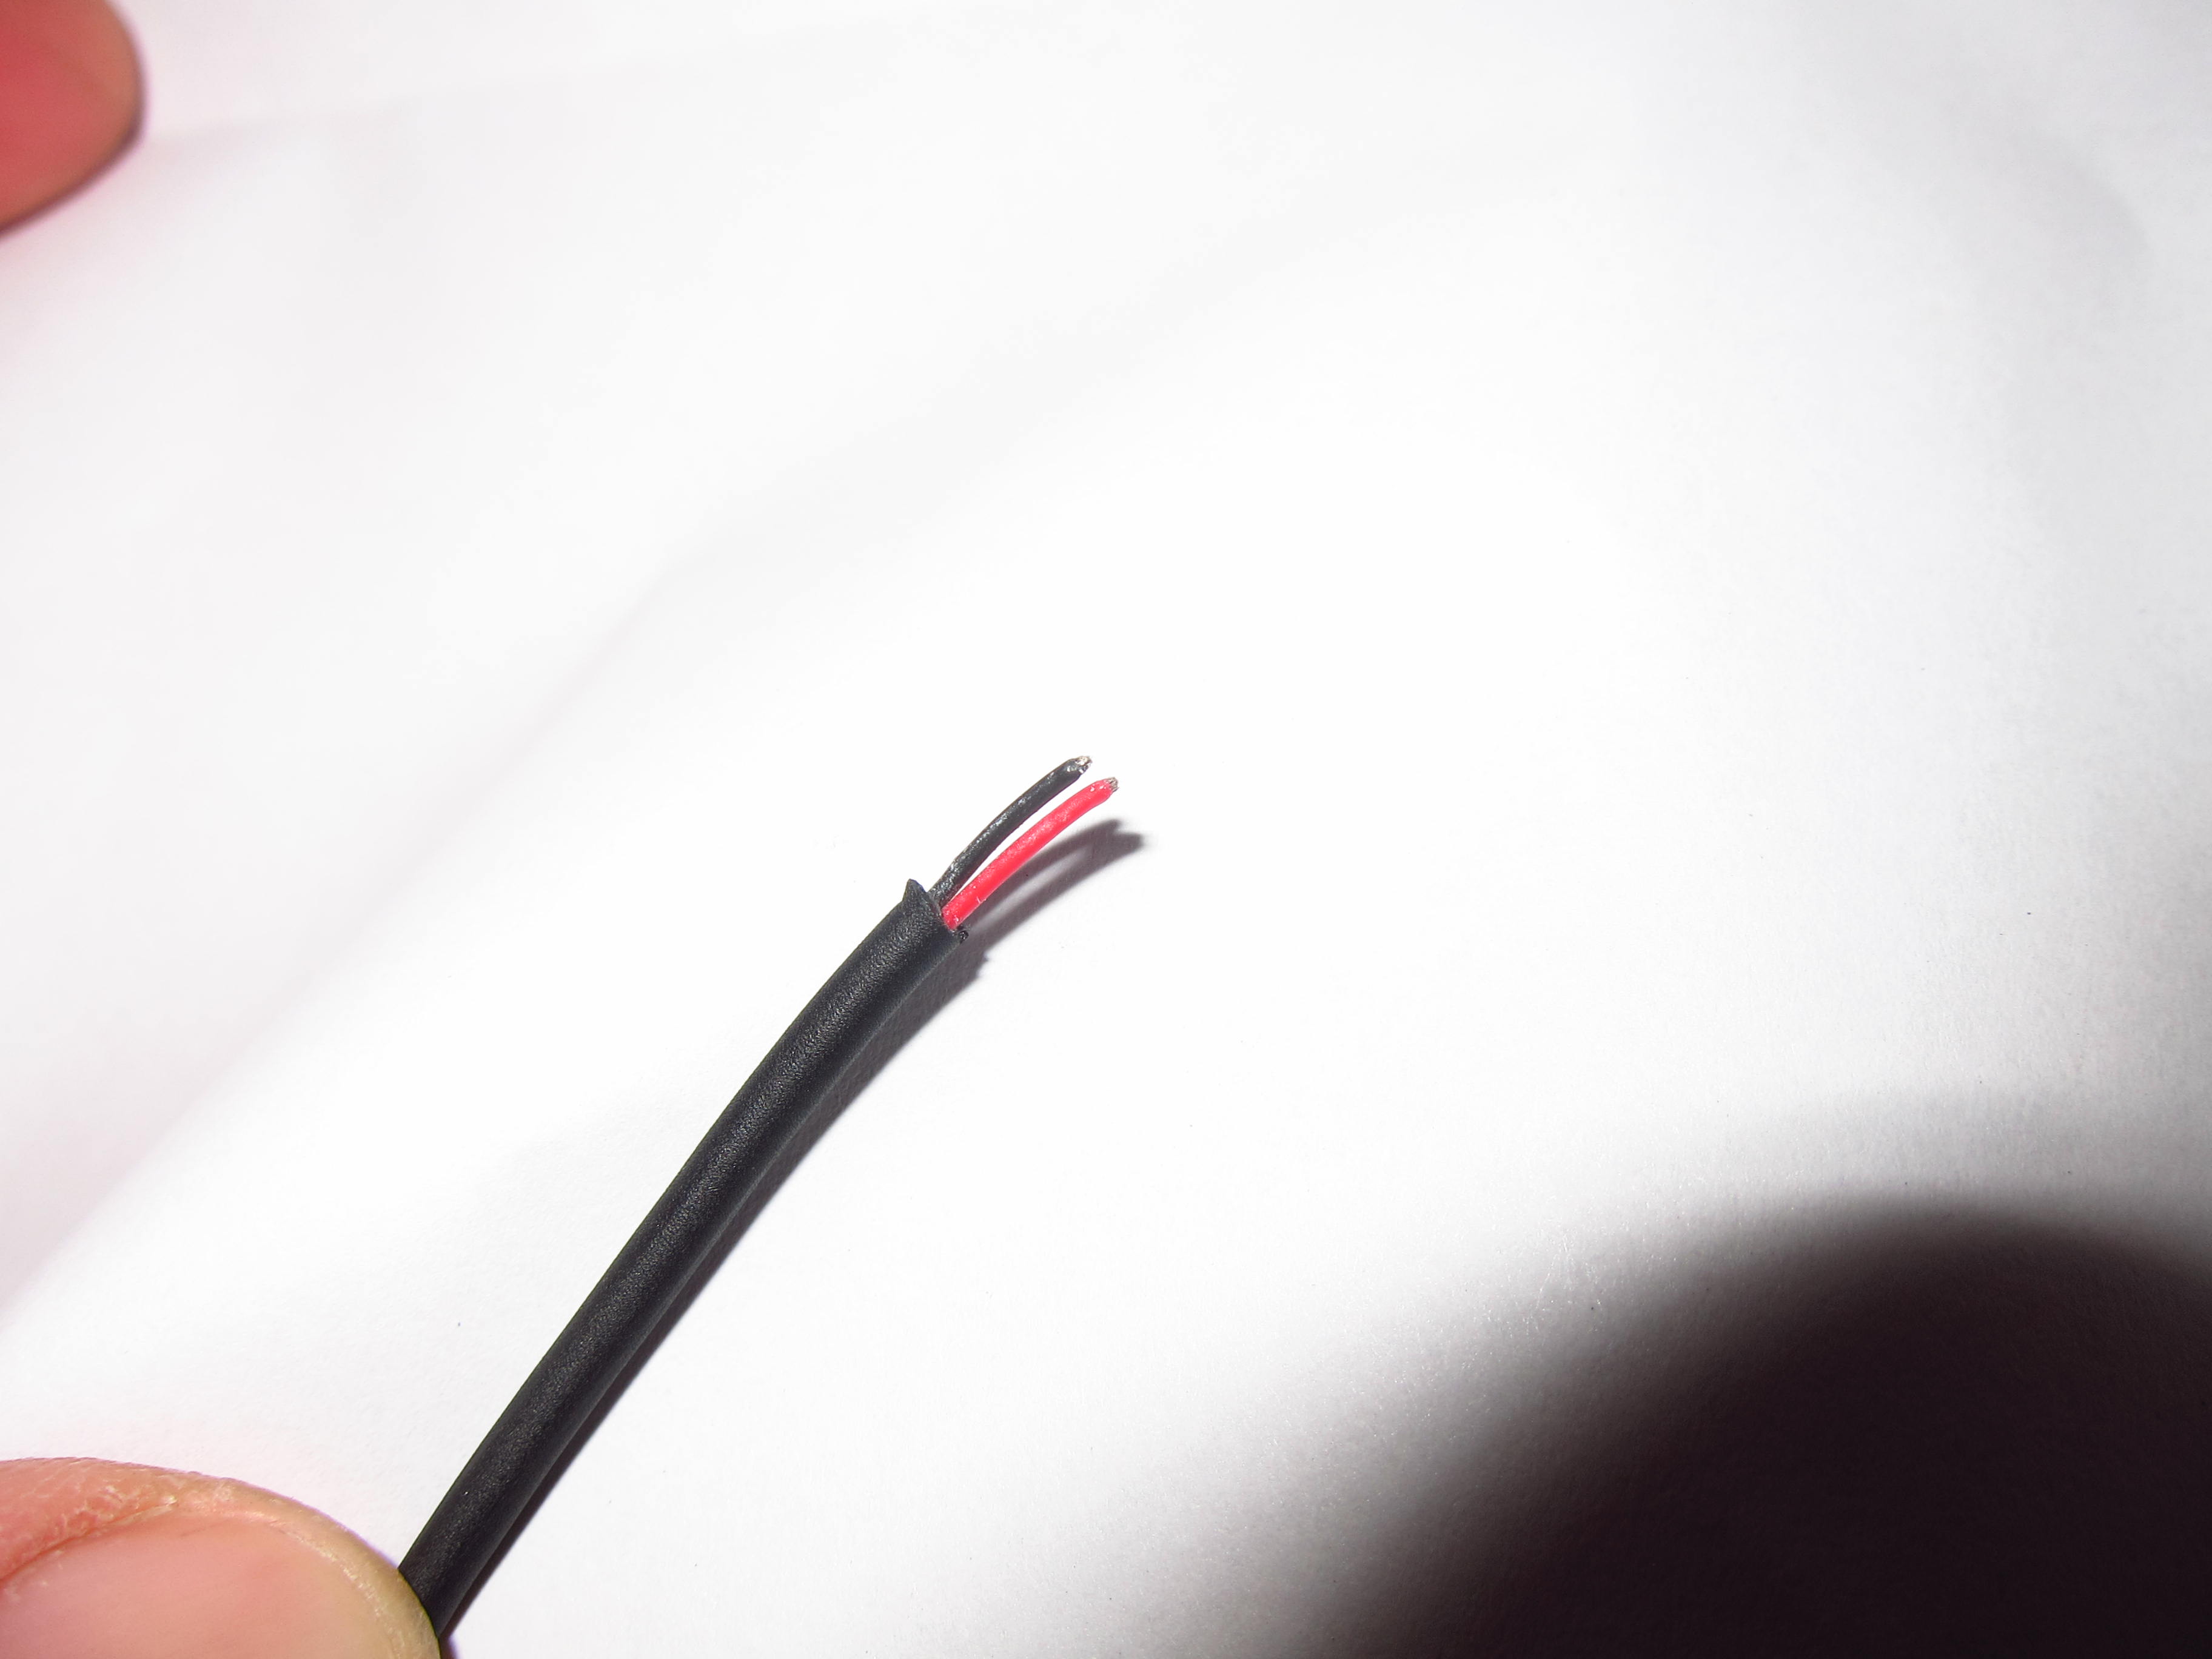
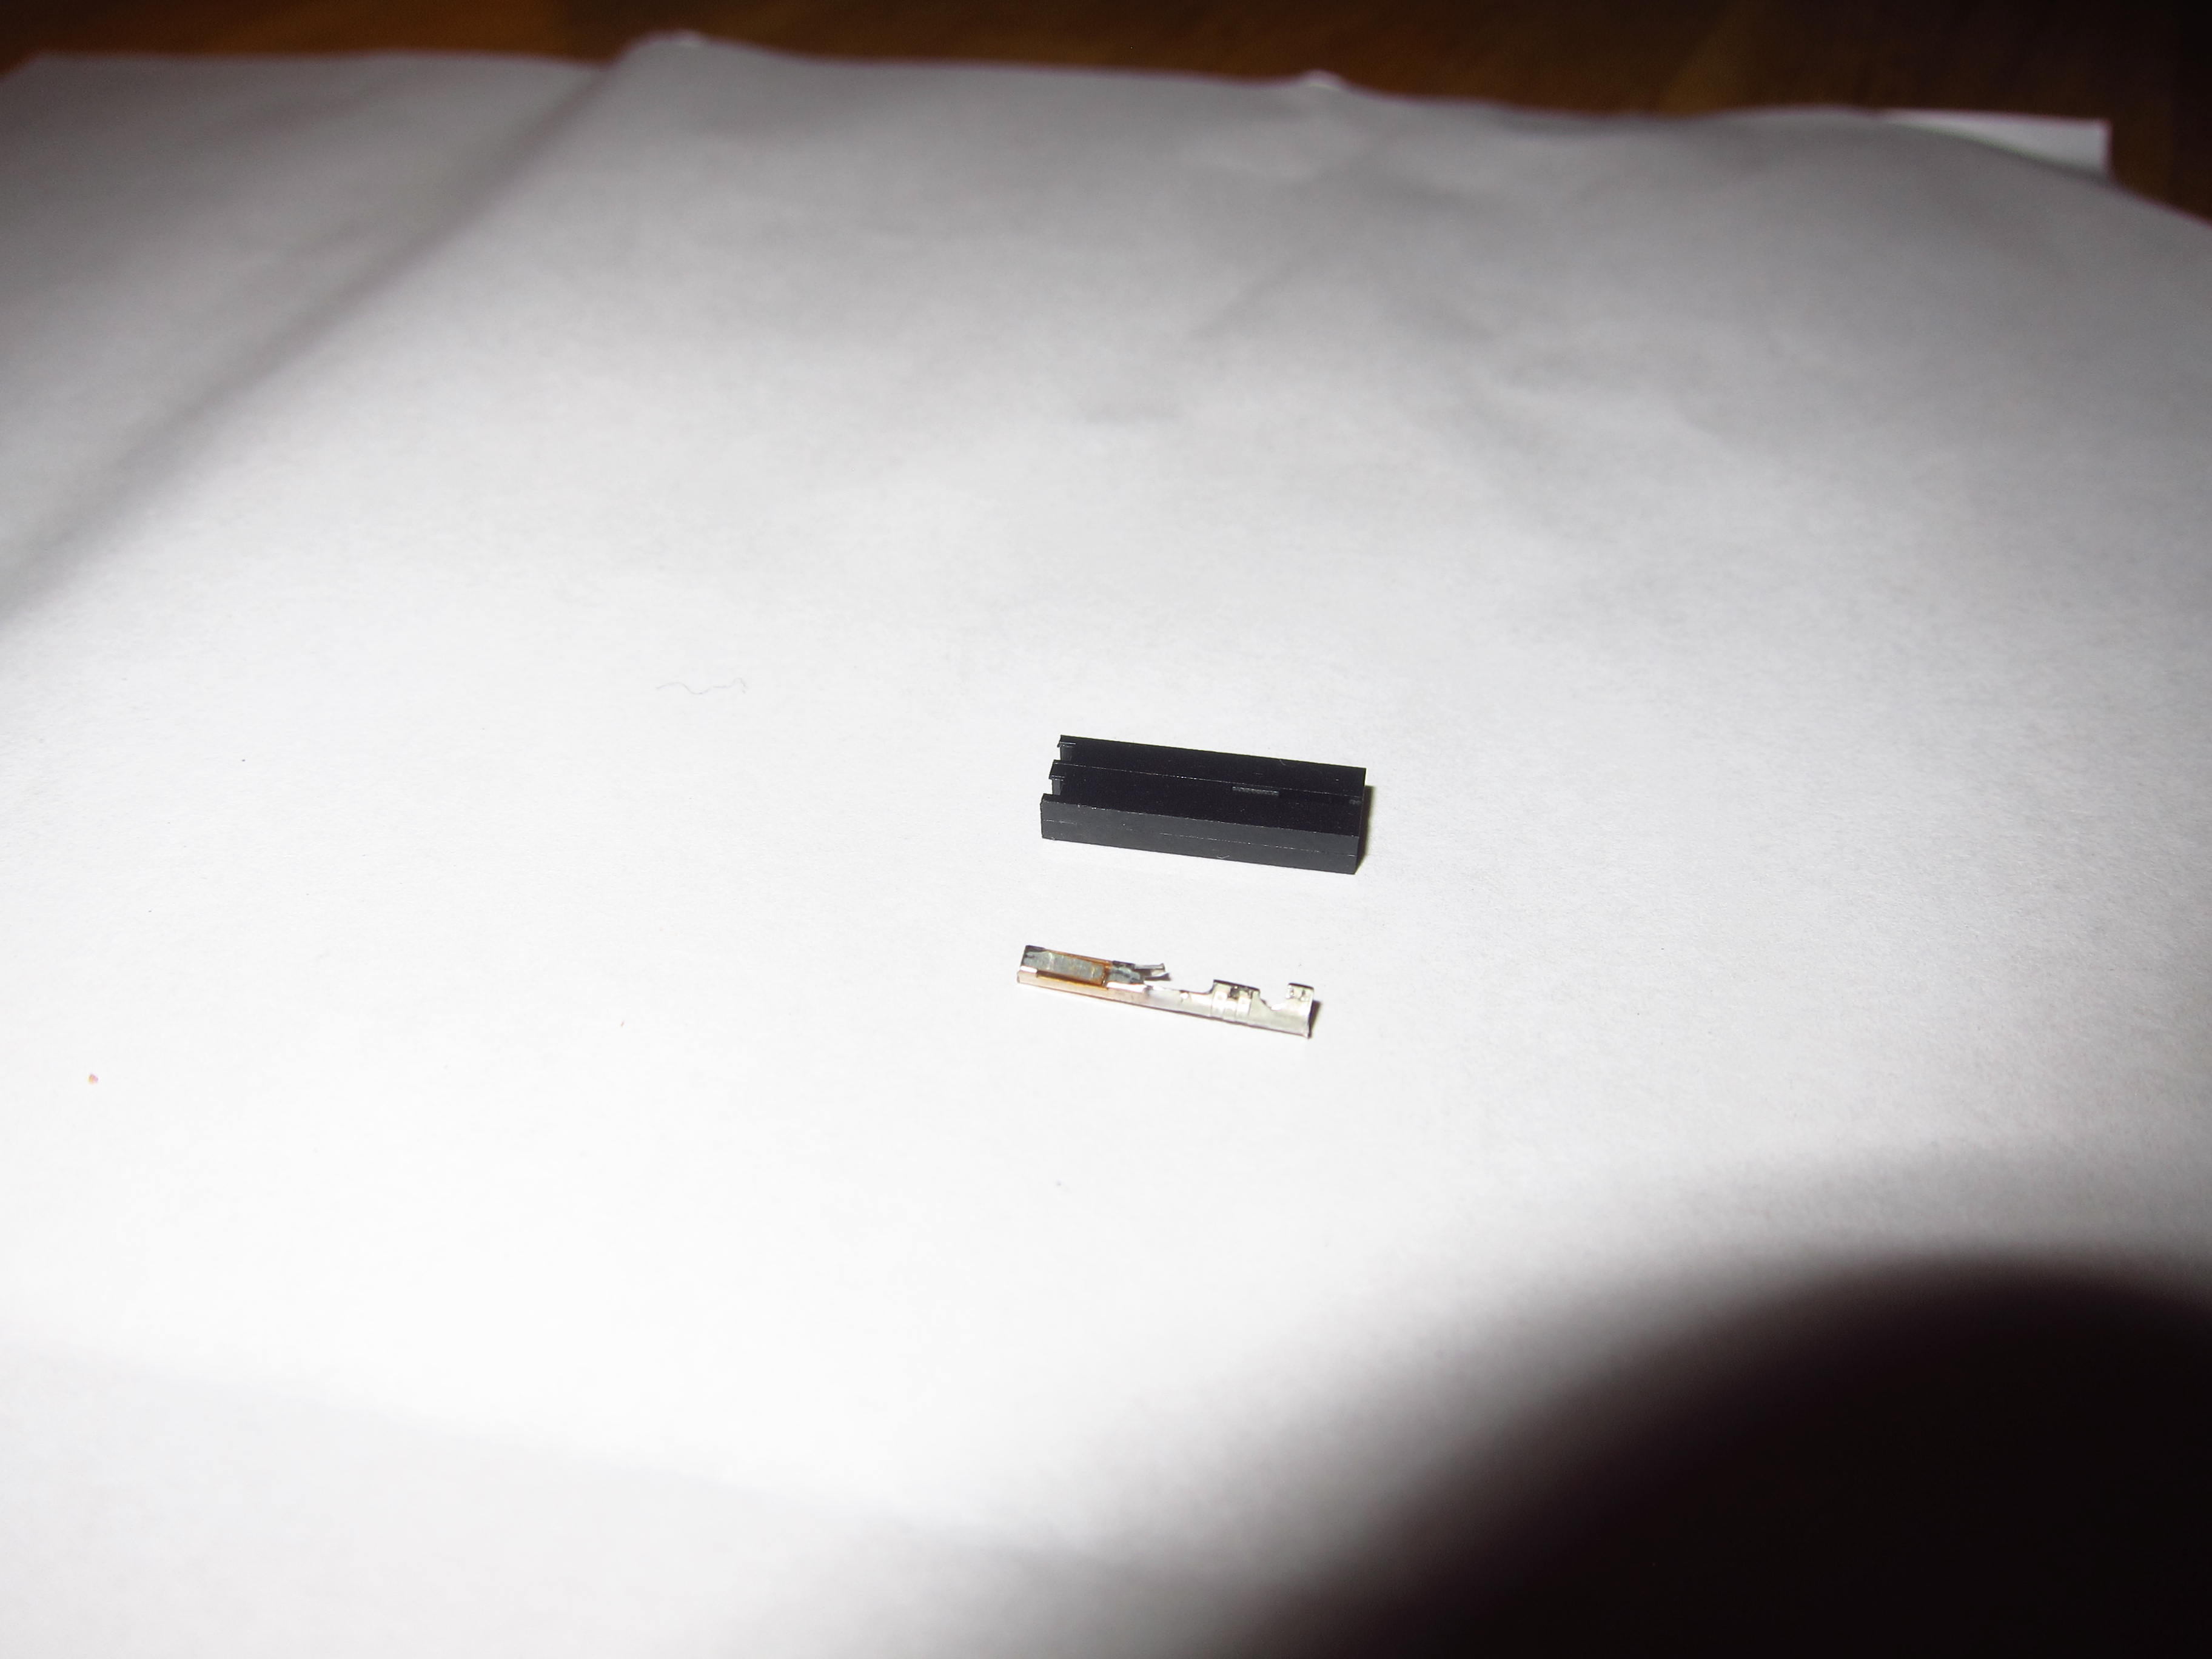
Instead of soldering all red and all black wires together, I opted to use crimp plugs and housings – again, standard PC hardware.
With a proper crimping tool,…
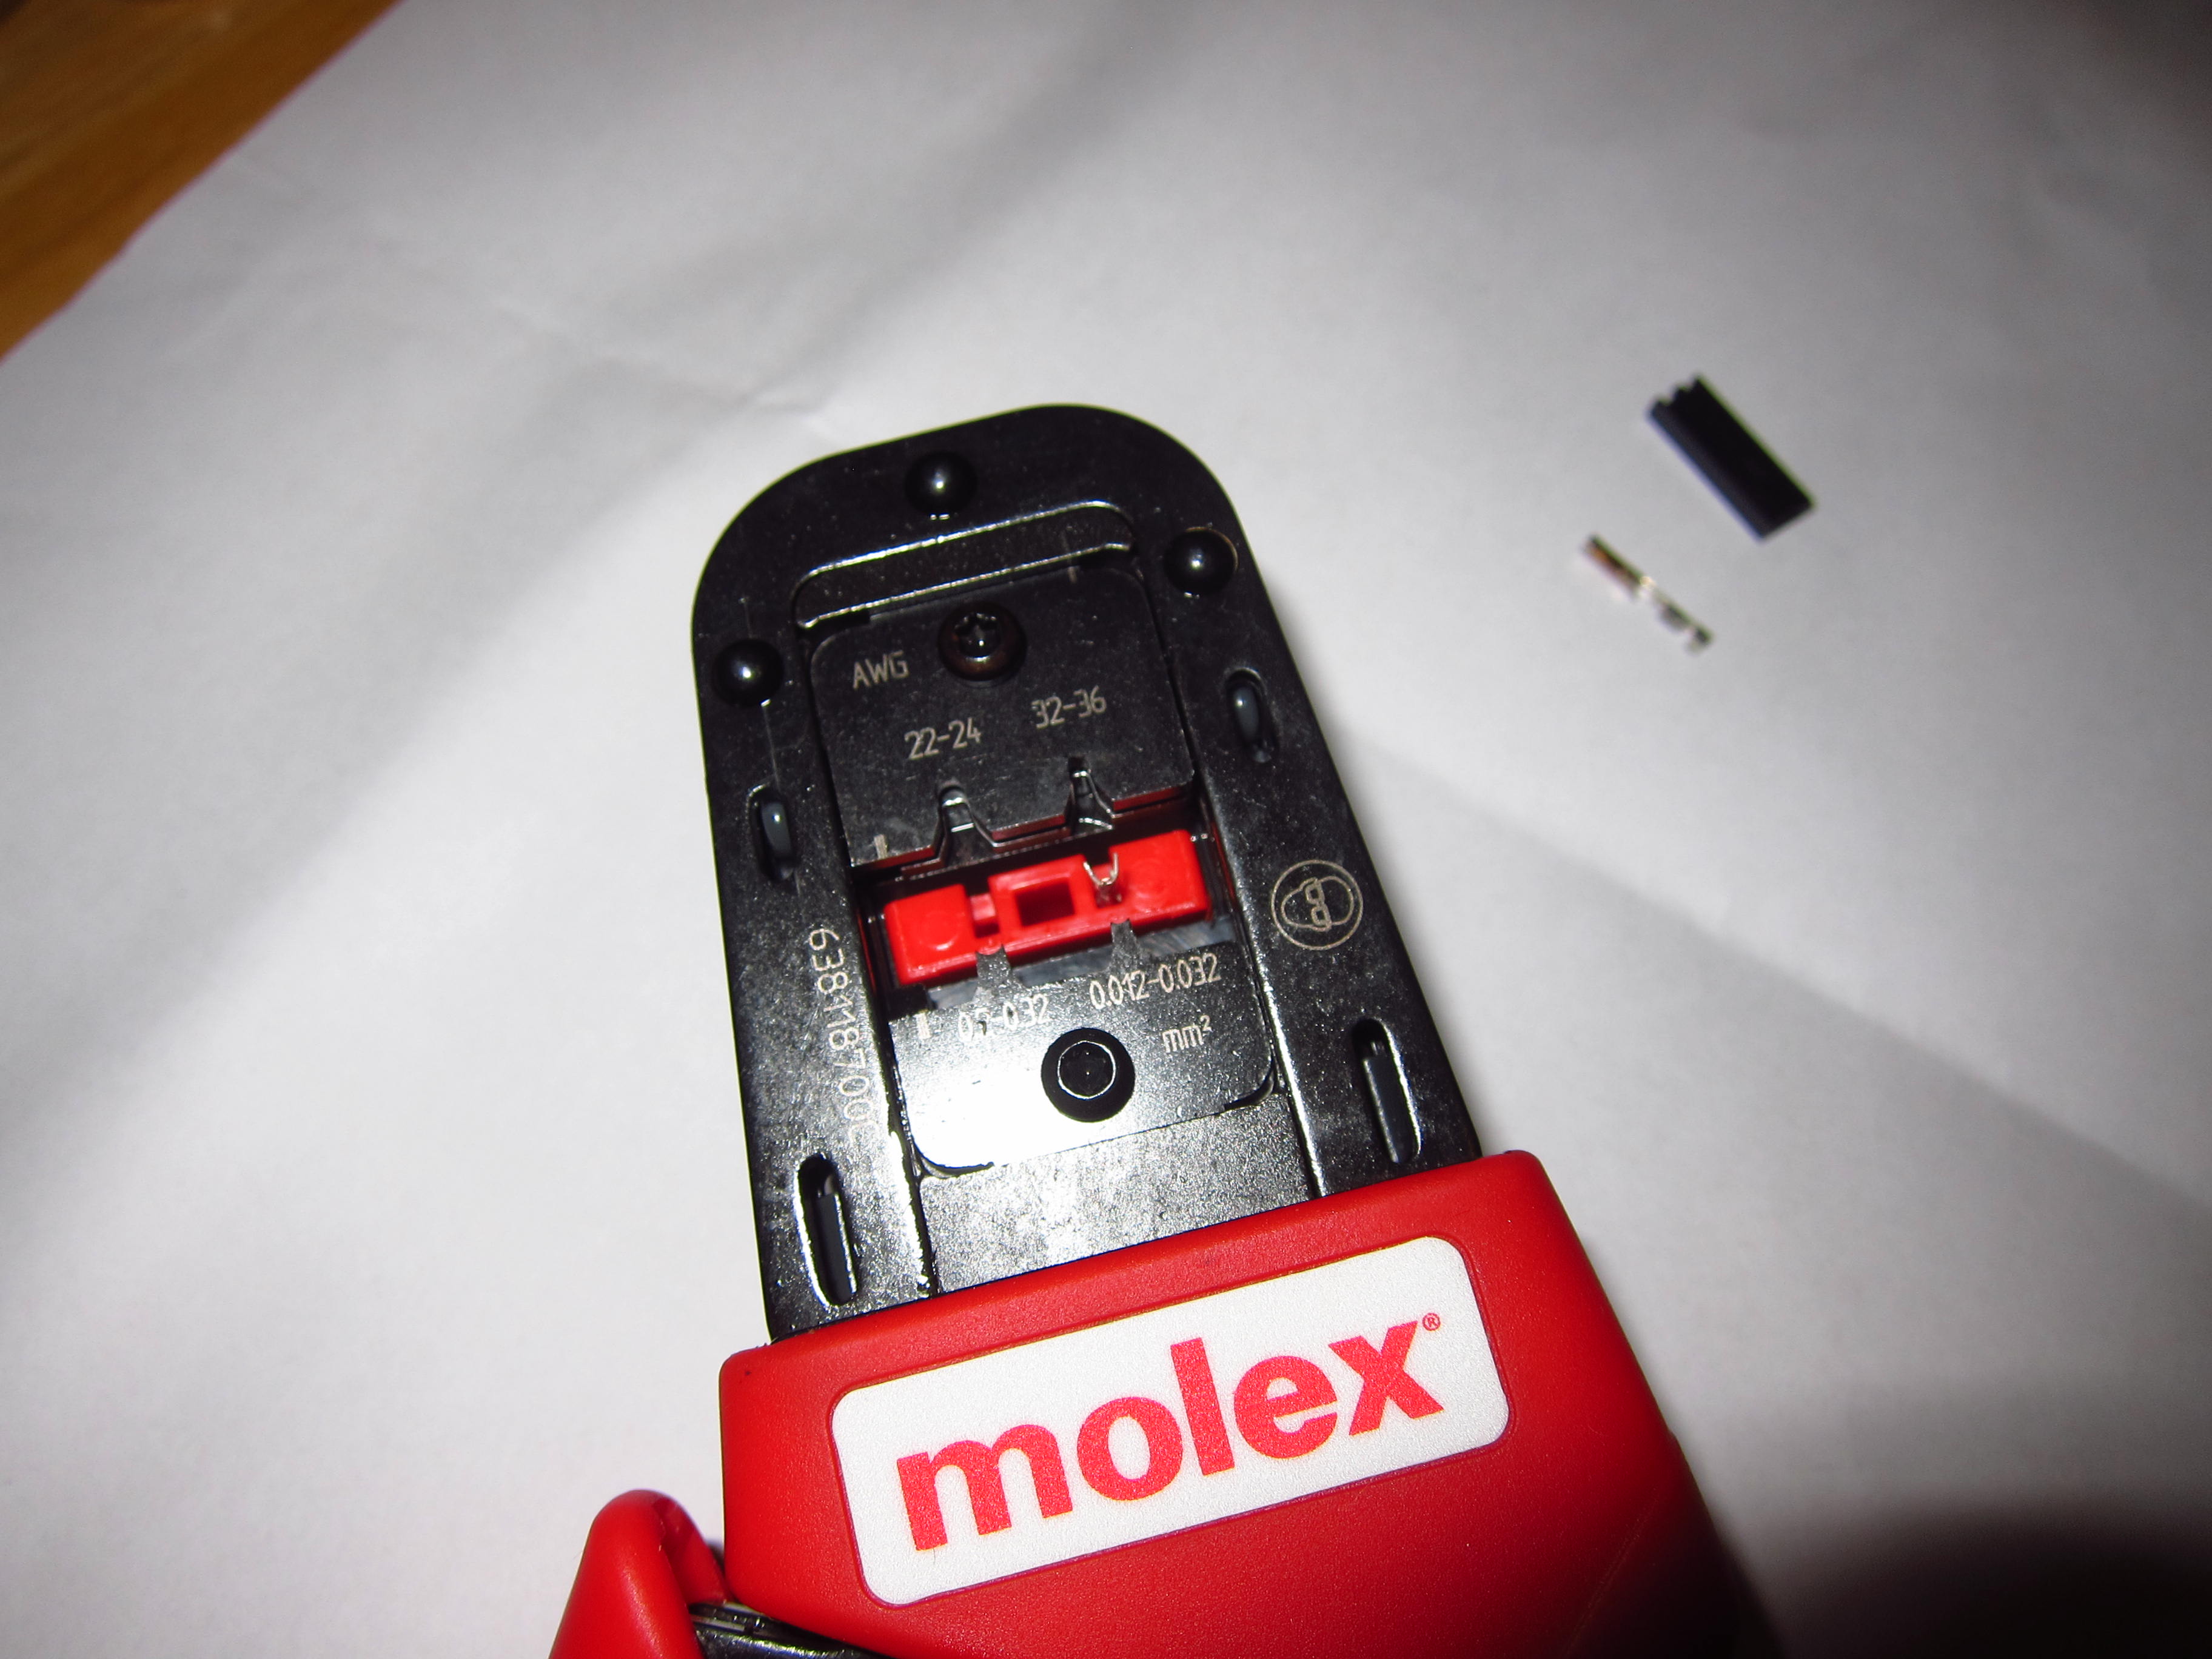
all cable ends looked like this after about ten minutes.
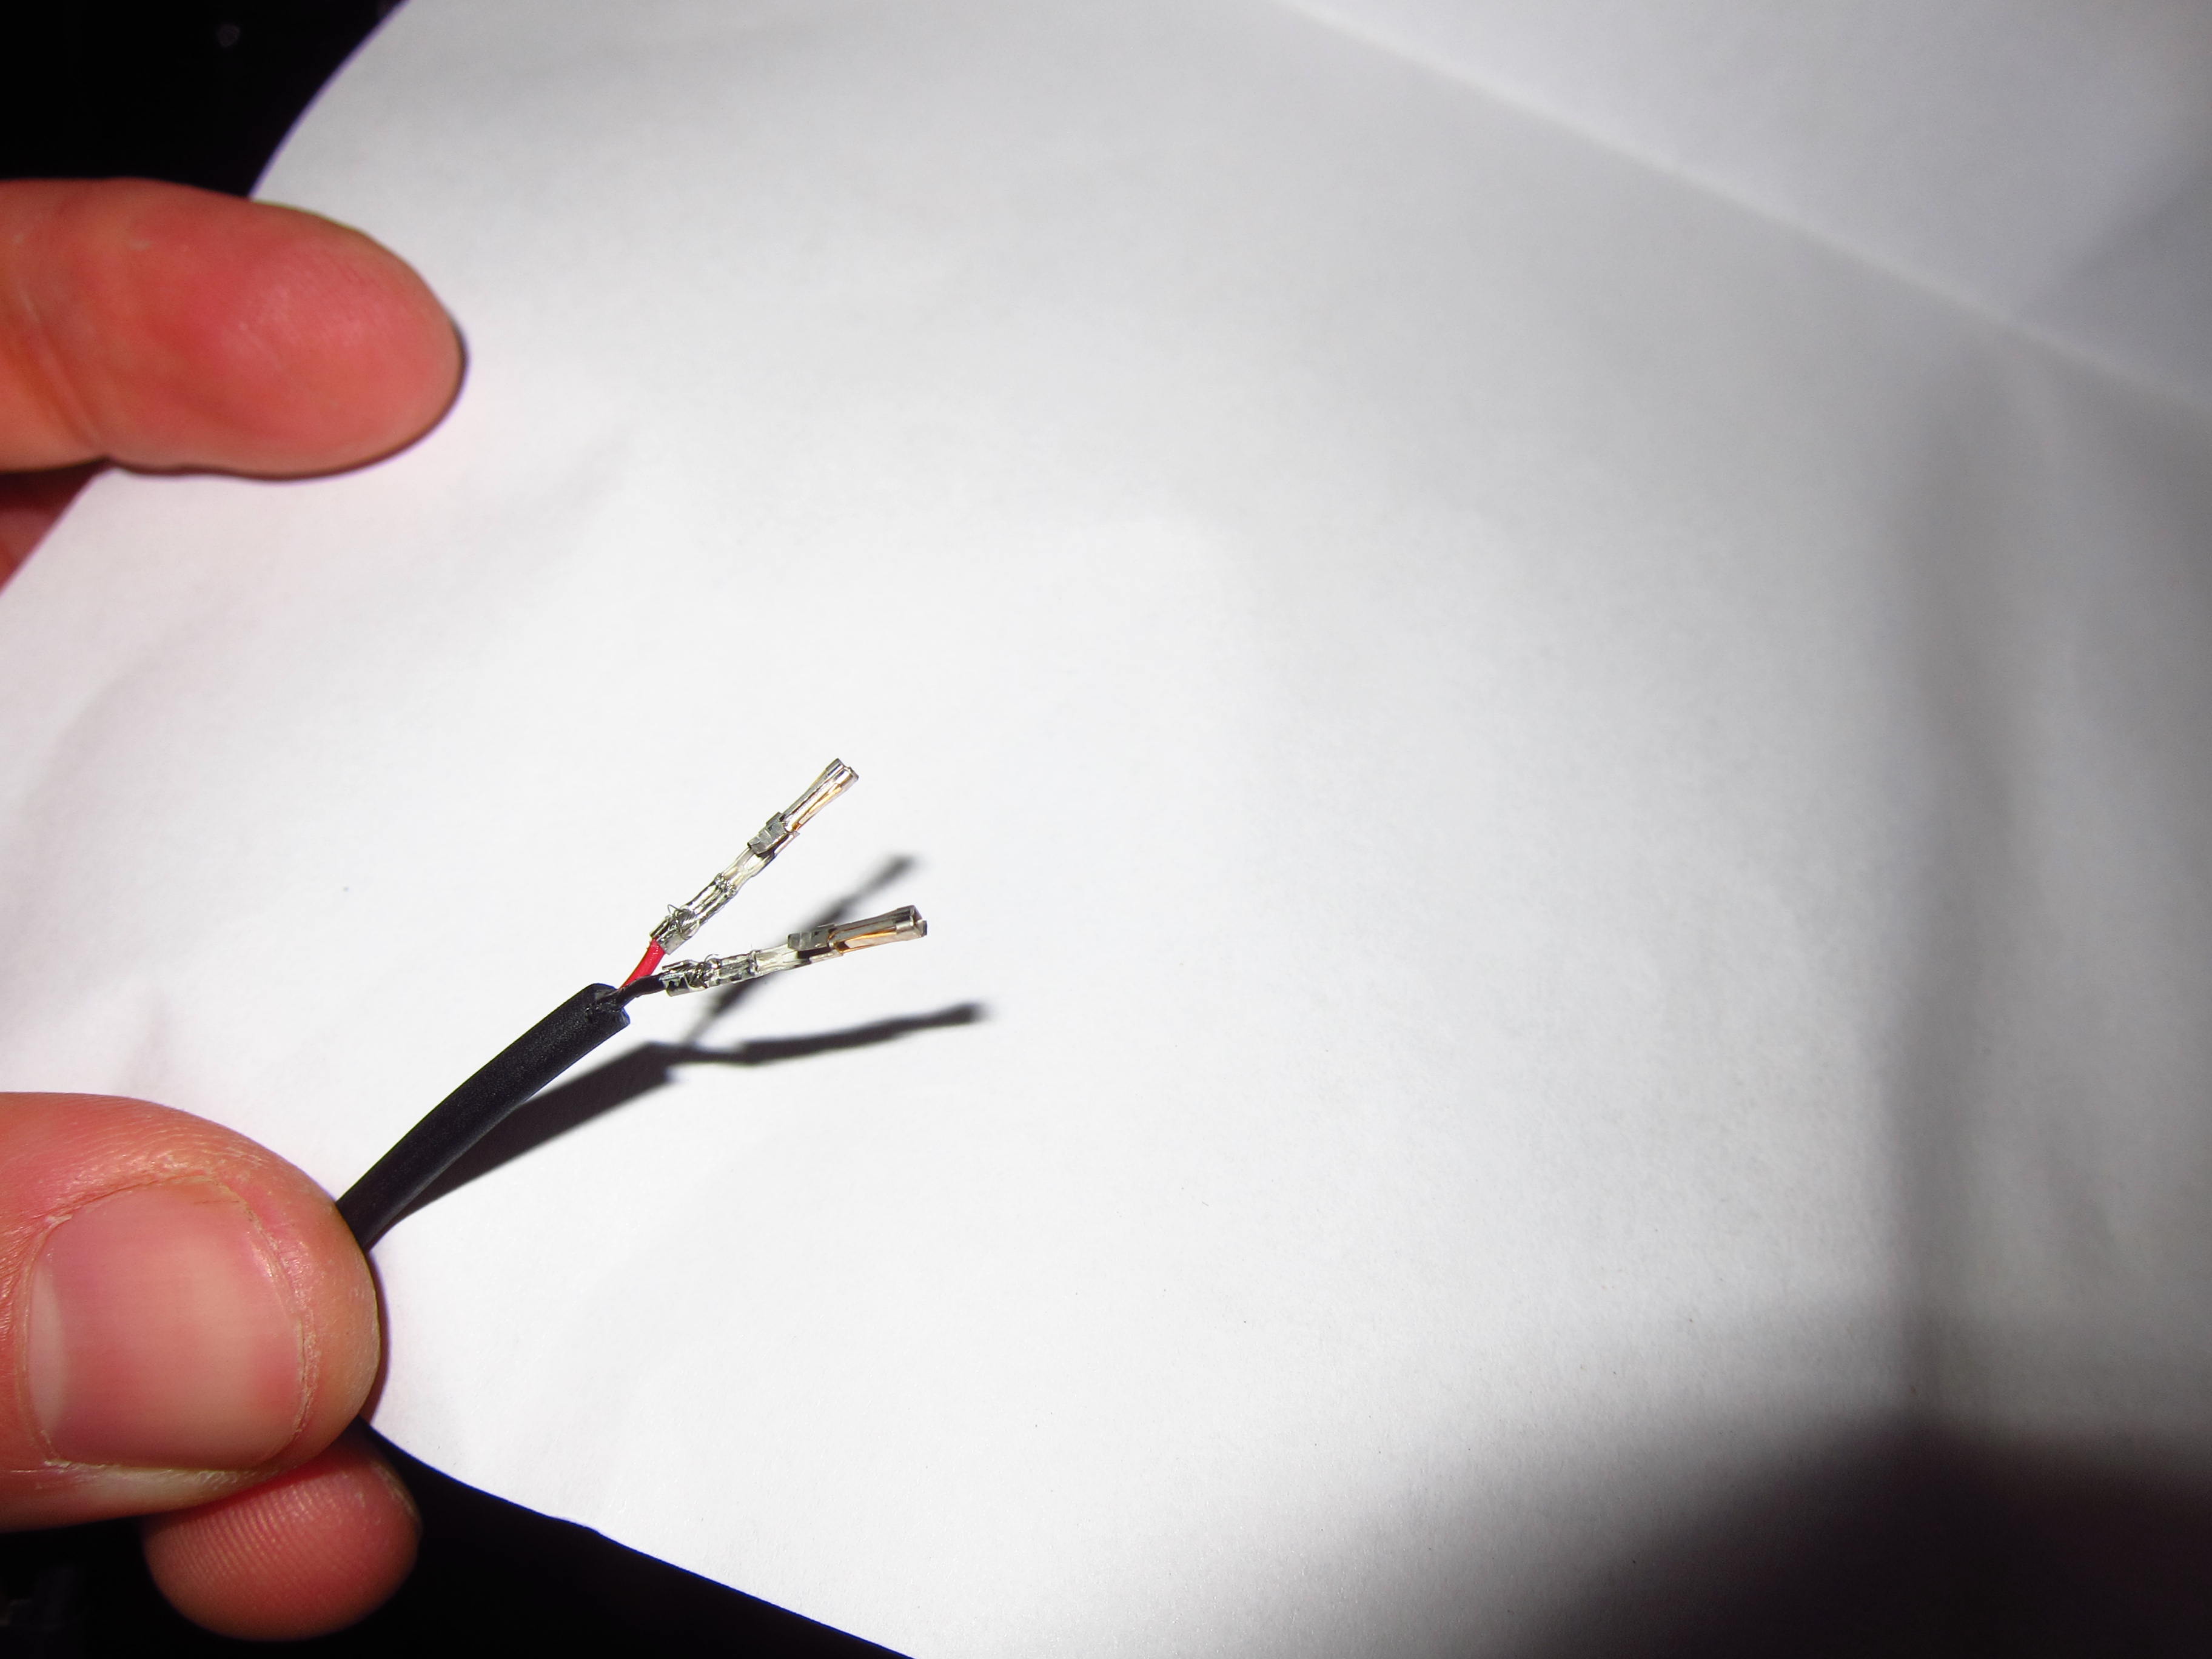
And with the housing installed.

Plugged into the custom “Pre-Junction”.
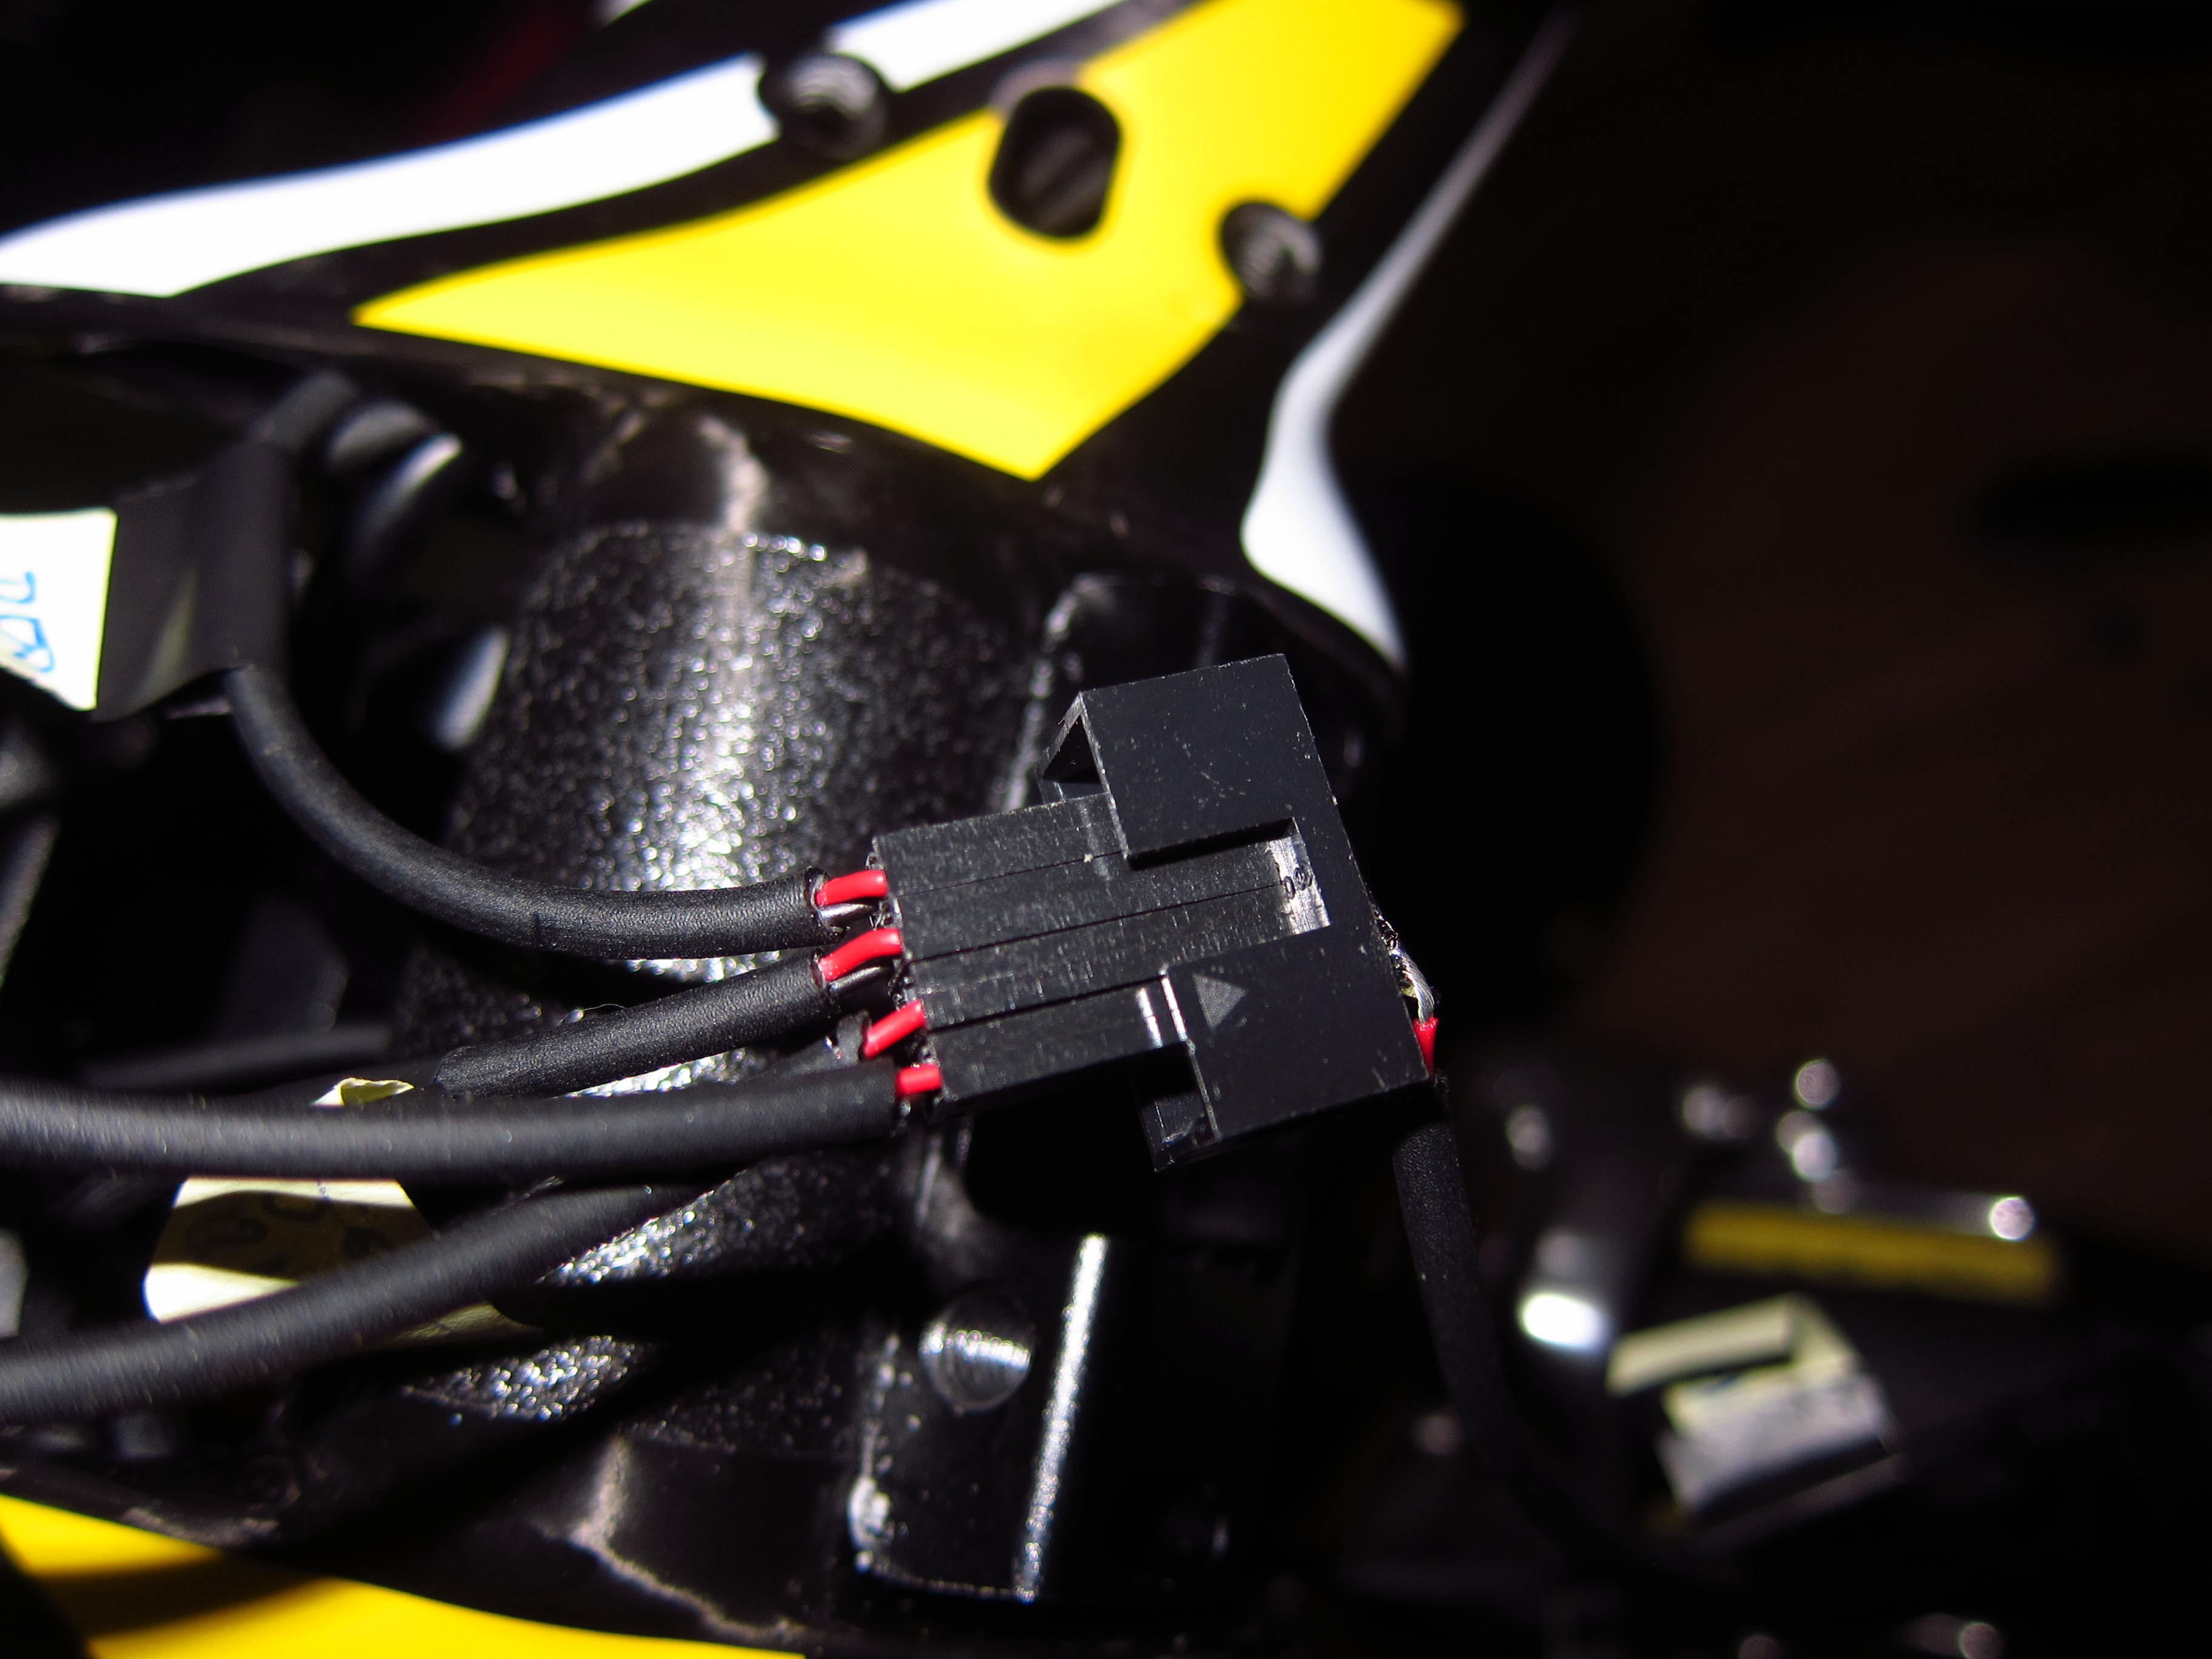
The electronic installation was finalized and everything worked like a charm – however, it requires getting used to charging your bike and installing firmware upgrades ;-).
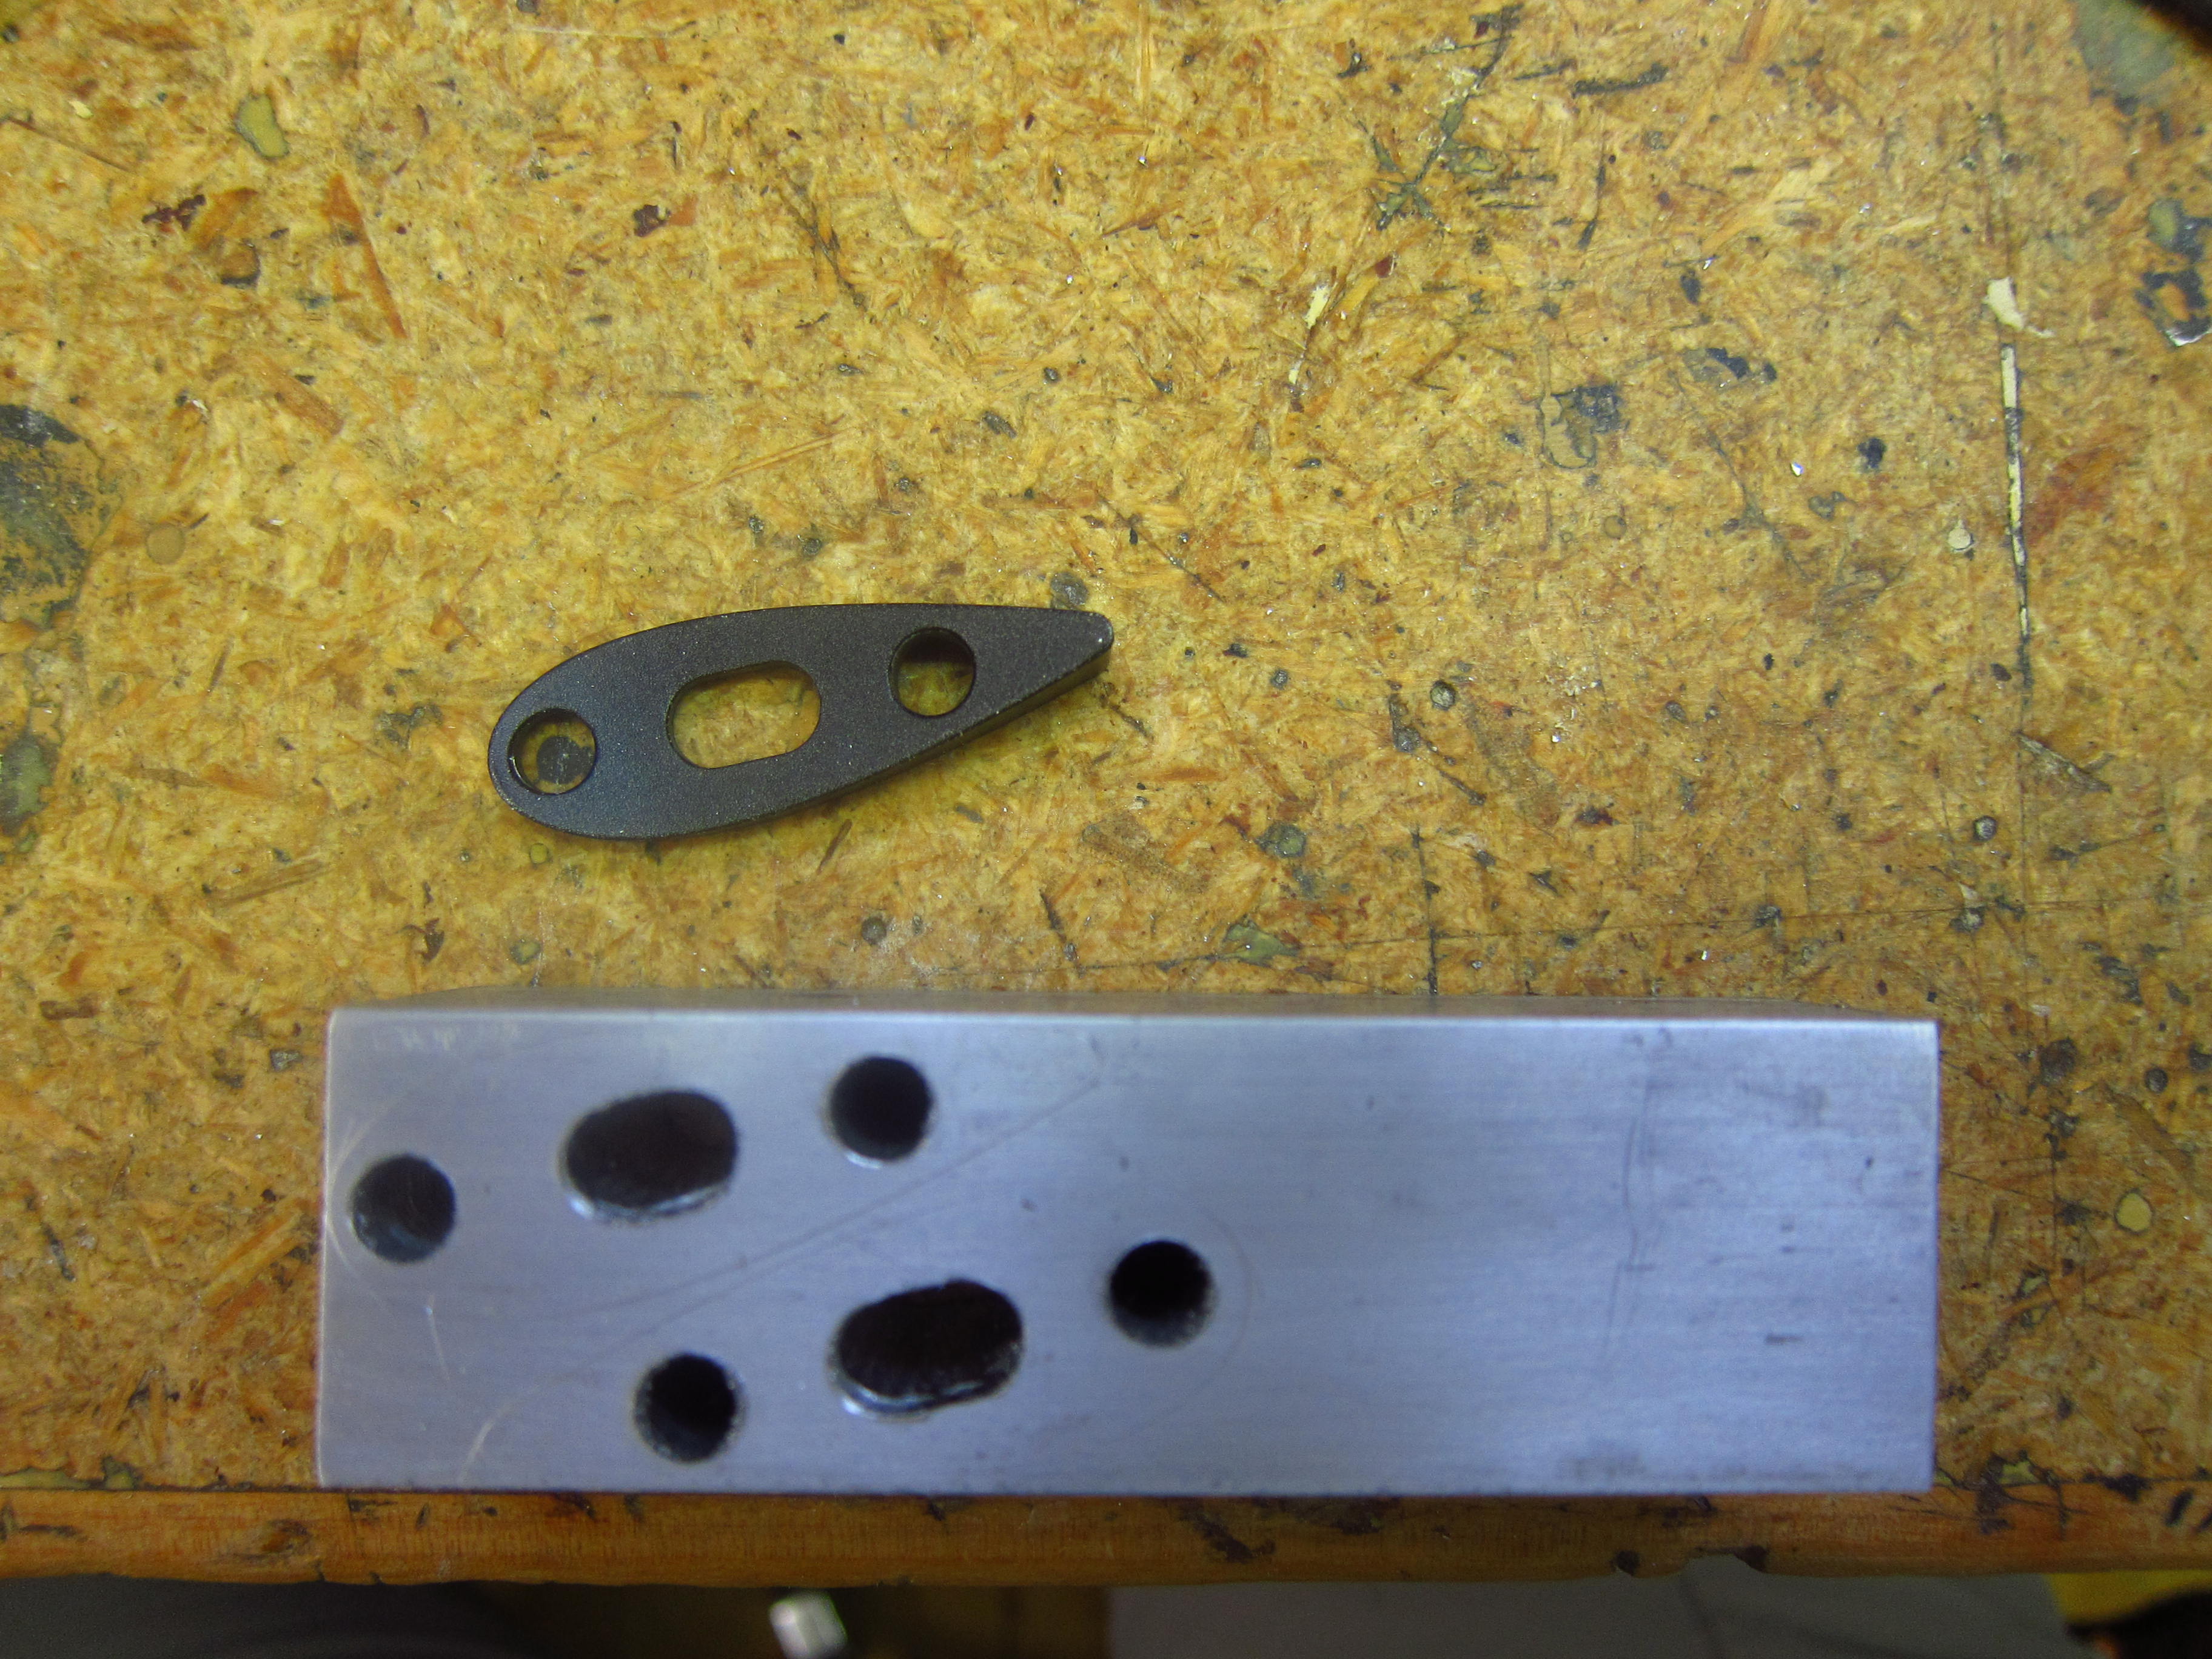
After a few short test rides of about 65k, I realized that the position on the extensions is about 2cm too low when using only the stock spacers. So I decided to build two spacers on my own. I transferred the contour of a spacer to a solid block of aluminium and drilled the holes first.
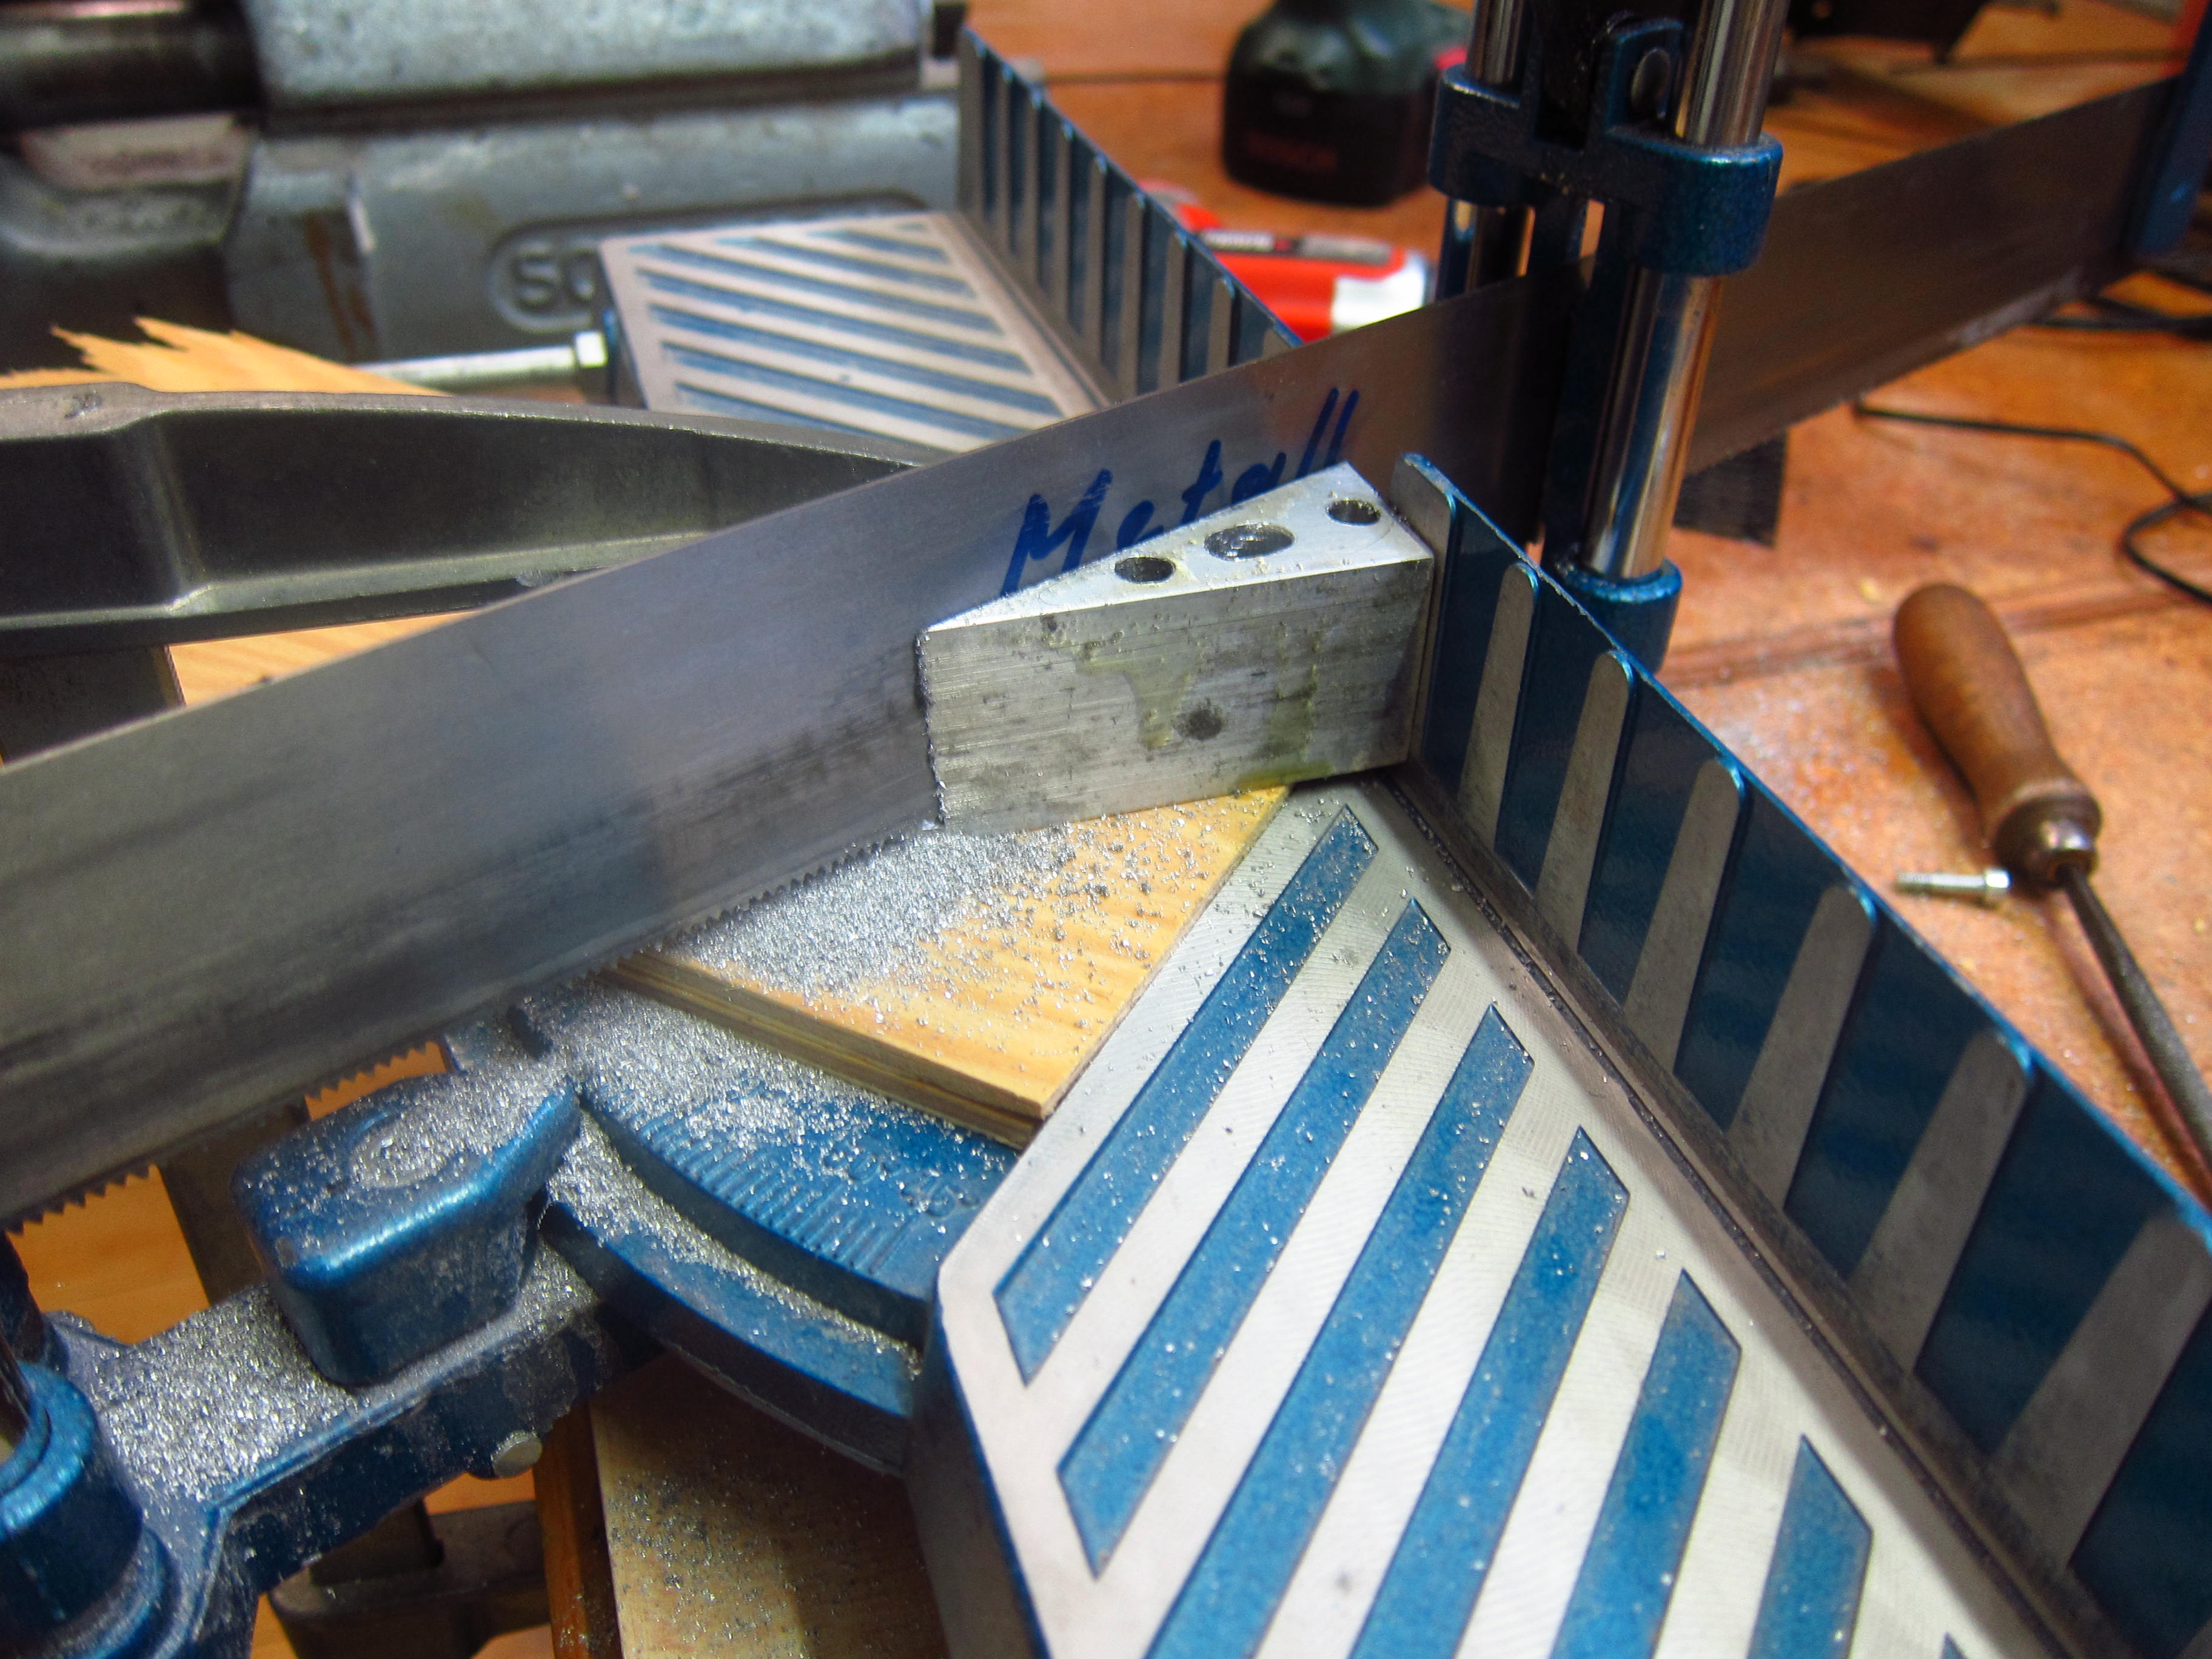
Afterwards, I used a saw to cut the block into the rough outer dimensions.
The preliminary result looked like that.
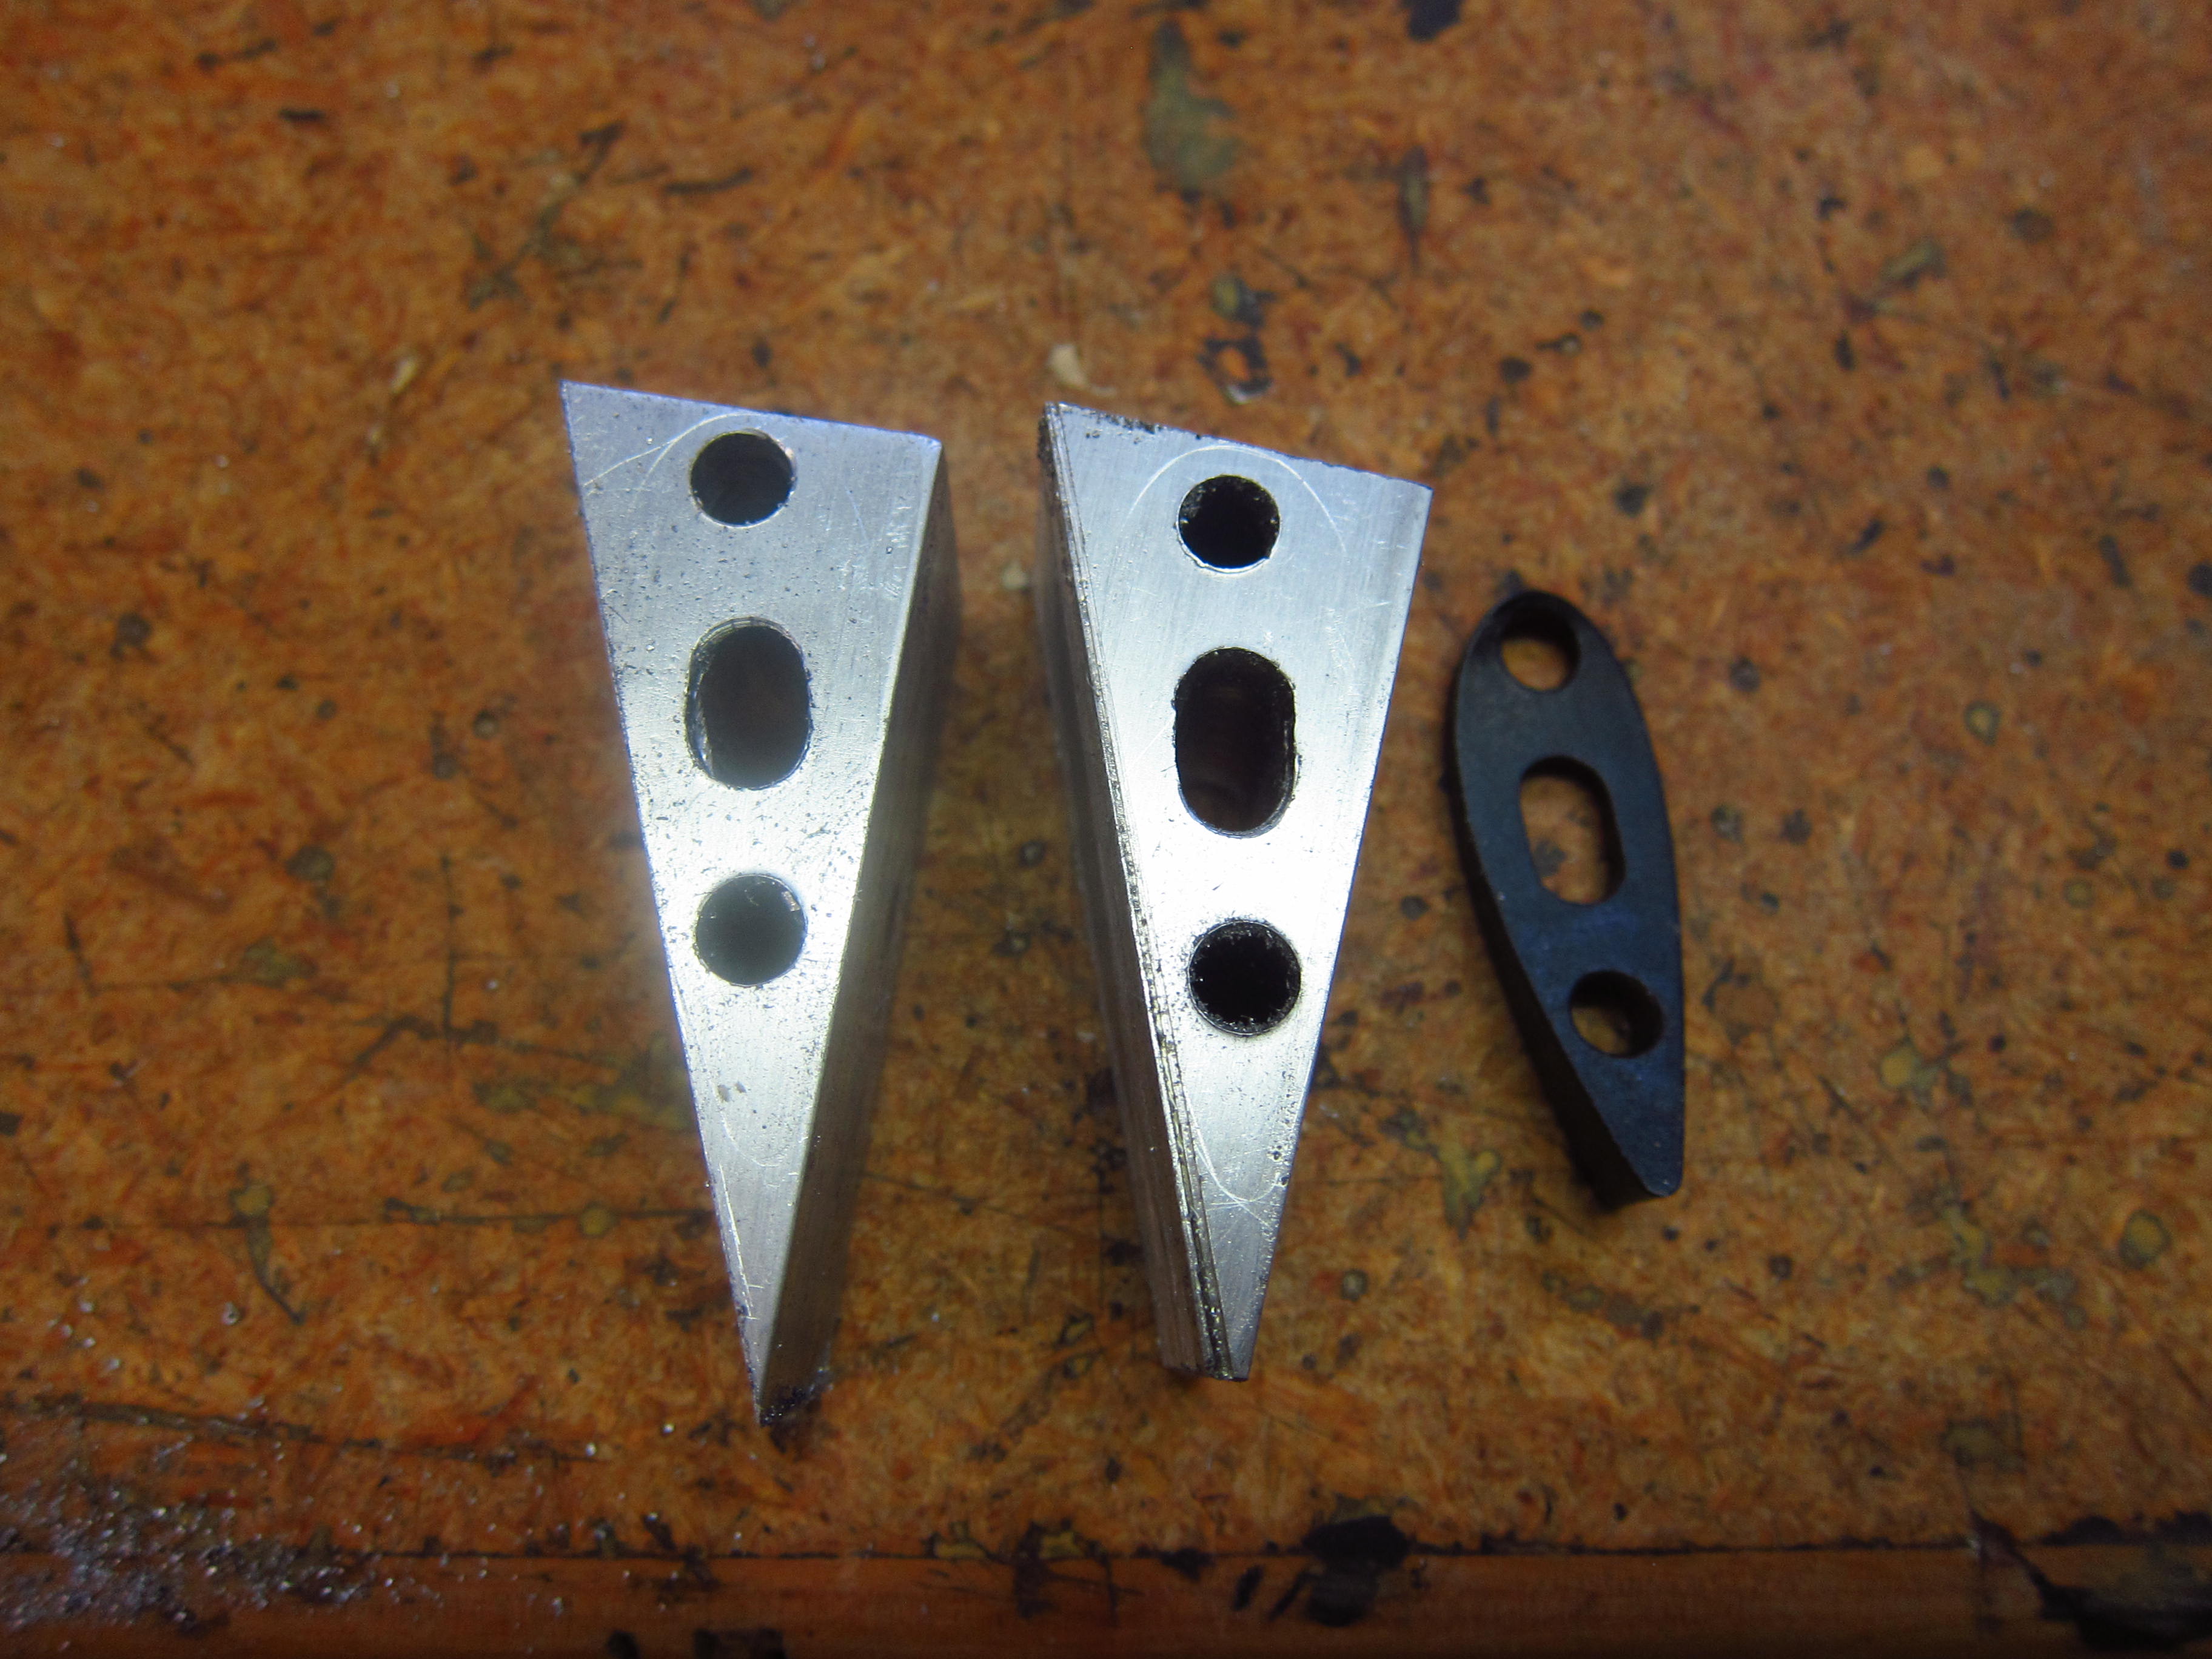
After some filing, the spacers looked a bit more like the desired result.

And after some more filing, the work was done.

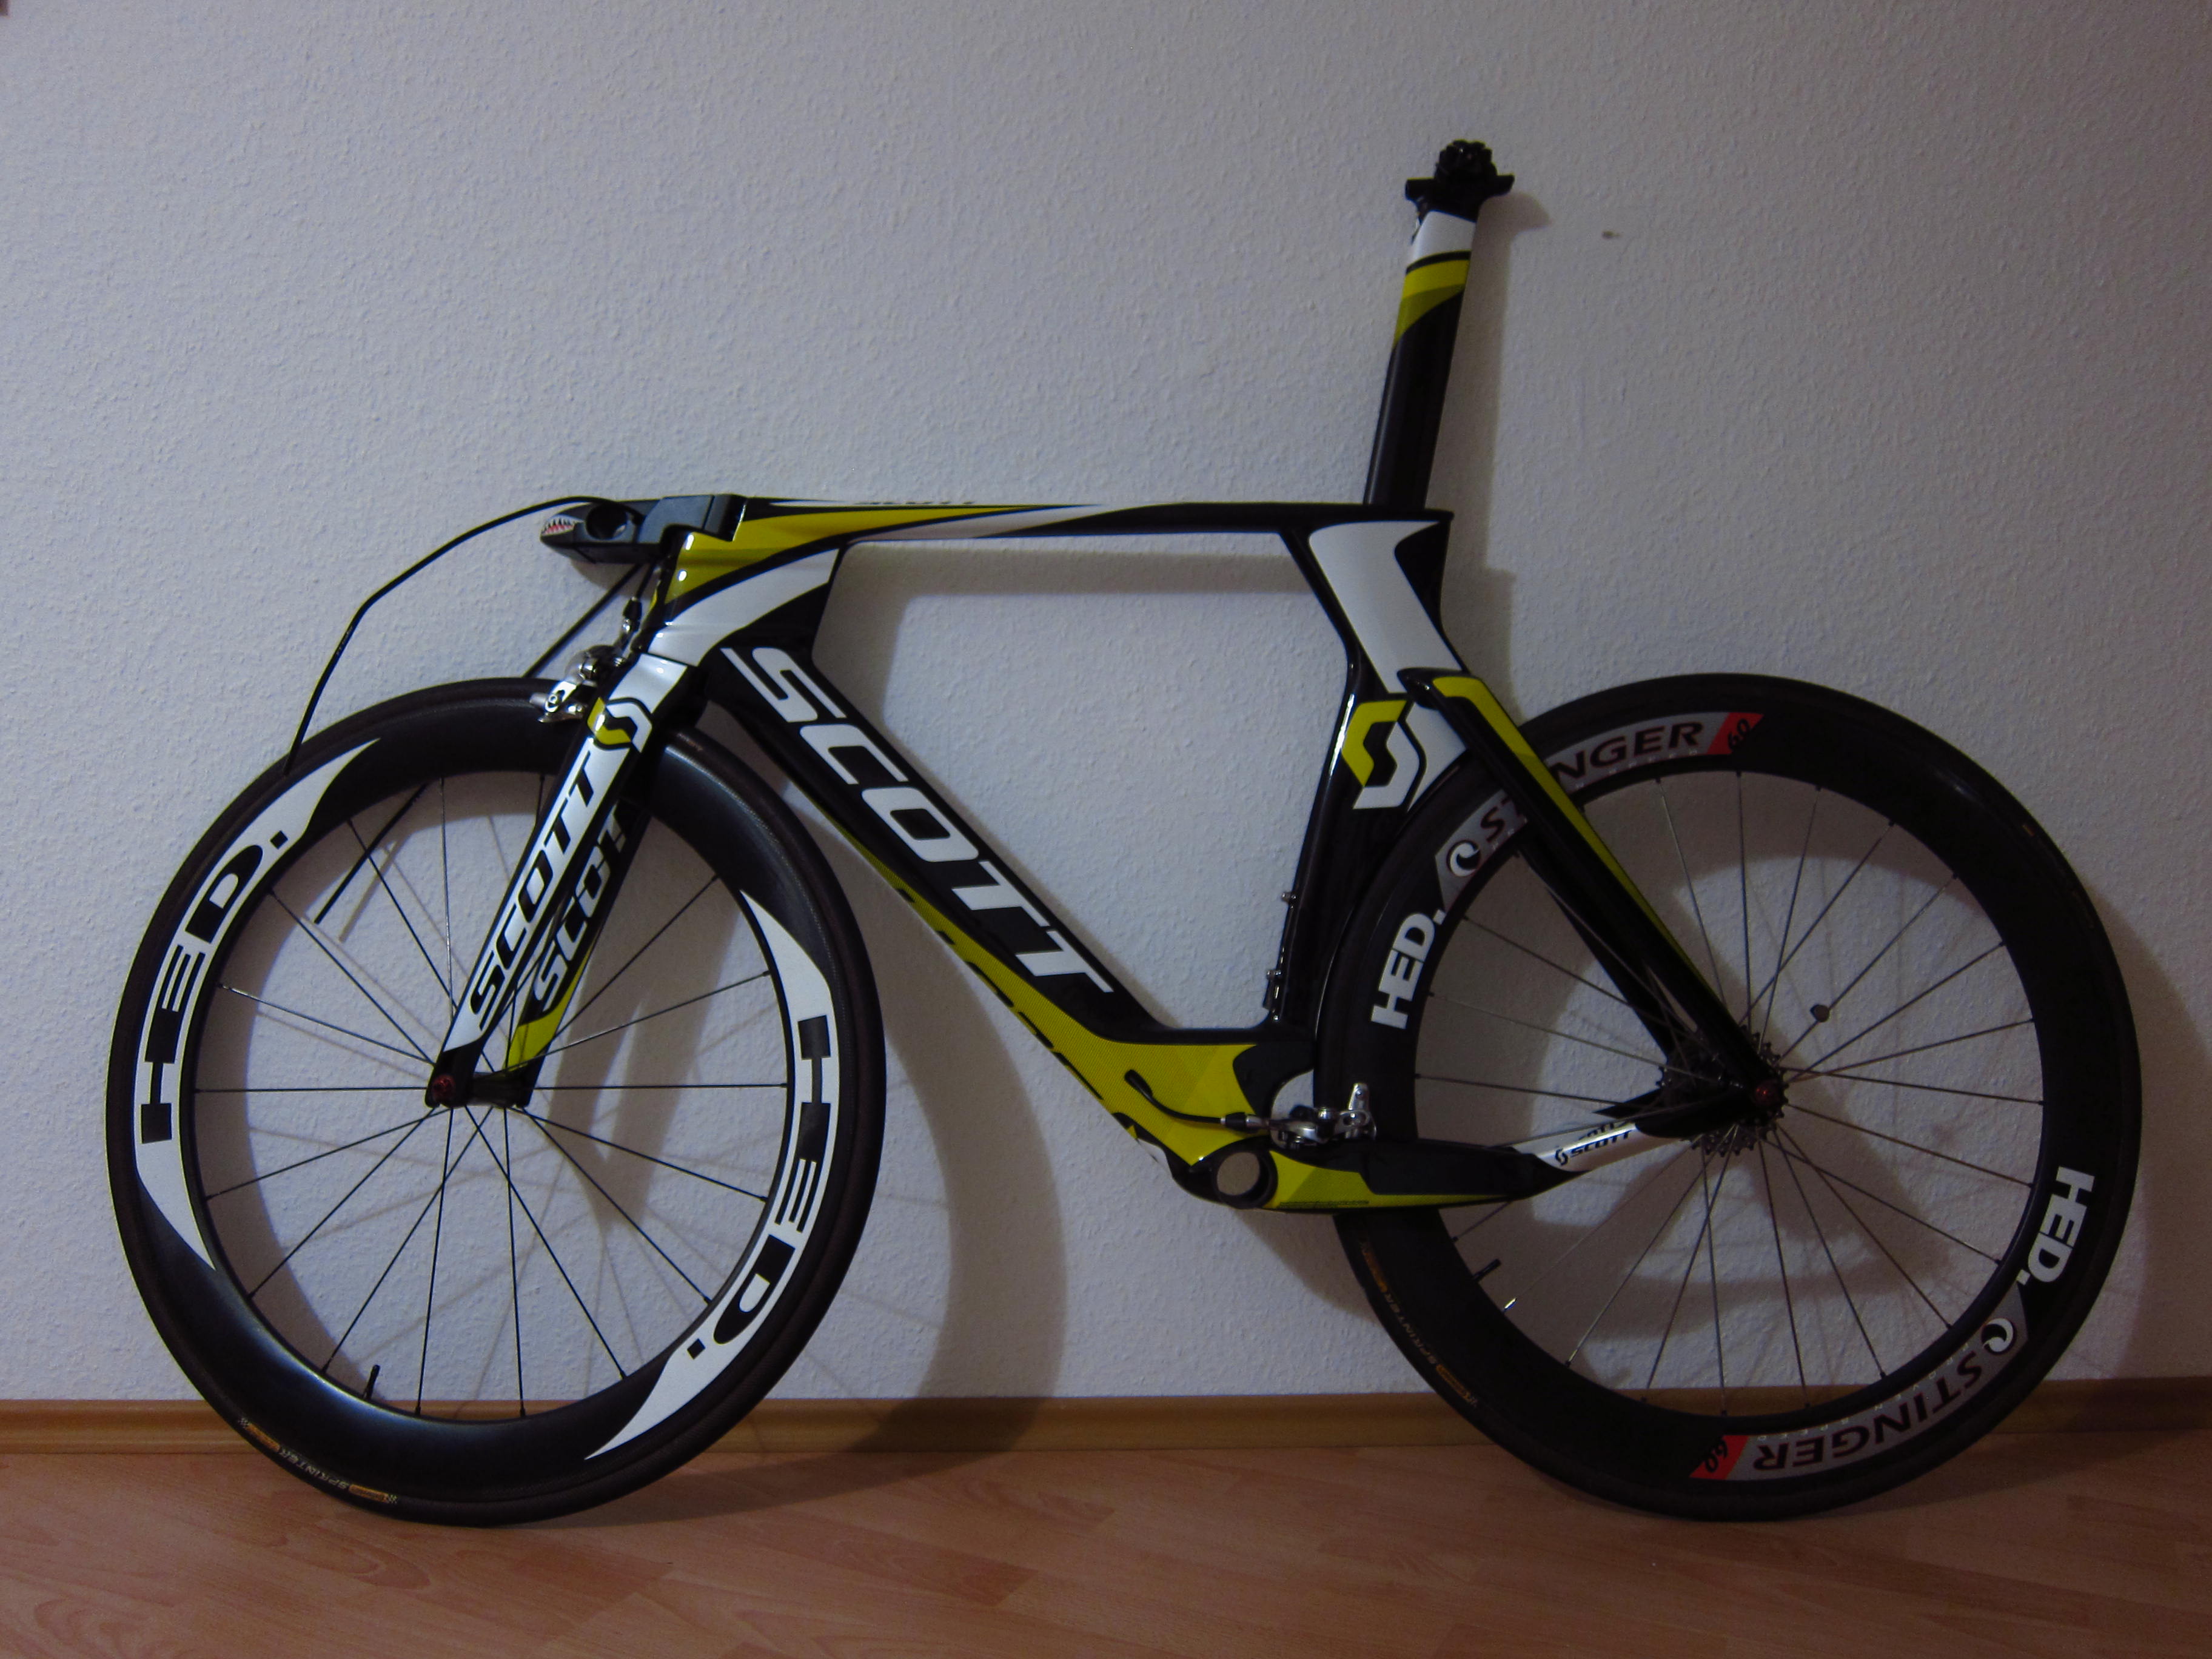
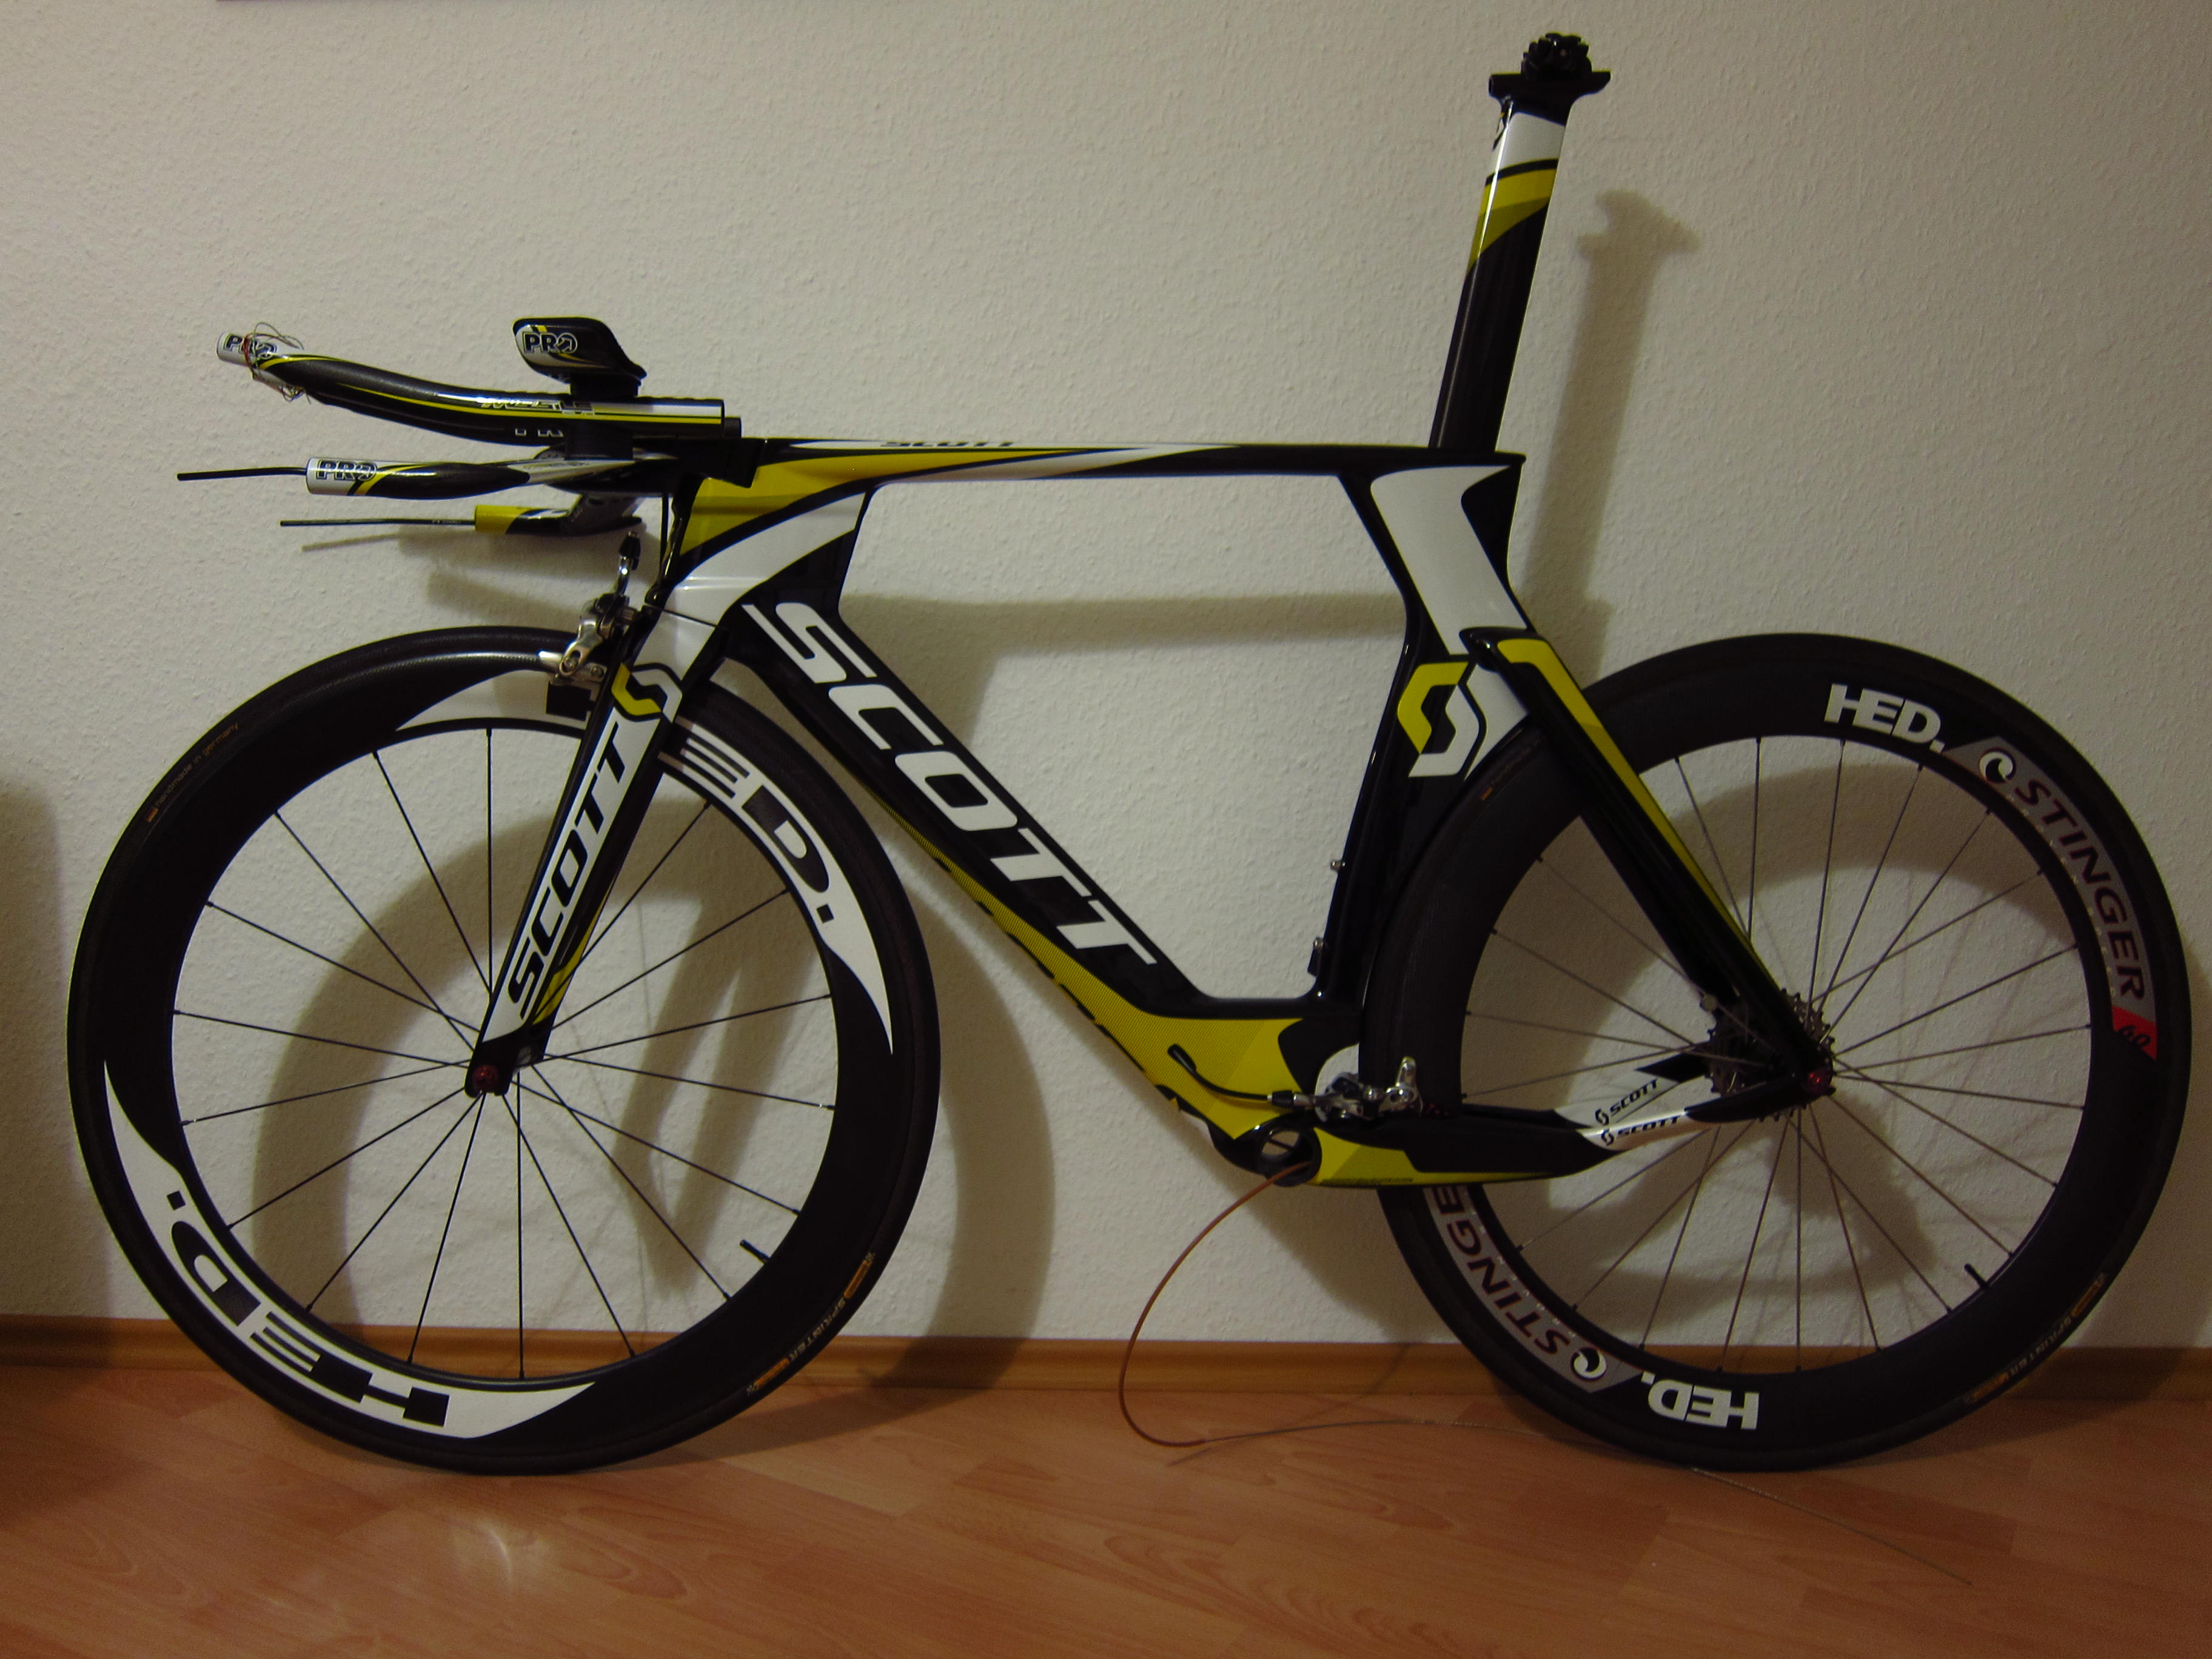
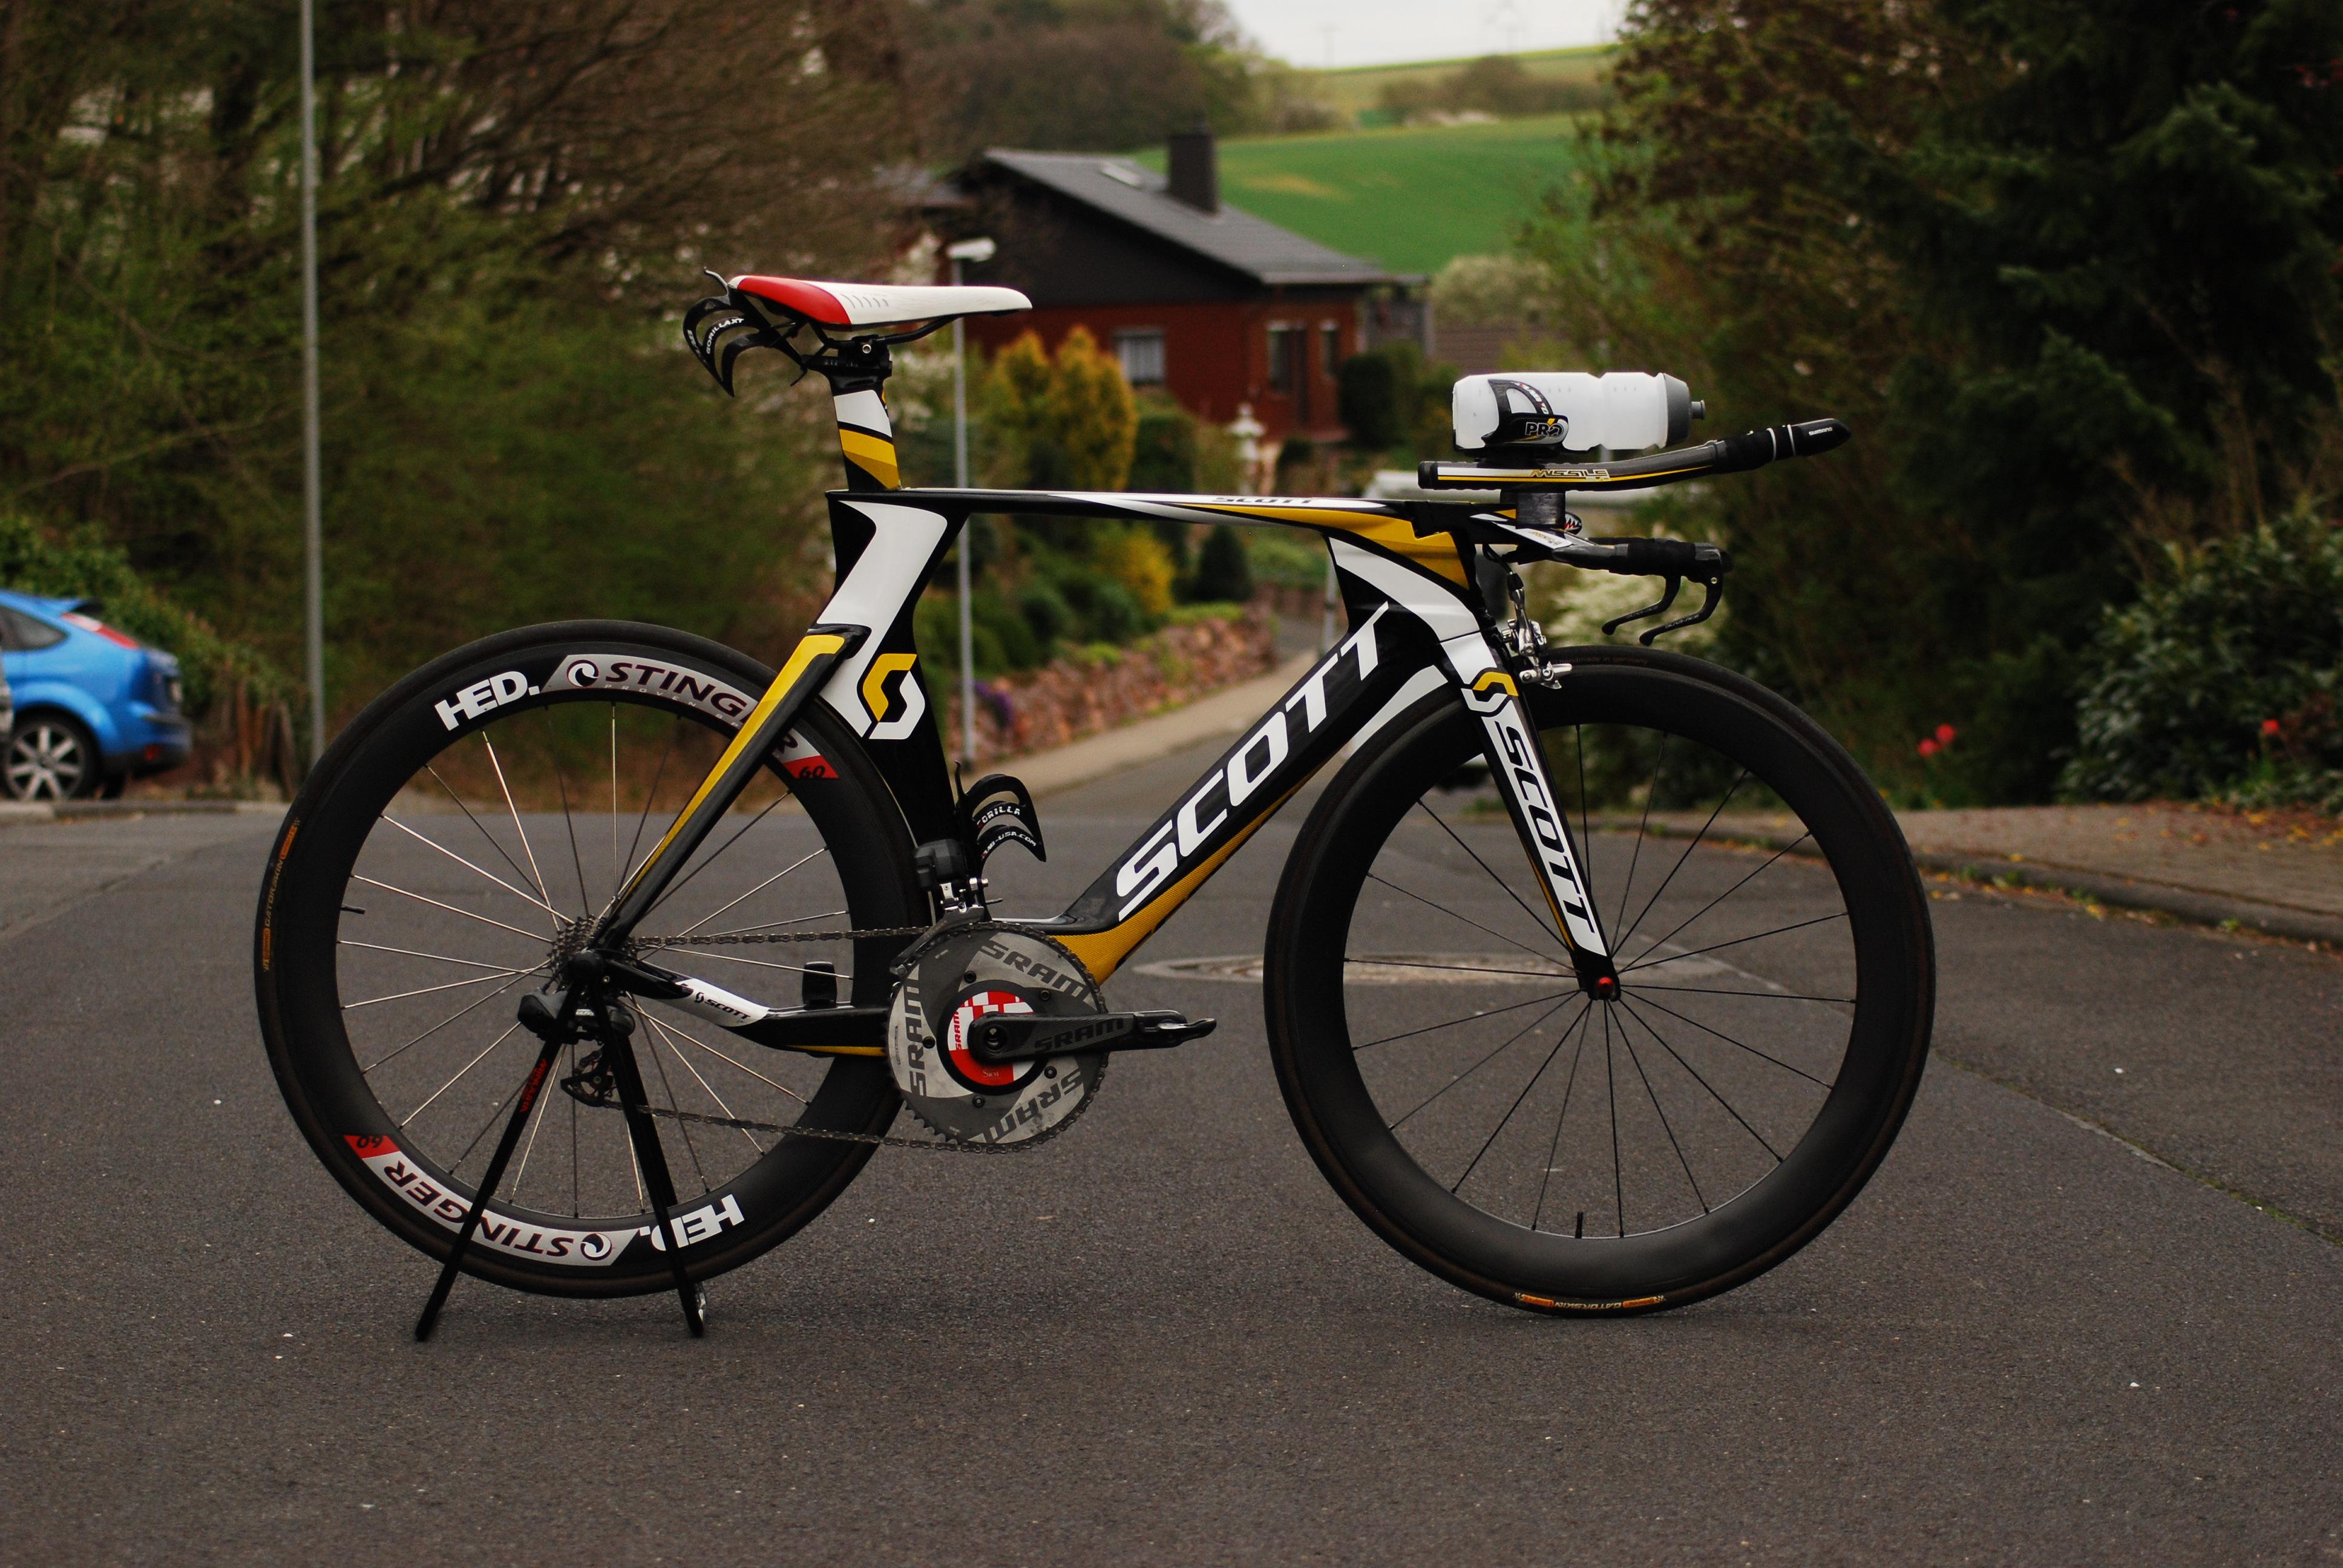
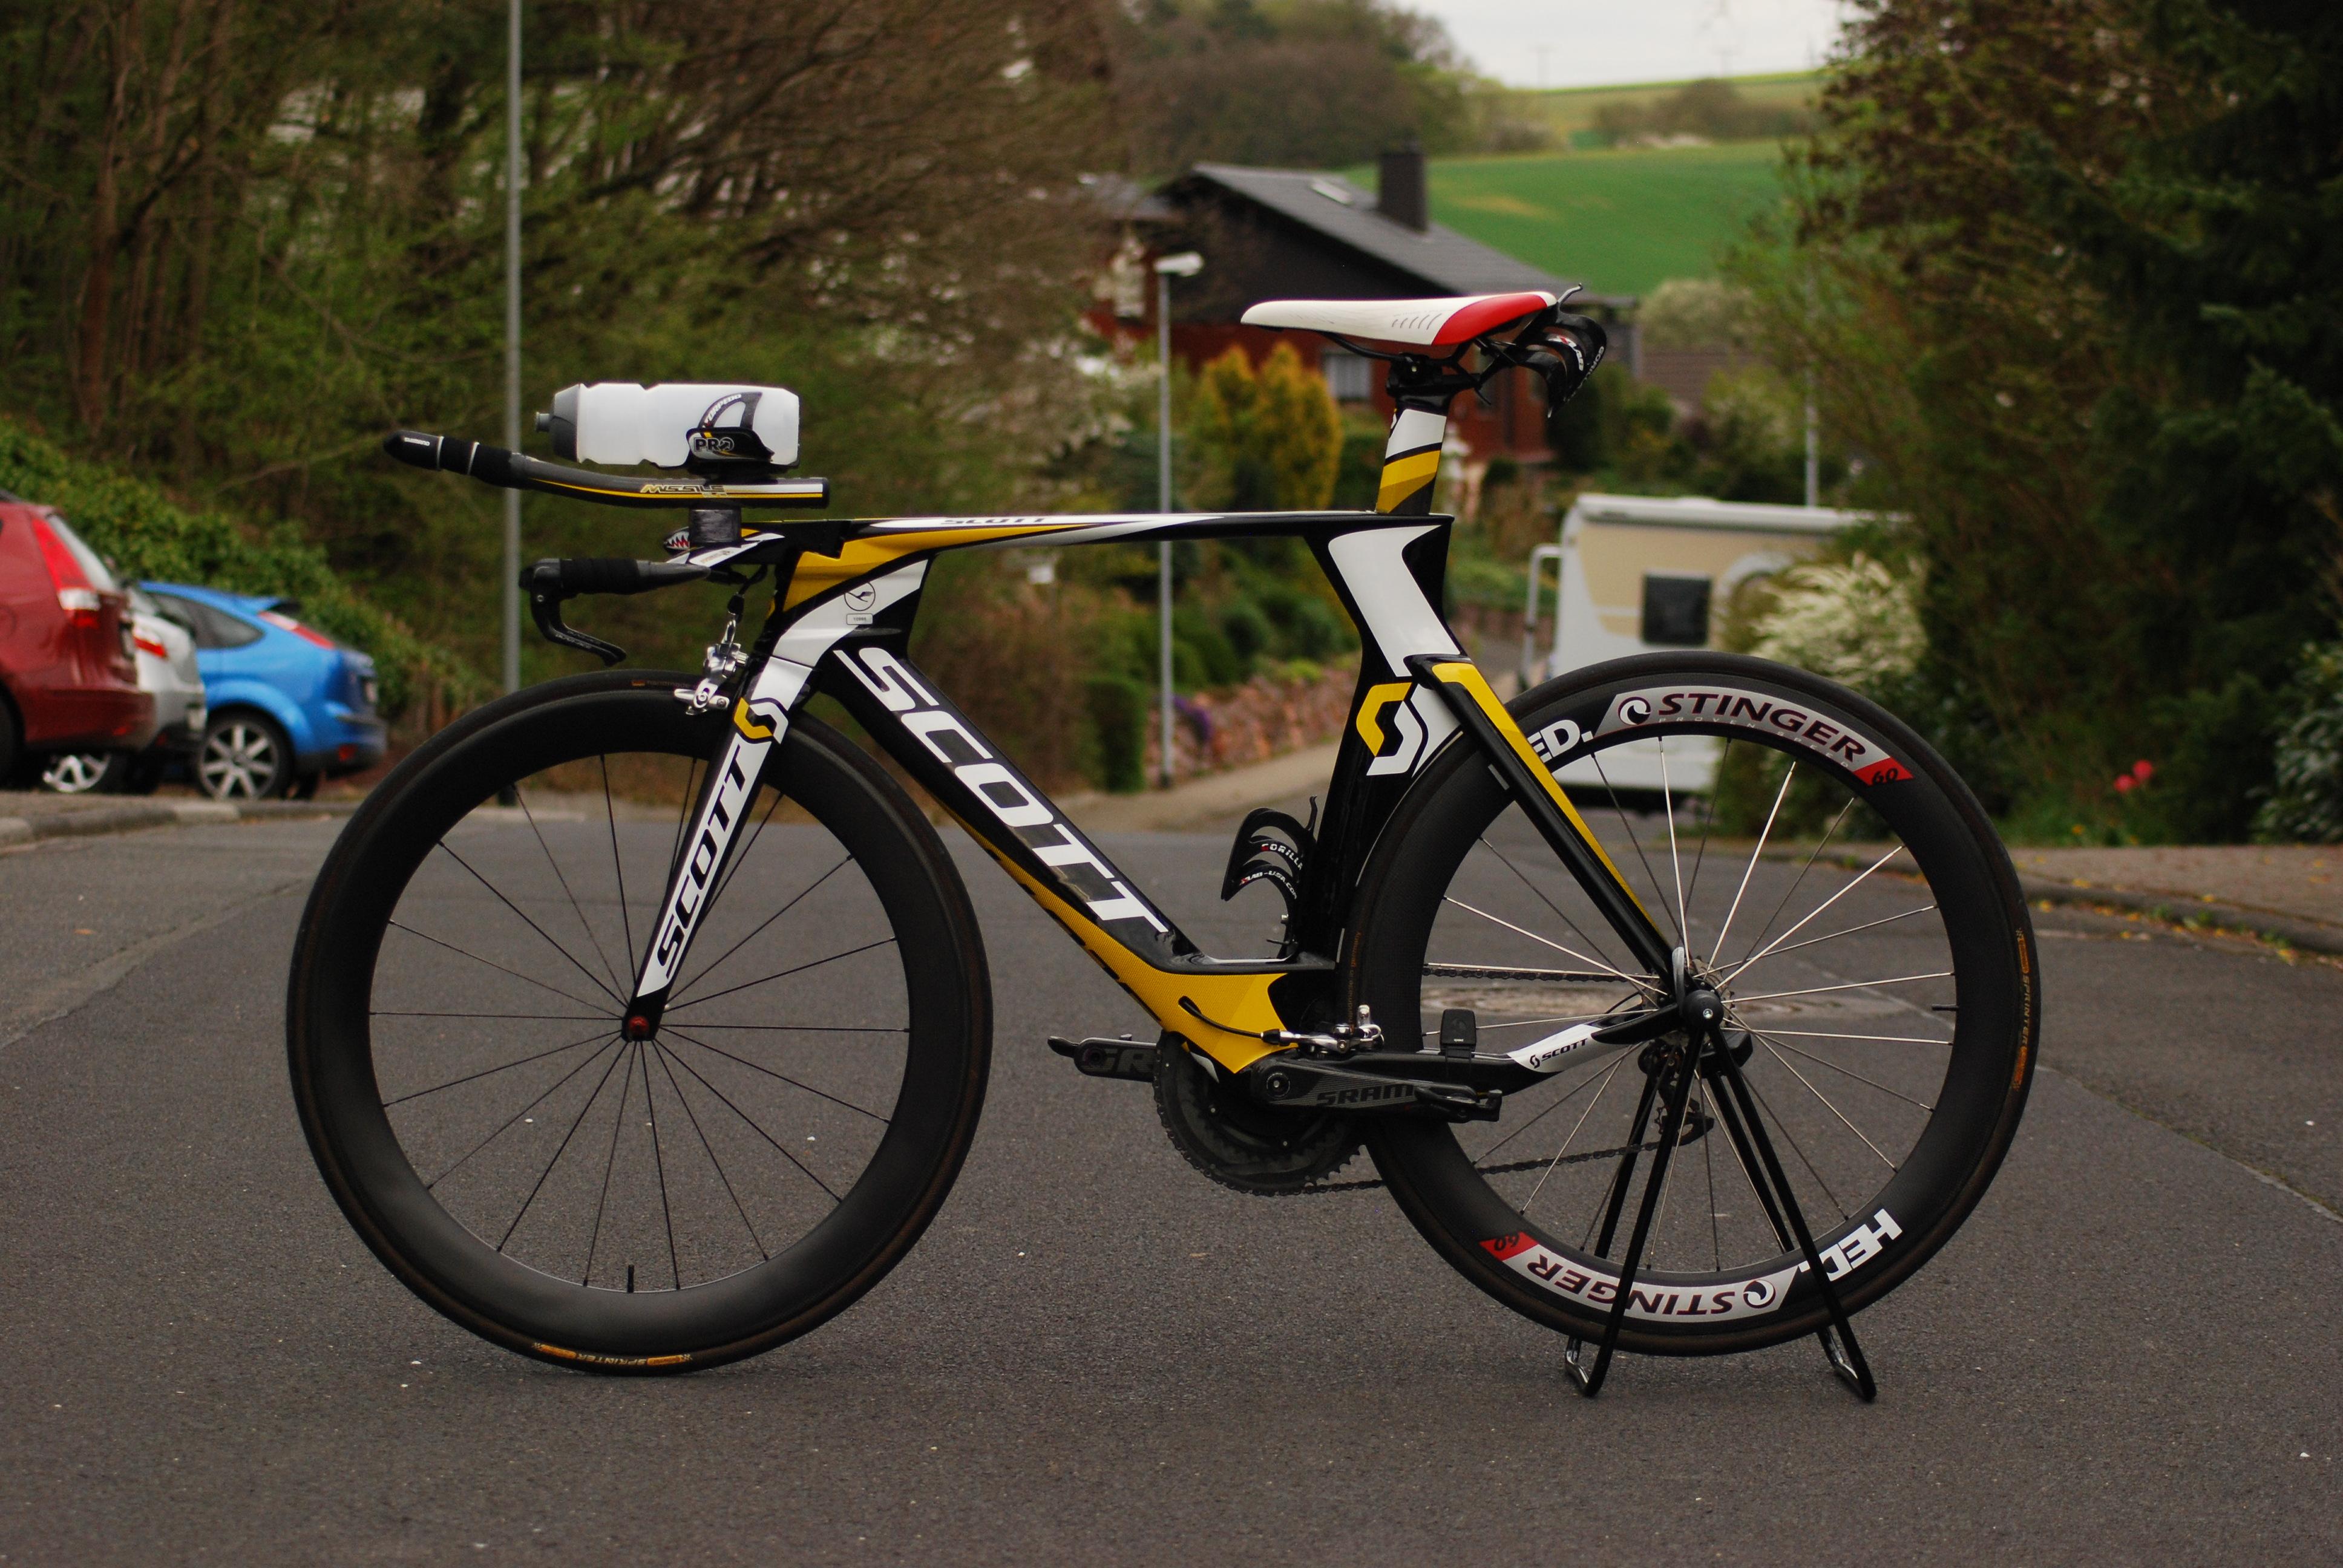
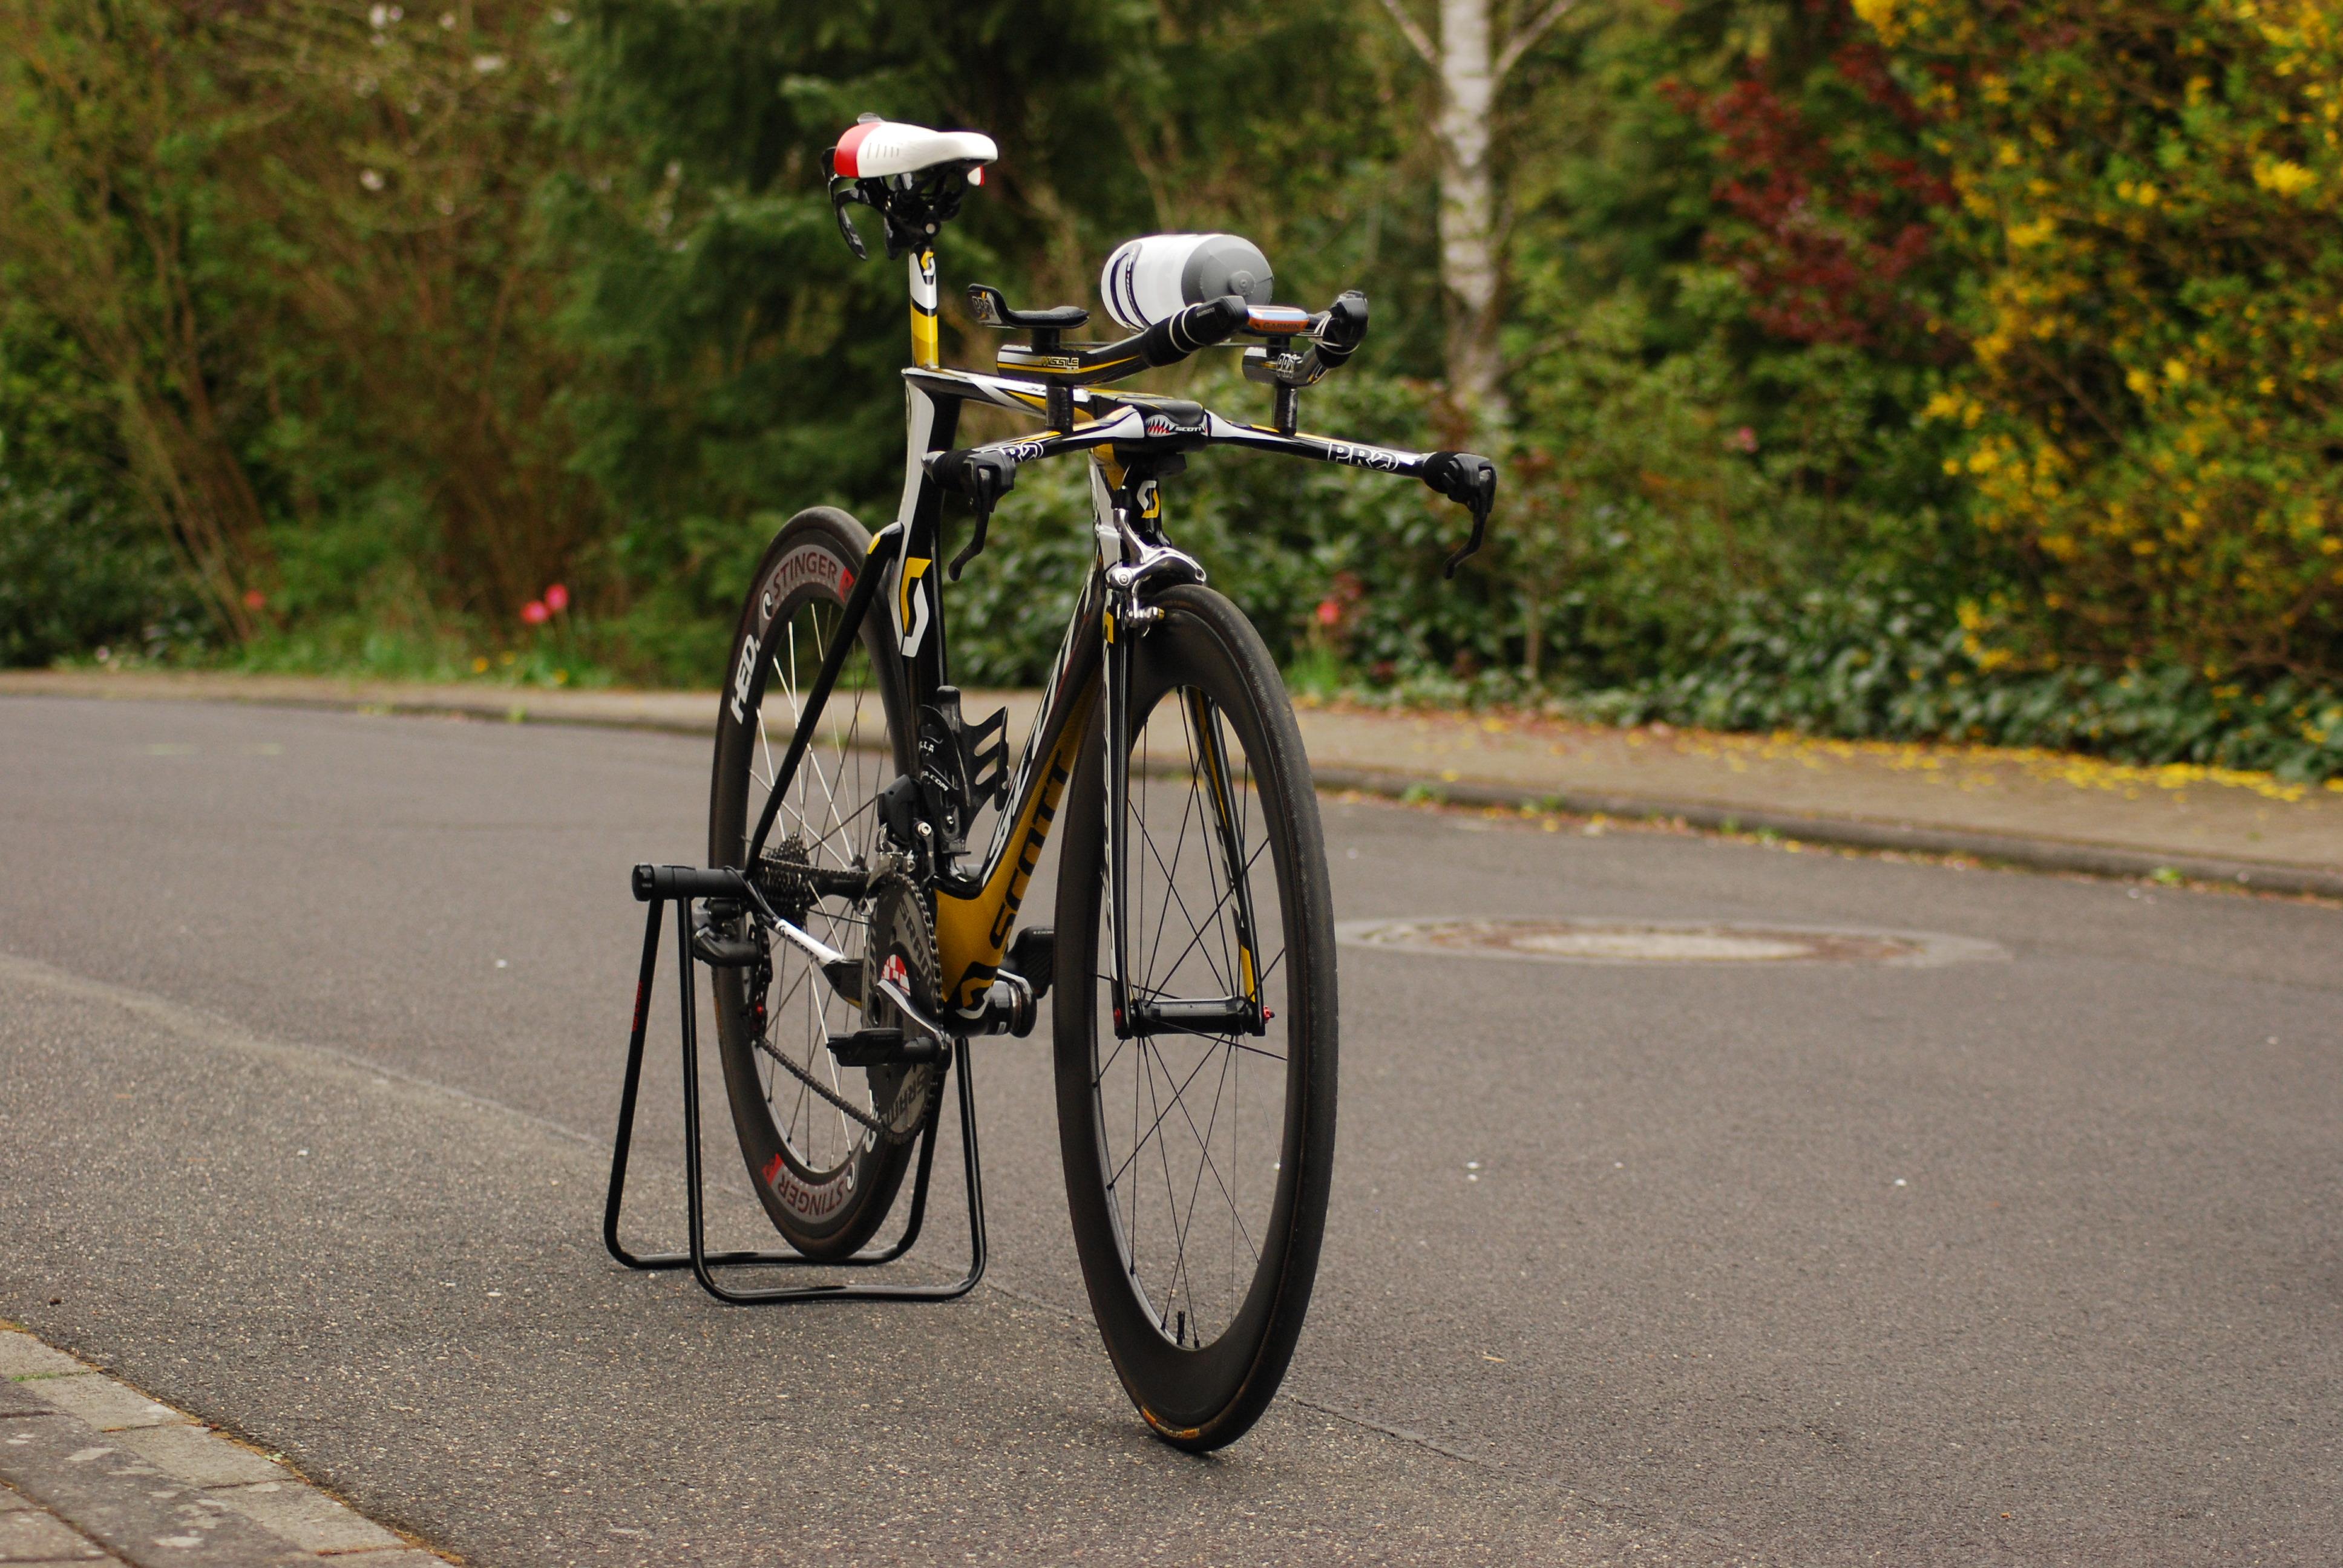
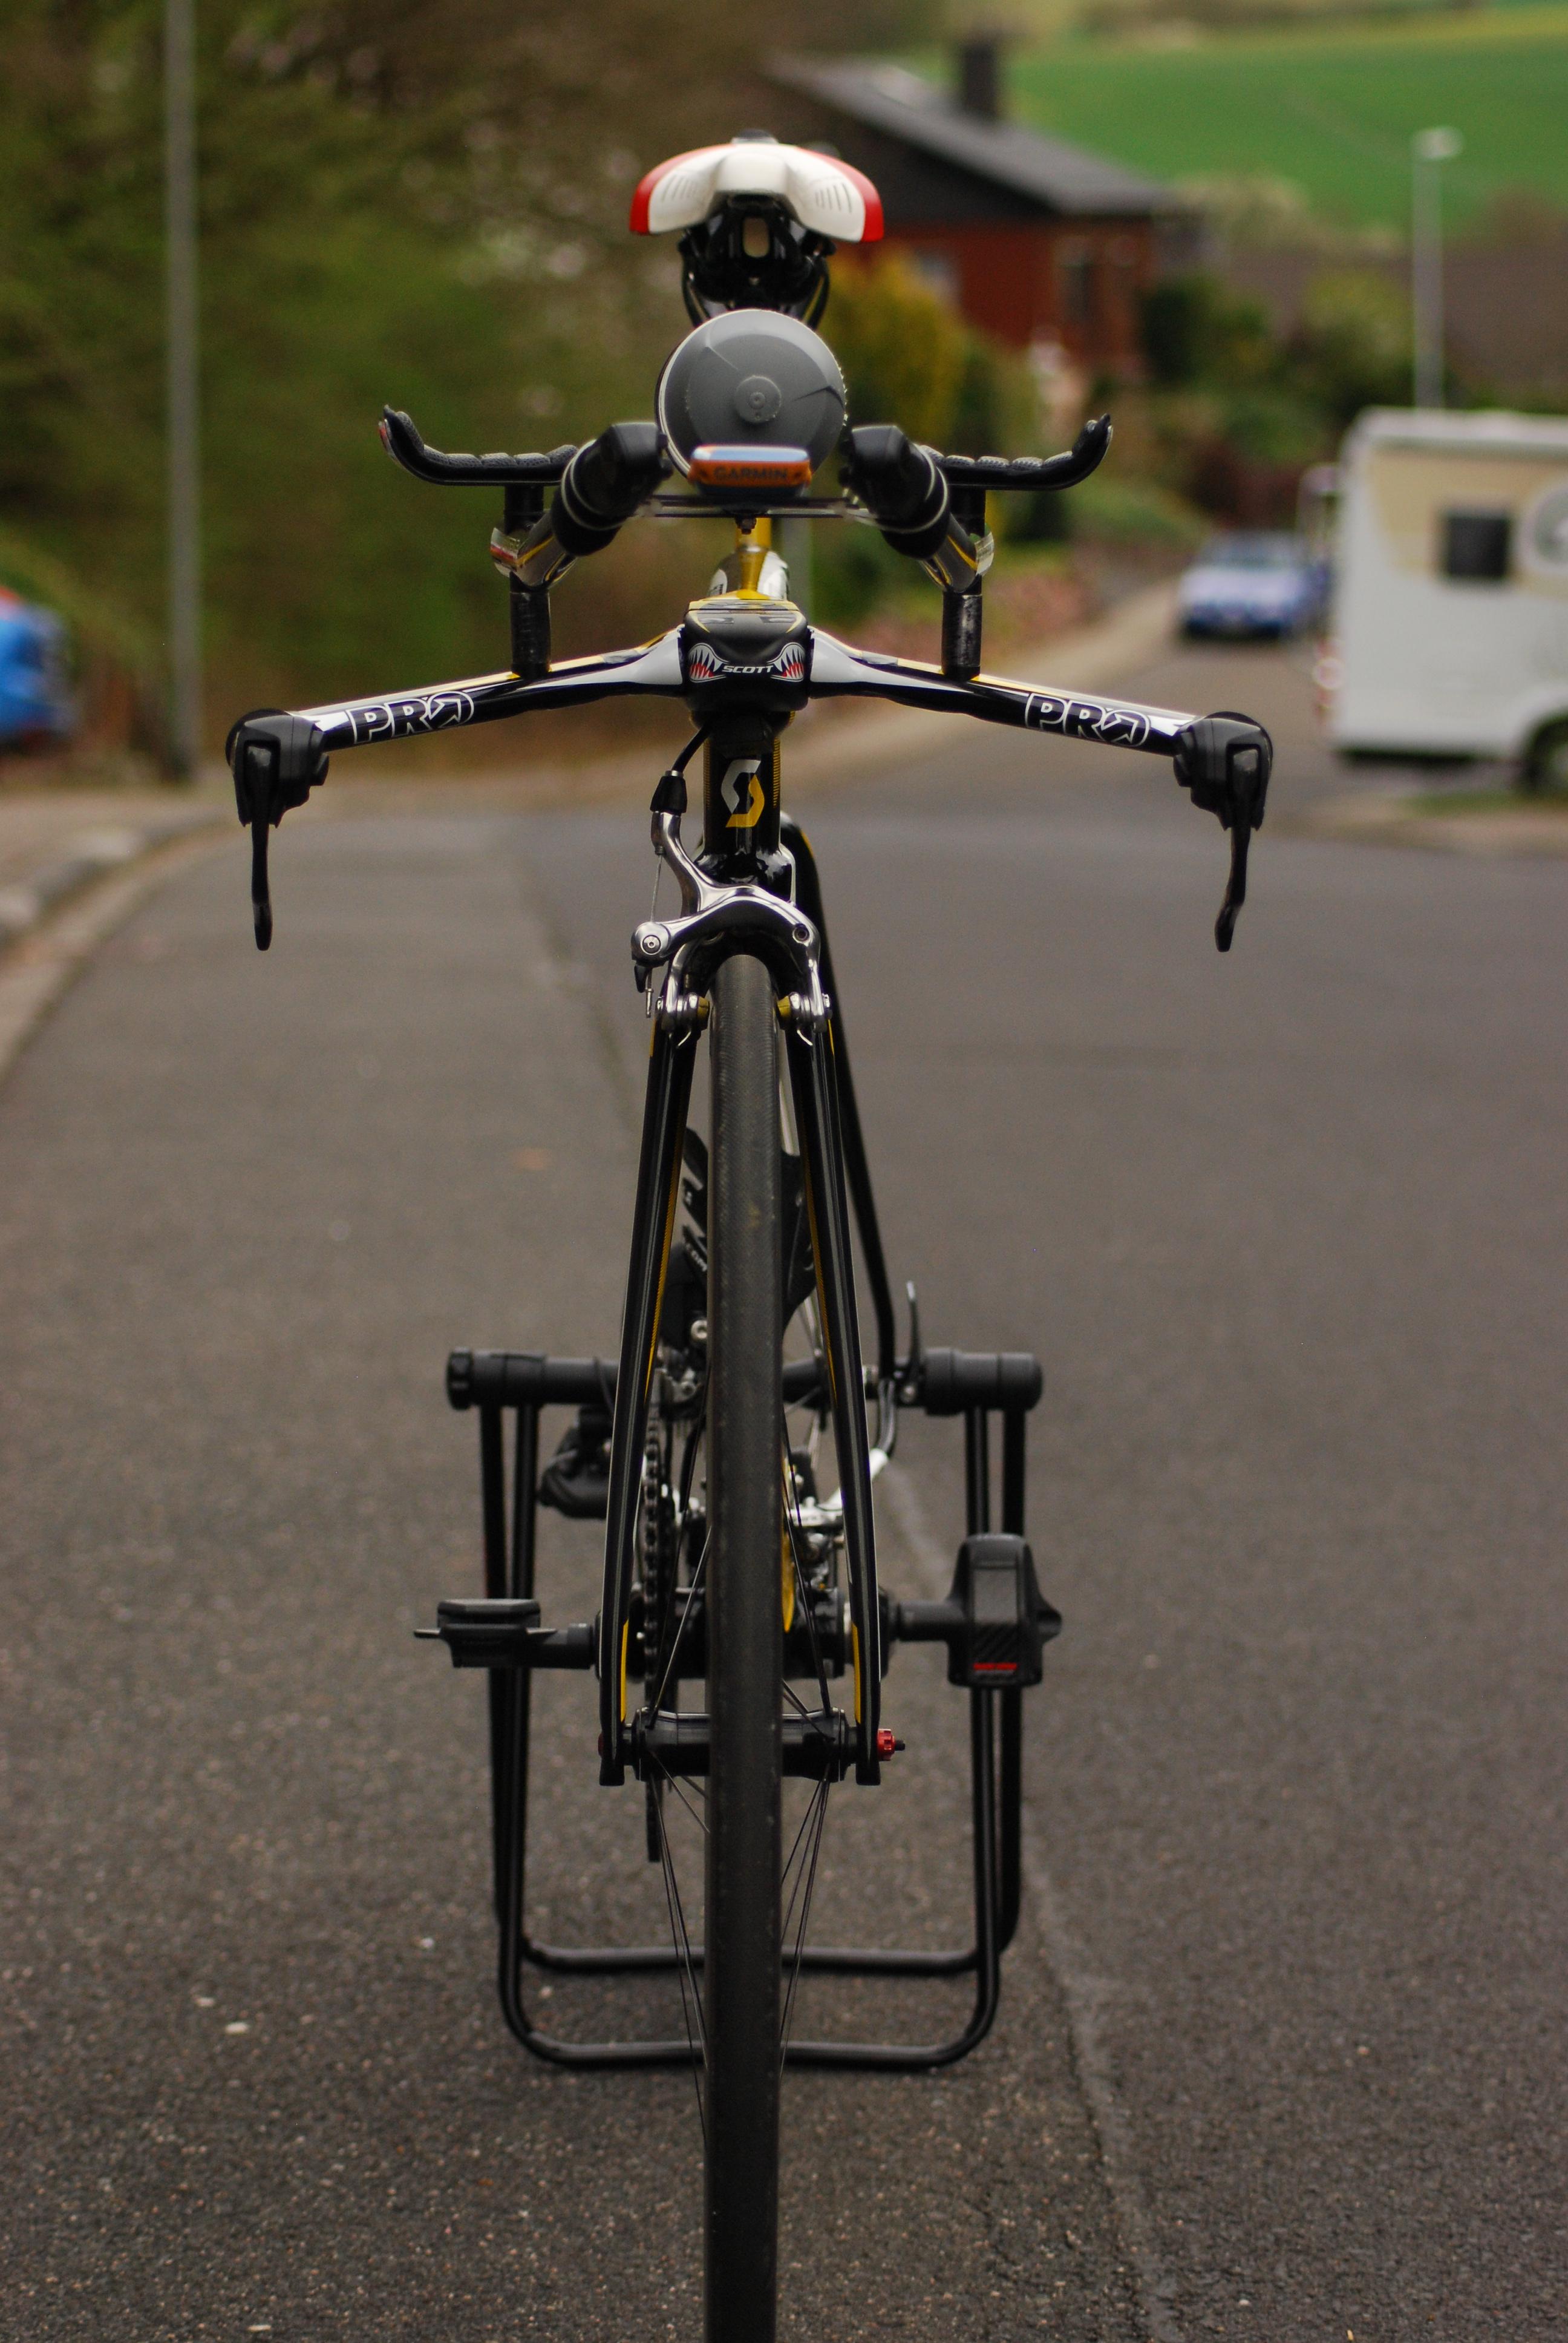
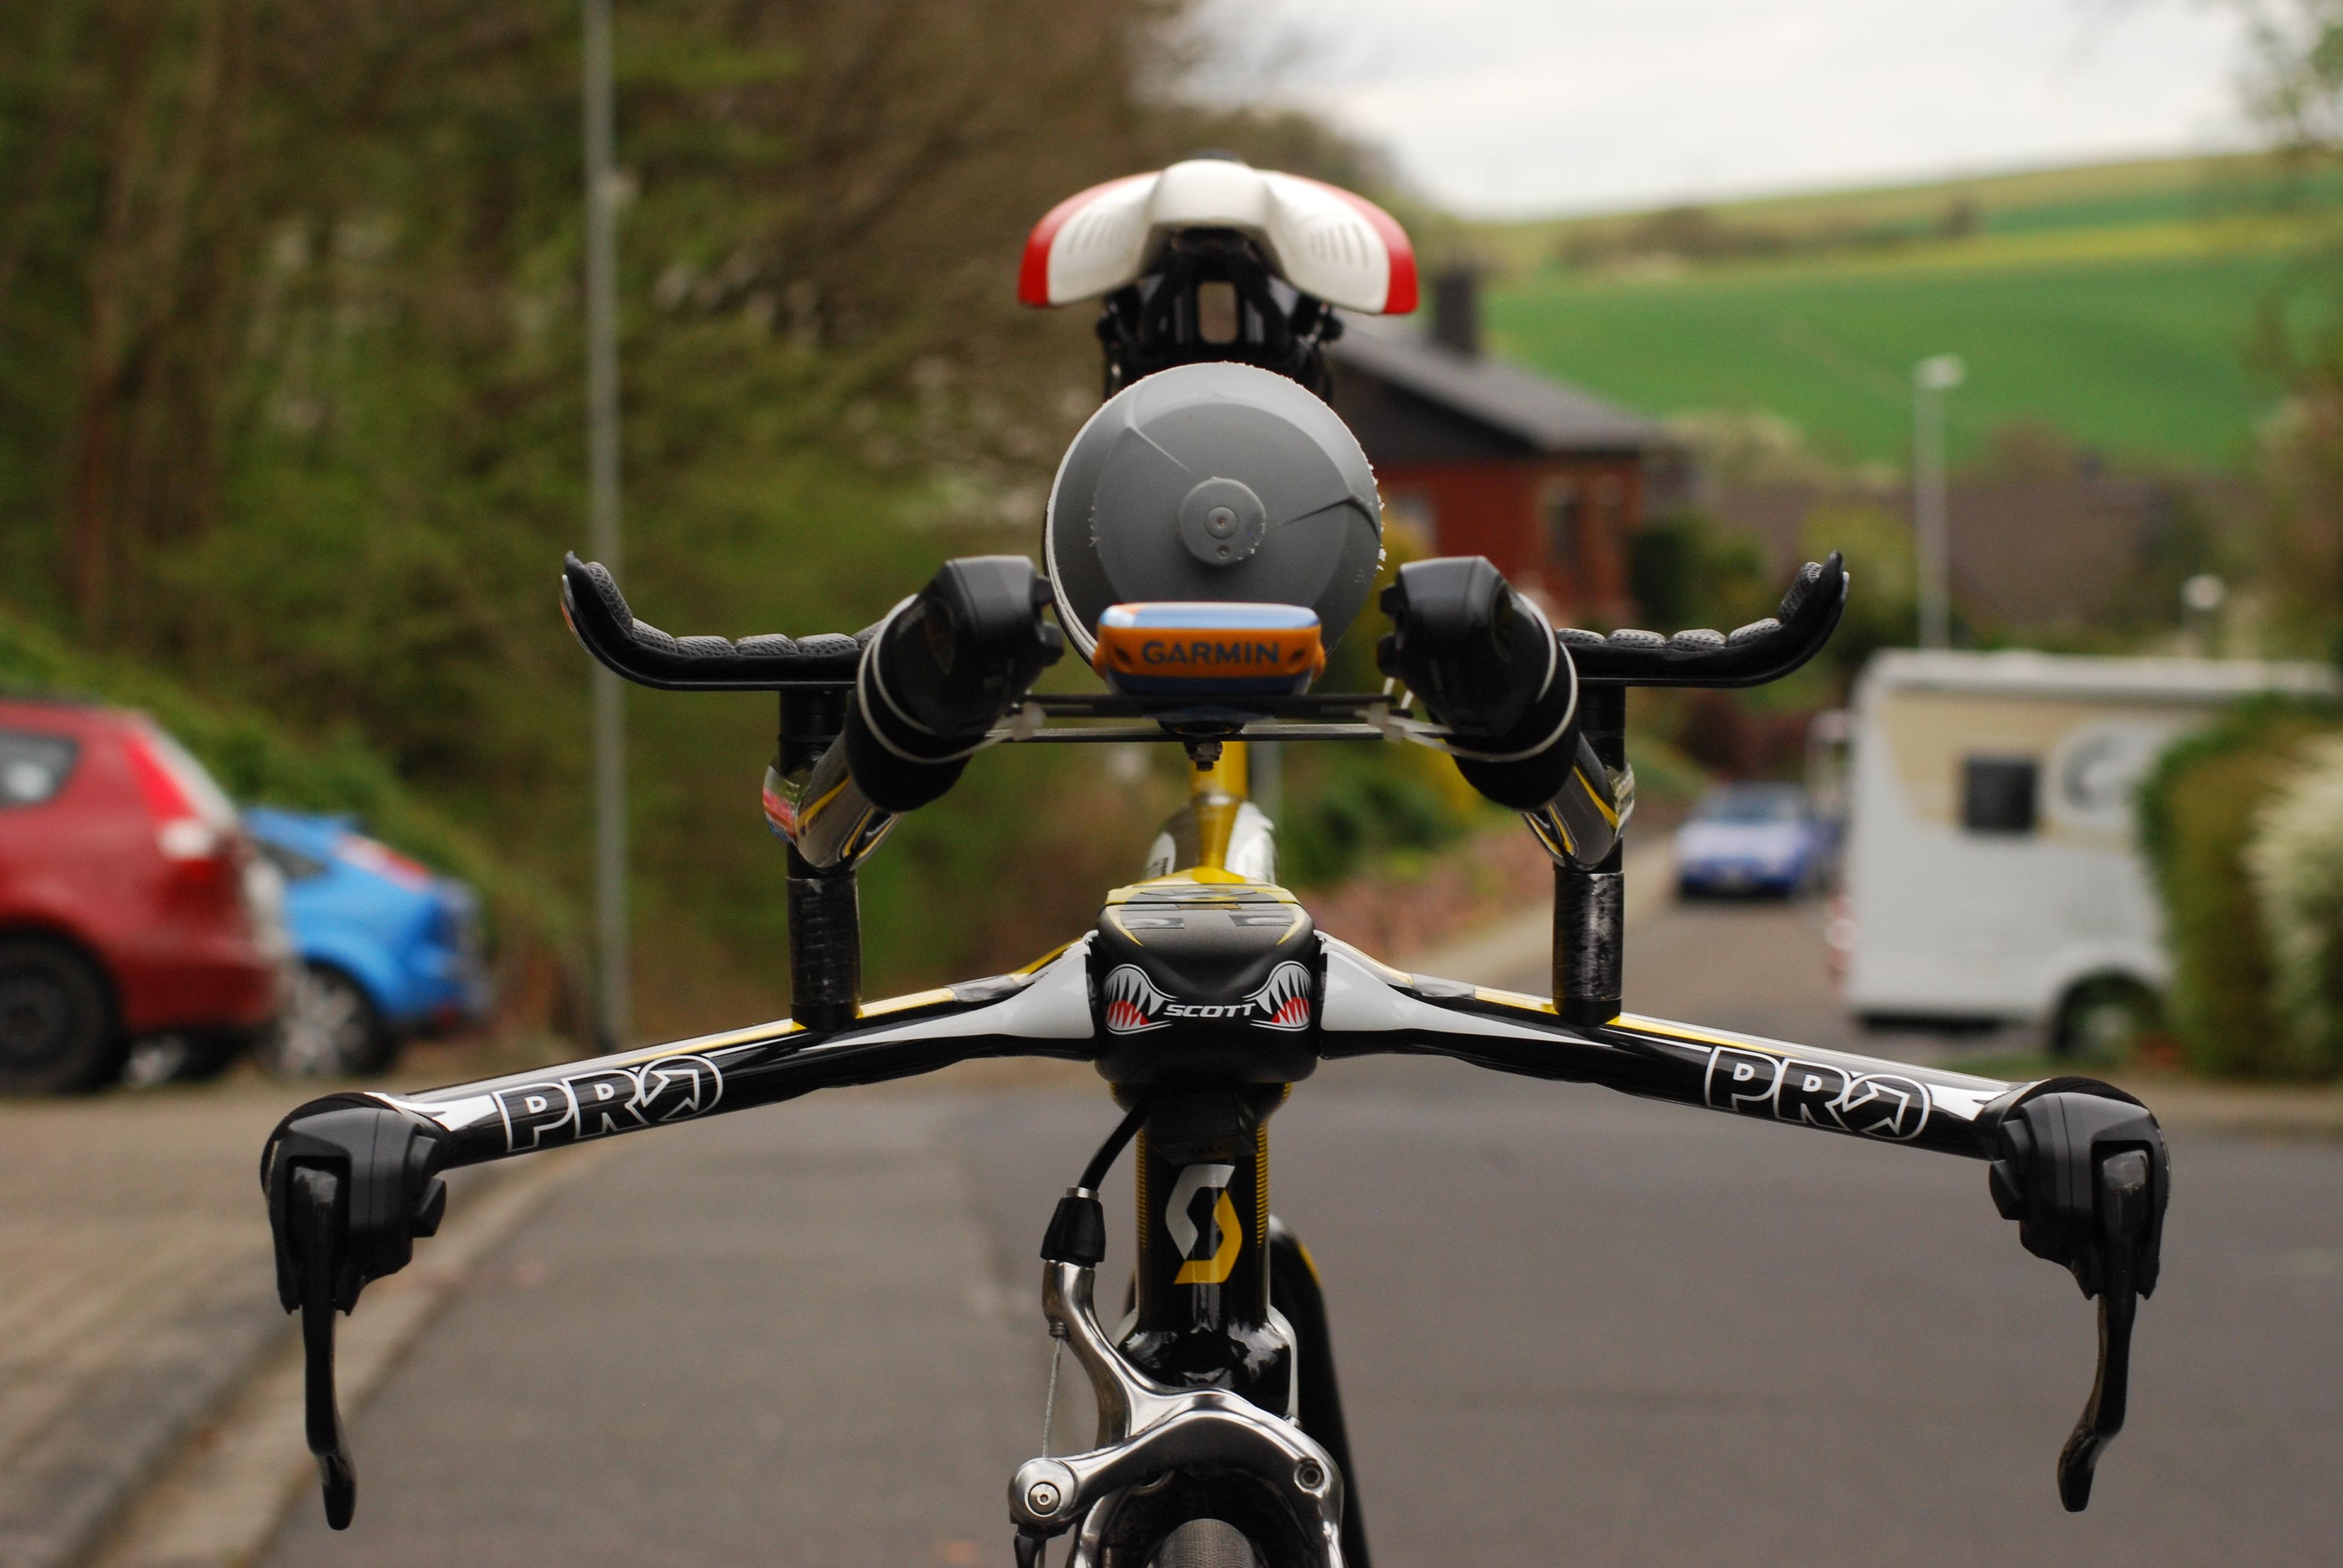
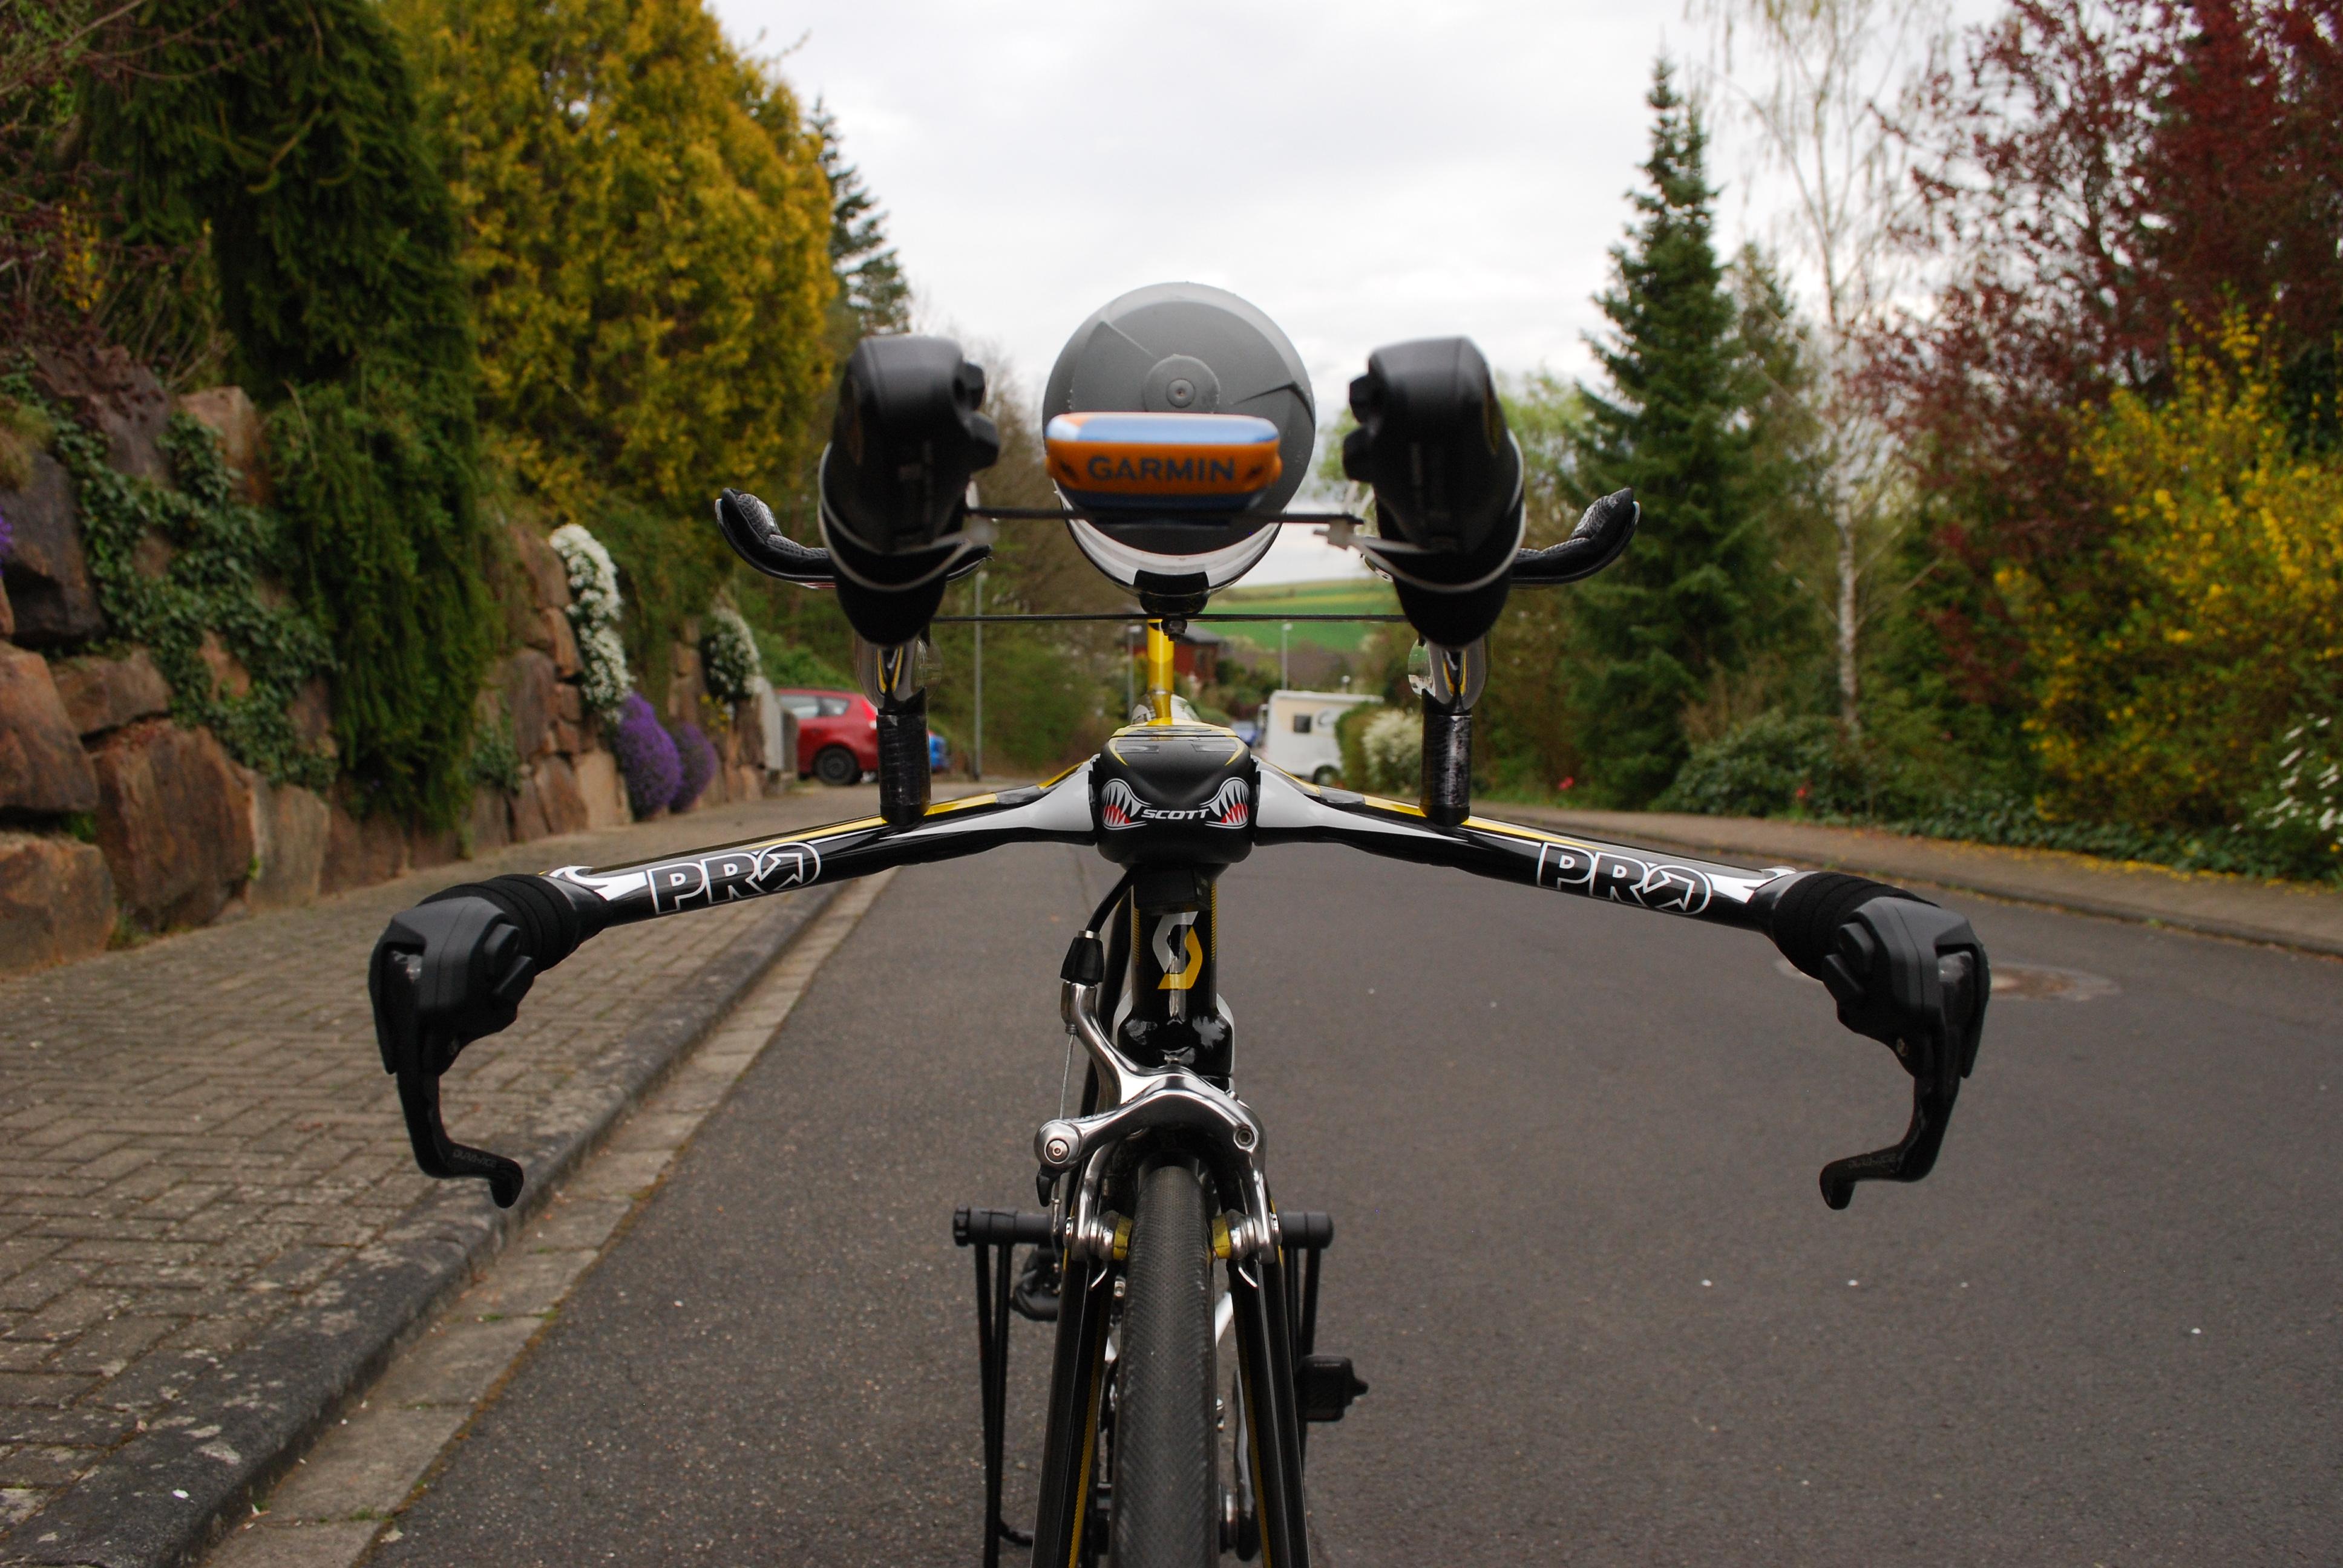
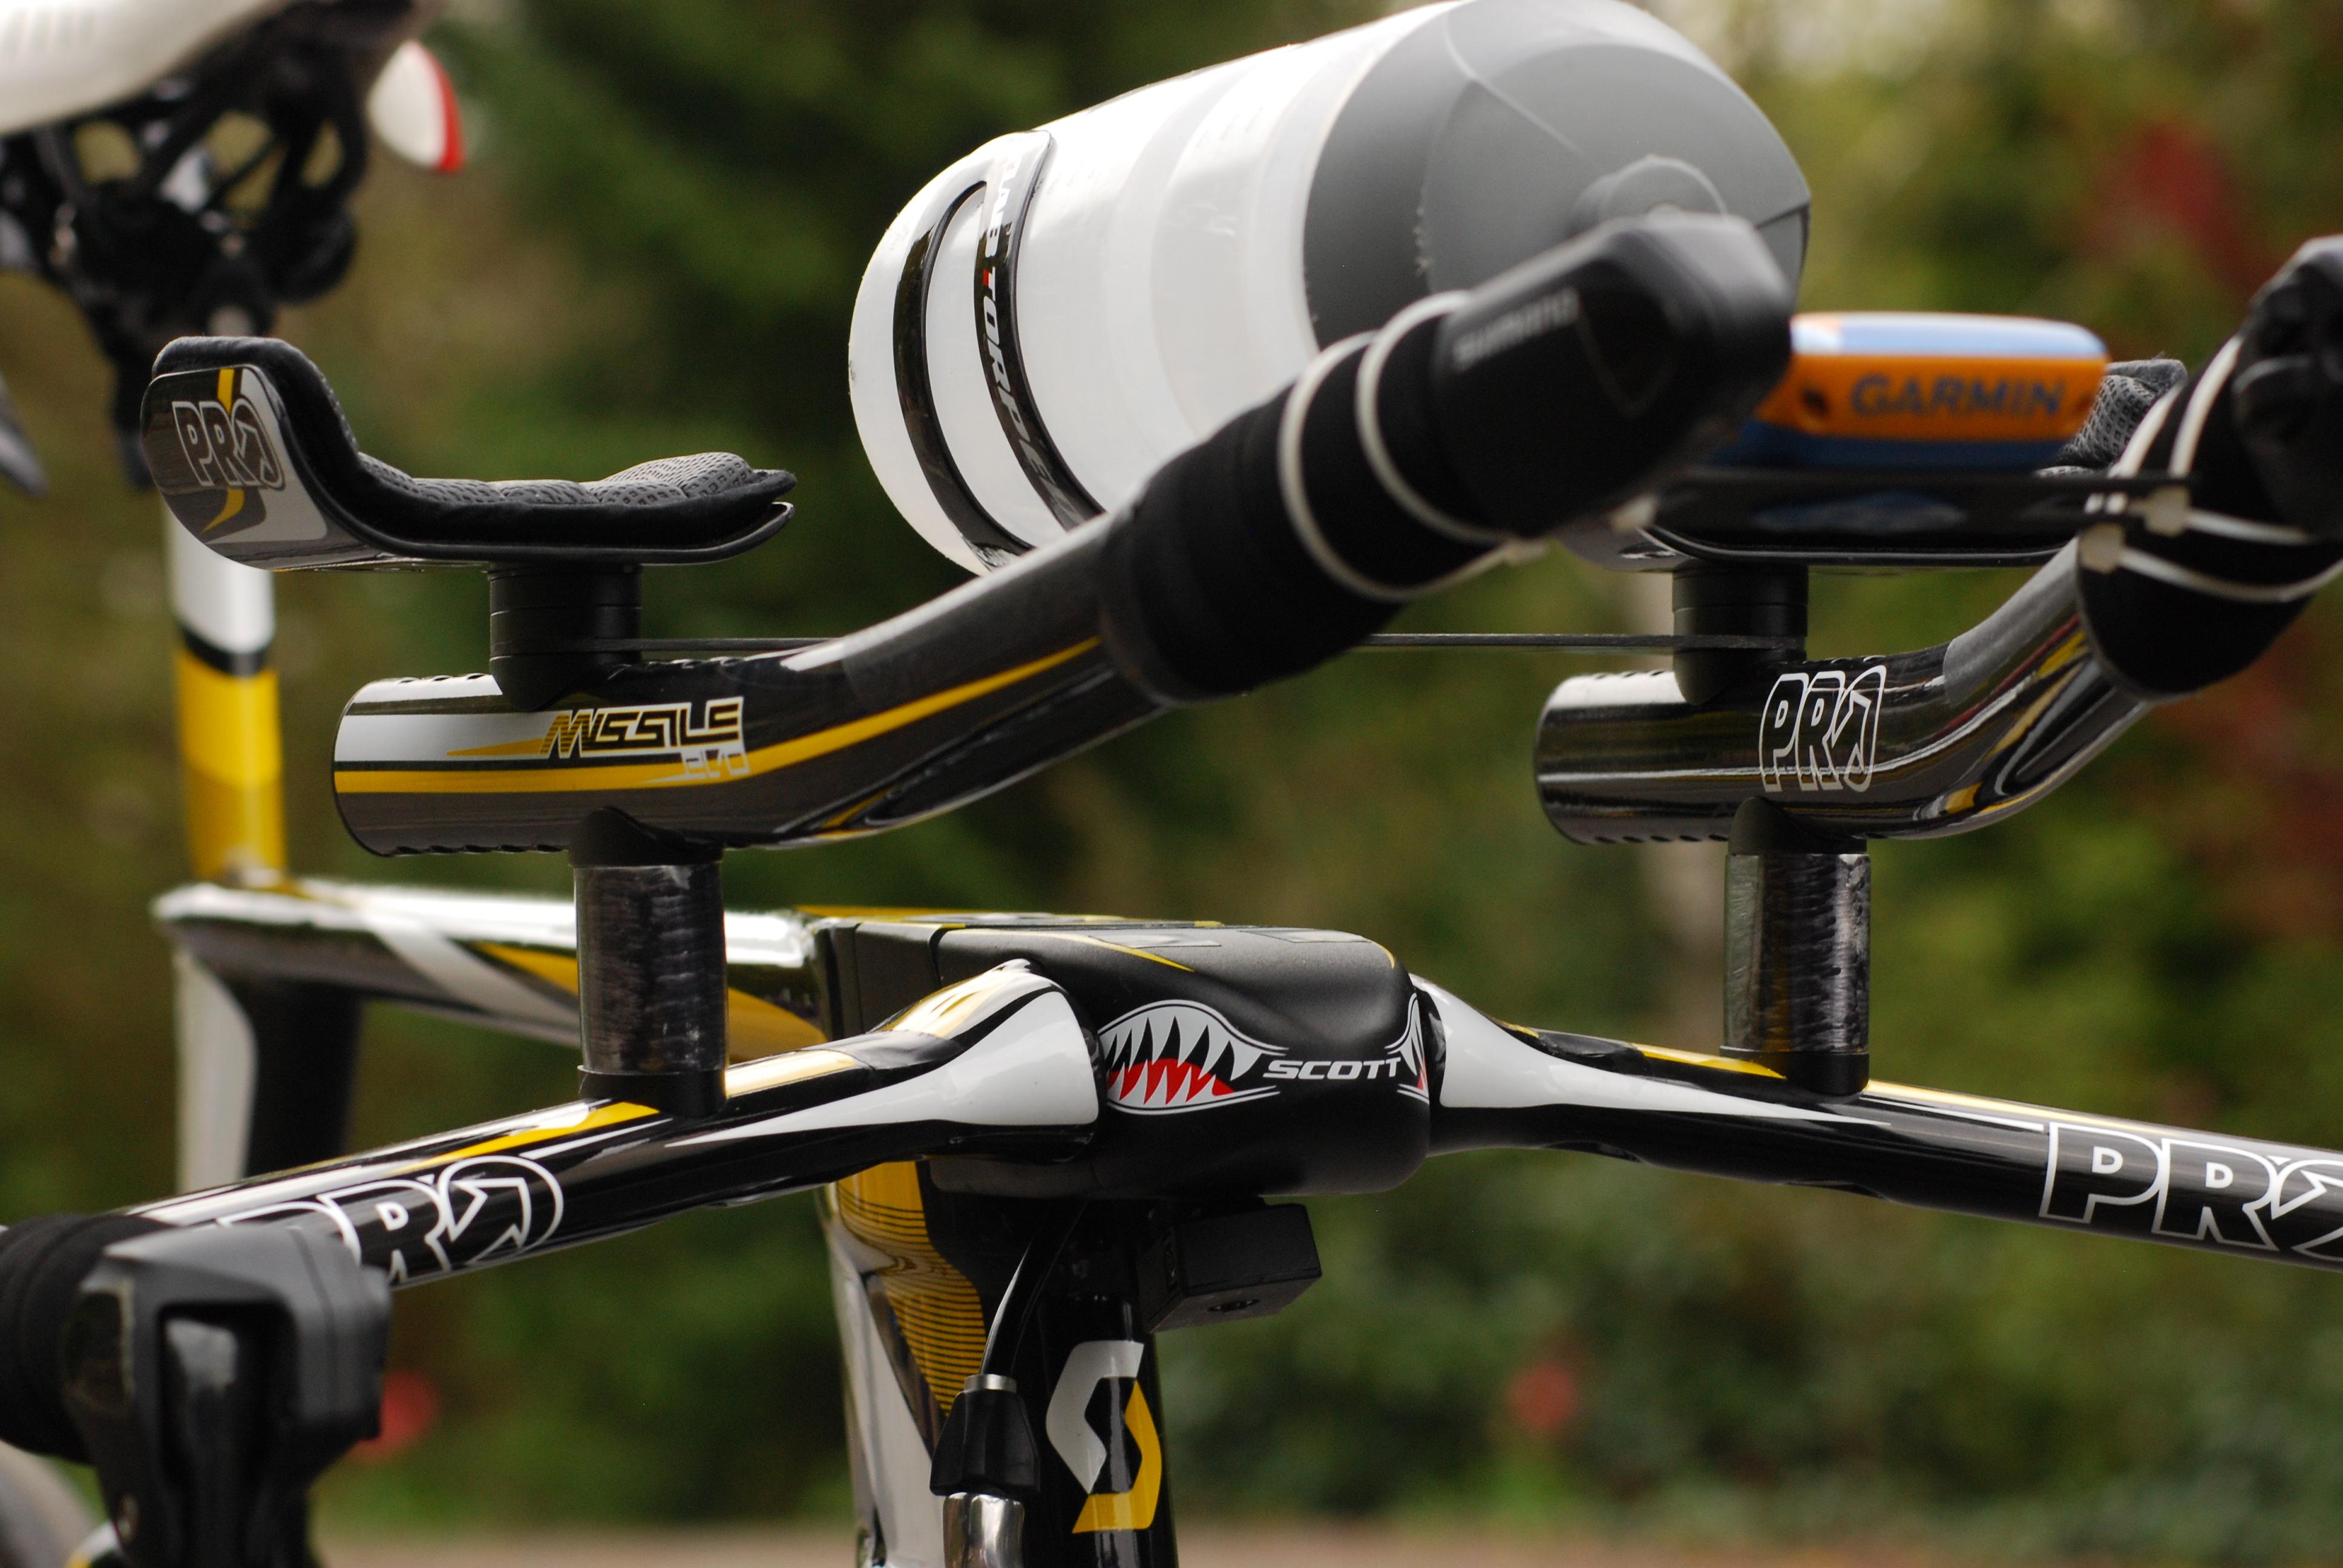
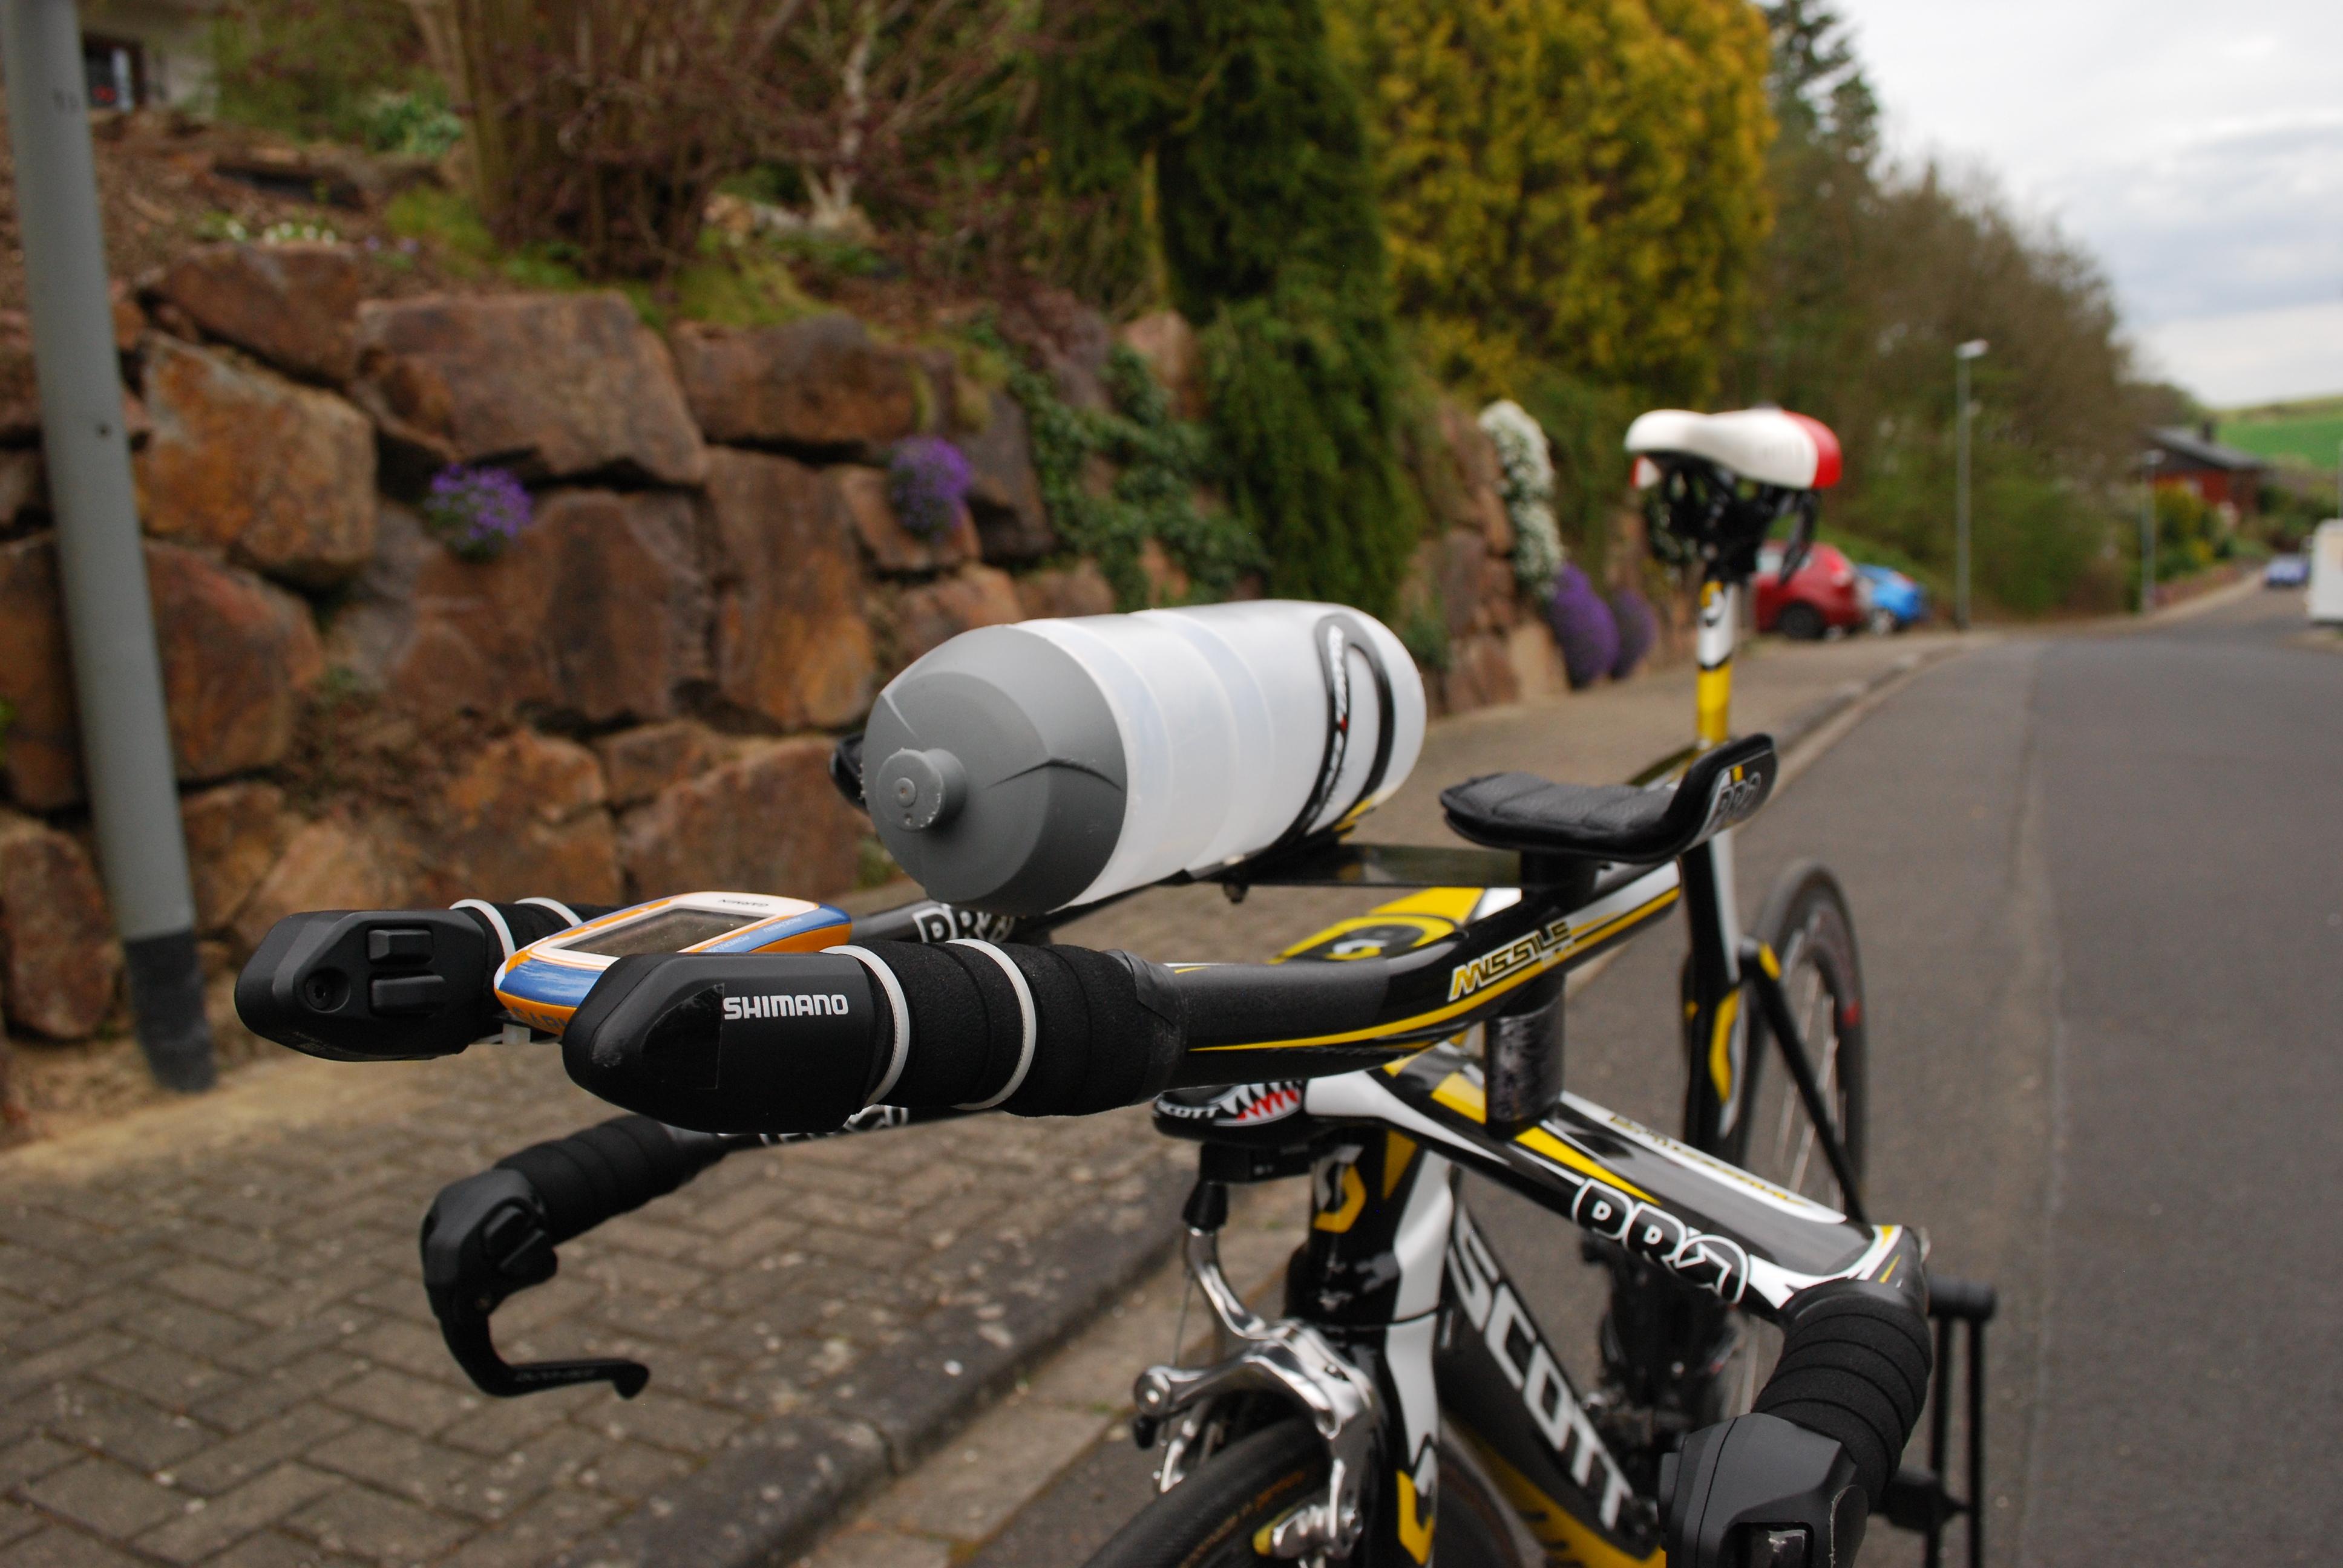
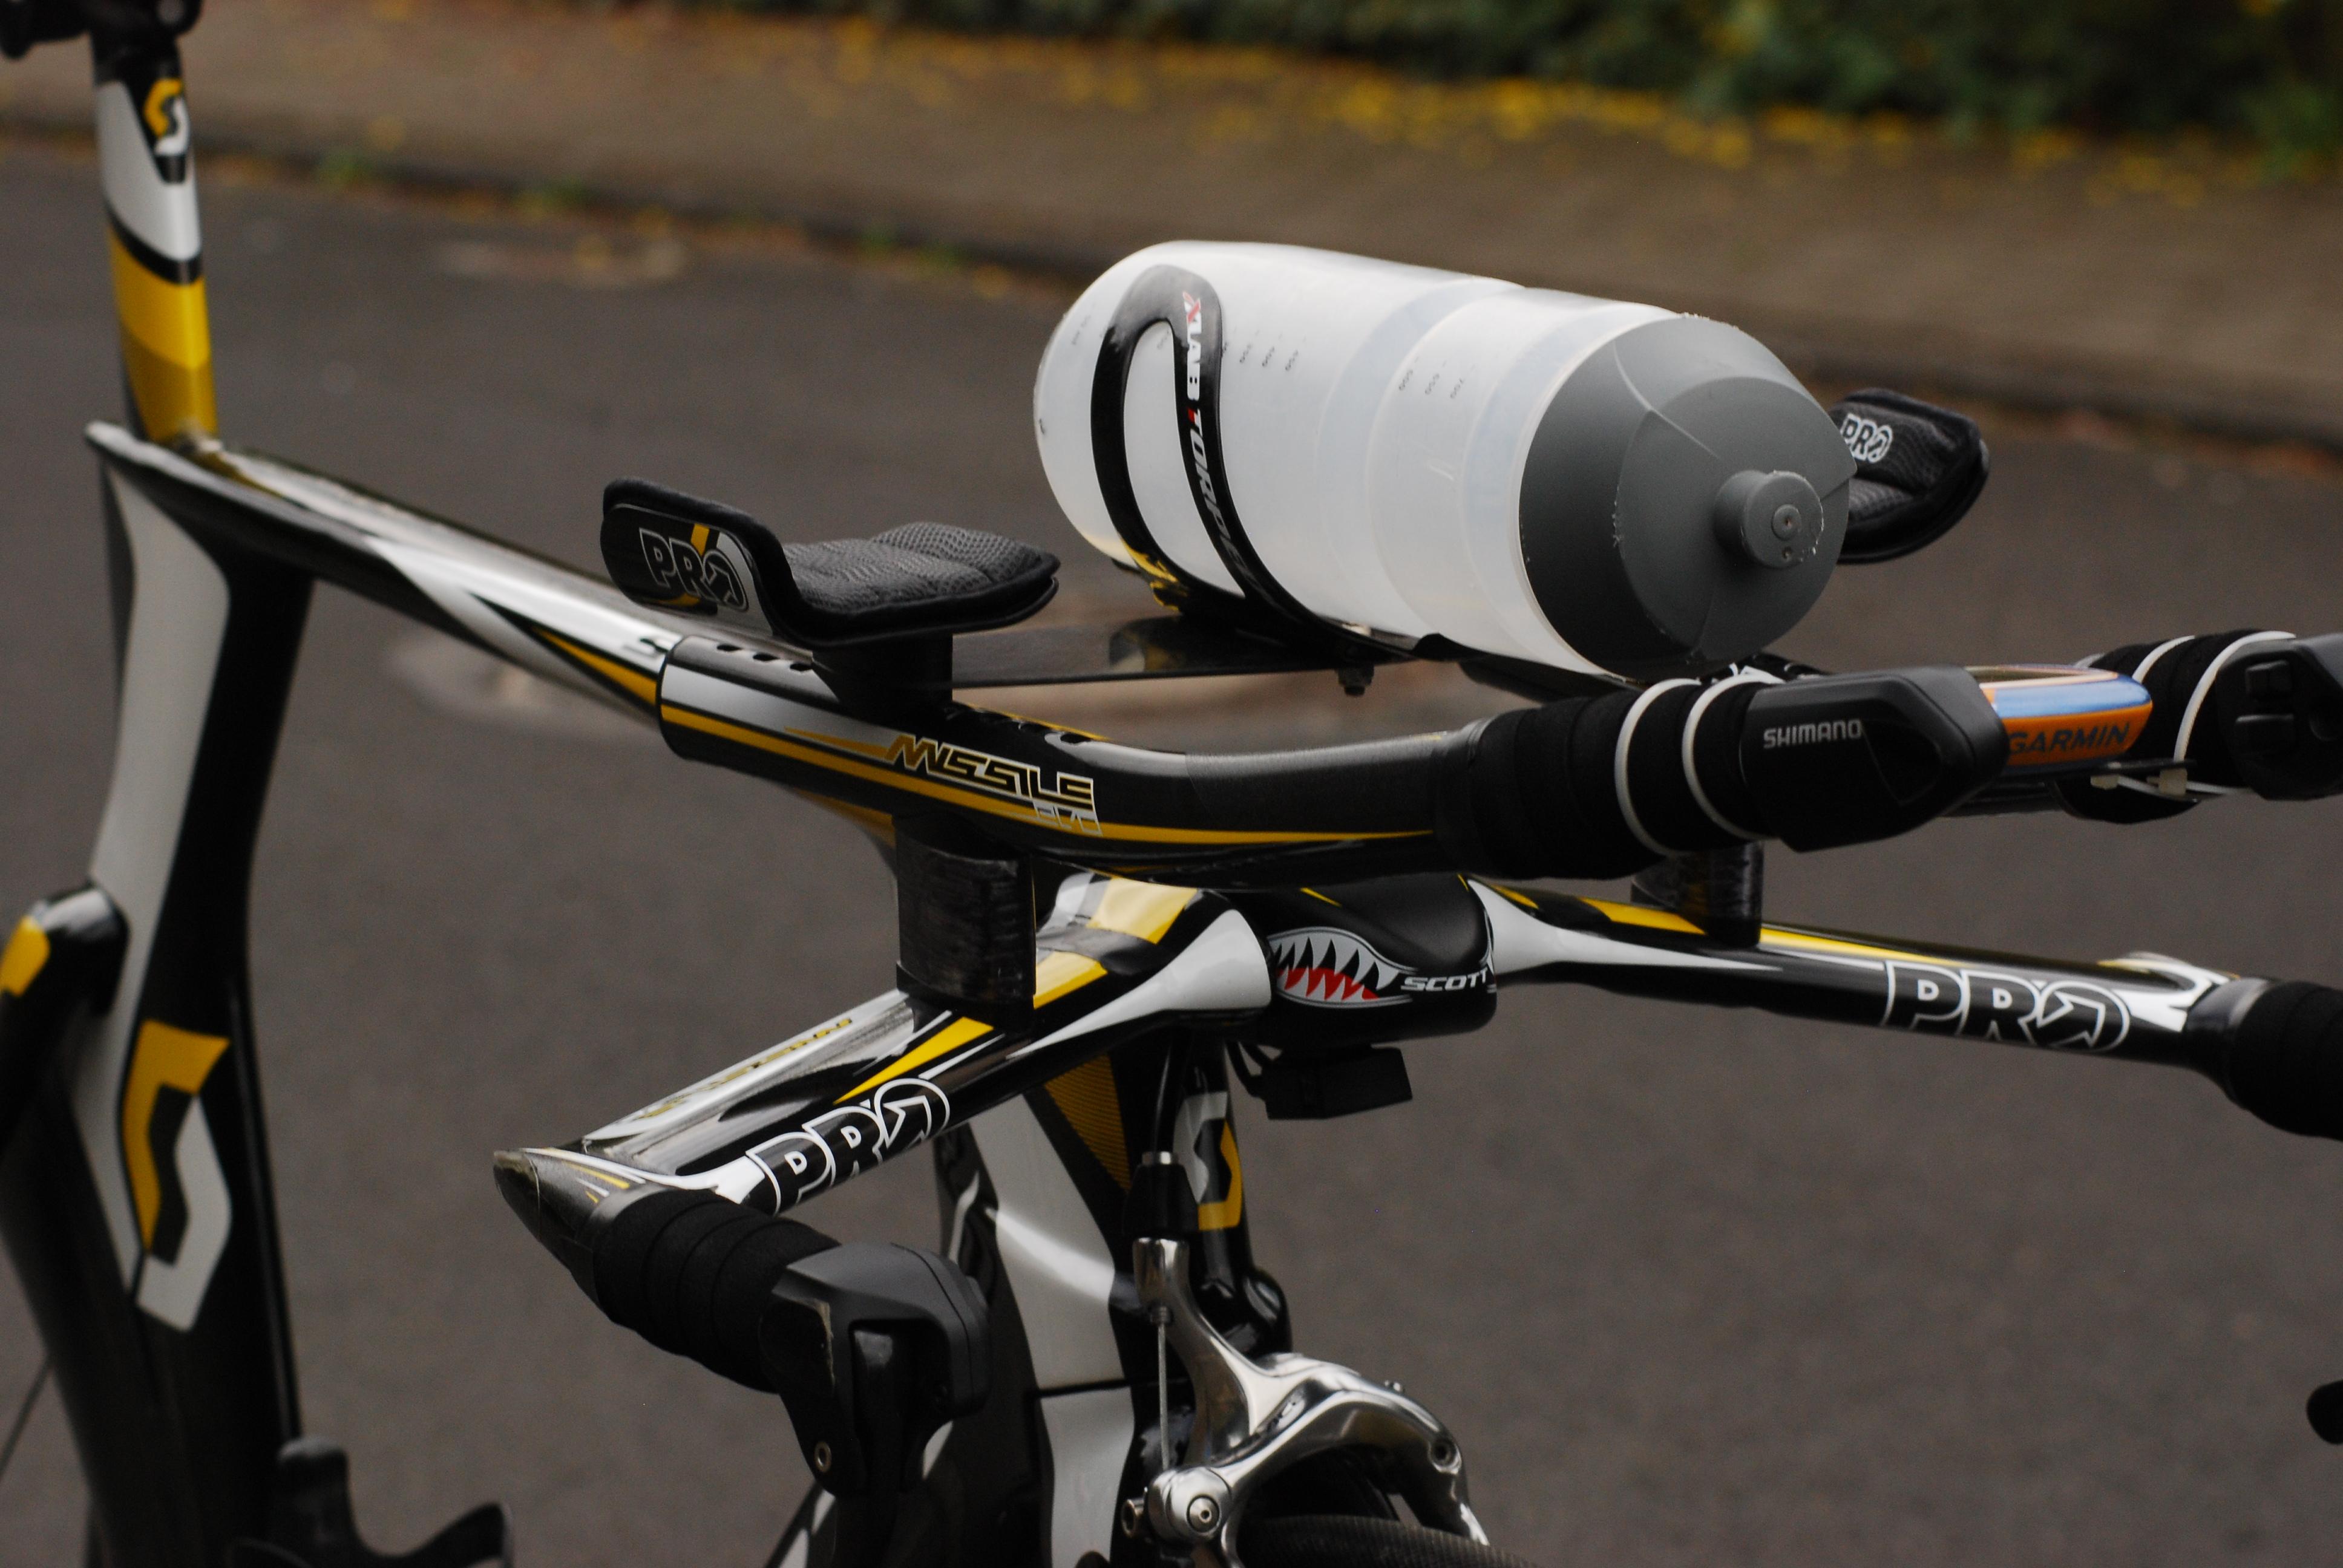
Completed Build
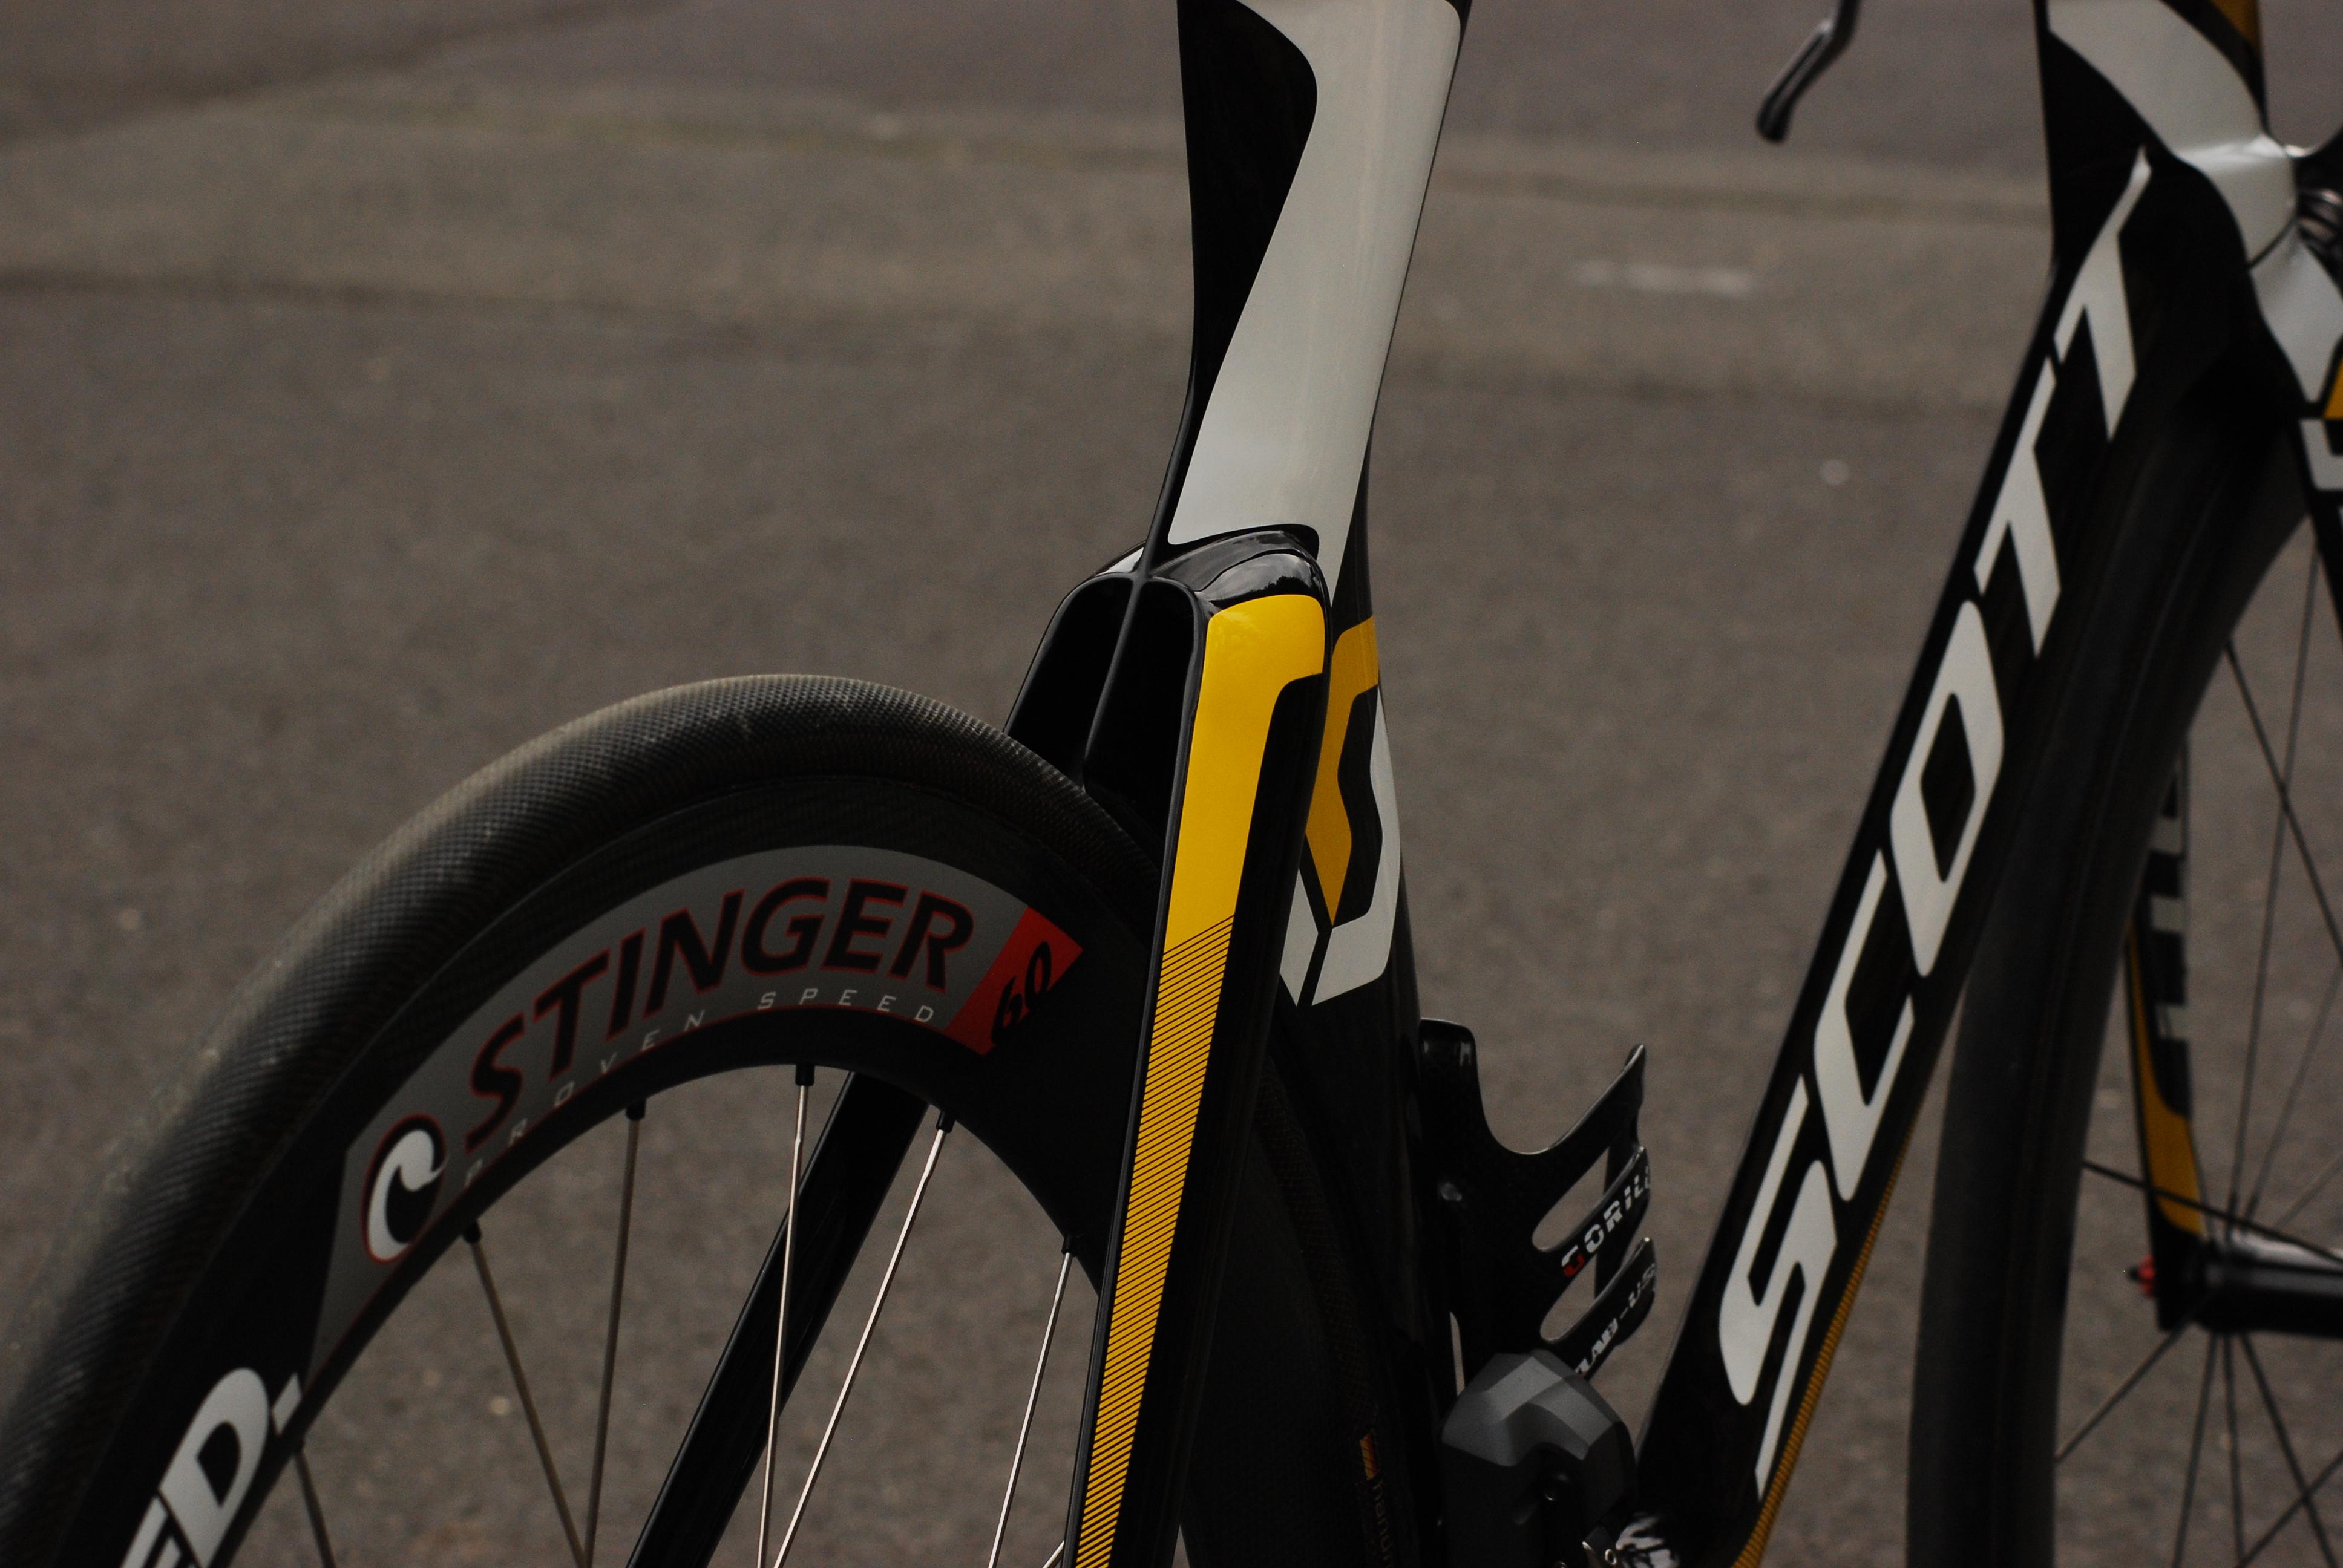
The completed build looks like this:

Ride Impressions
I will add more to this section later – some first impressions.
- Electronic shifting is fantastic – especially on a tri bike, it is a great improvement to be able to shift with hands on bull horns.
- Very stiff frame.
- Brakes act quite aggressive and are reliable.
- Position on base bar is quite low.
- Carbon extensions and basebars are comfortable while riding in the cold: Don’t suck temperature out of the fingers as much as aluminium bars.
Performance
The route I currently ride most frequently is from my office at Frankfurt Airport through the Taunus to Limburg. The route is 62,3km long and has an elevation gain of roughly 420 meters, net elevation gain is about 30 meters.
- Previous Best: 1:47:02h, 34,7 km/h, 244 Watt. http://connect.garmin.com/activity/326406802
- First ride: Position on extensions too low, severe limitation of power output: 1:49:36h, 34,1 km/h, 206 Watt. http://connect.garmin.com/activity/384718494
- Second ride: +2cm Spacer, Crushed the record by 4:10 mins, average speed 36,2 km/h at 233 Watt, 11 Watt less than on previous personal best. http://connect.garmin.com/activity/392114155
- Third ride: Improved by another 0:33 min, average speed 36,5 km/h at 236 Watt. http://connect.garmin.com/activity/395227647
I would say I am satisfied with the improvement that is for sure not only due to better outside conditions like tailwind and such. The bike doesn’t just look fast, it is fast!
Reviews
- Tour-Magazin: http://www.tour-magazin.de/technik/test_center/raeder/zeitfahrraeder/scott-plasma-3-premium/a13351.html
- TriSports: http://university.tri-sports.com/2010/10/13/scott-plasma-3/
- Bikeradar: http://www.bikeradar.com/road/gear/article/pro-bike-simon-gerrans-scott-plasma-3-tt-37807/
Specification Scott Plasma TT
| Frame | Scott Plasma TT | 1.426g | |
| Fork | Scott Plasma TT | 408g | |
| Headset | Ritchey WCS | 50g | |
| Rear Derailleur | Shimano Ultegra Di2, RD-6770 | 271g | |
| Front Derailleur | Shimano Ultegra Di2, FD-6770 | 166g | |
| Battery | Shimano Di2 SM-BTR2, intern | 50g | |
| Junction Box | Front: Shimano SM-EW90-A; Rear: Shimano SM-JC41 | 12g | |
| Extension Shifters | Shimano Ultegra Di2, SW-R671 | 101g | |
| Di2 Cables | 1x 500mm RD to JC41, 1x 250mm FD to JC41, 1x 250mm Battery to JC41, 1x 950mm JC41 to SM-EW90 | 18g | |
| Brake Levers | Shimano DuraAce Di2, ST-9071 | 125g | |
| Brakes | Shimano DuraAce, BR-7800 | 320g | |
| Cassette | Shimano Ultegra CS-6700: 11-23 (Race), 11-27, 12-25 (Training) | 203g | |
| Wheels – Race | Vorderrad: HED Stinger 6; Hinterrad: HED Stinger 60 | 1.423g | |
| Wheels – Training | Shimano WH-RS80-C24-CL | 1.460g | |
| Tires – Race | Continental Sprinter Gatorskin | 544g | |
| Tires – Training | Continental Grand Prix GP4000s | 602g | |
| Crank | SRM SRAM S975 GXP, 175mm | 891g | |
| Chainrings | SRAM Aero, 55/39 (Race), SRAM Red, 53/39 (Training) | g | |
| Bottom Bracket | SRAM Truvativ BB86 Pressfit | 80g | |
| Stem | Scott Plasma TT | 451g | |
| Aerobar | PRO Missile Evo | 681g | |
| Saddle | ISM Adamo Time Trial | 276g | |
| Seatpost | Scott Plasma TT | 258g | |
| Pedals | Look Keo Classic | 341g | |
| Frame Size | 54 cm | ||
| Weight (ready to ride) | 8.640g | ||