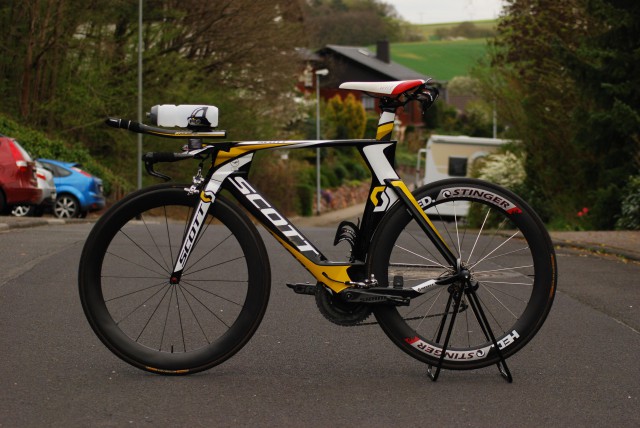
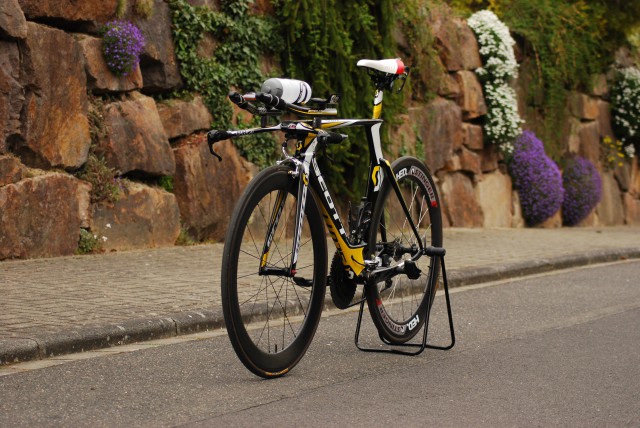
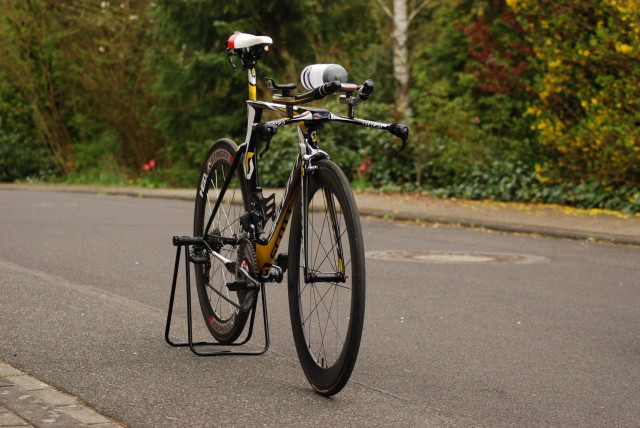
Scott Plasma TT – My new triathlon bike

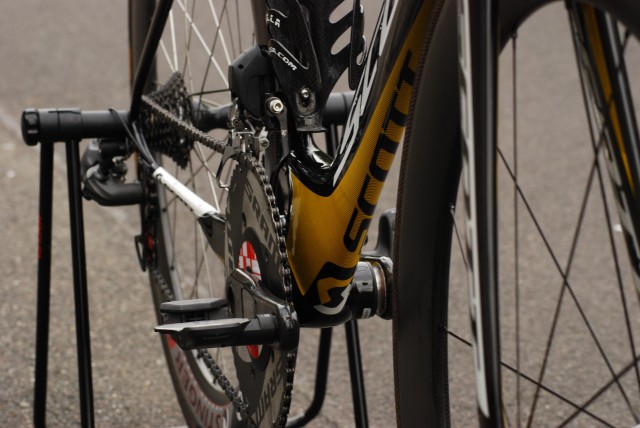
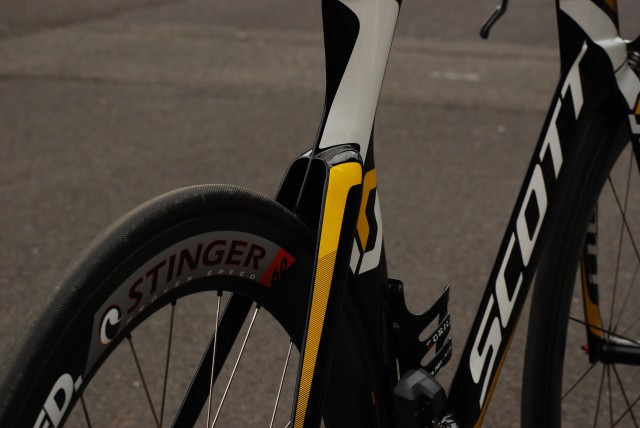
For the last three years, I have been looking for a new triathlon bike. There are lots of fantastic bikes out there, including but not limited to the Cervélo P5, Trek Speed Concept, Specialized Shiv, BMC timemachine TM01, Felt IA, Canyon Speedmax CF and more. After a long lasting and very careful analysis of aerodynamic performance, Kona bike stats and more, I finally made up my mind this year which one to buy: The Scott Plasma 3. Introduced in 2010, this bike features most of the design elements as most of today’s superbikes: Deep aero sections, an integrated stem, a rearwheel cutout and the like. But to me, one point where the Scott Plasma 3 sticks out of the mass is it’s mechanical simplicity (for a superbike!). There are no integrated brakes and so on. Nevertheless, in most aerodynamic comparisons, the Scott Plasma 3 is one of the best and its real life performance is equally impressive: Triathlon wins of Marino Vanhoenacker, Sebastian Kienle, Luke McKenzie as well as Time Trial wins of Team Orica Green Edge underline the capabilities of this bike as well as its riders.

Aerodynamic Performance

There are at least as many Aerodynamic tests as there are triathlon bikes. Most of them tend to show that the bike of the manufacturer that conducted the test is superior ;-). And most of the test results cannot be compared to other test results for at least three reasons:

  1. Different test protocols: E.g. different wind speeds, frame with rider or without, wheels moving or not, different sweep angles and so on. If bike A was tested better than bike B according to test protocol X, this doesn’t necessarily mean that the ranking could not be the other way around according to test protocol Y.
  2. Unfortunately, most tests include only a few selected bikes. I have yet to see an Aerodynamic test that includes all current superbikes.
  3. A relatively new trend is that the bike of the manufacturer which is tested is compared to a group of other bikes and not individual bikes. Cervélo is the most prominent example with their P5 white paper.

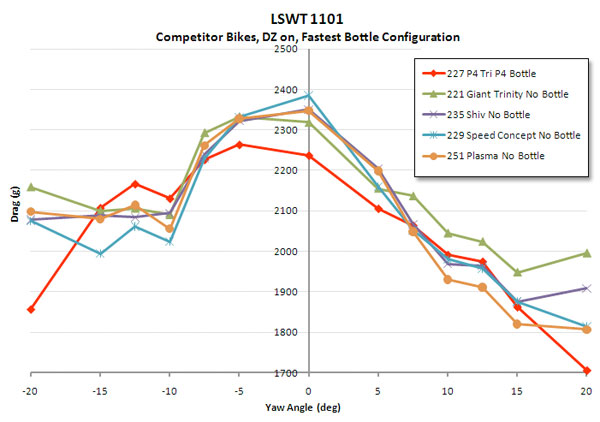
Out of my perspective, the only meaningful Aerodynamic test that includes the Scott Plasma 3 was conducted by Cervélo in 2011 and published on Slowtwitch. I think the most meaningful chart is with a rider onboard and the fastest bottle configuration. Please note that in this test, the Cervélo P4 was configured in the fast possible way (no spacers, etc.) and all other bikes were configured to match the fit coordinates of the P4. This means that the Scott Plasma 3 was not configured with the flat stem but with a raised one. This did most certainly not improve the aerodynamic performance of the Scott Plasma 3.

20110304_Slowtwitch_Aerodynamic_Comparison_2

Image source: Slowtwitch, http://www.slowtwitch.com/Tech/Cervelo_P4_in_the_Tunnel_1929.html

Looking at the chart, it is quite obvious that under wind angles of -5° to +5°, the Scott Plasma 3 is not the most aerodynamic bike in this test. However, things change in wind angles of -15° to -7.5° and 7.5° to 15°. Under these conditions, the Scott Plasma 3 is either the best bike (non-drive side) or the second best (drive side). And according to an exhaustive analysis of Trek (Speed Concept White Paper, Page 11), effective wind angles of 7.5° to 12.5° occur most often in real life for riding speeds between 29 and 40 km/h.

Overall, the Scott Plasma 3 seems to be the best compromise between top-notch aerodynamic performance and mechanical ease to maintain and to travel with.

Built-Up:

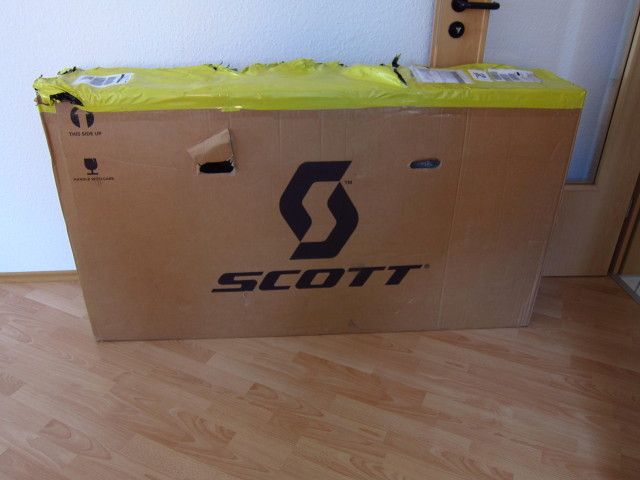
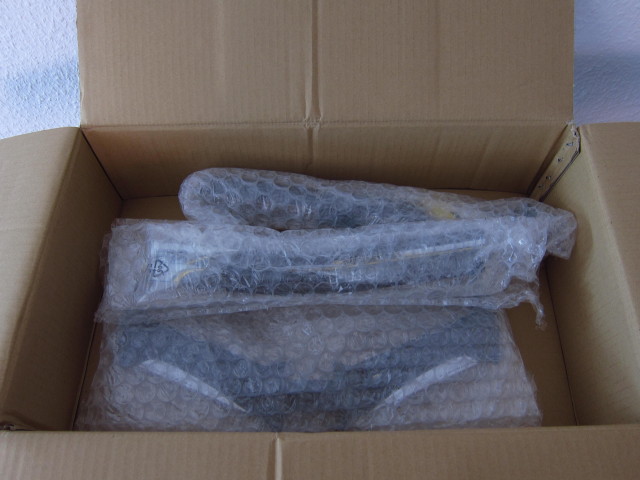
I decided to built up the bike by myself, so I ordered a frameset only. Finally, mid of September, the magic box arrived 😉

20131024_Scott-Plasma-TT_01

It was really hard to take pictures whilst unboxing – yet I wanted to document what’s in the box.

20131024_Scott-Plasma-TT_02

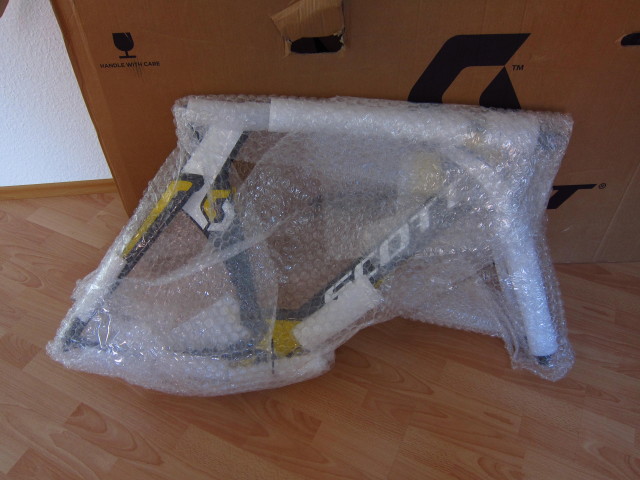
The frame was properly packed to avoid dings or scratches.

20131024_Scott-Plasma-TT_03

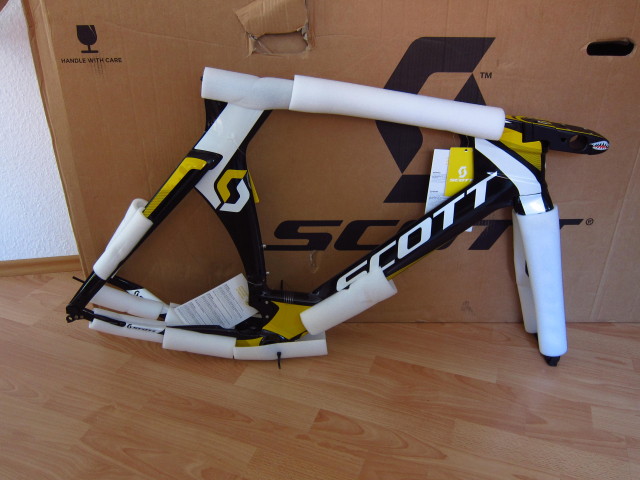
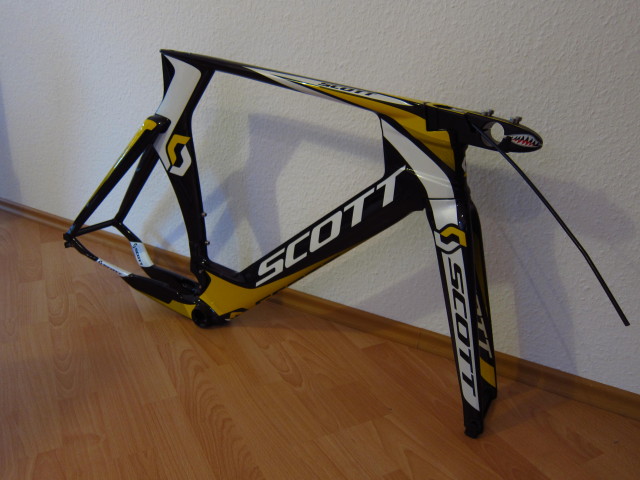
It already looks fast, even without wheels attached ;-).

20131024_Scott-Plasma-TT_04

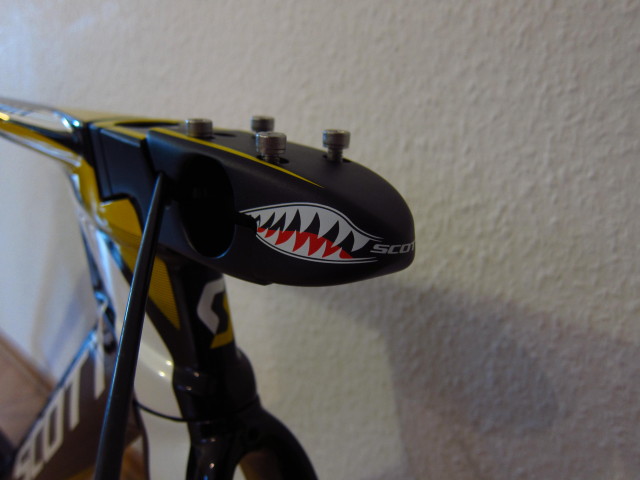
There are two different options of the Scott Plasma 3: The “Premium” version is designed for mechanical shifting and features a rising stem. The “TT” version is designed for electronic shifting with internal cable routing through the flat stem. I decided to go for the latter. Basically, the Scott Plasma TT is still one of the very few superbikes which allow hidden cable routing at the front. And the stem graphics are quite attractive as well.

20131024_Scott-Plasma-TT_05

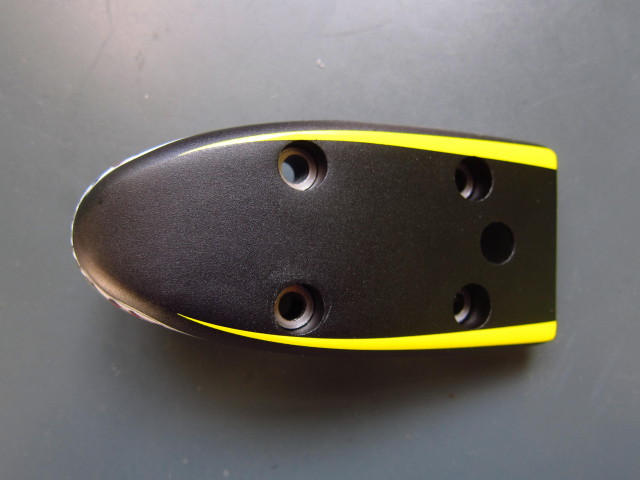
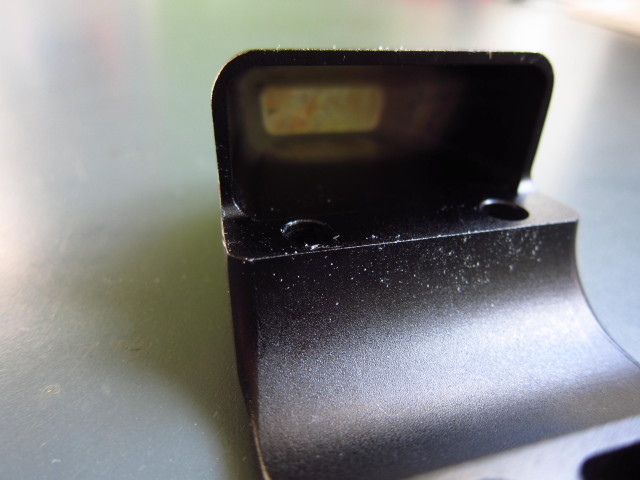
The top cap of the stem is fastened by four bolts…

20131024_Scott-Plasma-TT_06

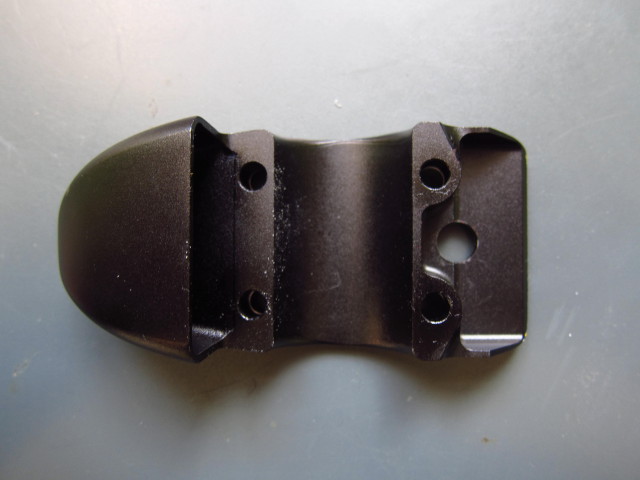
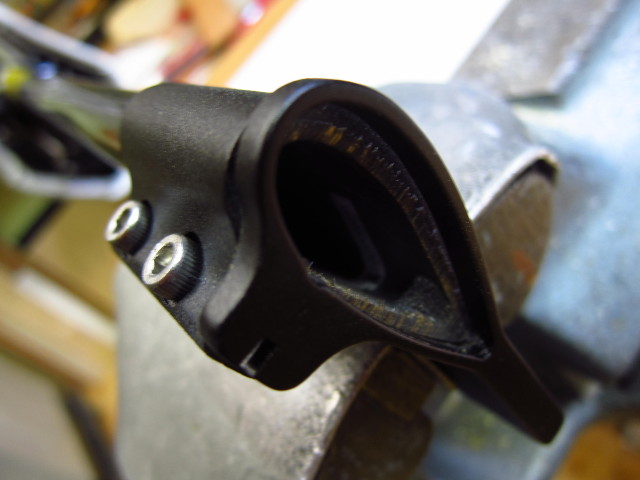
…and milled out from the inside. Nevertheless, the complete stem weighs a rather hefty 451g.

20131024_Scott-Plasma-TT_07

20131024_Scott-Plasma-TT_08

Other than that, the box includes other components,

20131024_Scott-Plasma-TT_09

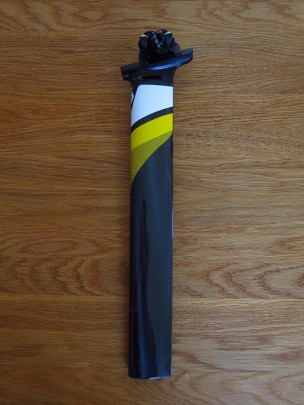
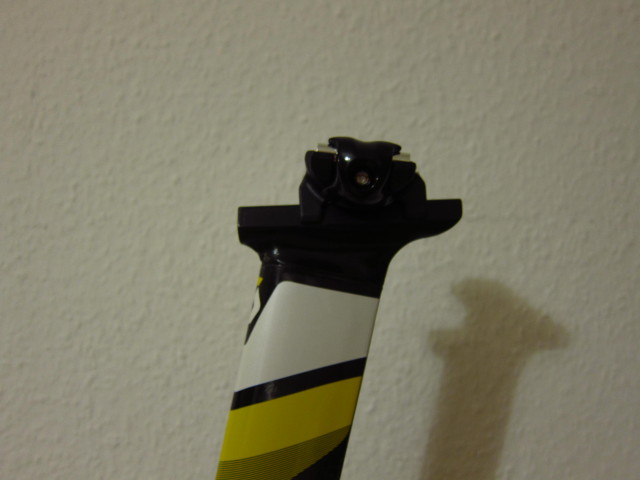
a seatpost which needs to be cut to the appropriate length,…

20131024_Scott-Plasma-TT_10

a Pro Missile Evo Basebar,…

20131024_Scott-Plasma-TT_11

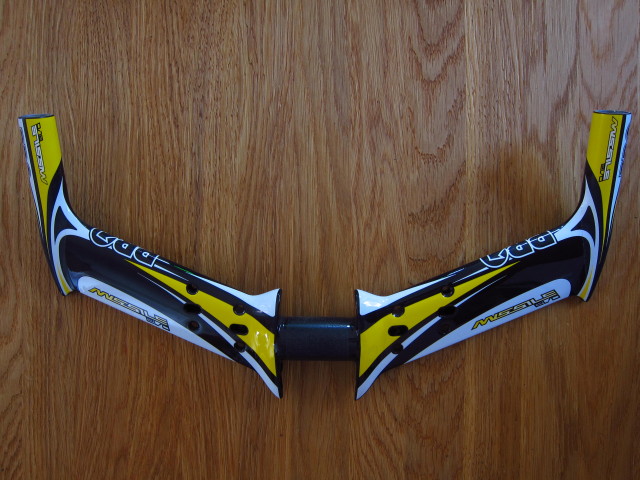
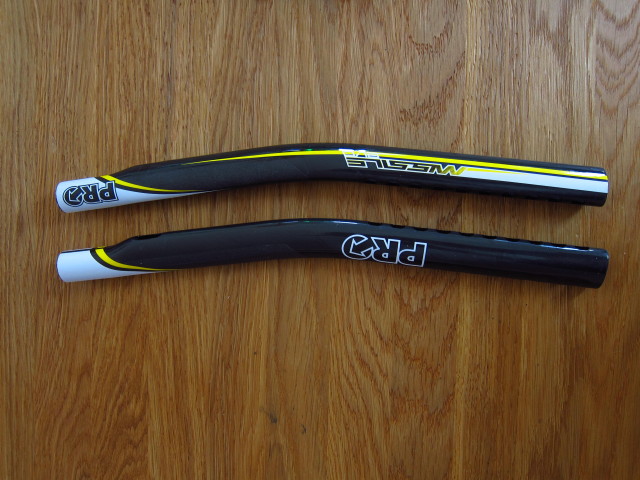
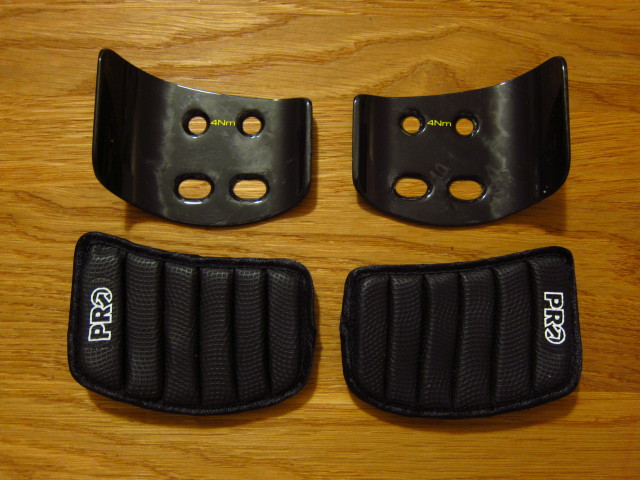
Pro Missile Evo Extensions as well other small items like headset bearings, a cutting tool for the seatpost and an instruction manual.

20131024_Scott-Plasma-TT_12

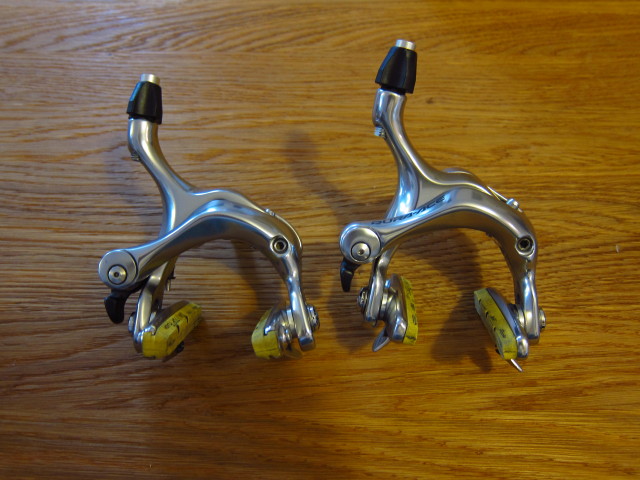
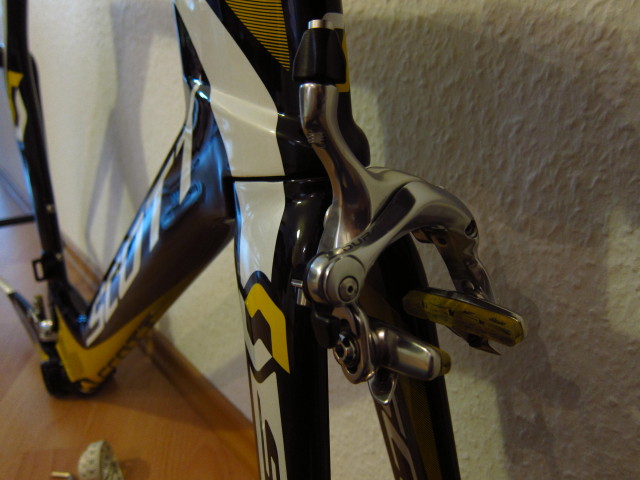
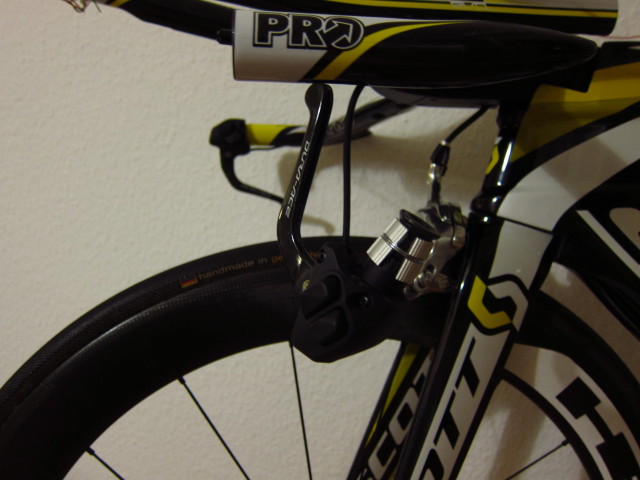
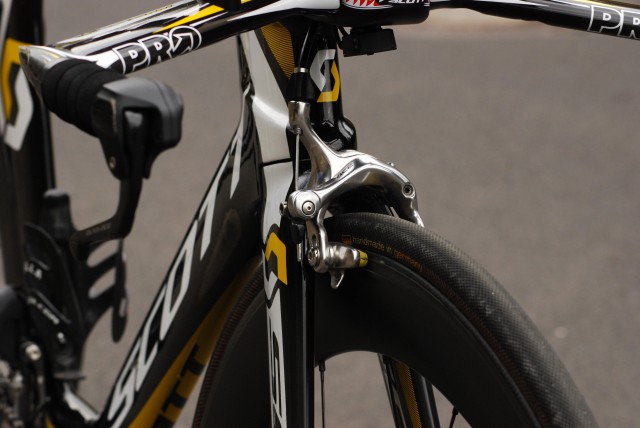
First of all, I started mounting the brakes. While the frame is designed for standard road brakes, …

20131024_Scott-Plasma-TT_13

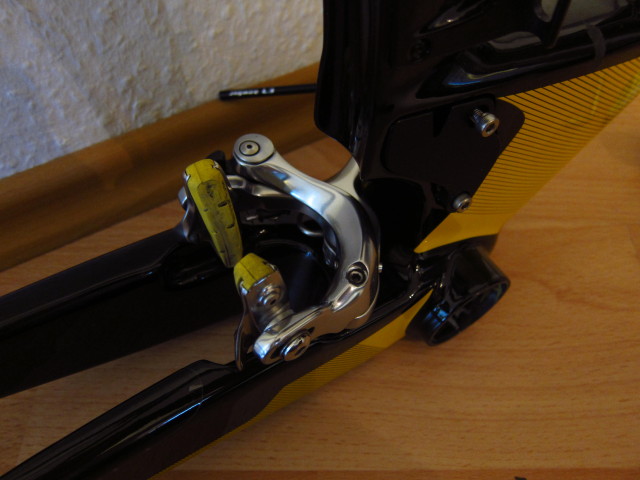
the rear brake must be a Shimano BR-7800 or BR-7900 model to avoid a collision of crank and brake.

20131024_Scott-Plasma-TT_14

Brake installation was quite easy and done in about two minutes. This is really one of the big benefits of this frameset.

20131024_Scott-Plasma-TT_15

Front brake installation was as easy.

20131024_Scott-Plasma-TT_16

At this stage, I would to give an recommendation regarding the optimal sequence to install the brake and Di2 cables:

  1. Push rear brake inner wire from bottom bracket to stem, beginning with the plumb
  2. Attach the Di2 cable (950mm) to the brake wire using electric tape and pull back the brake wire from stem to bottom bracket
  3. Loosen Di2 cable
  4. Push rear brake inner wire again from bottom bracket to stem, beginning with the plumb
  5. Push rear brake outer housing over the inner wire, from bottom bracket to stem
  6. Pull out rear brake inner wire
  7. Push outer housing through base bar
  8. Mount brake lever
  9. Push inner wire through brake lever, base bar and stem to the bottom bracket. Recommendation: Do not attach base bar to stem or stem to fork before doing that. The radius of the outer housing will be small which makes pushing the inner cable through nearly impossible.

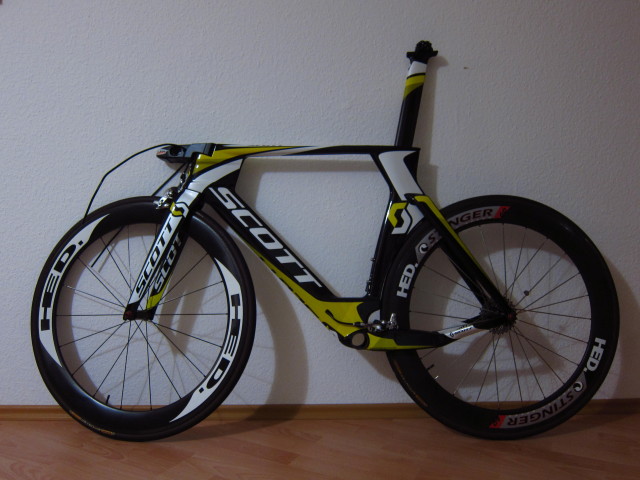
With wheels and seatpost mounted, it starts to look like a bike.

20131024_Scott-Plasma-TT_17

The carbon pad holders are mounted directly to the extensions. The gel pads appear to be quite comfortable.

20131024_Scott-Plasma-TT_18

With basebar and extensions mounted, all I wanted to do is riding this bike as soon as possible.

20131024_Scott-Plasma-TT_19

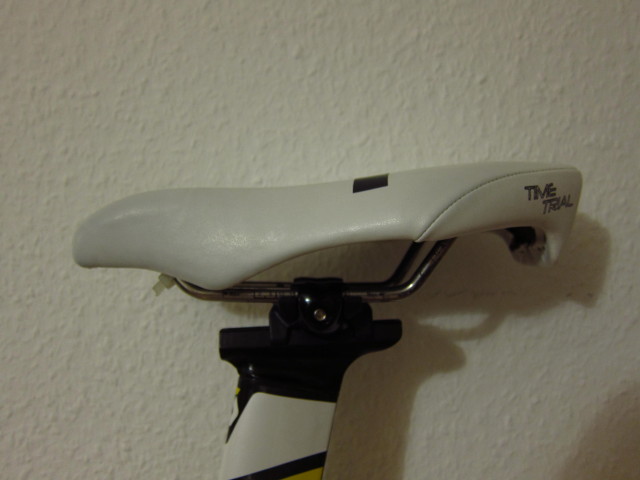
Wait, a saddle would be helpful as well – the Ritchey Seat Post mount proved to be a little bit fiddly.

20131024_Scott-Plasma-TT_20

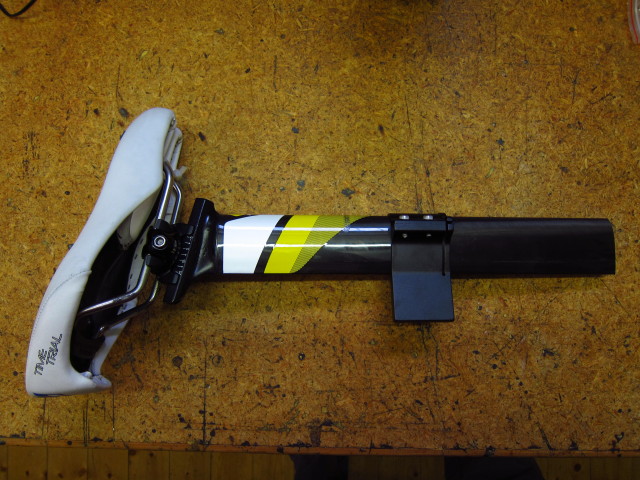
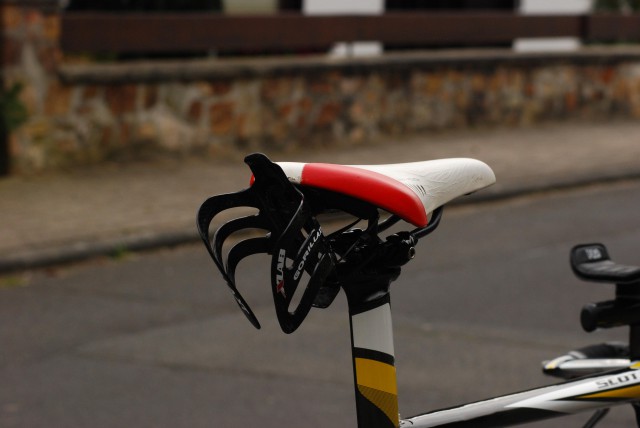
I will reuse my ISM Adamo Time Trial saddle also on the new bike.

20131024_Scott-Plasma-TT_21

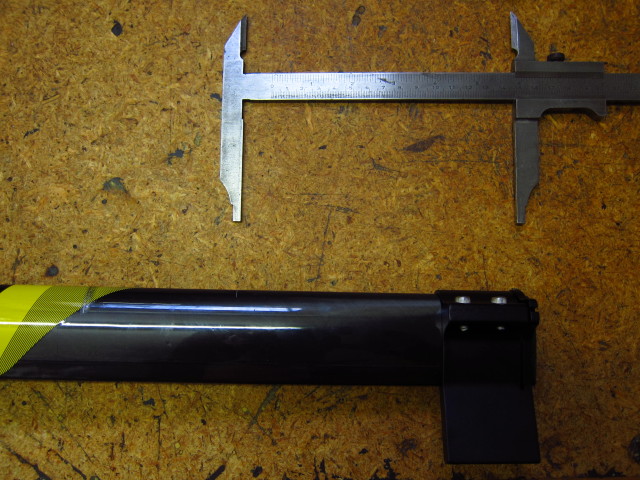
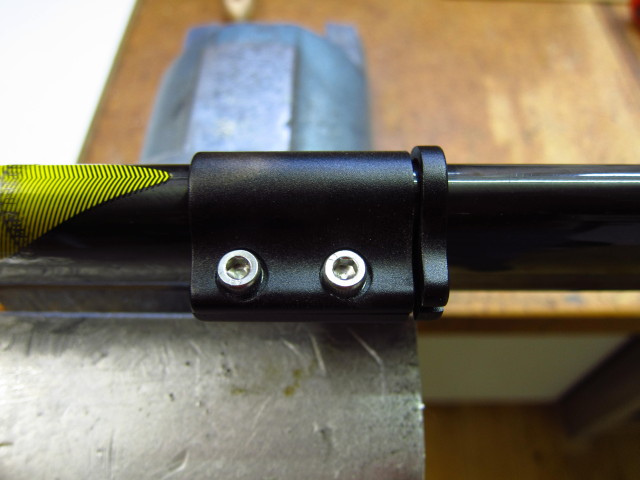
To cut the seatpost to it’s correct length, I measured the distance between pedal axle and top of the saddle on my old bike and afterwards measured the same distance on the new bike with the uncut seatpost. The difference between these two measures was the distance I needed to cut off. I marked this distance with a caliper.

20131024_Scott-Plasma-TT_211

Afterwards, I moved the cutting tool to the mark and fastened the two bolts.

20131024_Scott-Plasma-TT_212

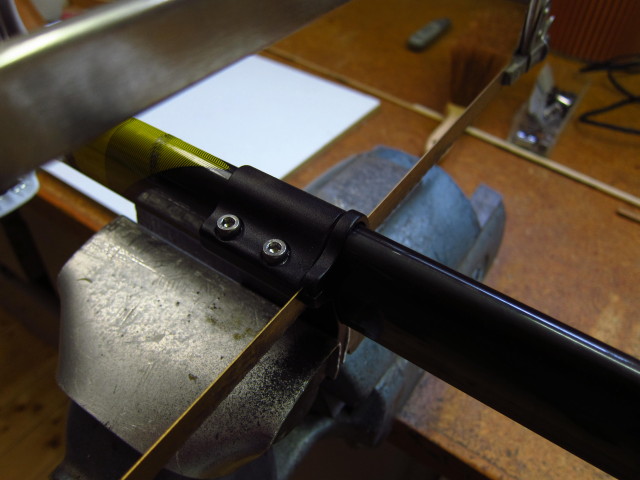
Then, I fastened the cutting tool in a bench vice.

20131024_Scott-Plasma-TT_213

Time for the saw.

20131024_Scott-Plasma-TT_214

After a few minutes, the cut was complete.

20131024_Scott-Plasma-TT_215

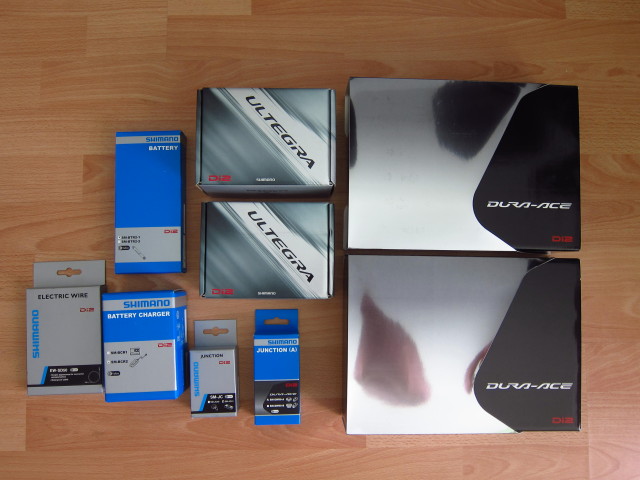
After installing the basic components, the more delicate part of the build commenced: The installation of Shimano Ultegra Di2 electronic shifting components.

20131024_Scott-Plasma-TT_22

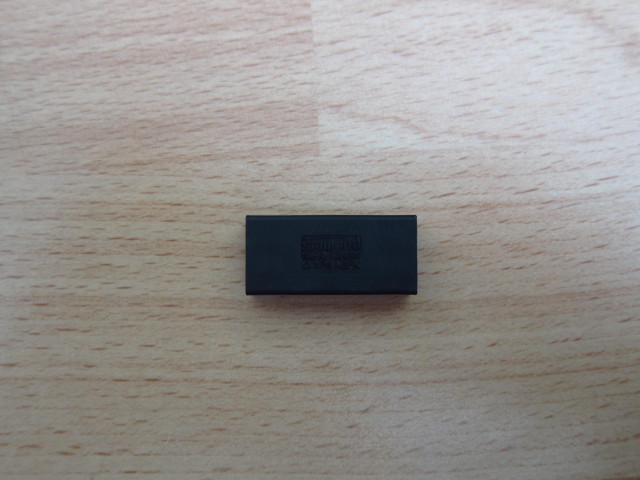
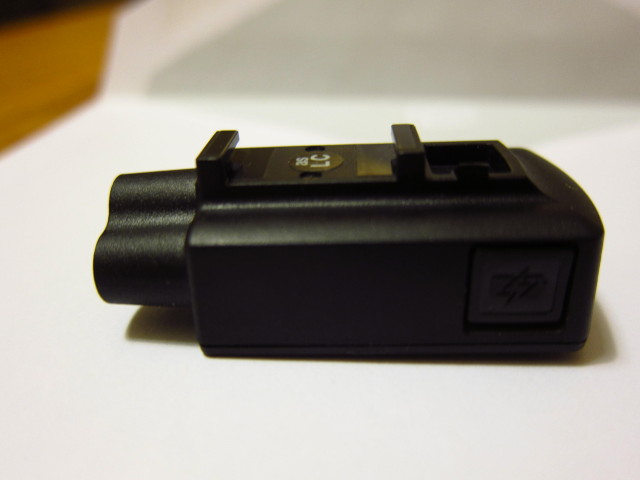
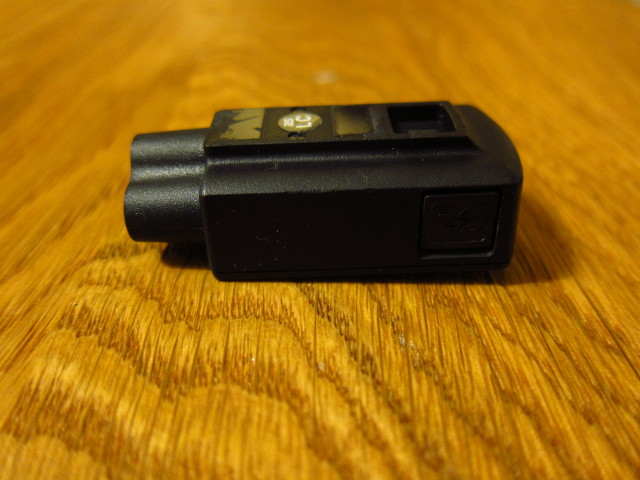
Those consisted out of the JC-41 Rear Junction Box,…

20131024_Scott-Plasma-TT_23

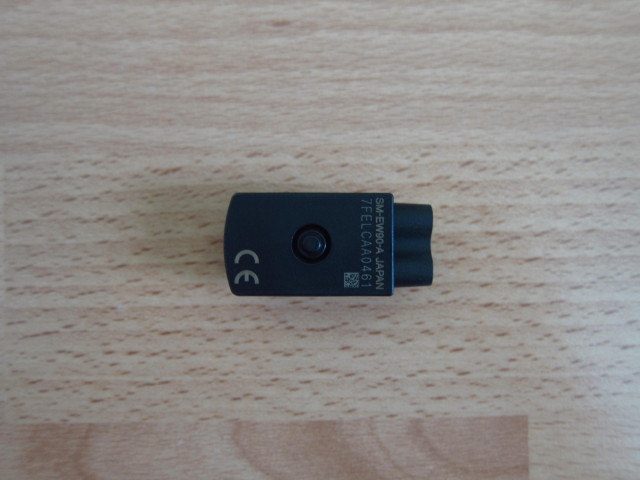
the SM-EW-90A Front Junction Box,…

20131024_Scott-Plasma-TT_24

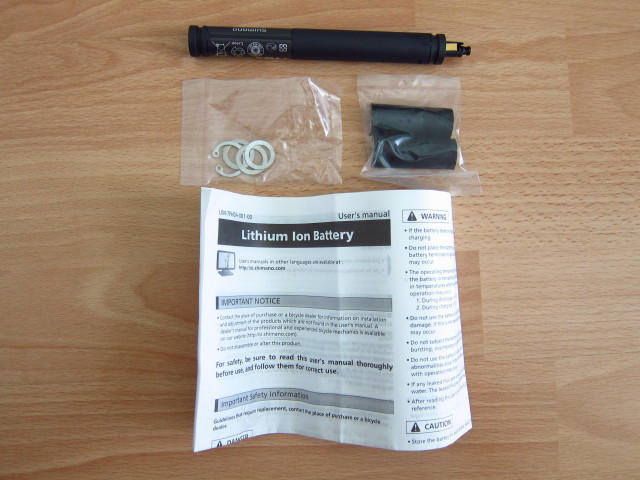
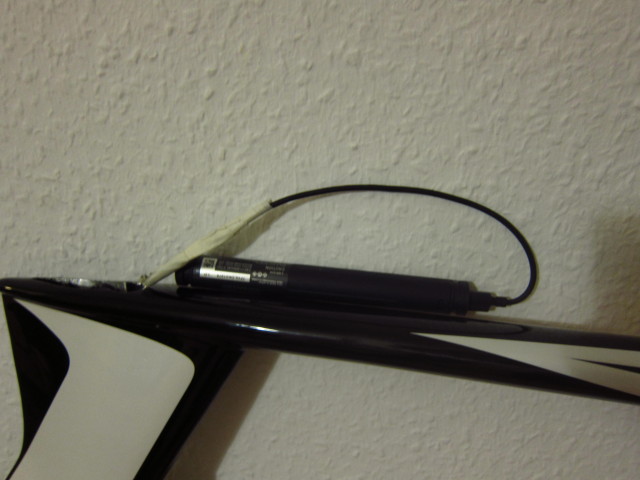
the SM-BTR-2 internal battery,…

20131024_Scott-Plasma-TT_25

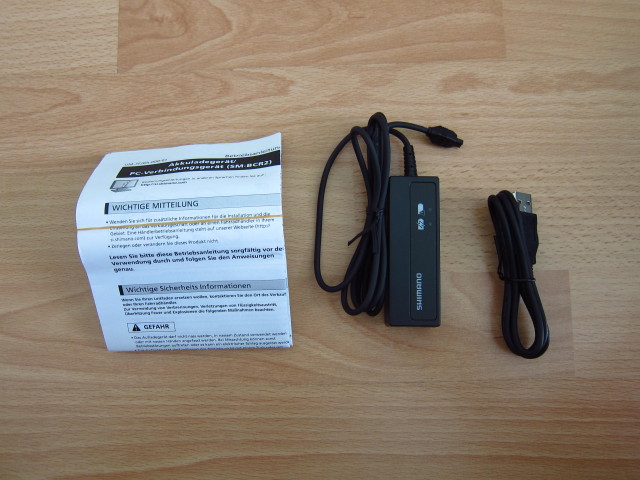
the SM-BCR-2 charger an PC connection,…

20131024_Scott-Plasma-TT_26

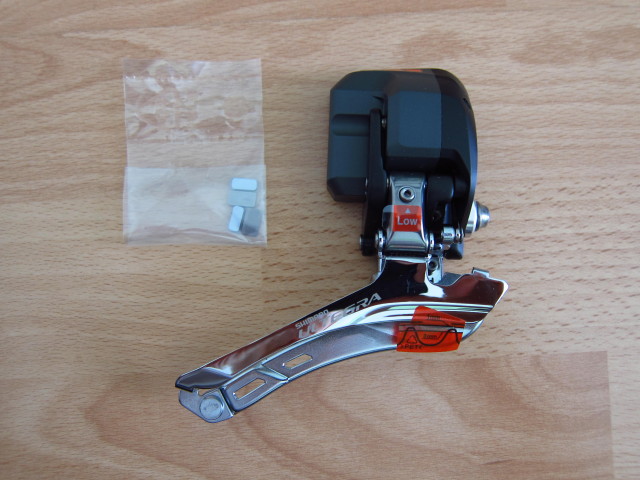
the FD-6770 front derailleur,…

20131024_Scott-Plasma-TT_27

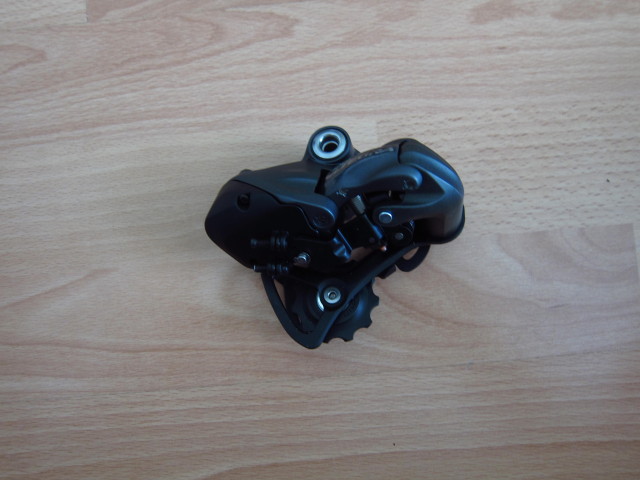
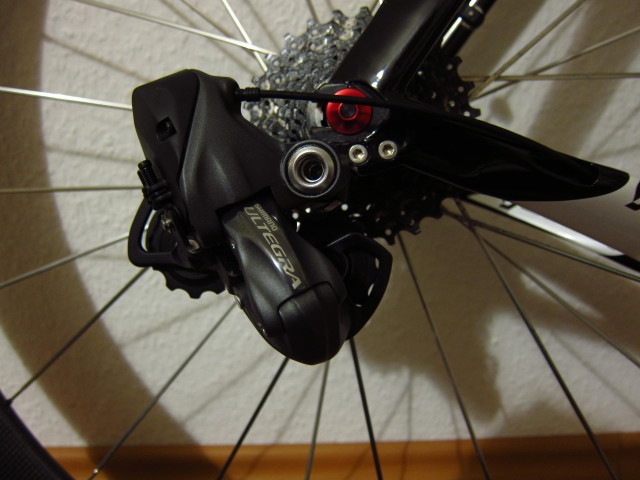
the RD-6770 rear derailleur,…

20131024_Scott-Plasma-TT_28

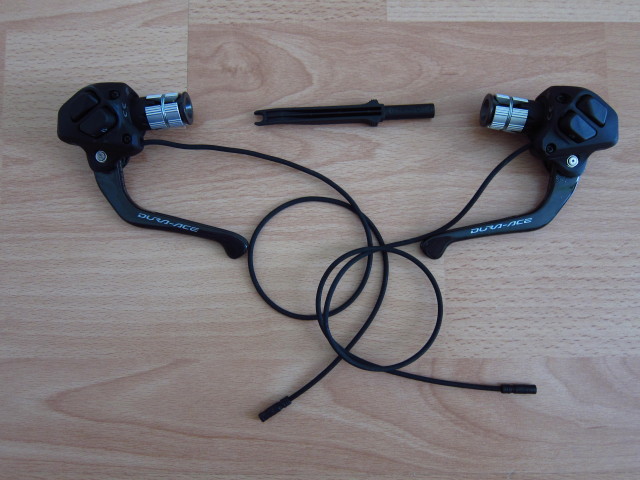
the ST-9071 brake shift levers and…

20131024_Scott-Plasma-TT_29

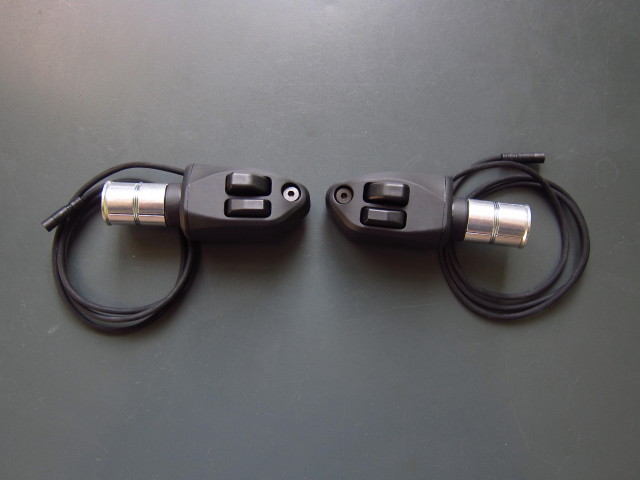
last not least the ST-R671 extension shifters.

20131024_Scott-Plasma-TT_30

The rear derailleur installation was quite easy, just one bolt which needs to be tightened against the RD hanger. The cable was routed from the rear entry to the bottom bracket, a cable length of 500mm is sufficient.

20131024_Scott-Plasma-TT_31

The internal battery was put into the seatpost. A cable length of 250mm is sufficient. However, to get the battery cable to the bottom, I had to route a brake cable from the bottom bracket to the seat post and pull the battery cable trough.

20131024_Scott-Plasma-TT_33

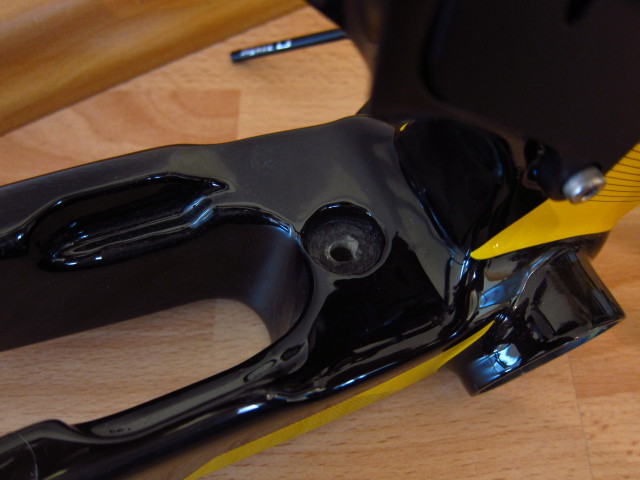
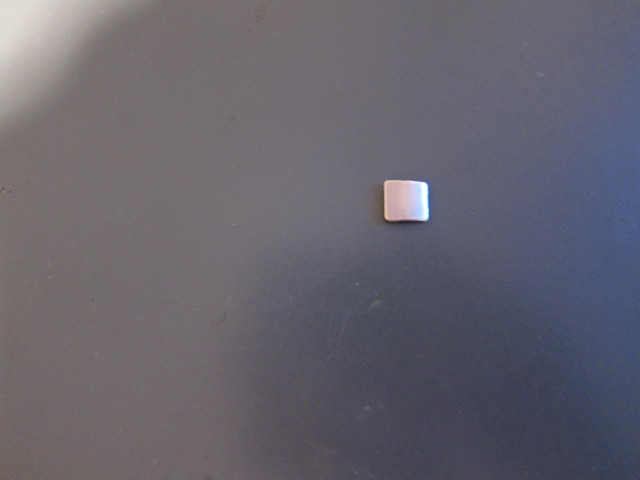
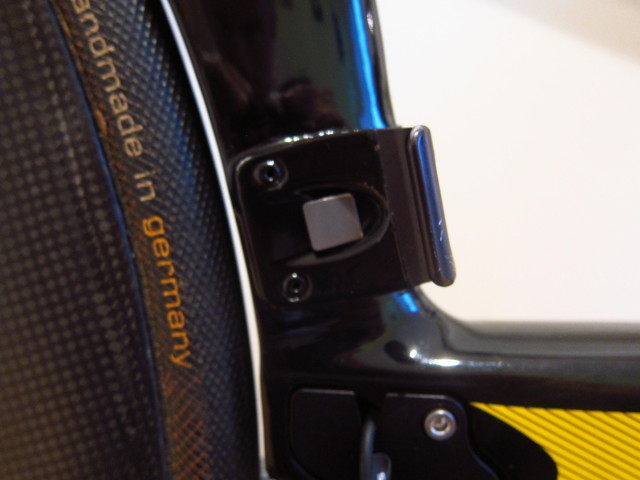
To mount the front derailleur, first of all a small metal plate needs to be attached to the frame.

20131024_Scott-Plasma-TT_34

This plate is for the front derailleur to push against.

20131024_Scott-Plasma-TT_341

After both derailleurs and the battery were installed, I connected all wires to the rear junction box and pulled one cable from the stem to the rear junction box. Finally, the bottom bracket and the crank could be installed. I reused the SRM SRAM GXP S975 Powermeter which was already installed on my previous bike.

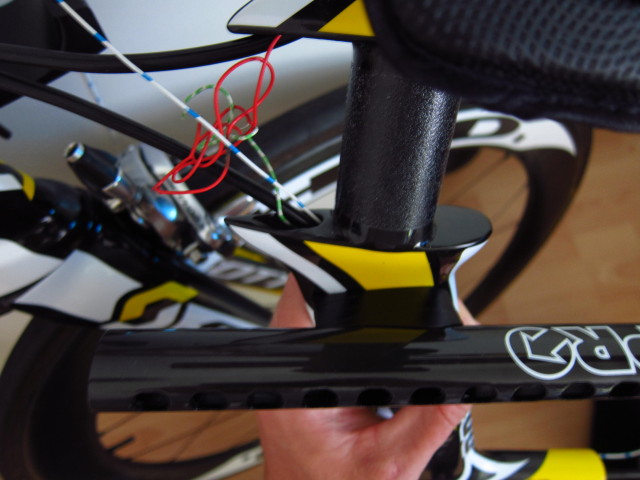
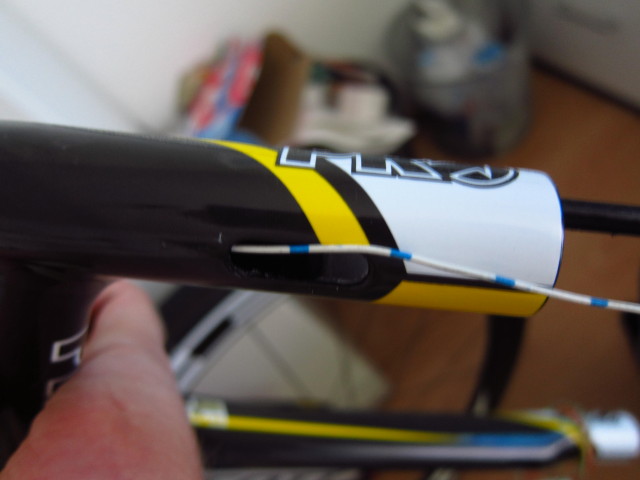
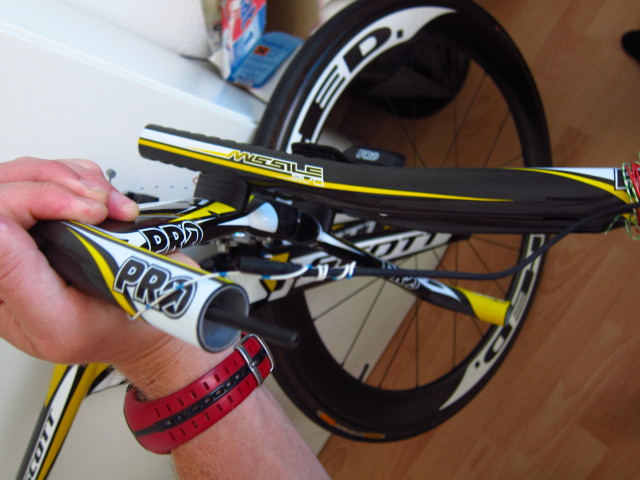
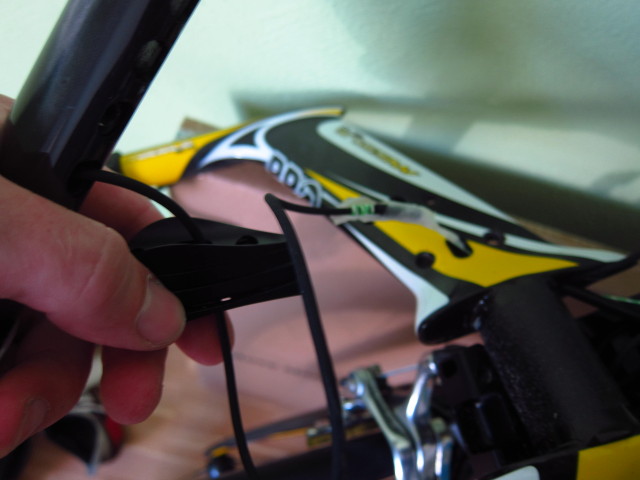
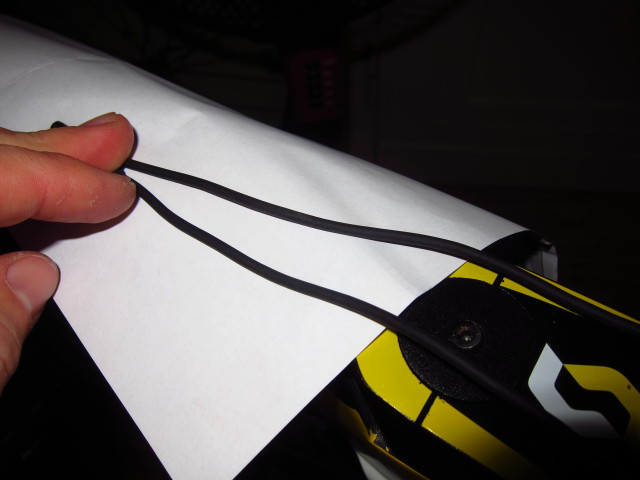
Now comes the rather tricky part – installing all cables in the base bar and the extensions. I started with pushing through the outer brake cables from the stem to the bull horns. Afterwards, I pushed through tiny cables to pull back the shifter wires.

20131024_Scott-Plasma-TT_35

Pushing the cables through the bull horns…

20131024_Scott-Plasma-TT_36

and pulling back the Di2 wires.

20131024_Scott-Plasma-TT_37

The first plug comes out of the base bar – three more to go.

20131024_Scott-Plasma-TT_39

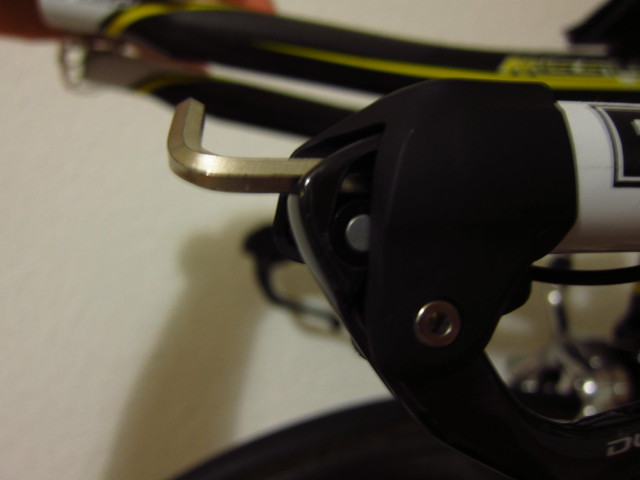
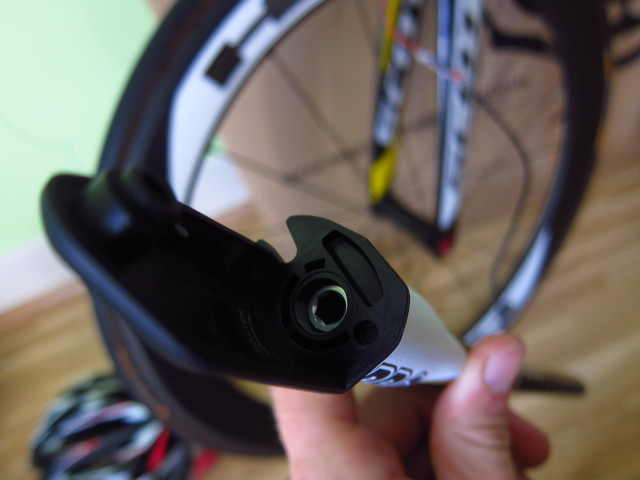
The brake shift lever dangling around the bull horn.

20131024_Scott-Plasma-TT_40

And fixed with a hex key.

20131024_Scott-Plasma-TT_41

The extension shifters mounted to the extensions.

20131024_Scott-Plasma-TT_43

The extension shifter cables have to run trough the spacers beneath the extensions…

20131024_Scott-Plasma-TT_44

and trough the basebar.

20131024_Scott-Plasma-TT_46

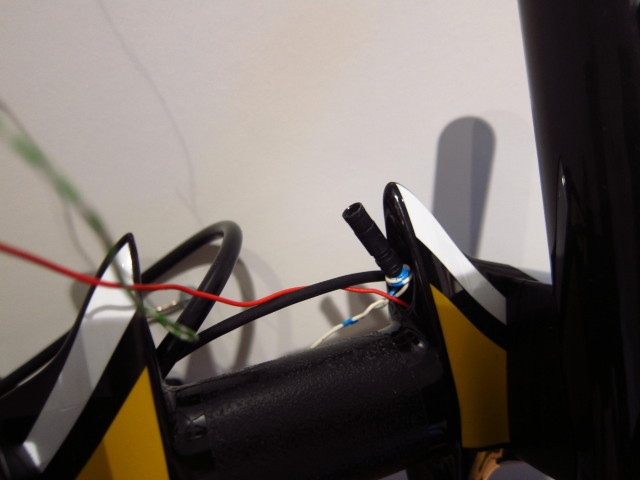
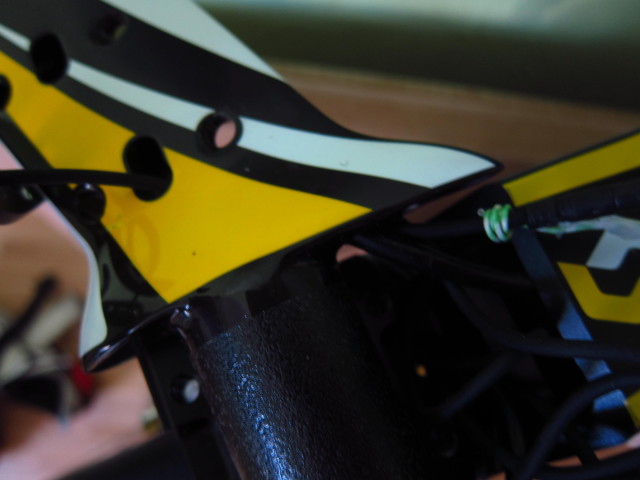
The plugs will finally arrive at the cavity of the stem.

20131024_Scott-Plasma-TT_47

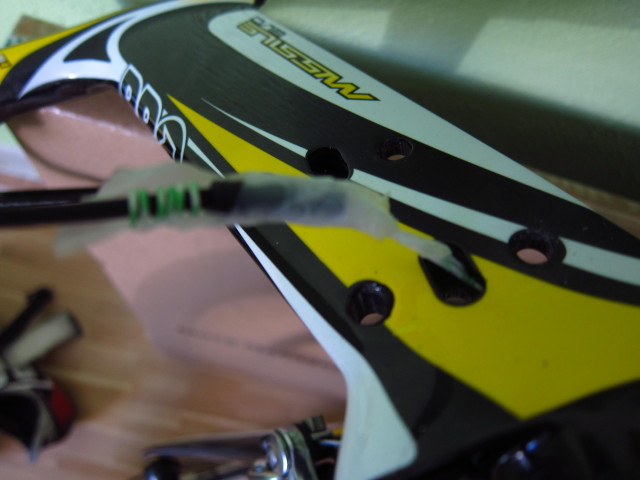
The original plan was to put the front junction box into the cavity.

20131024_Scott-Plasma-TT_471

Despite grinding off some plastic extensions of the front junction, I wasn’t successful to achieve that – the box is a couple of millimeters to long.

20131024_Scott-Plasma-TT_472

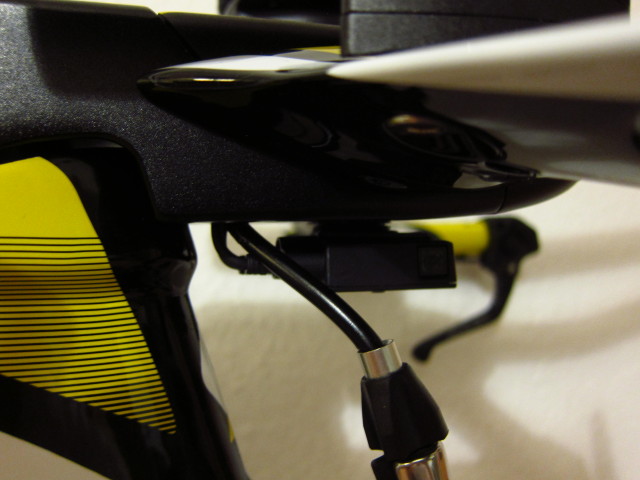
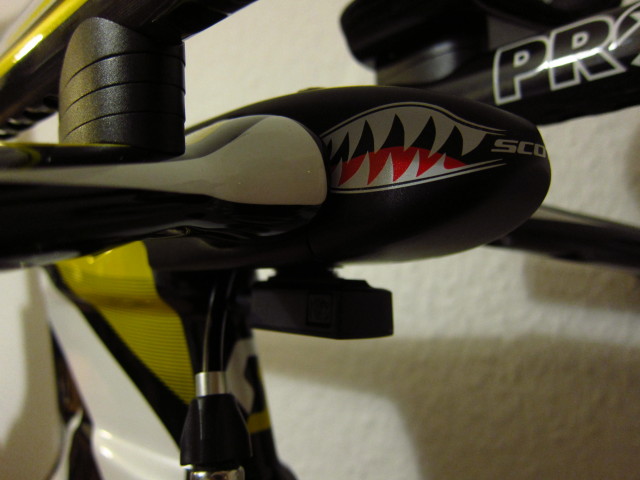
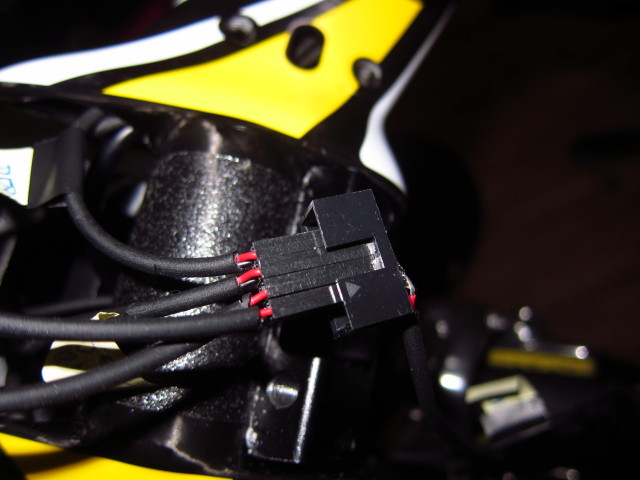
So I decided to mount the front junction directly beneath the stem and to merge all Di2 wires by a custom junction box within the stem – as a result, only one shifter cable will leave the stem.

20131024_Scott-Plasma-TT_473

20131024_Scott-Plasma-TT_474

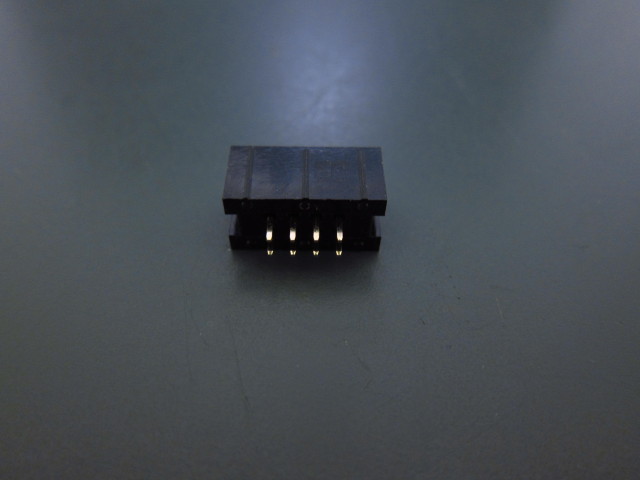
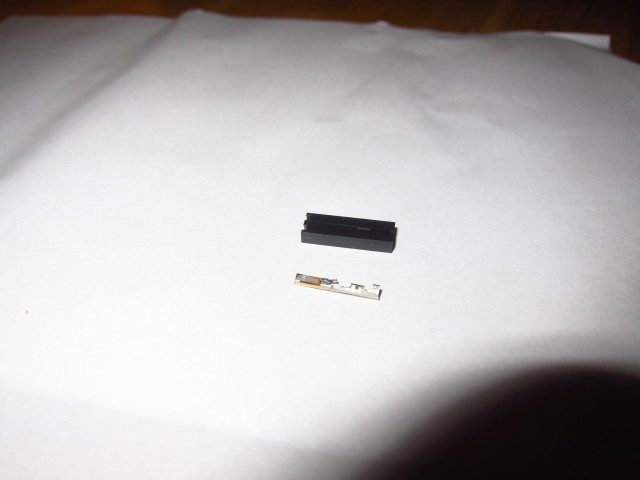
This custom junction box is based on a plug most commonly used on PC mainboards.

20131024_Scott-Plasma-TT_50

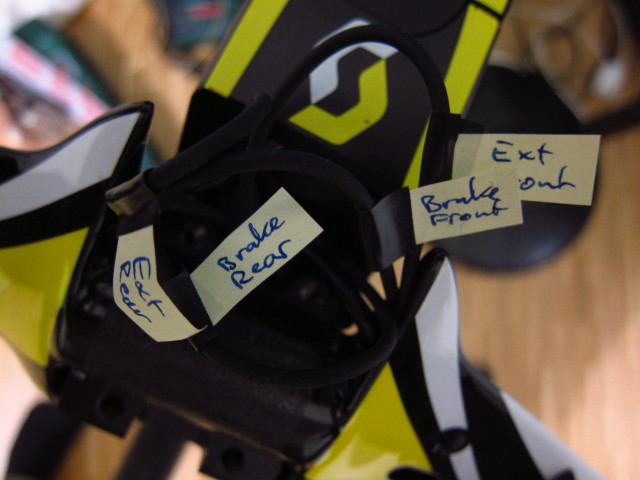
Before cutting of the original Shimano plugs, I labeled all cables.

20131024_Scott-Plasma-TT_53

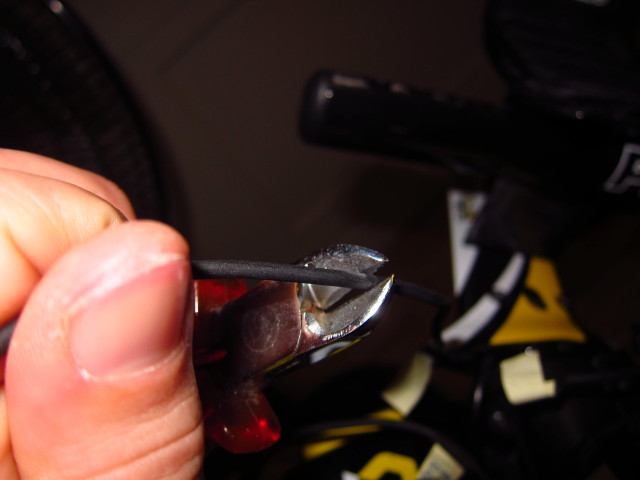
After that, I determined the necessary remaining cable length…

20131024_Scott-Plasma-TT_54

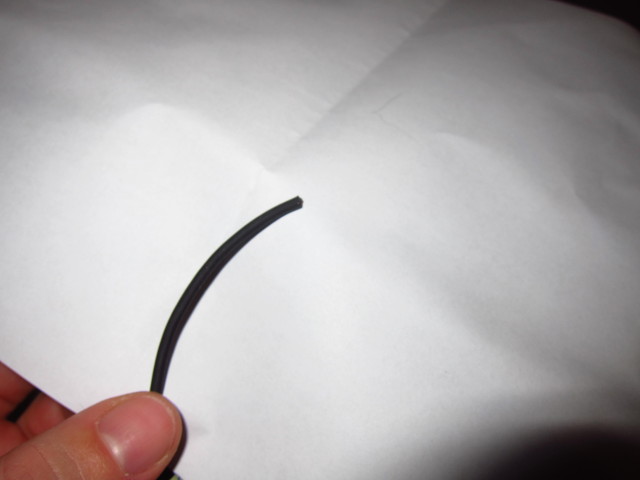
and made the cuts.

20131024_Scott-Plasma-TT_55

20131024_Scott-Plasma-TT_56

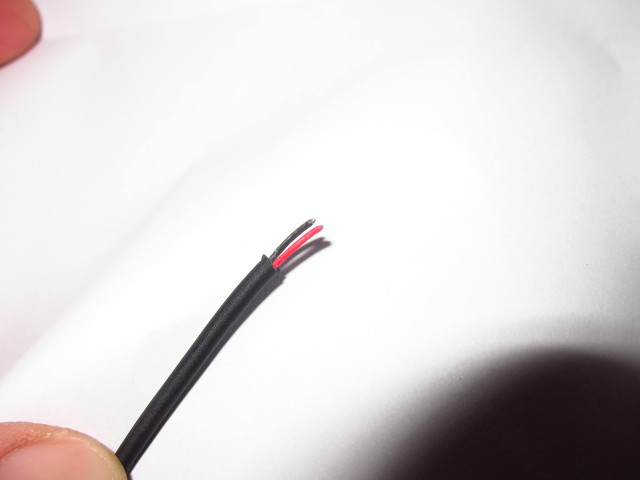
The newer Shimano electronic shifting gruppos use a so called “eTube platform” which is, from an engineering perspective, a CAN bus system. This system utilizes only two wires for both power supply and signal transmission. So it wasn’t a surprise to find only two wires after removing the insulation.

20131024_Scott-Plasma-TT_57

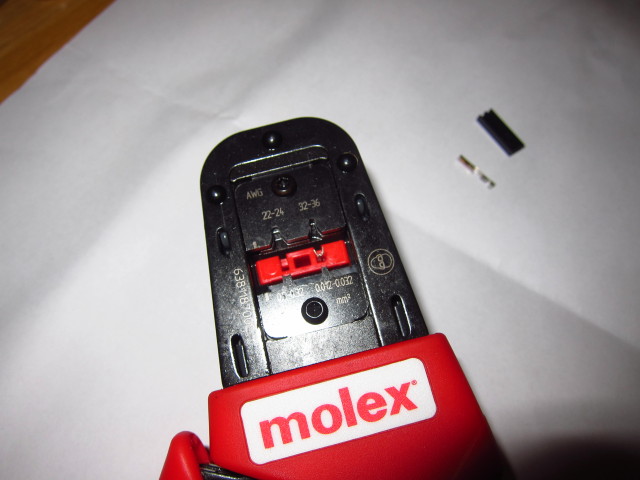
Instead of soldering all red and all black wires together, I opted to use crimp plugs and housings – again, standard PC hardware.

20131024_Scott-Plasma-TT_58

With a proper crimping tool,…

20131024_Scott-Plasma-TT_59

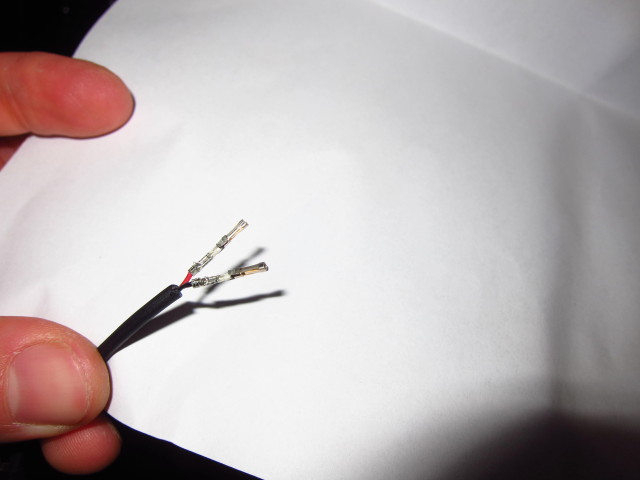
all cable ends looked like this after about ten minutes.

20131024_Scott-Plasma-TT_60

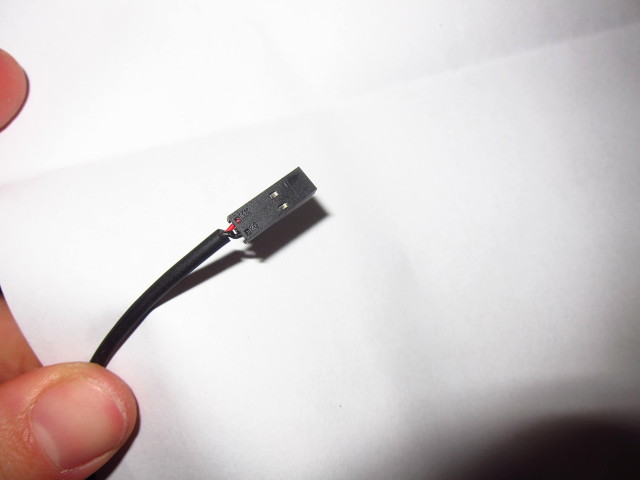
And with the housing installed.

20131024_Scott-Plasma-TT_61

Plugged into the custom “Pre-Junction”.

20131024_Scott-Plasma-TT_62

The electronic installation was finalized and everything worked like a charm – however, it requires getting used to charging your bike and installing firmware upgrades ;-).

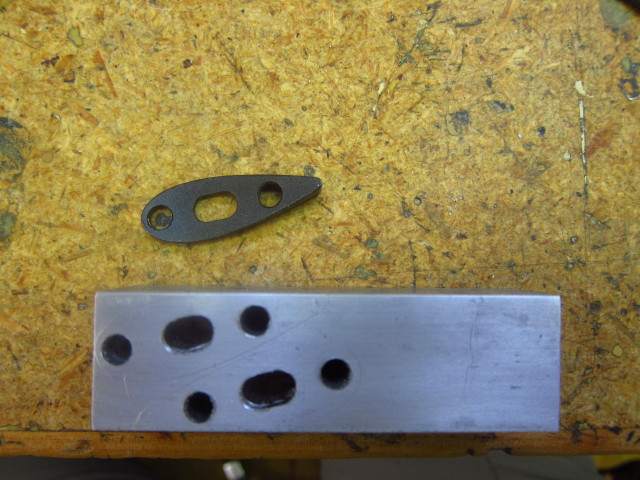
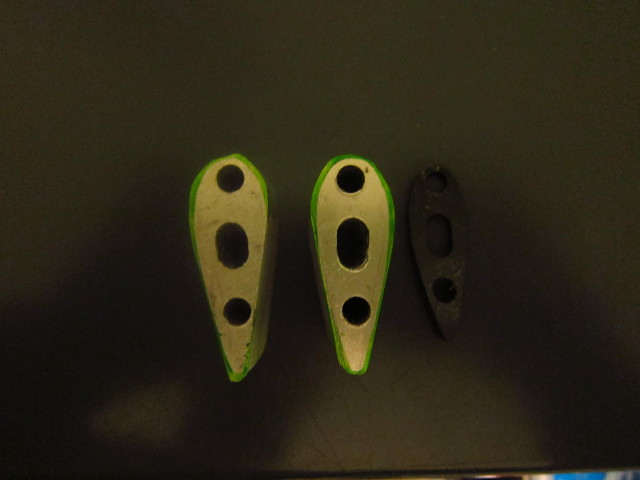
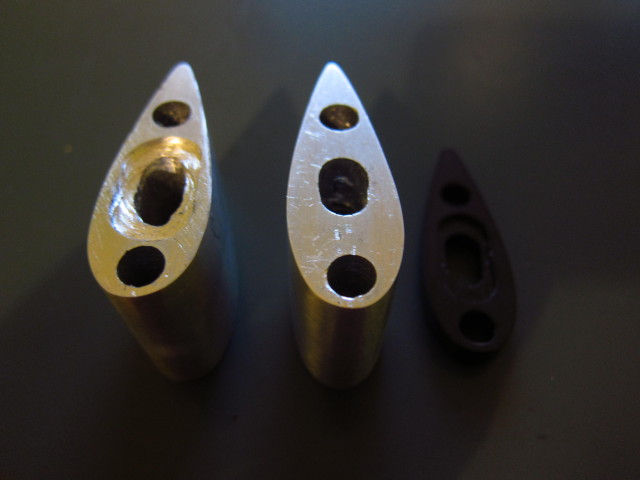
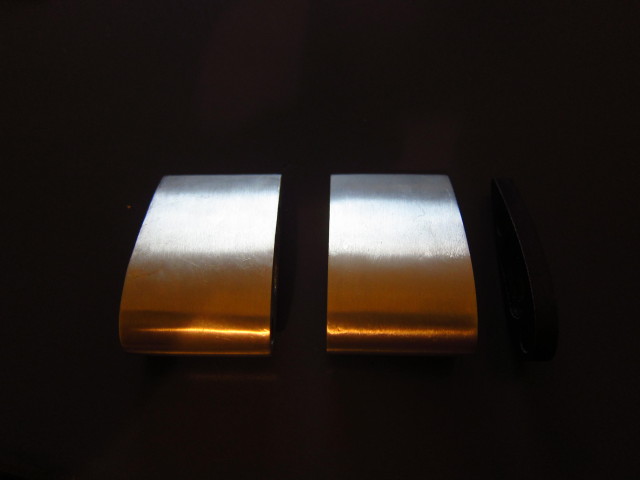
After a few short test rides of about 65k, I realized that the position on the extensions is about 2cm too low when using only the stock spacers. So I decided to build two spacers on my own. I transferred the contour of a spacer to a solid block of aluminium and drilled the holes first.

20131024_Scott-Plasma-TT_63

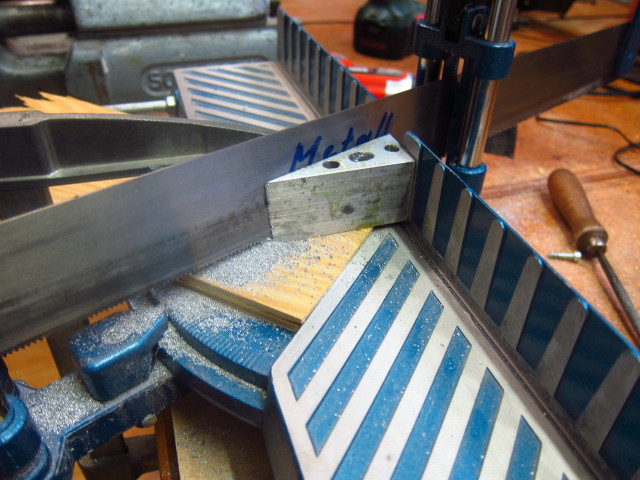
Afterwards, I used a saw to cut the block into the rough outer dimensions.

20131024_Scott-Plasma-TT_64

The preliminary result looked like that.

20131024_Scott-Plasma-TT_65

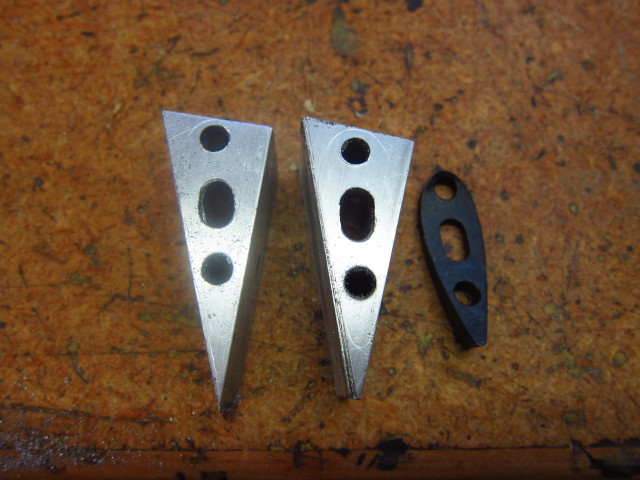
After some filing, the spacers looked a bit more like the desired result.

20131024_Scott-Plasma-TT_66

And after some more filing, the work was done.

20131024_Scott-Plasma-TT_67

20131024_Scott-Plasma-TT_68

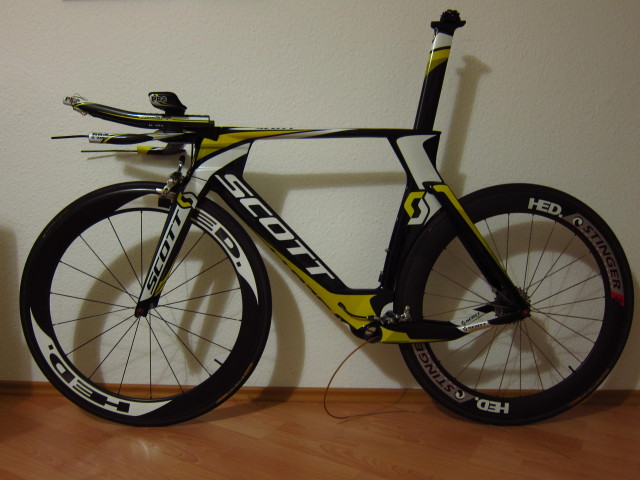
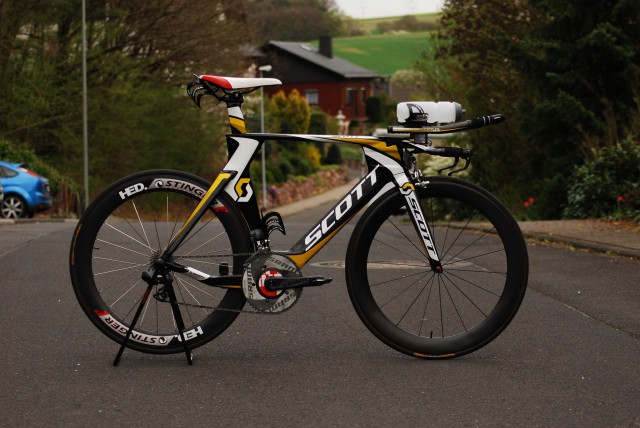
Completed Build

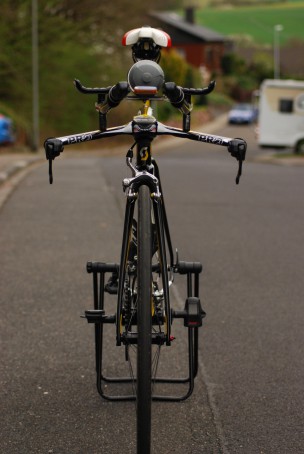
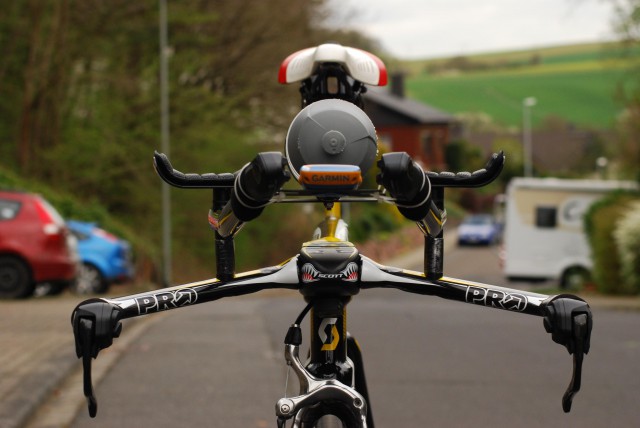
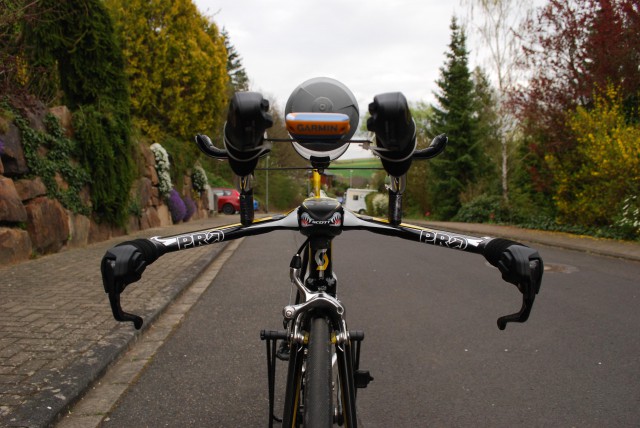
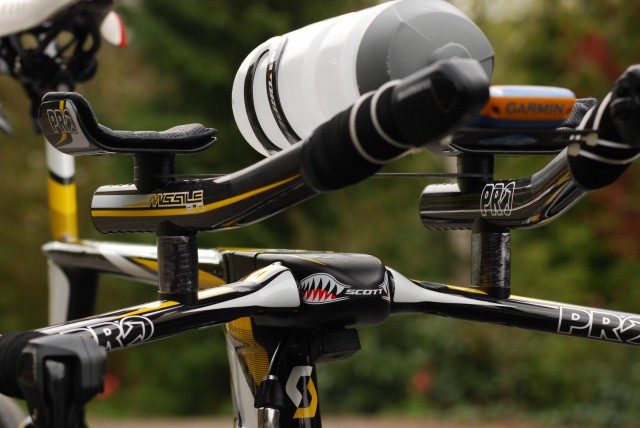
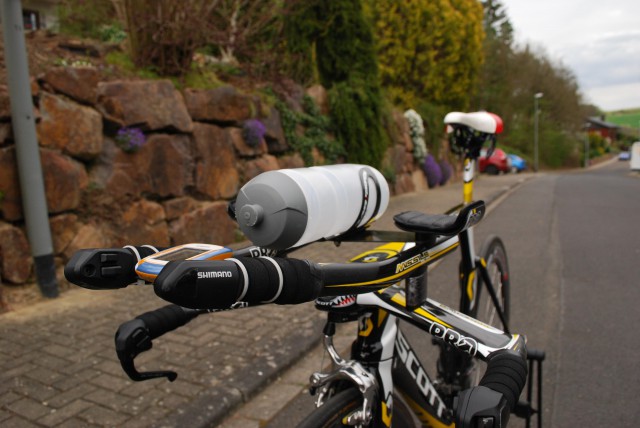
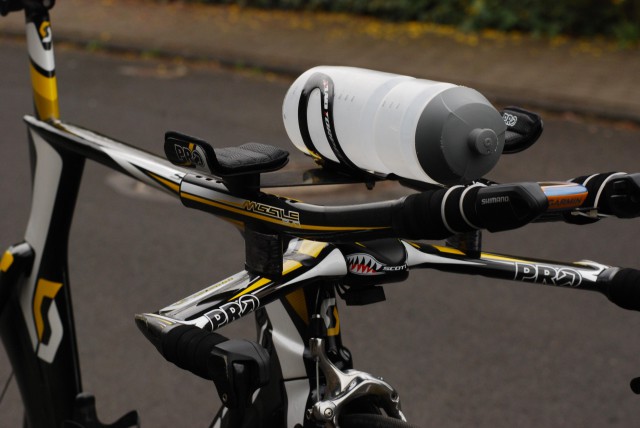
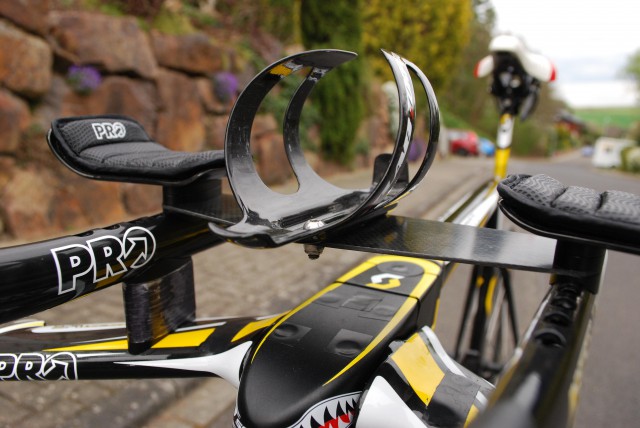
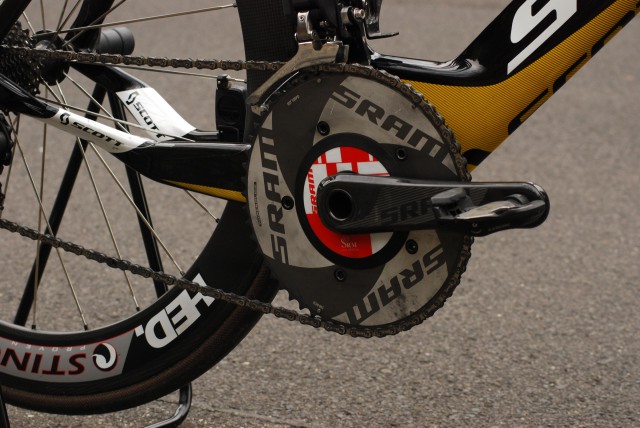
The completed build looks like this:

Ride Impressions

I will add more to this section later – some first impressions.

  • Electronic shifting is fantastic – especially on a tri bike, it is a great improvement to be able to shift with hands on bull horns.
  • Very stiff frame.
  • Brakes act quite aggressive and are reliable.
  • Position on base bar is quite low.
  • Carbon extensions and basebars are comfortable while riding in the cold: Don’t suck temperature out of the fingers as much as aluminium bars.

Performance

The route I currently ride most frequently is from my office at Frankfurt Airport through the Taunus to Limburg. The route is 62,3km long and has an elevation gain of roughly 420 meters, net elevation gain is about 30 meters.

I would say I am satisfied with the improvement that is for sure not only due to better outside conditions like tailwind and such. The bike doesn’t just look fast, it is fast!

Reviews

Specification Scott Plasma TT

Frame Scott Plasma TT 1.426g
Fork Scott Plasma TT 408g
Headset Ritchey WCS 50g
Rear Derailleur Shimano Ultegra Di2, RD-6770 271g
Front Derailleur Shimano Ultegra Di2, FD-6770 166g
Battery Shimano Di2 SM-BTR2, intern 50g
Junction Box Front: Shimano SM-EW90-A; Rear: Shimano SM-JC41 12g
Extension Shifters Shimano Ultegra Di2, SW-R671 101g
Di2 Cables 1x 500mm RD to JC41, 1x 250mm FD to JC41, 1x 250mm Battery to JC41, 1x 950mm JC41 to SM-EW90 18g
Brake Levers Shimano DuraAce Di2, ST-9071 125g
Brakes Shimano DuraAce, BR-7800 320g
Cassette Shimano Ultegra CS-6700: 11-23 (Race), 11-27, 12-25 (Training) 203g
Wheels – Race Vorderrad: HED Stinger 6; Hinterrad: HED Stinger 60 1.423g
Wheels – Training Shimano WH-RS80-C24-CL 1.460g
Tires – Race Continental Sprinter Gatorskin 544g
Tires – Training Continental Grand Prix GP4000s 602g
Crank SRM SRAM S975 GXP, 175mm 891g
Chainrings SRAM Aero, 55/39 (Race), SRAM Red, 53/39 (Training) g
Bottom Bracket SRAM Truvativ BB86 Pressfit 80g
Stem Scott Plasma TT 451g
Aerobar PRO Missile Evo 681g
Saddle ISM Adamo Time Trial 276g
Seatpost Scott Plasma TT 258g
Pedals Look Keo Classic 341g
Frame Size 54 cm
Weight (ready to ride) 8.640g

Zusammenfassung Transalp 2013

Meine erste Alpenüberquerung mit dem Fahrrad ist geschafft – hier eine kurze Zusammenfassung.

Sowohl die Strecke als auch die Landschaft waren ein beeindruckendes Erlebnis.  Man fragt sich schon das eine oder andere Mal, ob man hier nicht wohnen möchte. Mit dem Wetter hatte ich unheimliches Glück, ich hatte durchgängig blauen Himmel und kein Tröpfchen Regen. Bei schlechtem Wetter hätte die gleiche Strecke mit Sicherheit erheblich weniger Spaß gemacht bzw. wären manche Pässe gar nicht befahrbar gewesen.

Auch bei der Auswahl der Hotels und Gasthäuser auf der Strecke hatte ich keine Fehlgriffe, für Übernachtung und Frühstück waren die drei Häuser vollkommen ausreichend.

Ebenfalls keine Probleme hatte ich mit der Technik. Ich hatte keine platten Reifen und keine Probleme mit der Schaltung oder den Bremsen. Insbesondere froh war ich, dass ich nicht meine Carbon-Laufräder genutzt habe, sondern bei den klassischen Alu-Bremsflanken geblieben bin. Diese haben sich auf den langen Abfahrten mit vielen Kehren recht stark erhitzt, haben mich aber nie im Stich gelassen.

Das Gepäck auf einem Gepäckträger mitzunehmen hat ebenfalls gut funktioniert, ich war sehr froh, dass ich mich gegen einen Rucksack entschieden habe. Bezüglich der Navigation habe ich die Routen vorab geplant, als GPX-Datei gespeichert und dann mittels einem App auf meinem Handy anzeigen lassen. Das hat sehr gut funktioniert, auf der kompletten Strecke mit vielen kleinen Abzweigungen bin ich nur zwei Mal falsch abgebogen.

Eine Zusammenfassung in Zahlen:

  • 485,2 km,
  • 23:15h Fahrzeit,
  • 20,9 km/h Durchschnittsgeschwindigkeit,
  • 8.800HM,
  • 151 Watt durchschnittliche Tretleistung,
  • 57 U./min.  durchschnittliche Tretfrequenz,
  • 143 Schläge/min. durchschnittliche Herzfrequenz,
  • 12.700 kCal Energieverbrauch.

Einzige Änderung werde ich für die nächste Transalp vornehmen: noch kleinere Übersetzungen. Man merkt das sehr gut daran, wenn man immer wieder am Schalthebel prüft, ob sich in der Zwischenzeit nicht doch noch ein kleinerer Gang „eingebaut“ hat. An besonders steilen Abschnitten sank meine Tretfrequenz unter 50 U/min, und das bei einer sehr hohen Tretleistung von über 350 Watt. Gut für die Kniegelenke ist das sicher nicht und lässt sich mit kleineren Kettenblättern auch gut umgehen.

In Summe war es eine tolle Tour und eine sehr schöne Erfahrung. Sicherlich nicht das letzte Mal, dass ich mit dem Rad über die Alpen gefahren bin – es gibt noch viele schöne Routen zu entdecken.

Zum Nachfahren folgende Links:

Etappe 1: http://connect.garmin.com/activity/369381969
Etappe 2: http://connect.garmin.com/activity/369381559
Etappe 3: http://connect.garmin.com/activity/369381139
Etappe 4: http://connect.garmin.com/activity/369380675

Transalp, Etappe 4: Passo del Tonale nach Riva del Garda

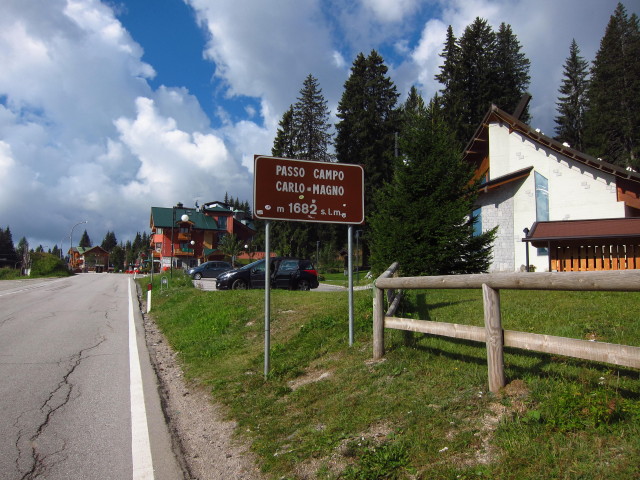
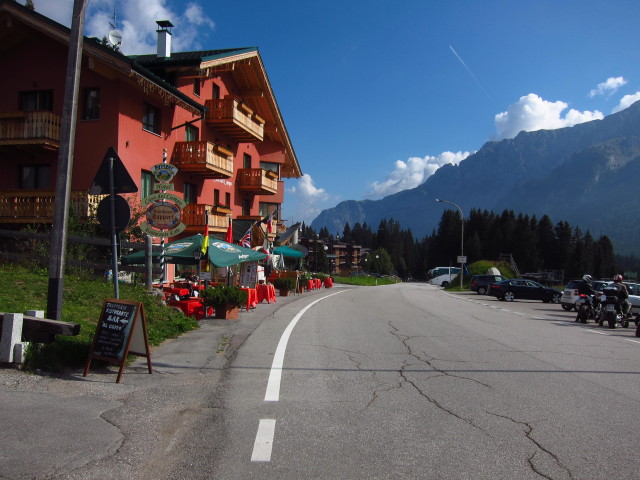
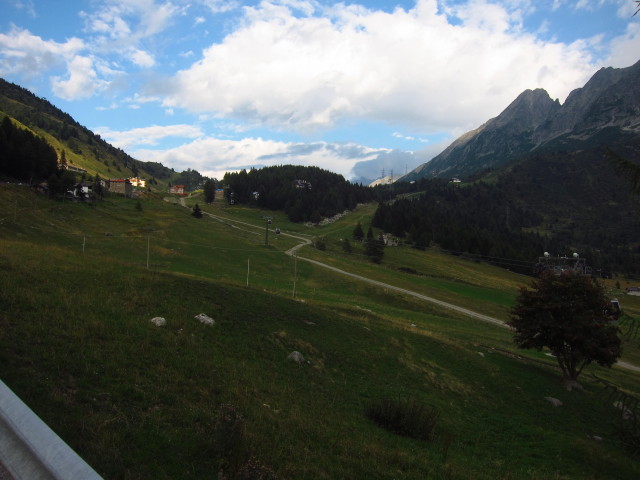
Heute war es schon soweit: Die letzte Etappe der Transalp von Passo del Tonnale nach Riva del Garda stand auf dem Programm. Von der Passhöhe hatte ich zunächst fast 25km Abfahrt, sodass sich die Beine noch etwas von gestern erholen konnten. In Dimaro bin ich dann in Richtung des vorletzten Passes abgebogen.

Es waren noch einmal gut 920 HM zu bewältigen. Nach 1:20h kam ich an der Passhöhe an.

Auch heute, am vierten Tag, war das Wetter wieder super.

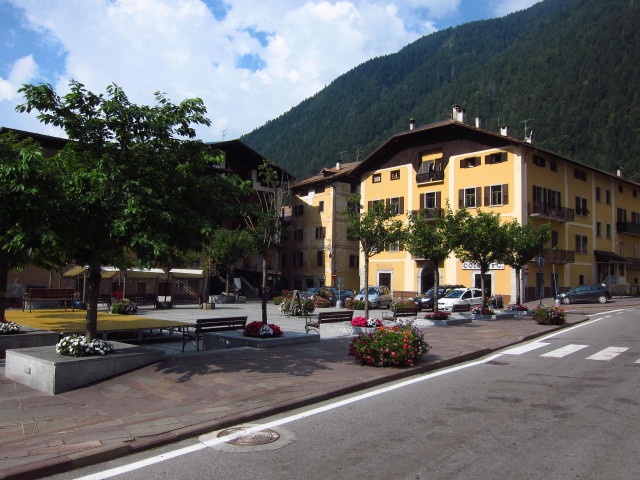
Nach weiteren 20km Abfahrt kam ich in Spiazzo vorbei.

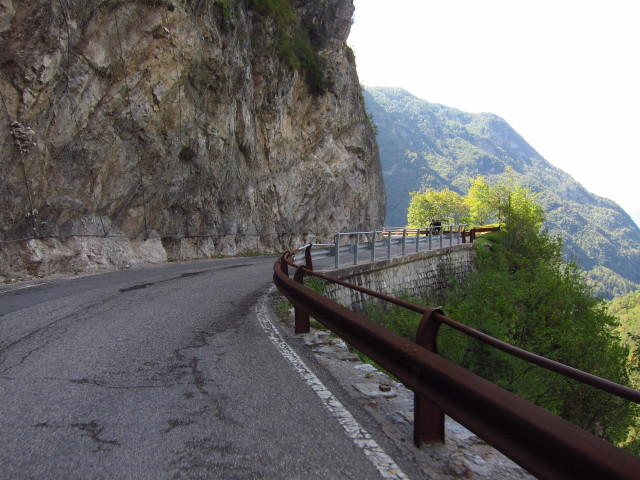
Einige Kilometer weiter, in Villa Rendena, begann der schönste Abschnitt der heutigen Tour. Ich fuhr von der SS239 auf eine kleine Nebenstraße ab. Diese verlief in vielen eng geschlungenen Kurven etwas oberhalb des Tals, sodass man den Blick hinab genießen konnte. Entlang vieler Abschnitte war die Straße in den Fels geschlagen.

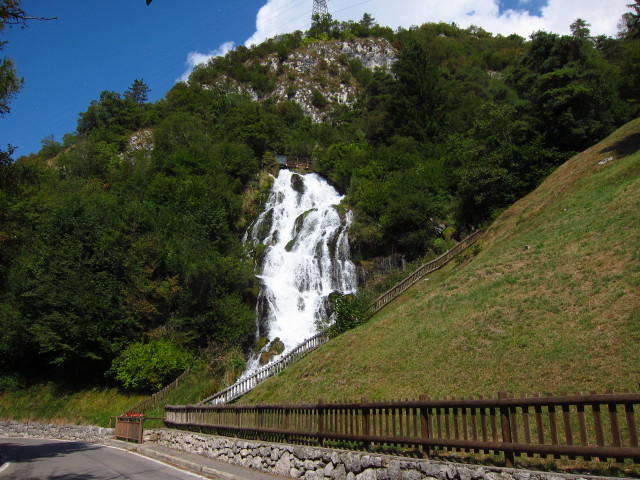
Nach ungefähr 15 Kilometern kam ich an einem schönen Wasserfall vorbei.

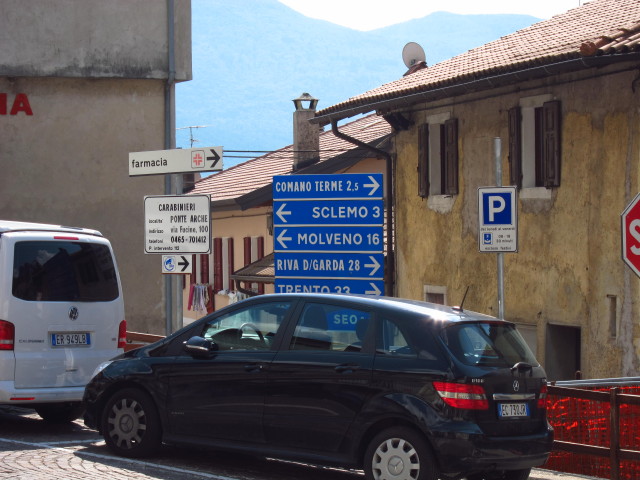
Nach einer kurzen Rast fuhr ich weiter und habe in Stenico erstmals das Ziel meiner Transalp, „Riva del Garda“, auf einem Straßenschild gesehen.

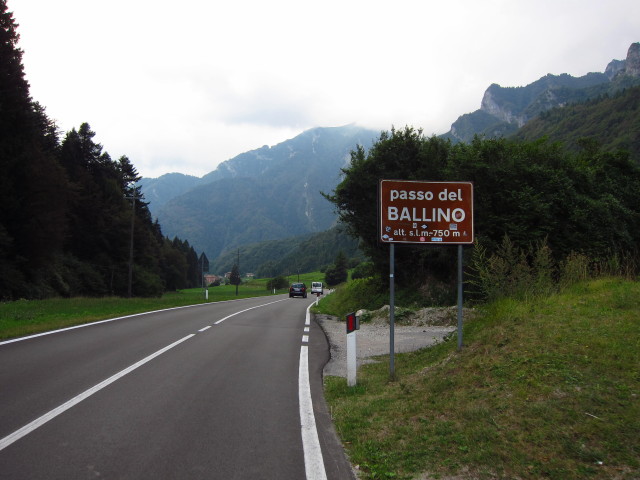
Nach einer kurzen Abfahrt begann der letzte Pass der Tour, wobei „Pässchen“ eher eine treffende Beschreibung gewesen wäre ;-).

Nach 10km war auch dieser erreicht.

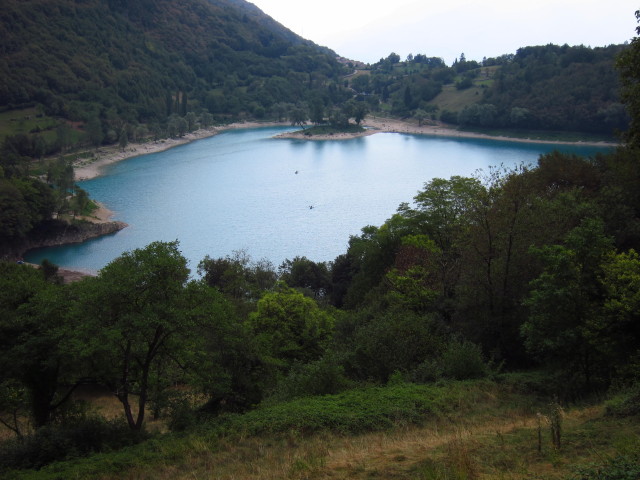
Nun hatte ich noch gute 12km Abfahrt vor mir, bis ich endlich bei meinen beiden Mädels angekommen war. Auf dem Weg habe ich noch mal kurz den Blick auf den Lago die Tenno…

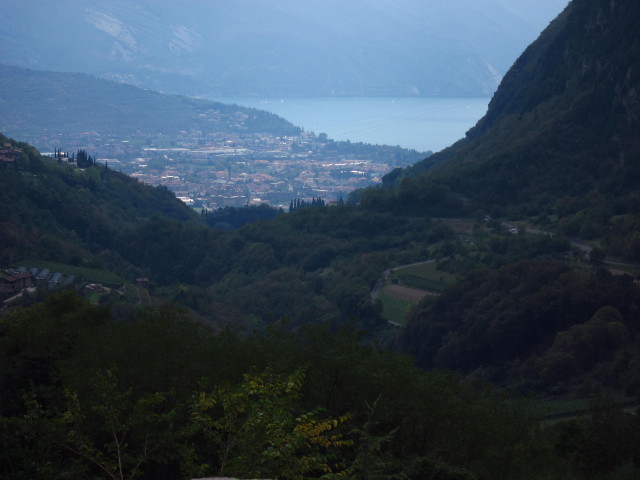
…und herunter auf Riva del Garda genossen.

Nach knapp 4,5h Fahrzeit kam ich in unserer Ferienwohnung an und wurde von Katja und Paula empfangen.

Transalp, Etappe 3: Burgeis nach Passo del Tonale

Heute war es Zeit für die „Königsetappe“ meiner Tour: 110km, 3.900 HM und drei zu fahrende Pässe:

  1. Stilfser Joch, 2757m Passhöhe, 1844HM
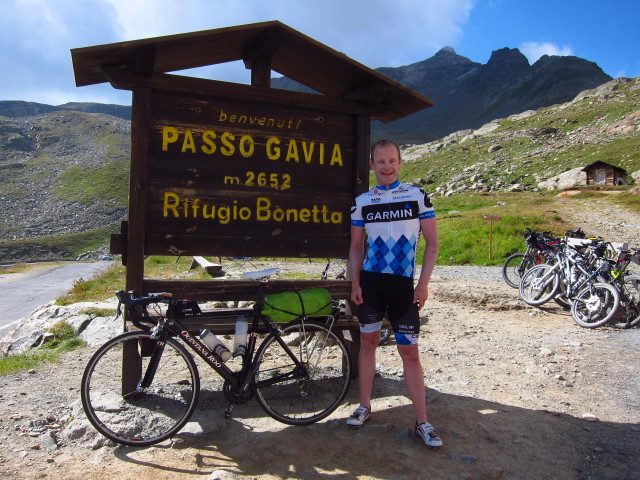
  2. Gavia Pass, 2618m Passhöhe, 1401HM
  3. Passo del Tonale, 1884m Passhöhe, 626HM

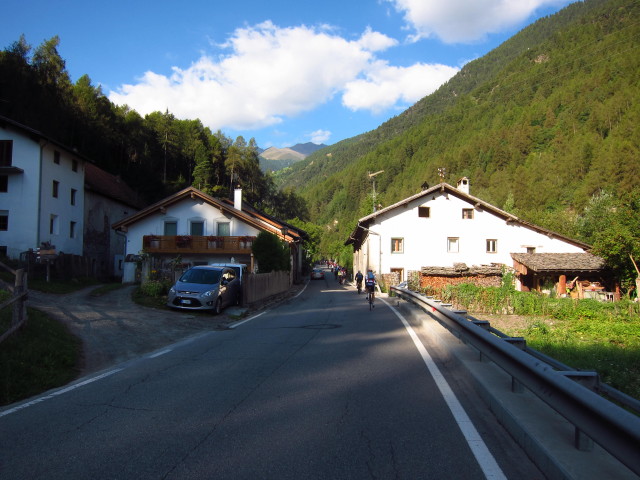
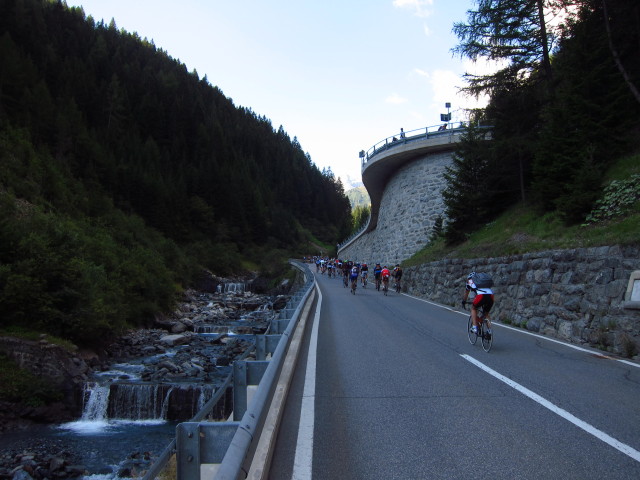
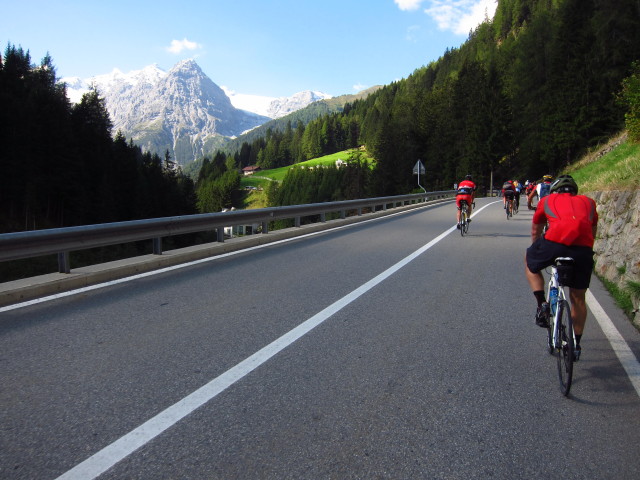
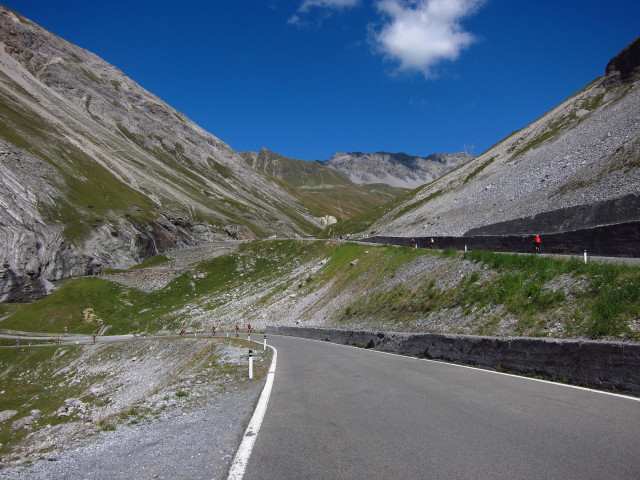
Bei strahlendem Sonnenschein bin ich um kurz nach acht aufgebrochen. Als erster Pass stand das Stilfser Joch an: 24,6km, 1.850HM, Passhöhe 2.760m. Die Straße wird 1x pro Jahr für Autos und Motorräder gesperrt – heute war es wieder soweit. Somit war ich auf der Straße nicht allein, sondern hatte mehrere tausend „Leidensgenossen“. Auf dem ersten Kilometer ist es noch relativ flach.

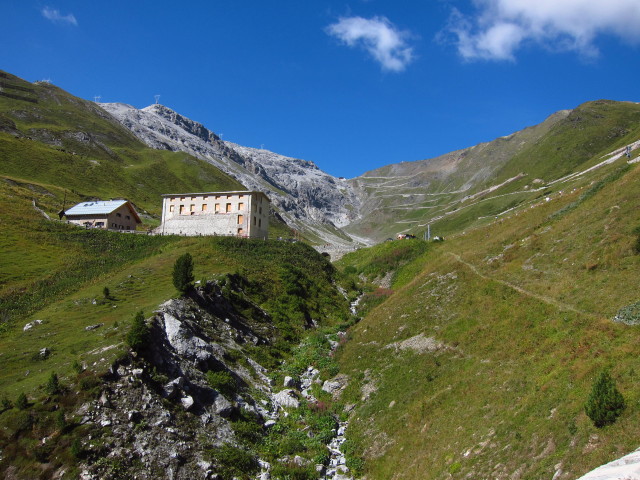
Die Straße verläuft zunächst entlang eines Flusses und schon bald ist die erste der insgesamt 48 Kehren zu bewältigen.

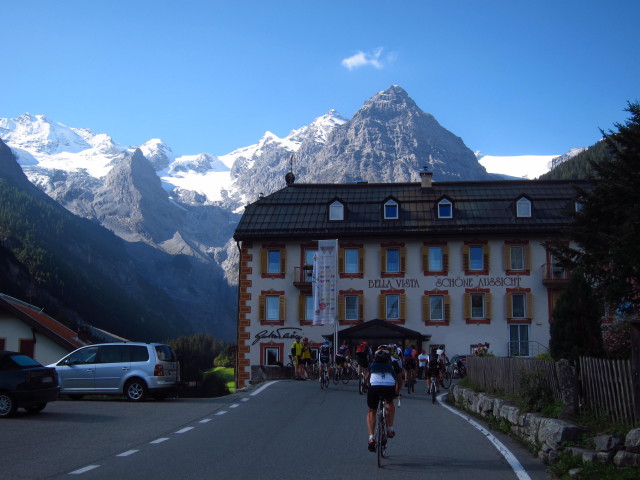
Nach einigen Kilometern hatte man zum ersten Mal einen Blick auf die schneebedeckten Gipfel.

In der Tat eine „Bella Vista“.

IMG_2073

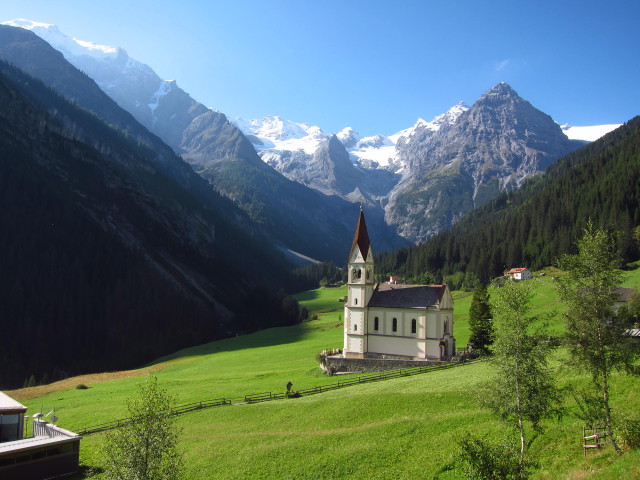
Die sattgrünen Wiesen waren noch von leichtem Morgentau bedeckt.

IMG_2077

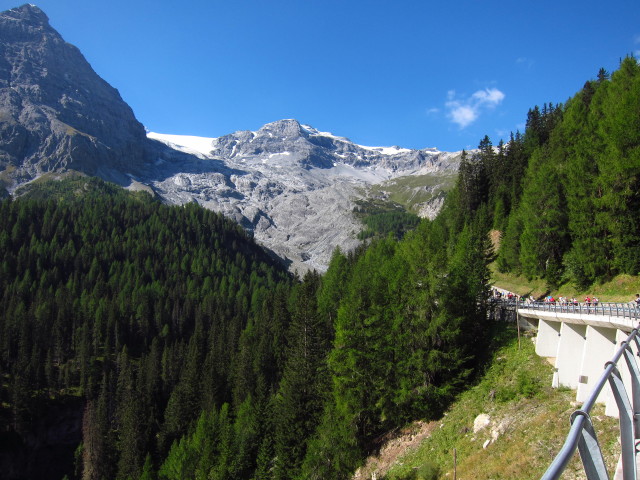
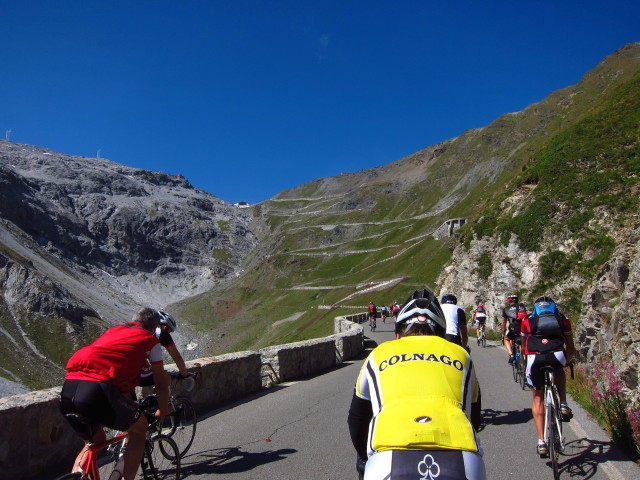
Unaufhörlich wanden sich die Straße und der Strom von Radlern den Berg hinauf.

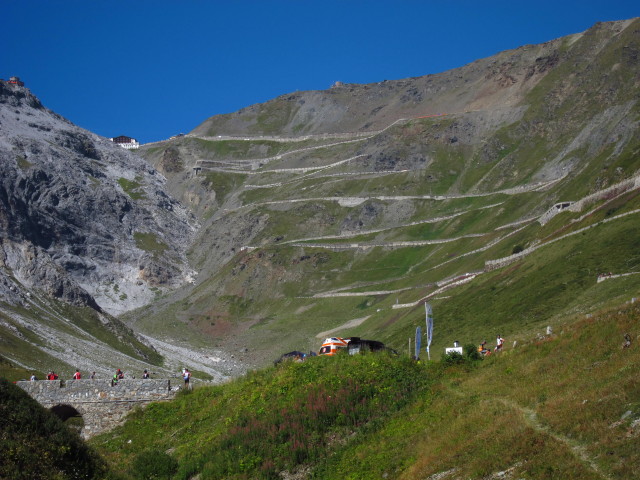
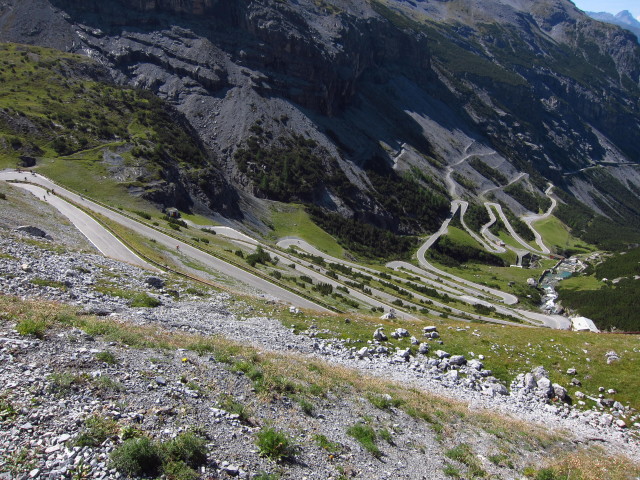
Bei ca. 2.100 Metern ein Blick auf das, was noch vor einem liegt: Ungefähr 30 weitere Kehren.

Und da ganz oben bei der Hütte ist das Zwischenziel.

Aber zunächst einmal: Weitere Kehren.

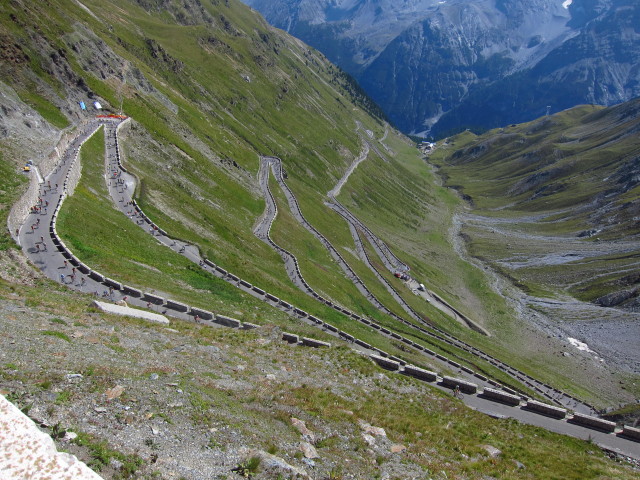
Von oben herunter ist der Blick doch angenehmer 😉

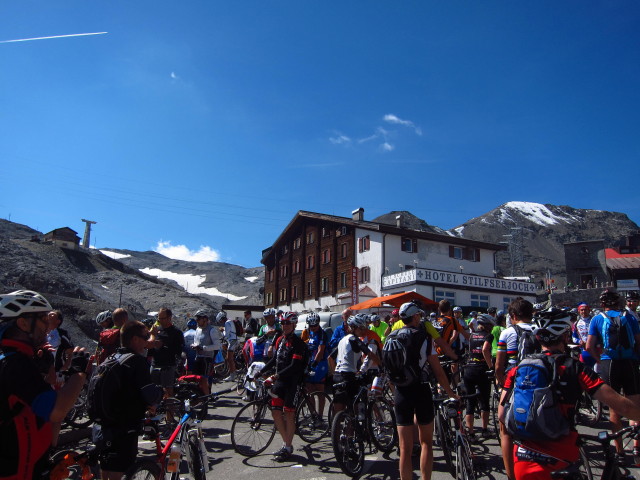
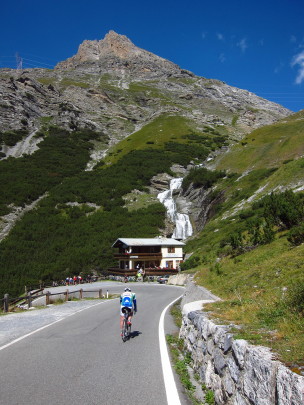
Oben angekommen bildete sich ein Stau von Radlern.

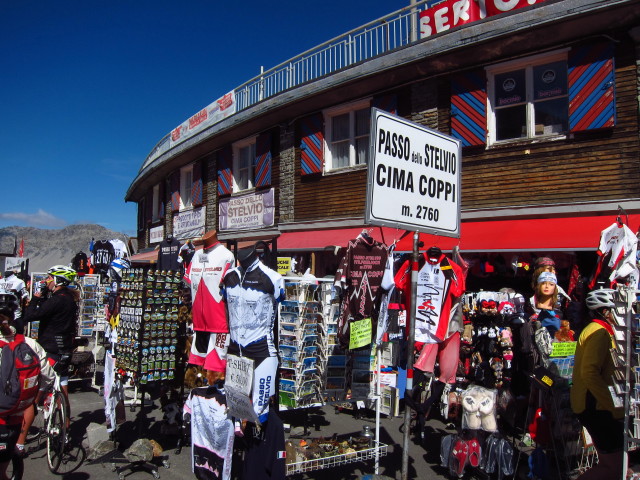
Neben allerlei Touri-Lädchen gab es natürlich auch das obligatorische Pass-Schild.

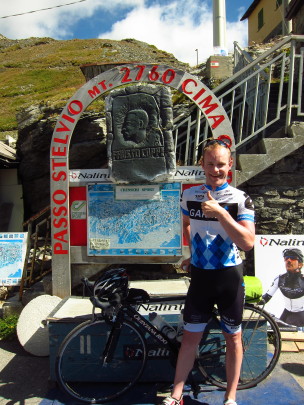
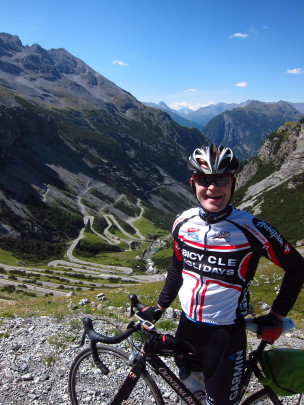
Für ein kurzes Beweisfoto musste natürlich noch Zeit sein.

Was für ein Glück wir dieses Jahr mit dem Wetter hatten – letztes Jahr gab es am autofreien Tag auf der Passhöhe 30cm Neuschnee, sodass die Radler auf ca. 2.200 Metern Höhe umkehren mussten.

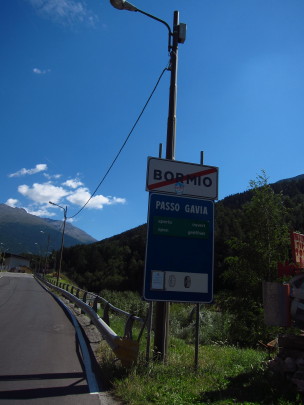
Auf der Abfahrt in Richtung Bormio war ebenfalls kein Verkehr – wo sollten auch all die Autos hin, wenn sie nicht auf der anderen Seite wieder herunter fahren können.

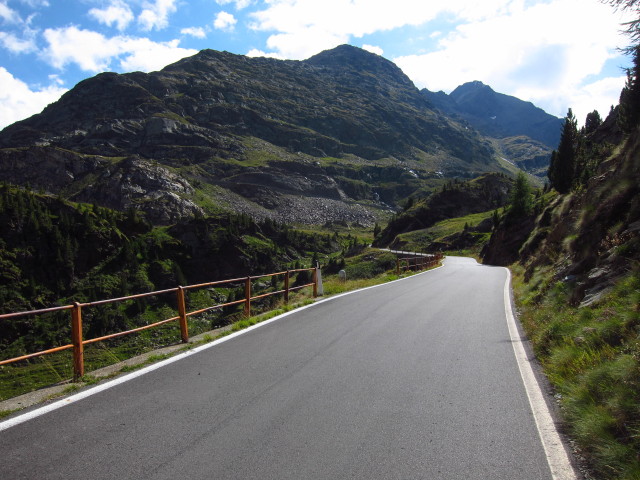
Auch auf der Abfahrt gab es eine Reihe von Kehren, ein beeindruckender Straßenverlauf

Auch hier musste noch Zeit für ein Foto sein.

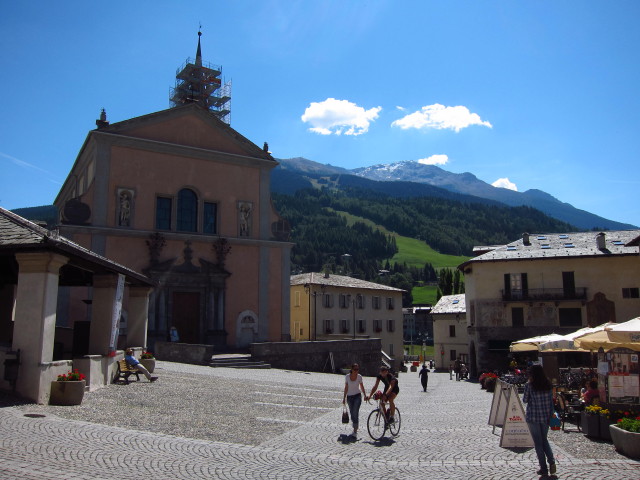
Immer wieder gab es entlang der Strecke Wasserfälle.In Bormio angekommen habe ich an einem schönen Platz angehalten und eine leckere Pizza zu Mittag gegessen – die hatte ich mir nach der ersten Hälfte der Strecke auch verdient.

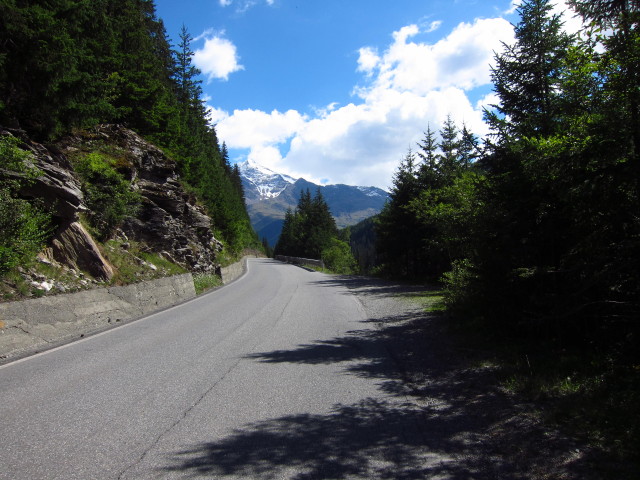
Weiter ging es in Richtung des Gavia-Passes mit einer Höhe von 2.652 Metern, also noch mal gute 1.400HM von Bormio aus. Zum Glück kann der Pass aktuell mit Sommerreifen befahren werden.

Die ersten Kilometer waren eher flach und angenehm zu fahren.

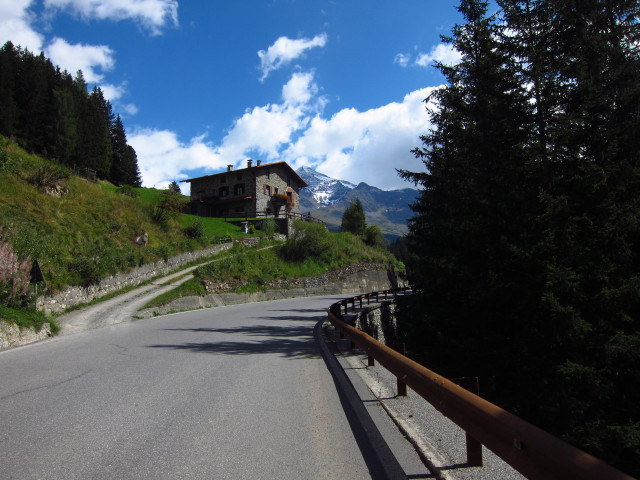
Dann wurde es allerdings zusehends steiler.

Streckenweise waren es deutlich mehr als 12% Steigung – nach ganz steilen Stücken musste ich dann doch mal kurz stehen bleiben, um zu verschnaufen. An den weggeschmissenen Energieriegel-Verpackungen konnte ich feststellen, dass ich nicht der einzige war, der an diesen Stellen eine kurze Pause eingelegt hat.

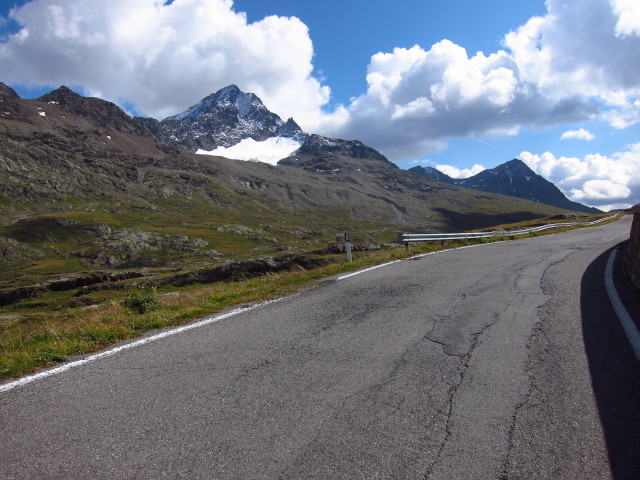
Langsam aber sicher arbeitete ich mich in Richtung der Passhöhe vor.

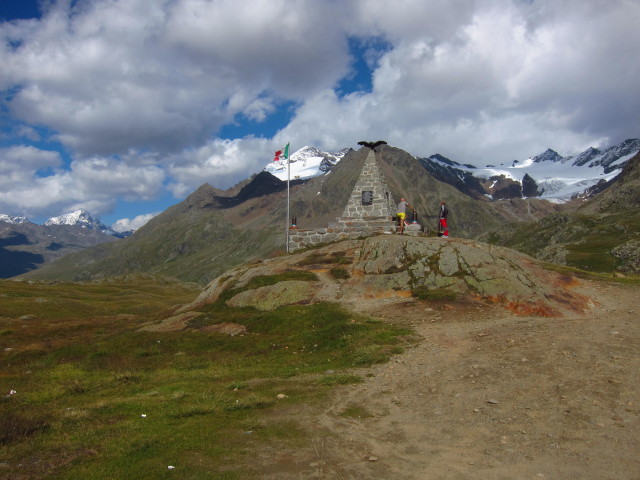
Dort gab es noch ein Denkmal an den ersten Weltkrieg.

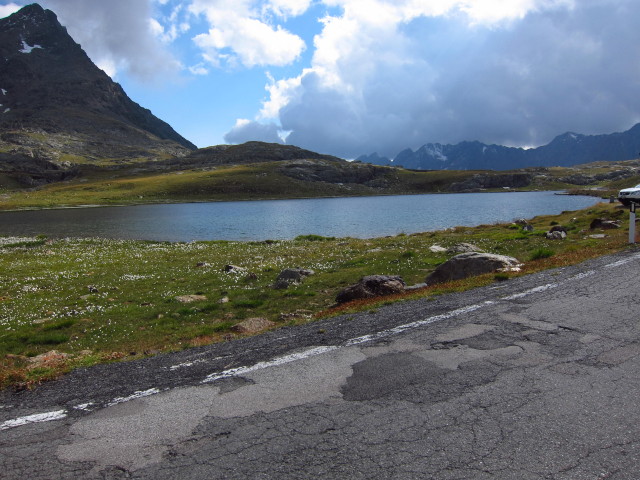
Und einen kleinen See.

Nach etwas mehr als zwei Stunden hatte ich auch den Gavia-Pass „bezwungen“. Insgesamt fand ich den Gavia-Pass deutlich schwieriger zu fahren als das Stilfser Joch, da die Anstiege streckenweise doch sehr steil waren und mir dann einfach die Gänge ausgingen.

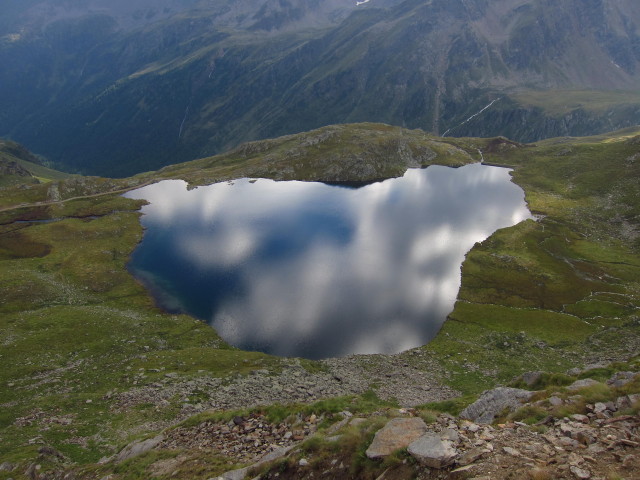
Kurz nach dem Pass hatte ich einen tollen Blick herab auf den Lago di Negro…

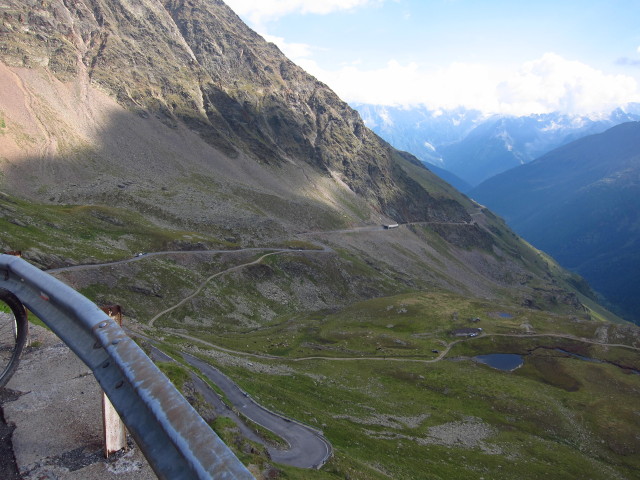
…und die vor mir liegende Abfahrt.

Nach ungefähr 18km Abfahrt kam ich in Ponte di Legno an und habe mir ein Panini als Zwischenmahlzeit gegönnt. Danach ging es weiter zum letzten Pass des Tages, den Passo del Tonnale.

Dieser war recht angenehm zu fahren und nach gut 50 Minuten kam ich an meinem heutigen Etappenziel an.

Insgesamt habe ich heute 113km und 3.912HM zurückgelegt (zum Vergleich: die Königsetappe der Tour de France 2013 umfasste 4.150HM auf 172,6km). Das Wetter hat heute wieder perfekt mitgespielt und die Landschaft war atemberaubend schön. Der autofreie Tag am Stilfser Joch war super organisiert, die Strecke ist ohne Autos und Motorräder natürlich viel schöner zu fahren – andererseits war die Strecke teilweise so dicht mit Radlern gefüllt, das es an manchen engen Stellen ebenfalls unangenehm war. In Summe war es aber wirklich eine tolle Strecke und mit etwas Training auch gut durchzuhalten.

Transalp, Etappe 2: Platten nach Burgeis

Heute morgen bin ich bei bestem Wetter zur zweiten Etappe von Platten nach Burgeis aufgebrochen. Geplant waren 117km und 2100HM.

image

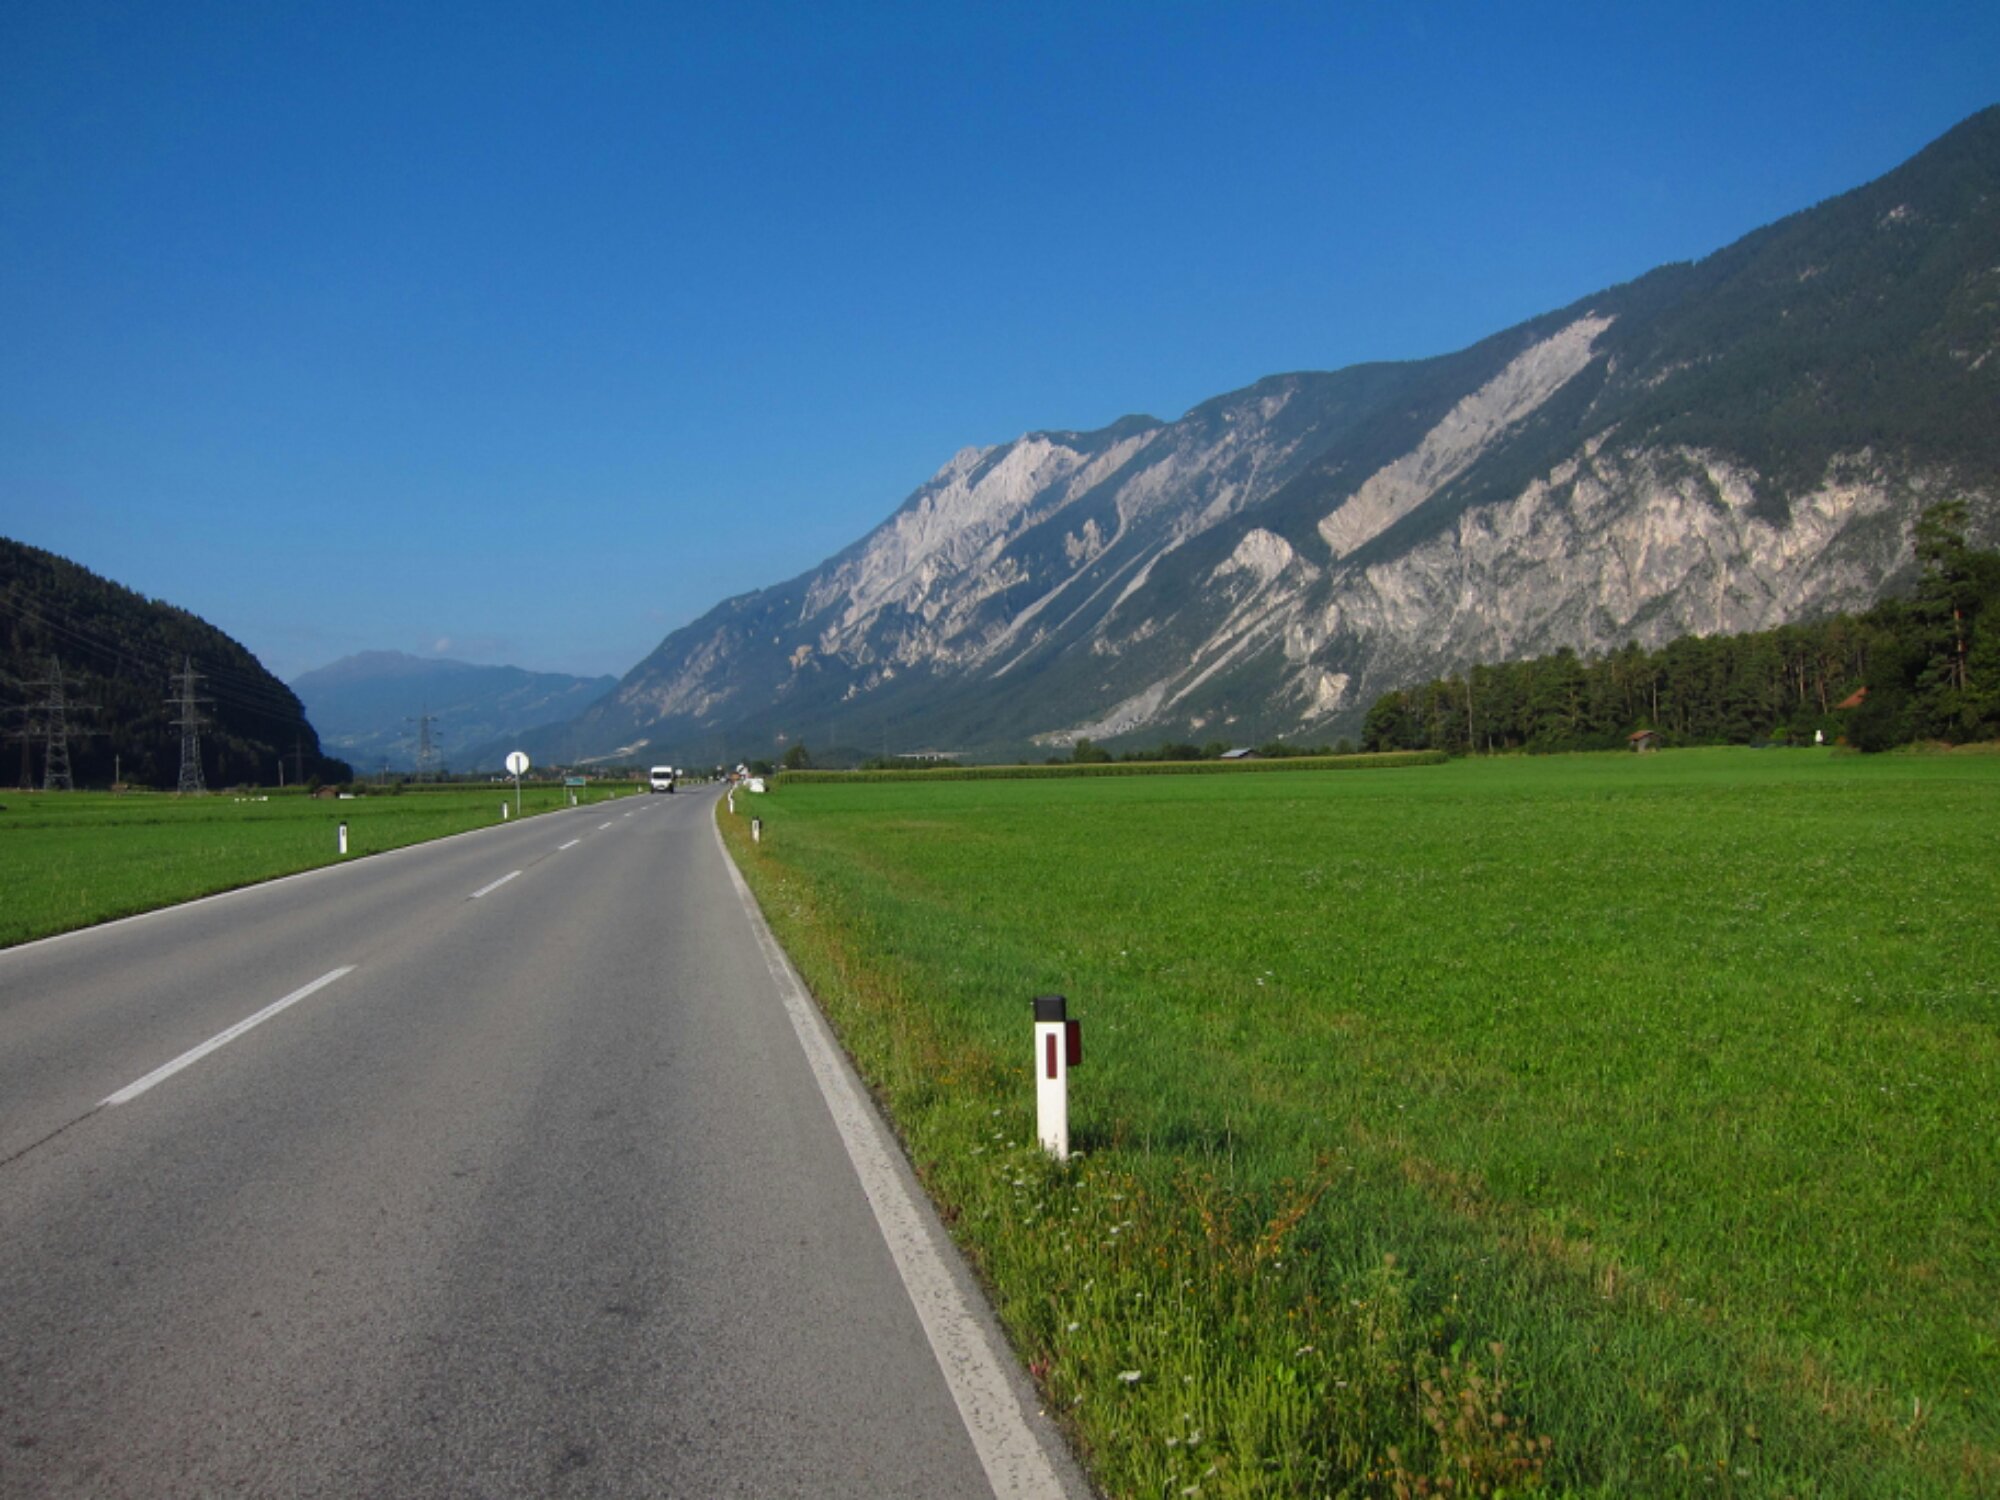
Die ersten 30km verliefen leicht ansteigend von Telfs nach Imst. Dort bin ich nach links ins Pitztal abgebogen, der erste Anstieg des Tages.

image

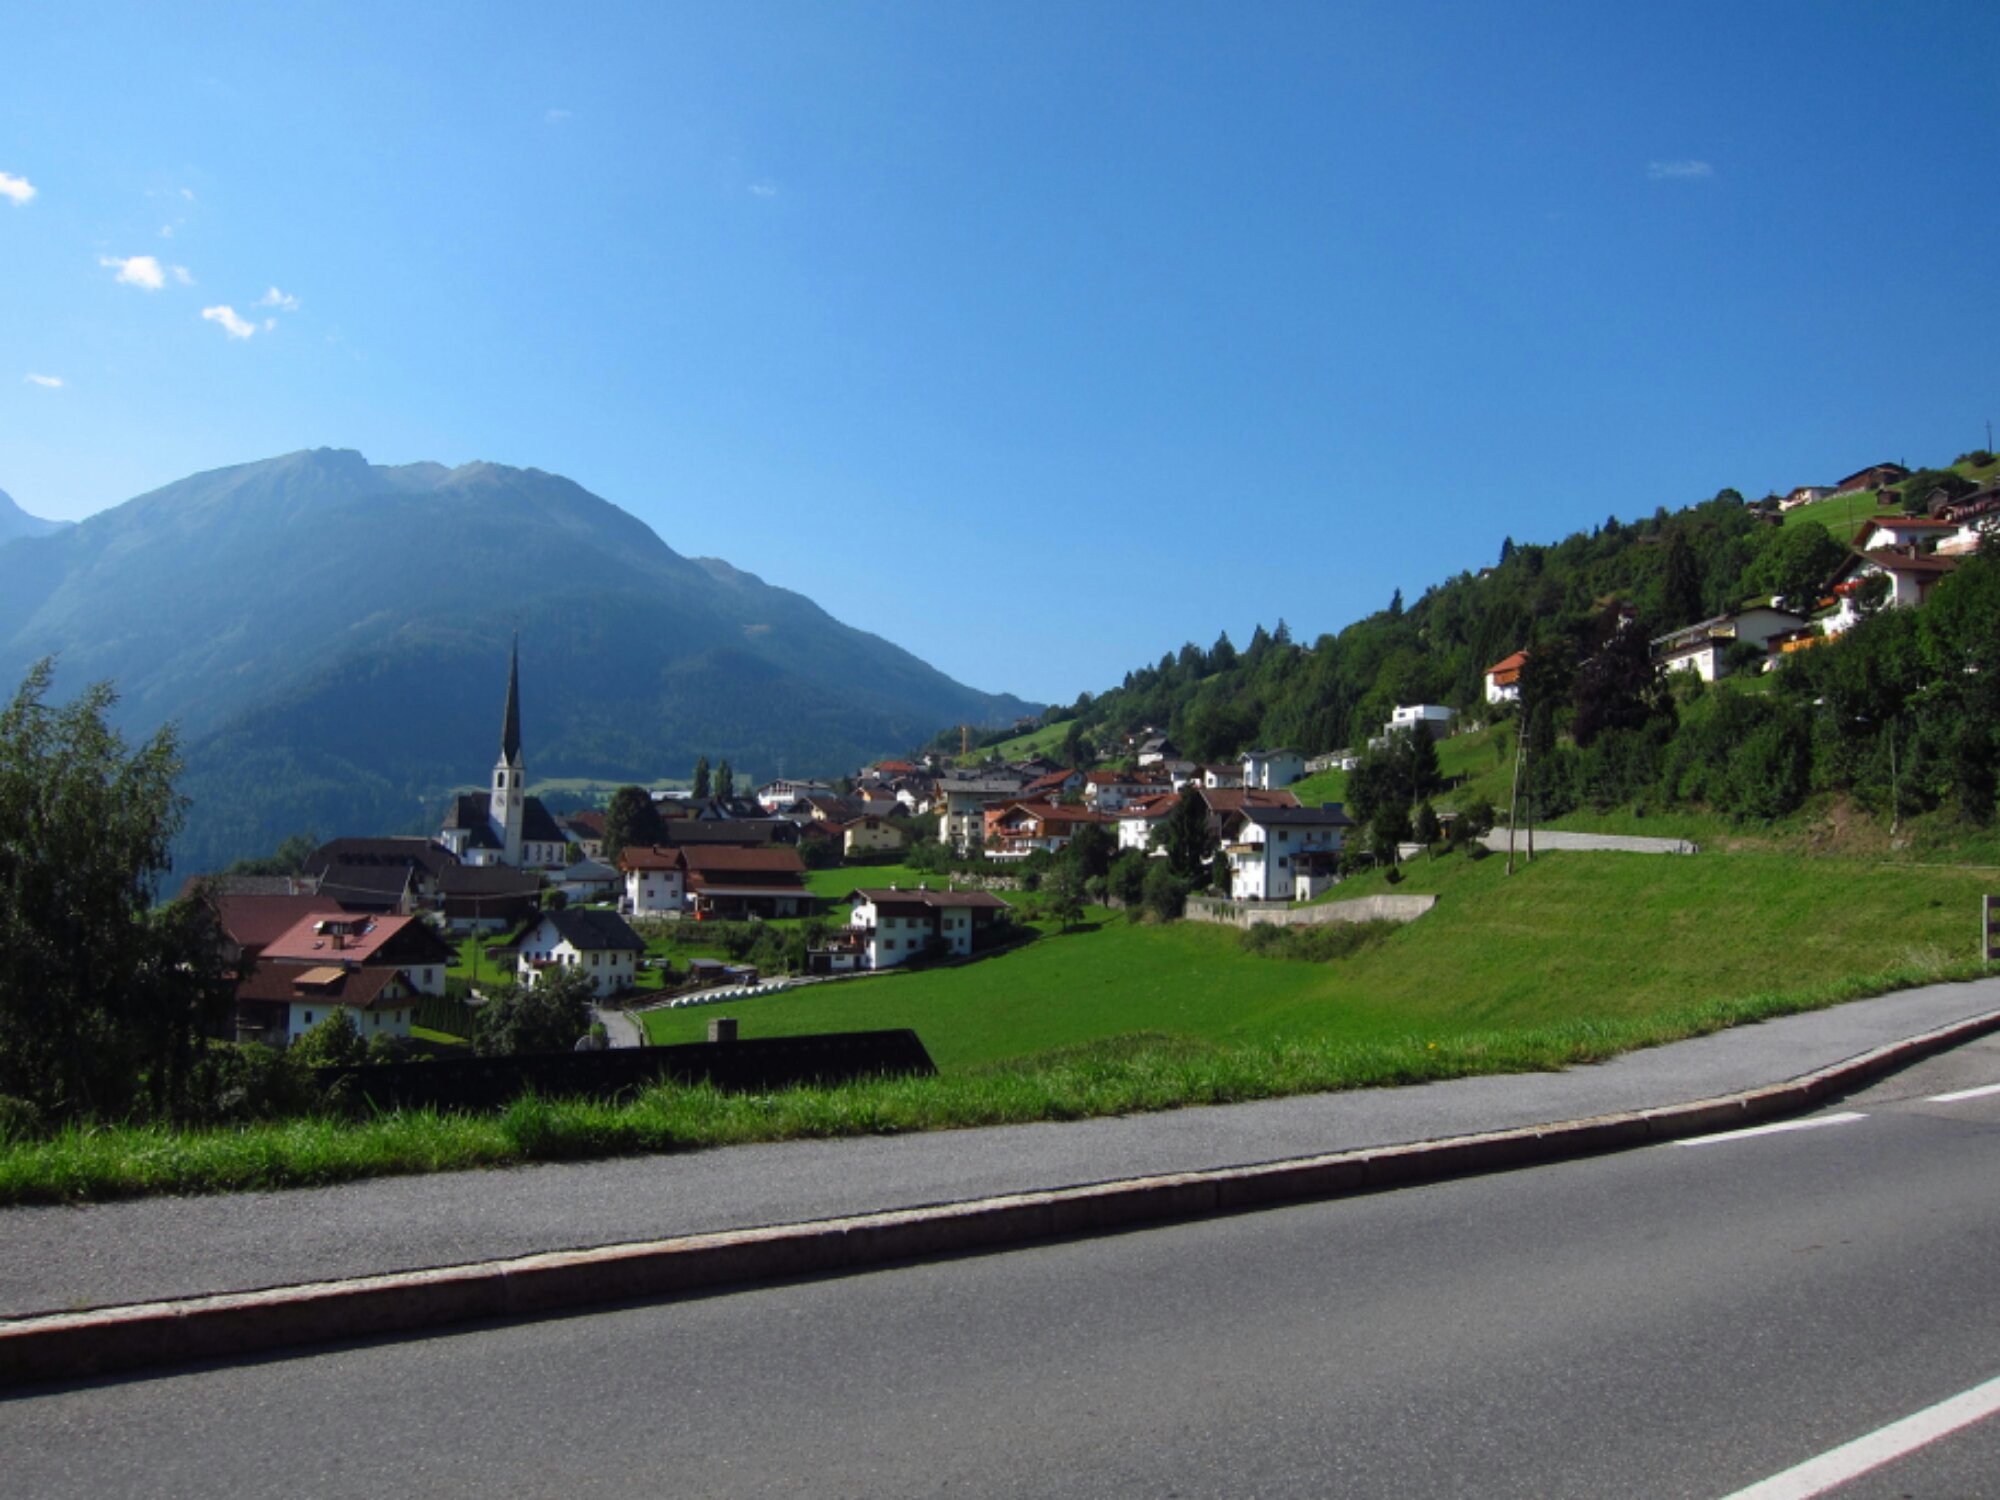
Entlang des Abstiegs lagen immer wieder kleinere Ortschaften – mit den Bergen im Hintergrund immer eine tolle Kulisse.

image

Ein kurzer Blick zurück kurz vor der Passhöhe von 1585m.

image

Und dann ein Blick hinab ins Oberinntal.

image

image

Im Tal angekommen fuhr ich dann entlang der Via Claudia Augusta weiter.

image

Mittagspause legte ich dann in Tösens ein – es gab eine ordentliche Portion Käsespätzle.

image

Weiter ging es in Richtung Martina, immer noch entlang der Via Claudia Augusta.

image

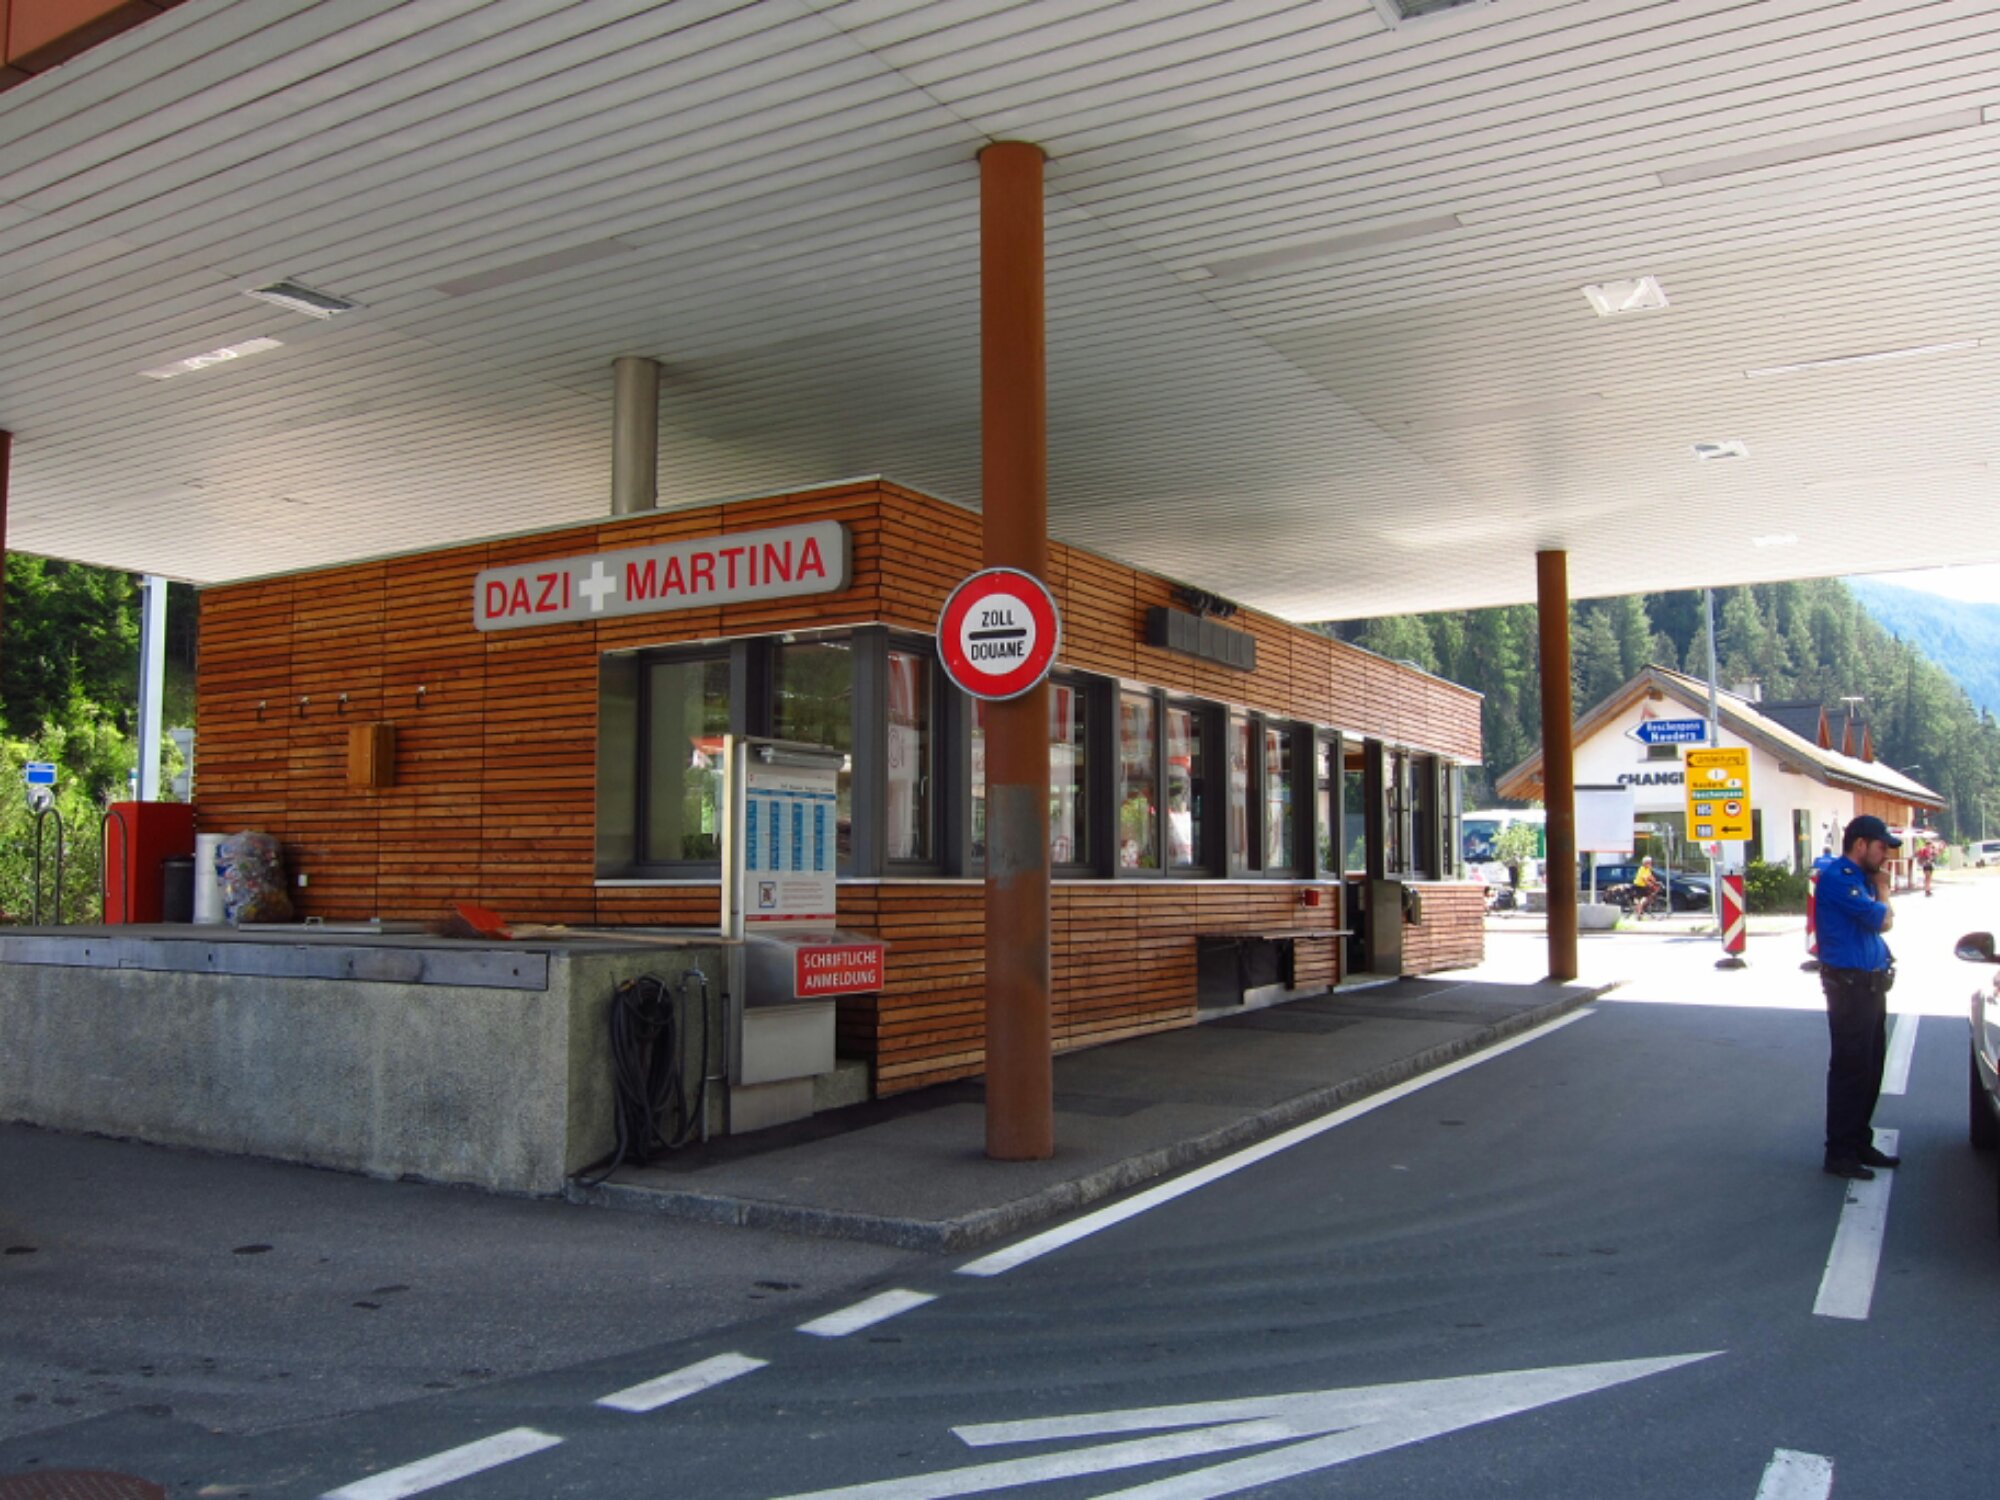
Nach einem kurzen Stopp am schweizerischen Zoll konnte ich dann auf den Reschenpass abbiegen.

image

Mit knapp 370HM ist der Pass keine extreme Herausforderung, darum blieb mehr Muße, die Landschaft zu genießen.

image

Nach knapp 30 Minuten kam ich auf der Norbertshöhe an.

image

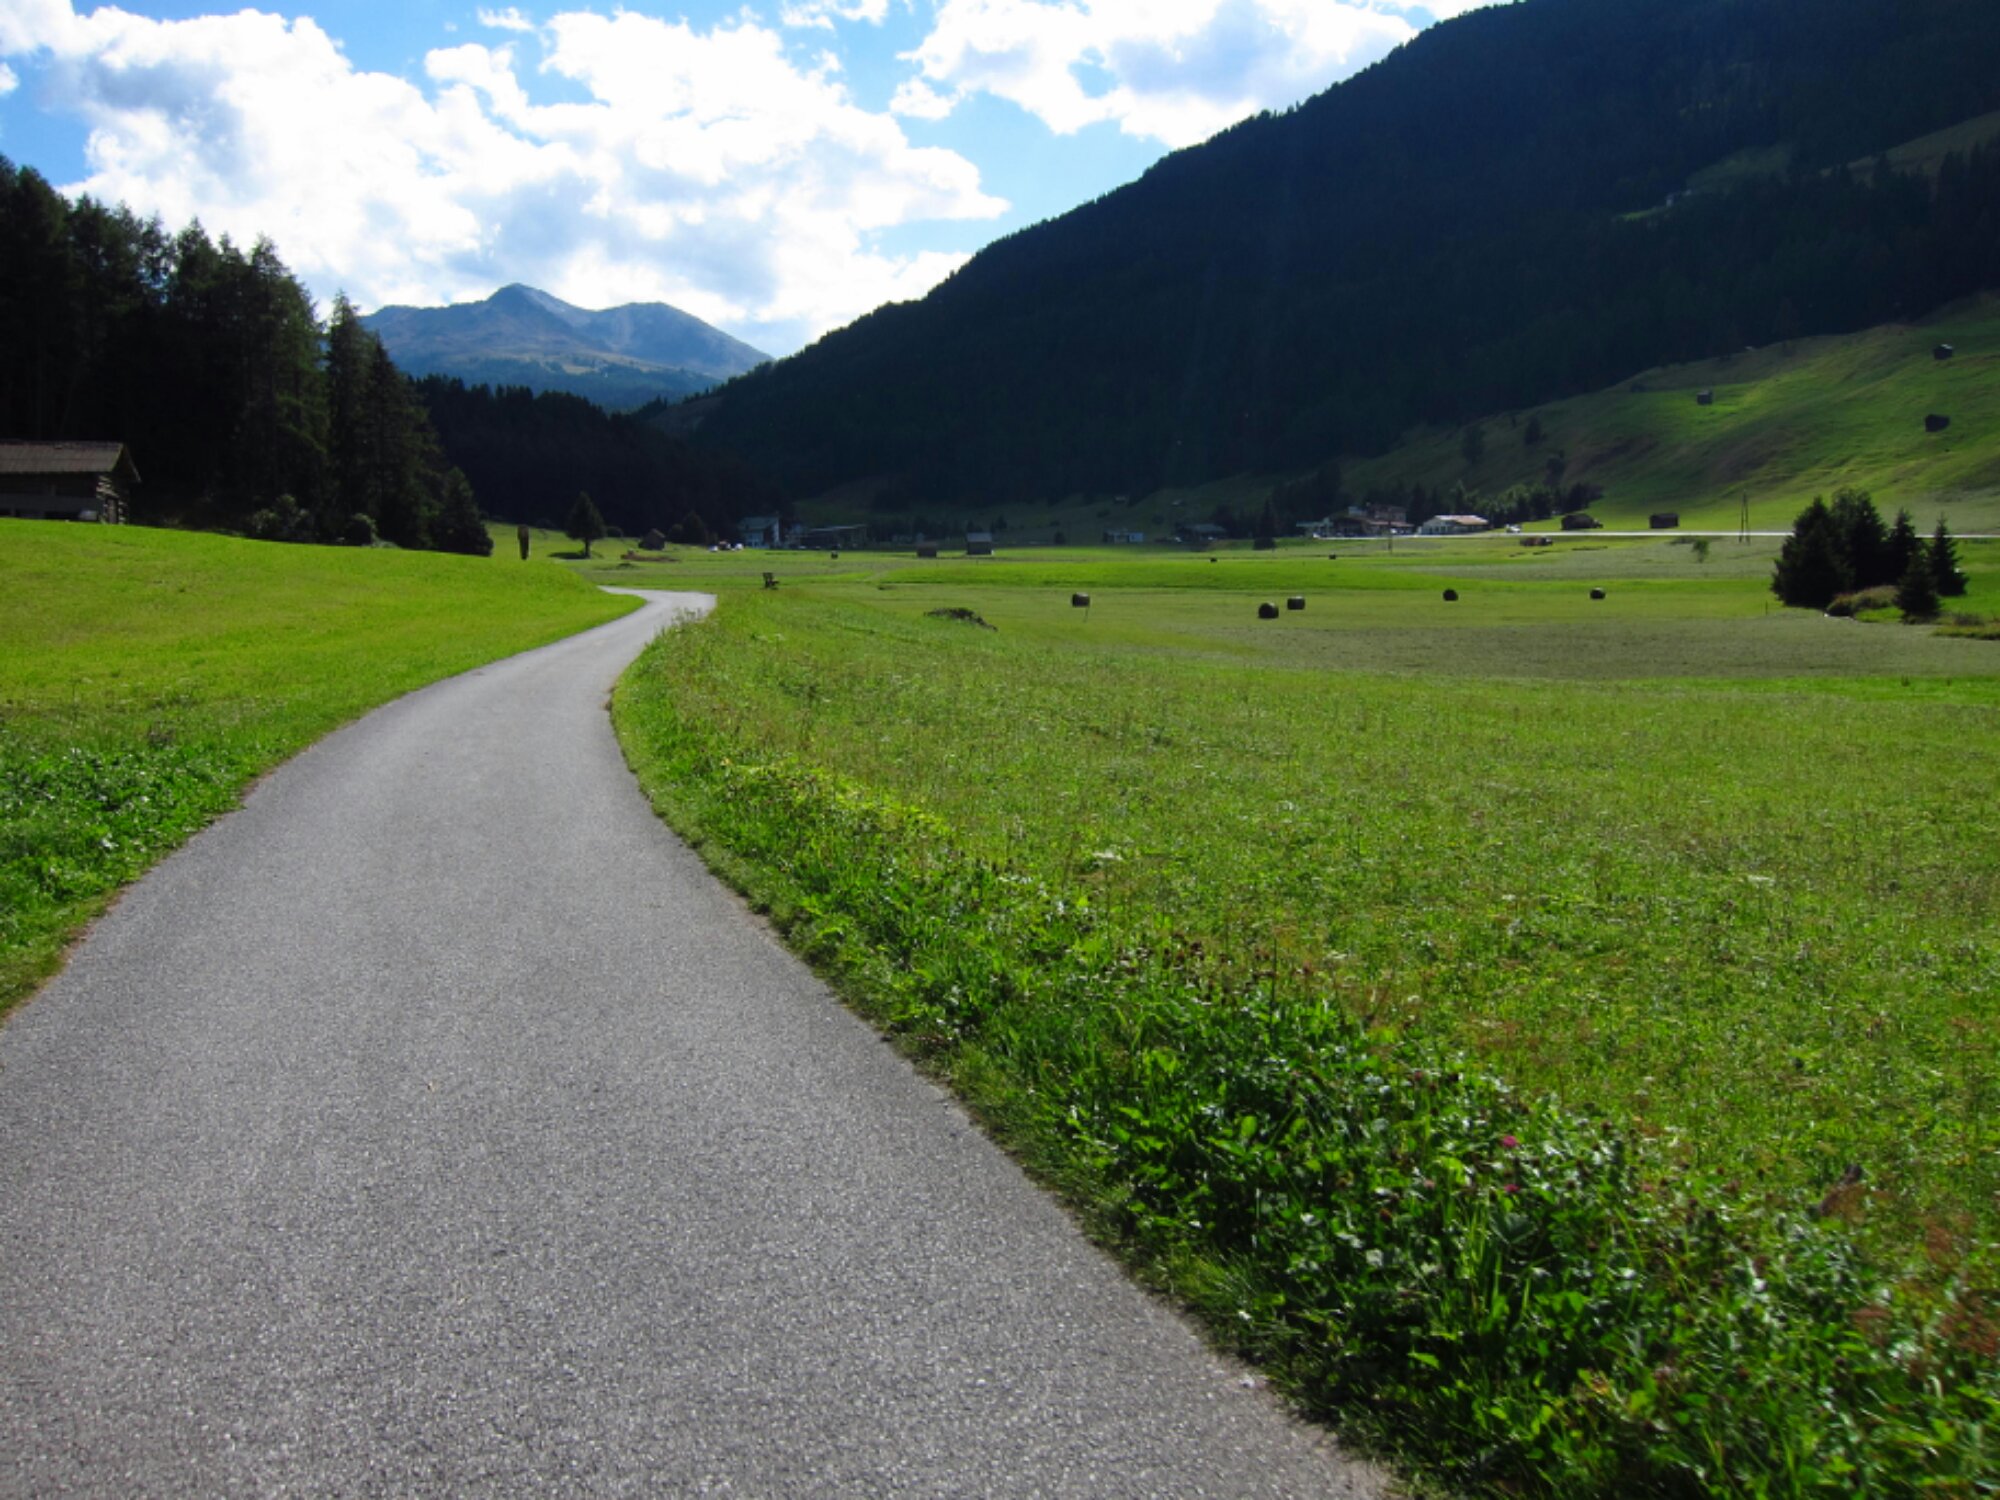
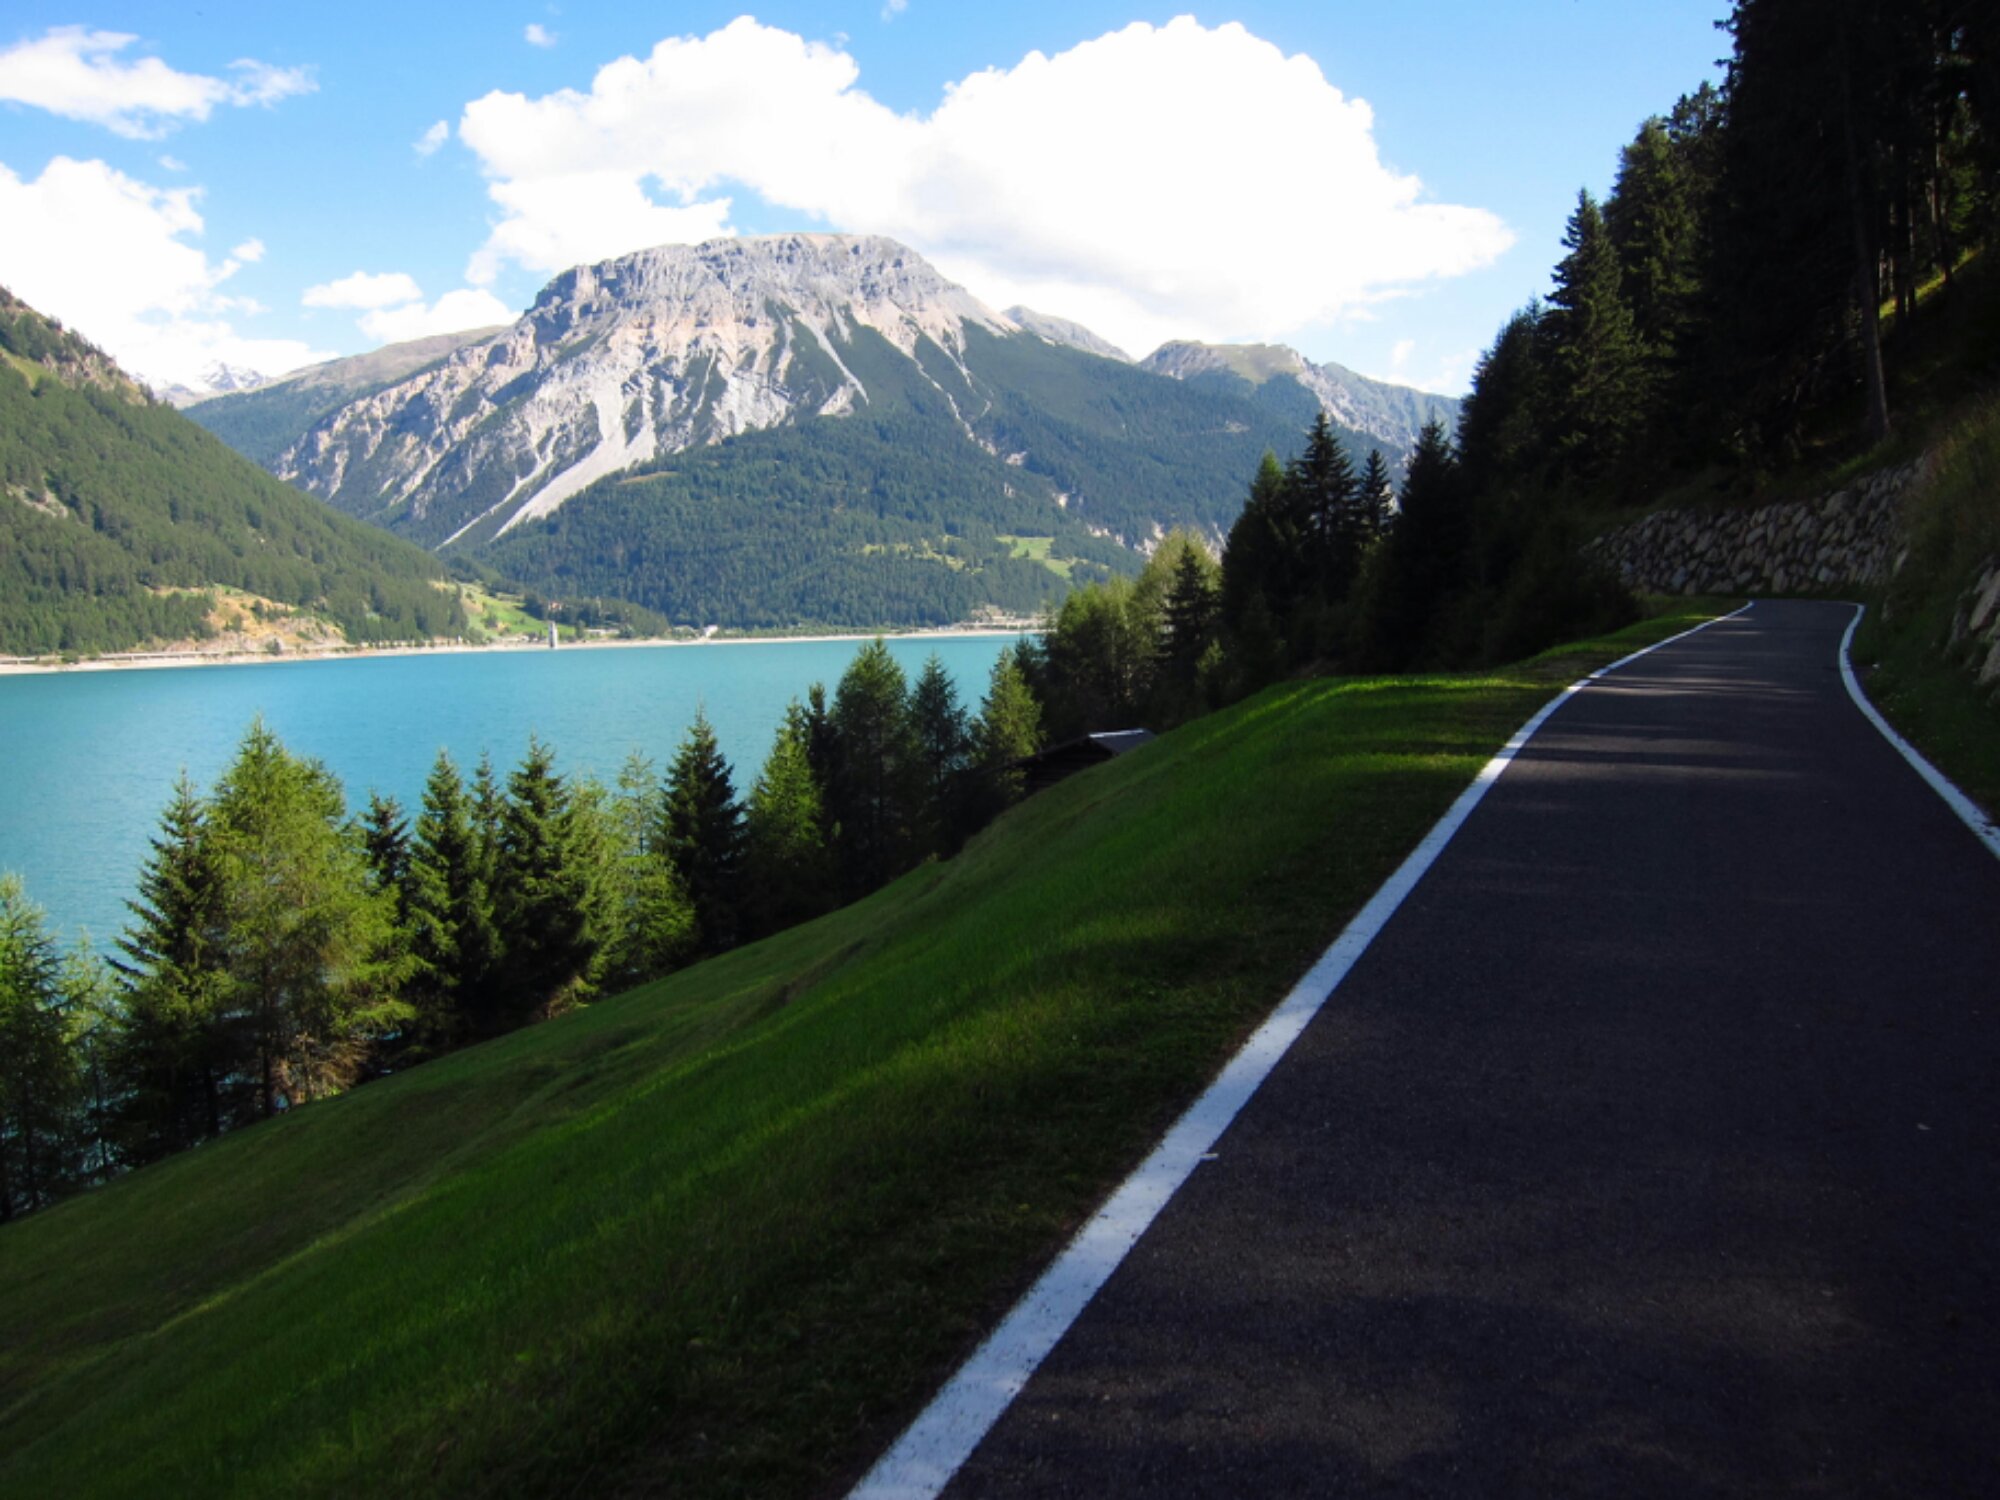
So sehen schöne Radwege aus:

image

Oder so:

image

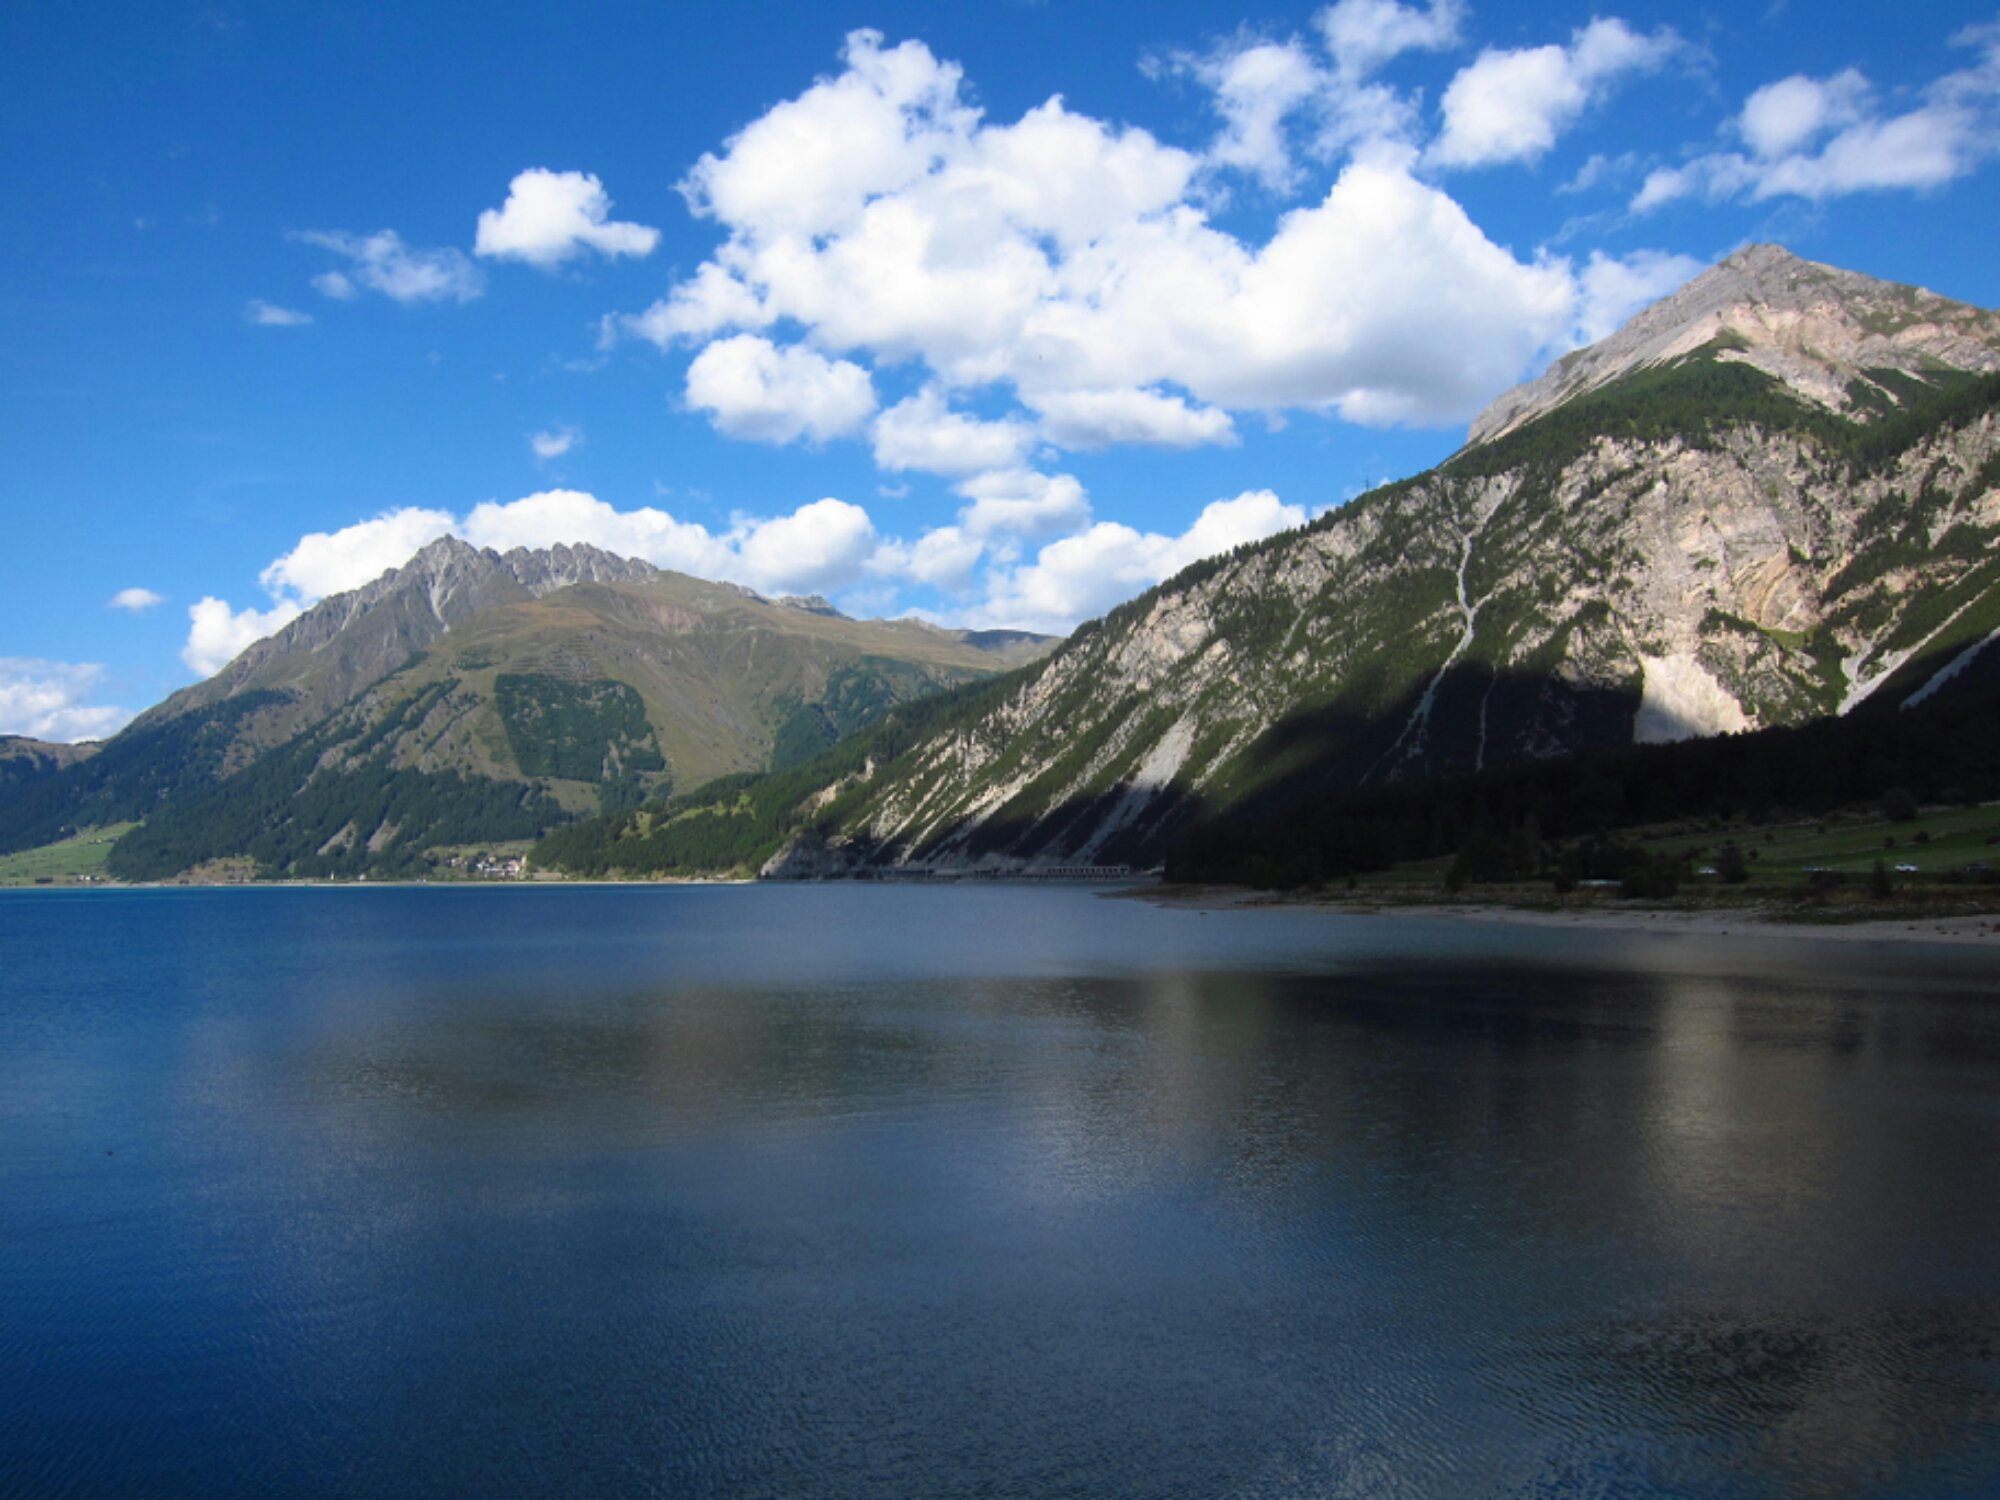
Ein kurzer Blick zurück auf den Reschensee.

image

Und ein Blick auf das, was mir morgen bevorsteht.

image

Nach 125km und 2150HM kam ich in Burgeis an.

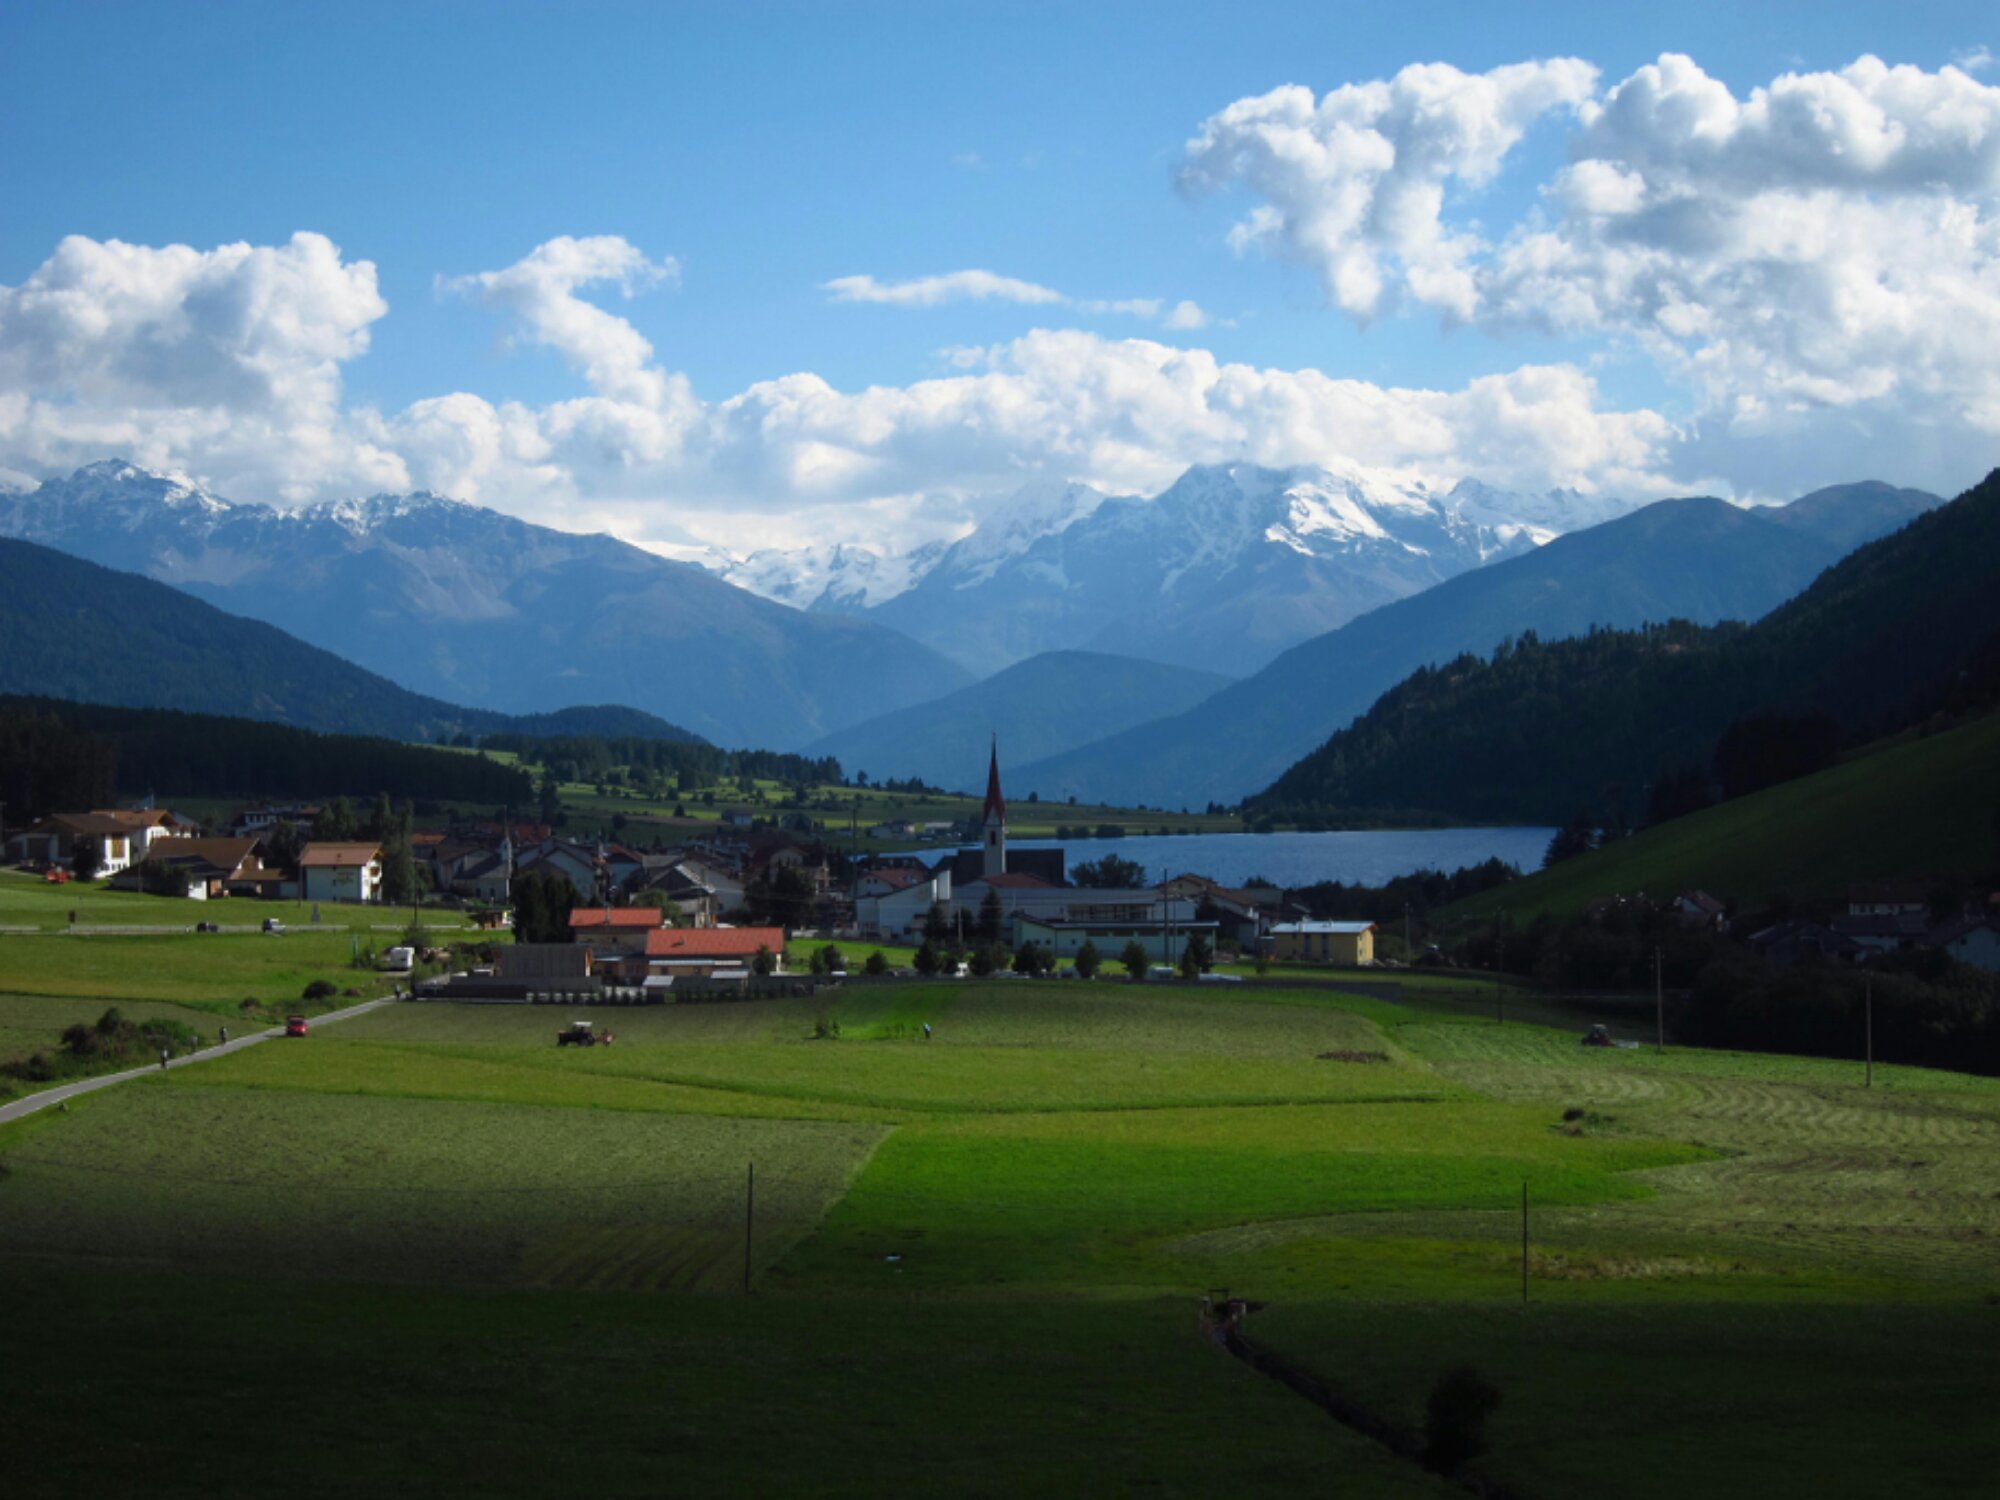
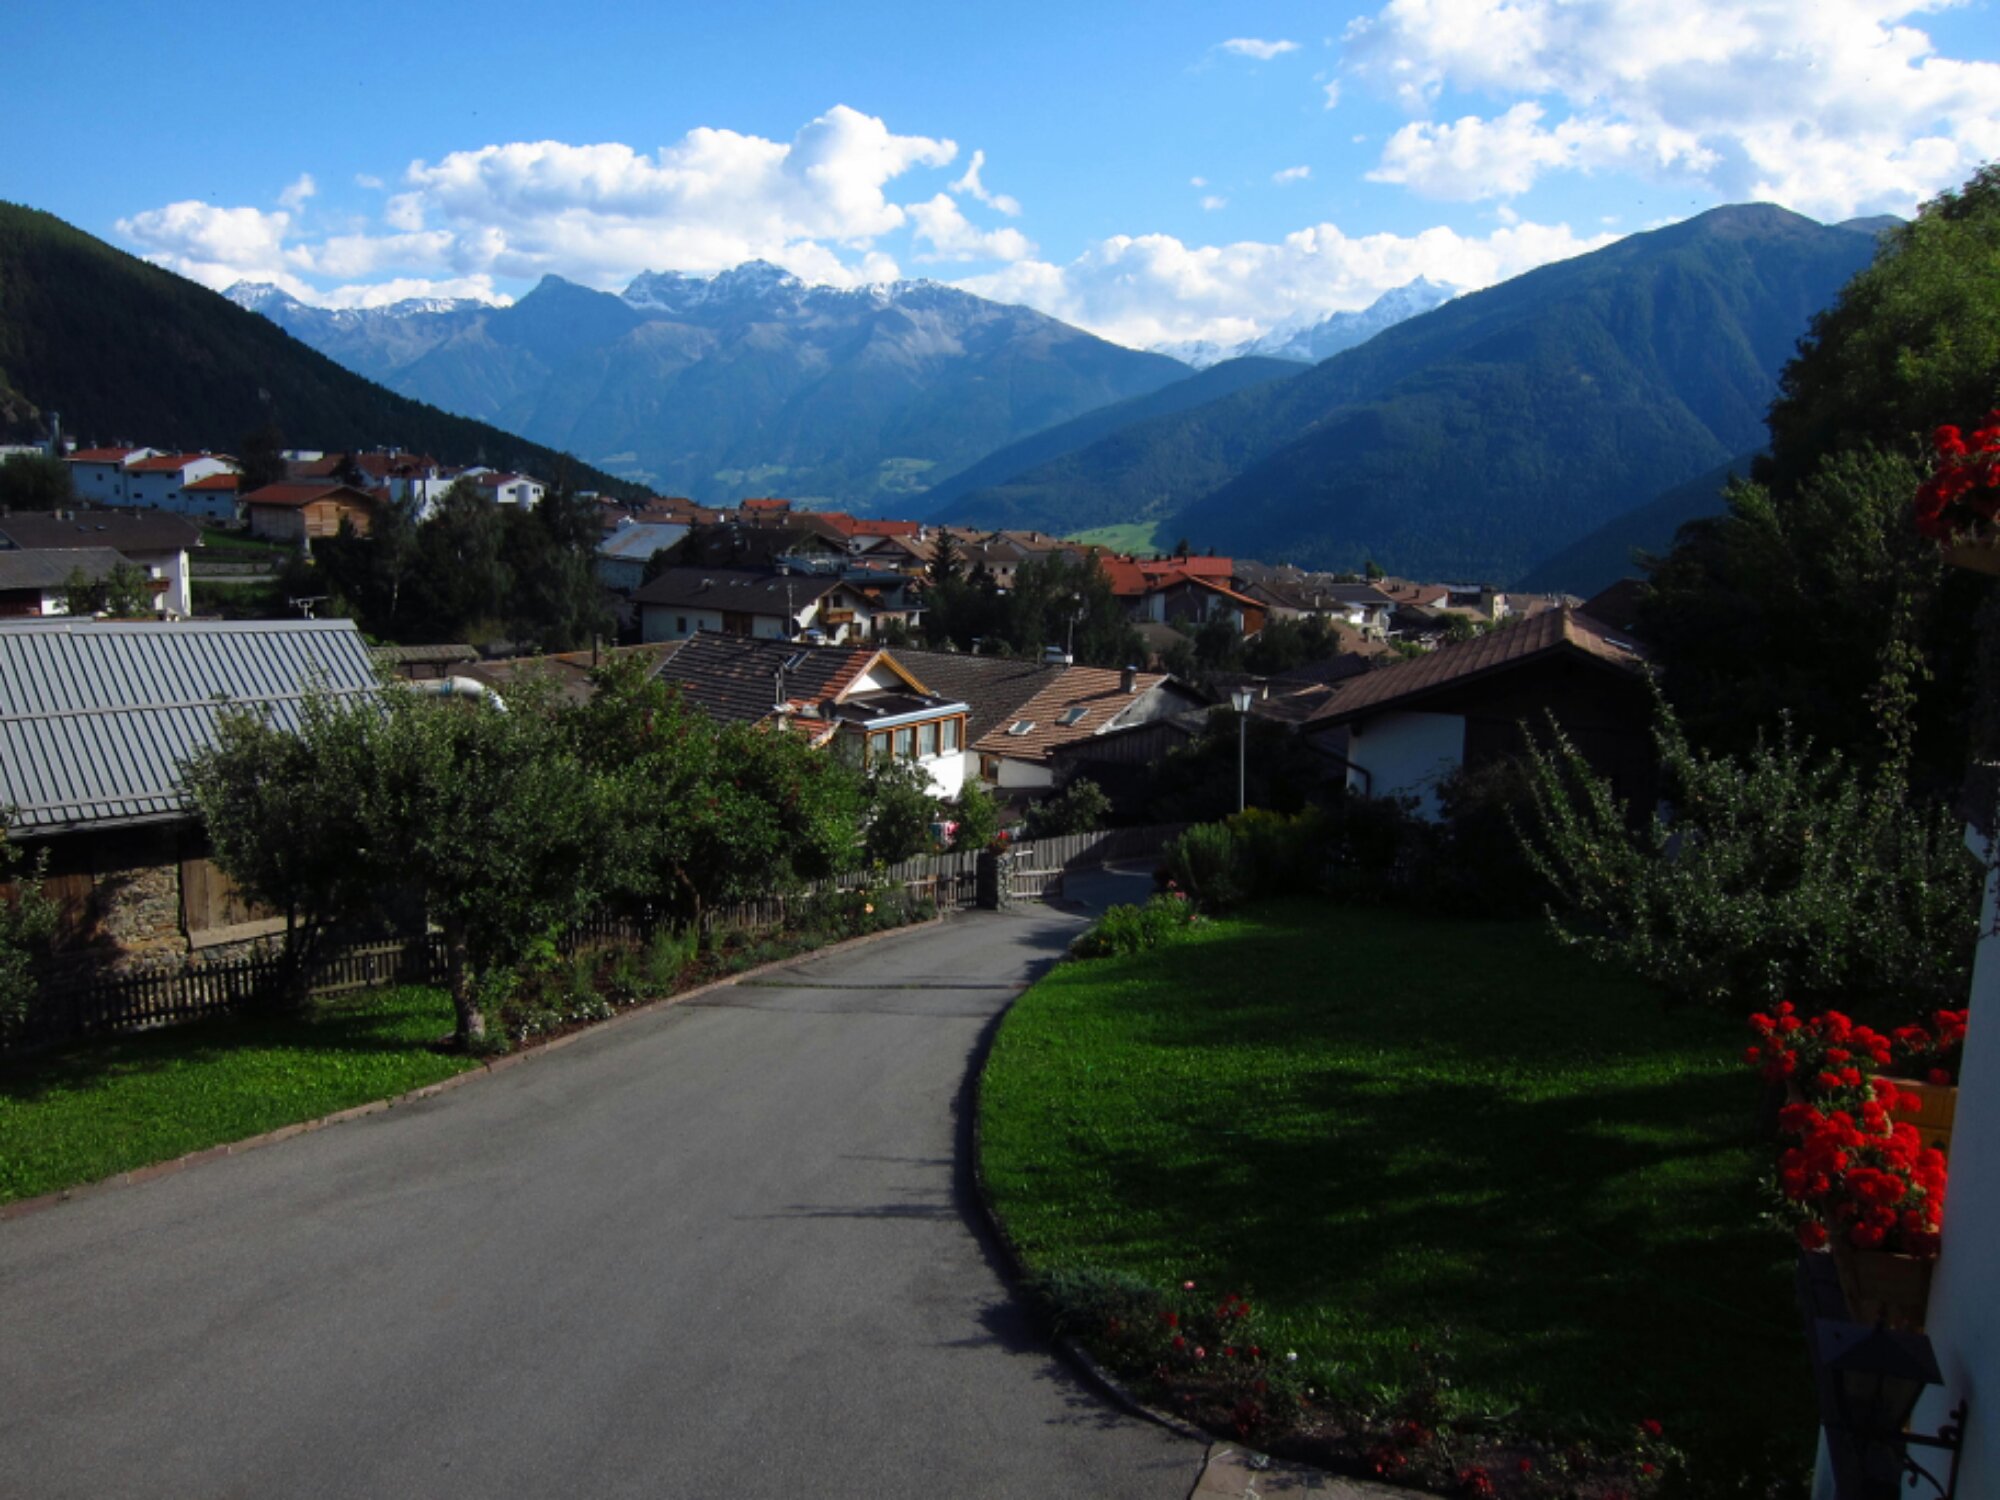
Der Blick aus meinem Hotelzimmer ist nicht zu verachten.

image

Zum Abendessen gab es erst eine Pizza und als Nachtisch eine Portion Spaghetti. Das Warmradeln ist mit der heutigen Tour abgeschlossen. Morgen hört der Kindergeburtstag auf – 3900HM stehen an.

Transalp, Etappe 1: Pullach nach Platten

Heute morgen bin ich von Pullach zur ersten Etappe der Alpenüberquerung aufgebrochen. Auf dem Programm standen 134km und 1250HM.

image

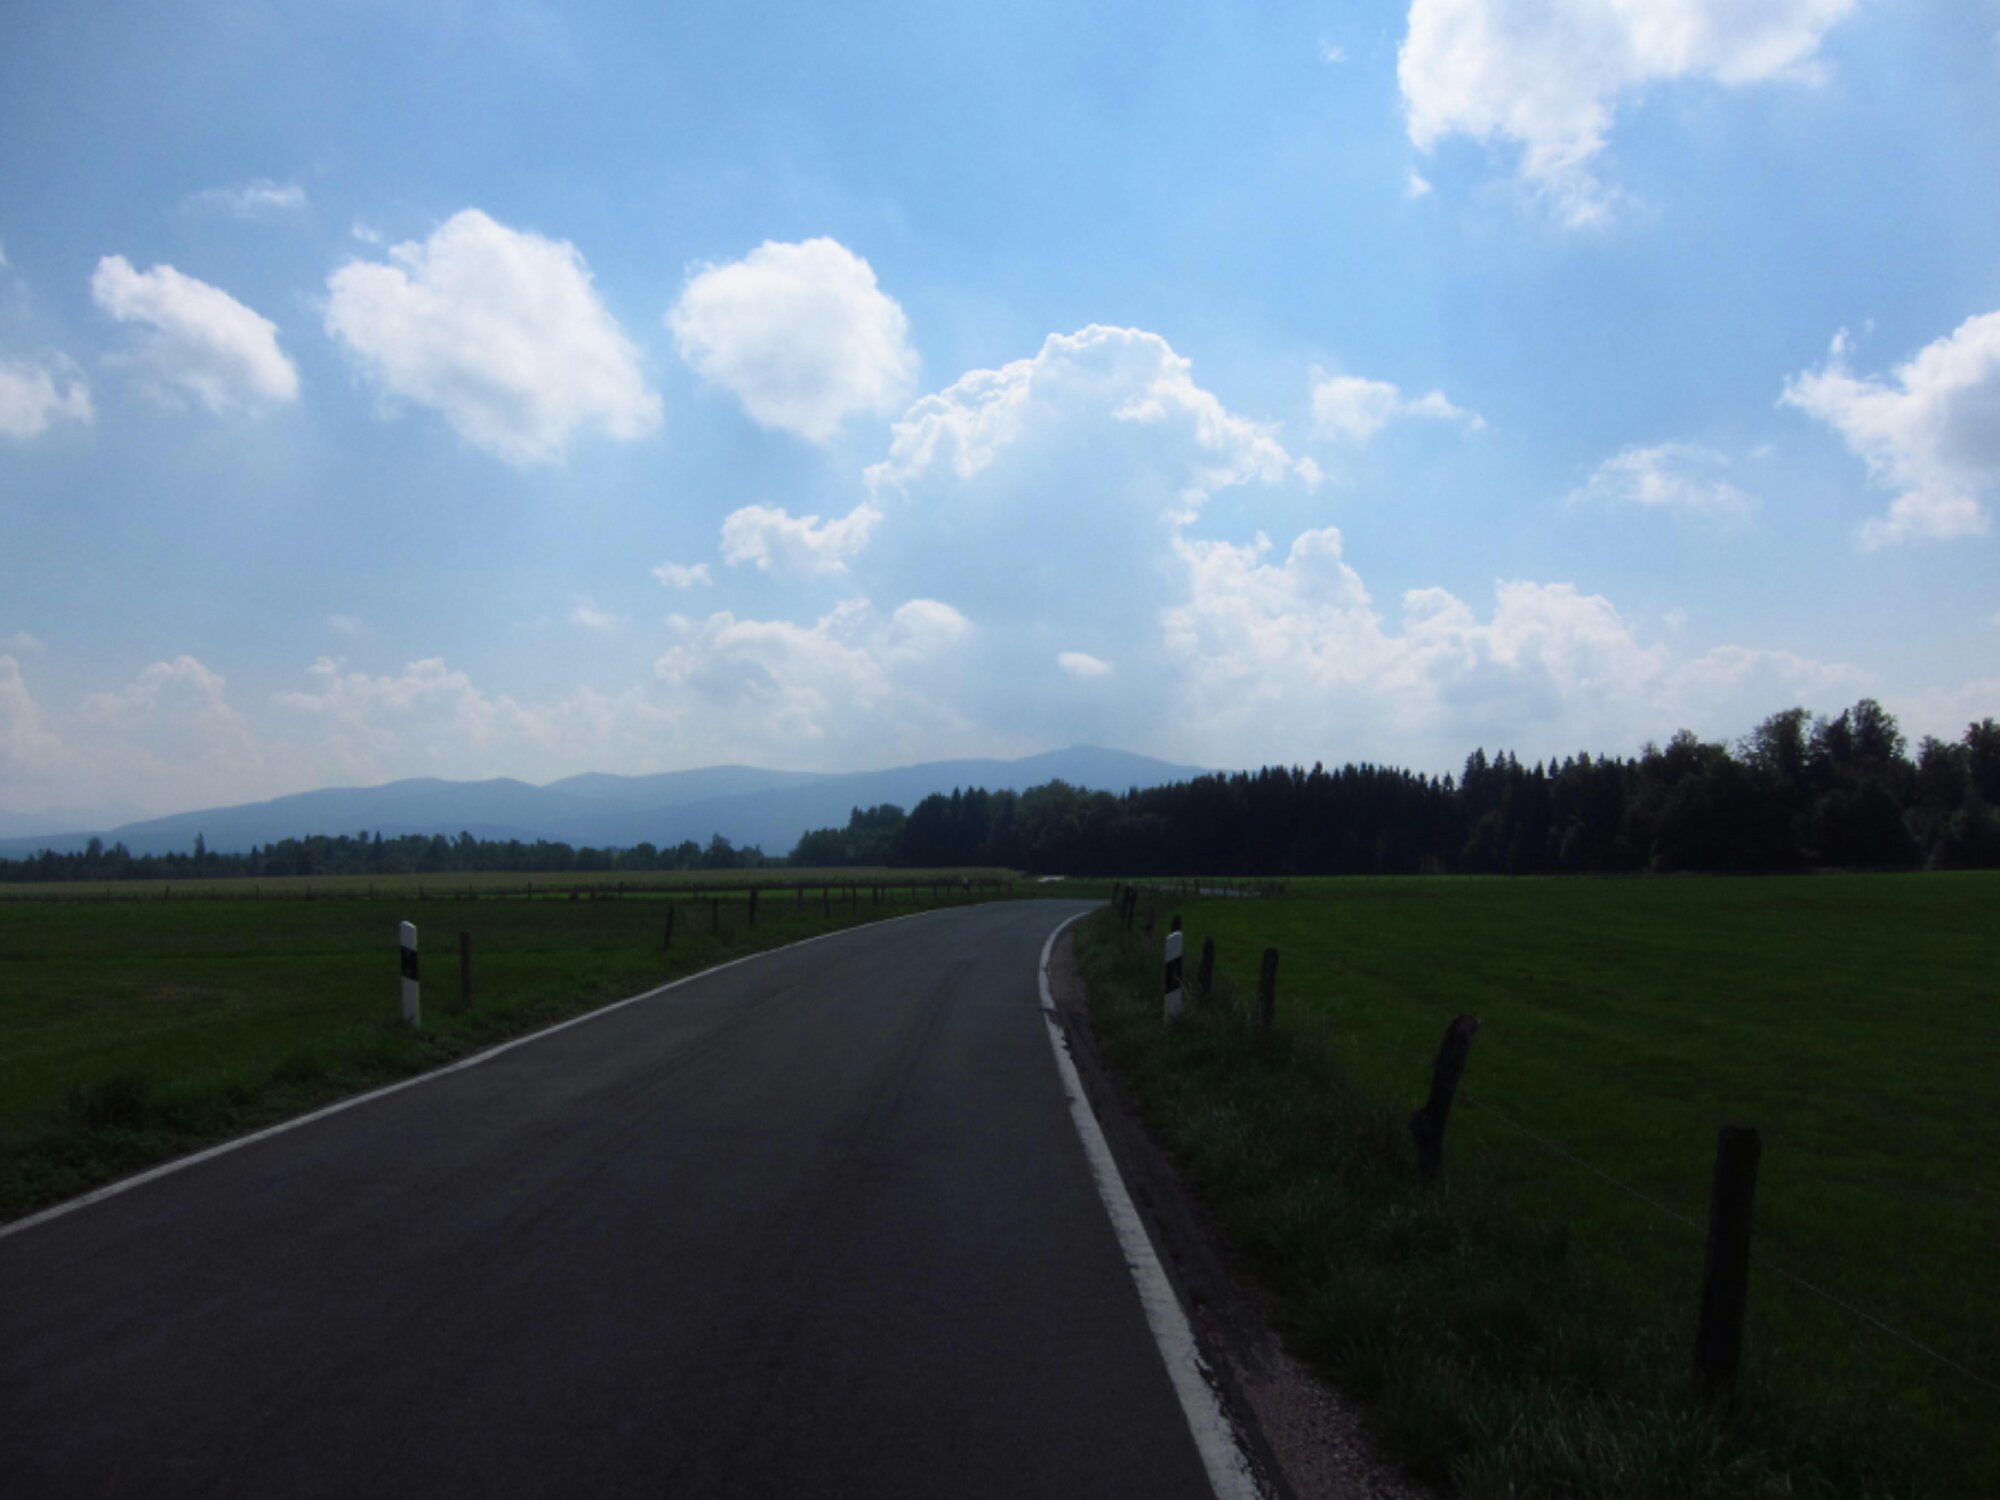
Auf schönen kleinen Landstraßen bin ich gen Süden gefahren und dabei durch viele nette kleine Orte gefahren wie beispielsweise hier abgebildet Endlhausen.

image

Wenig später könnte ich dann zum ersten Mal einen Blick auf die Alpen werfen.

image

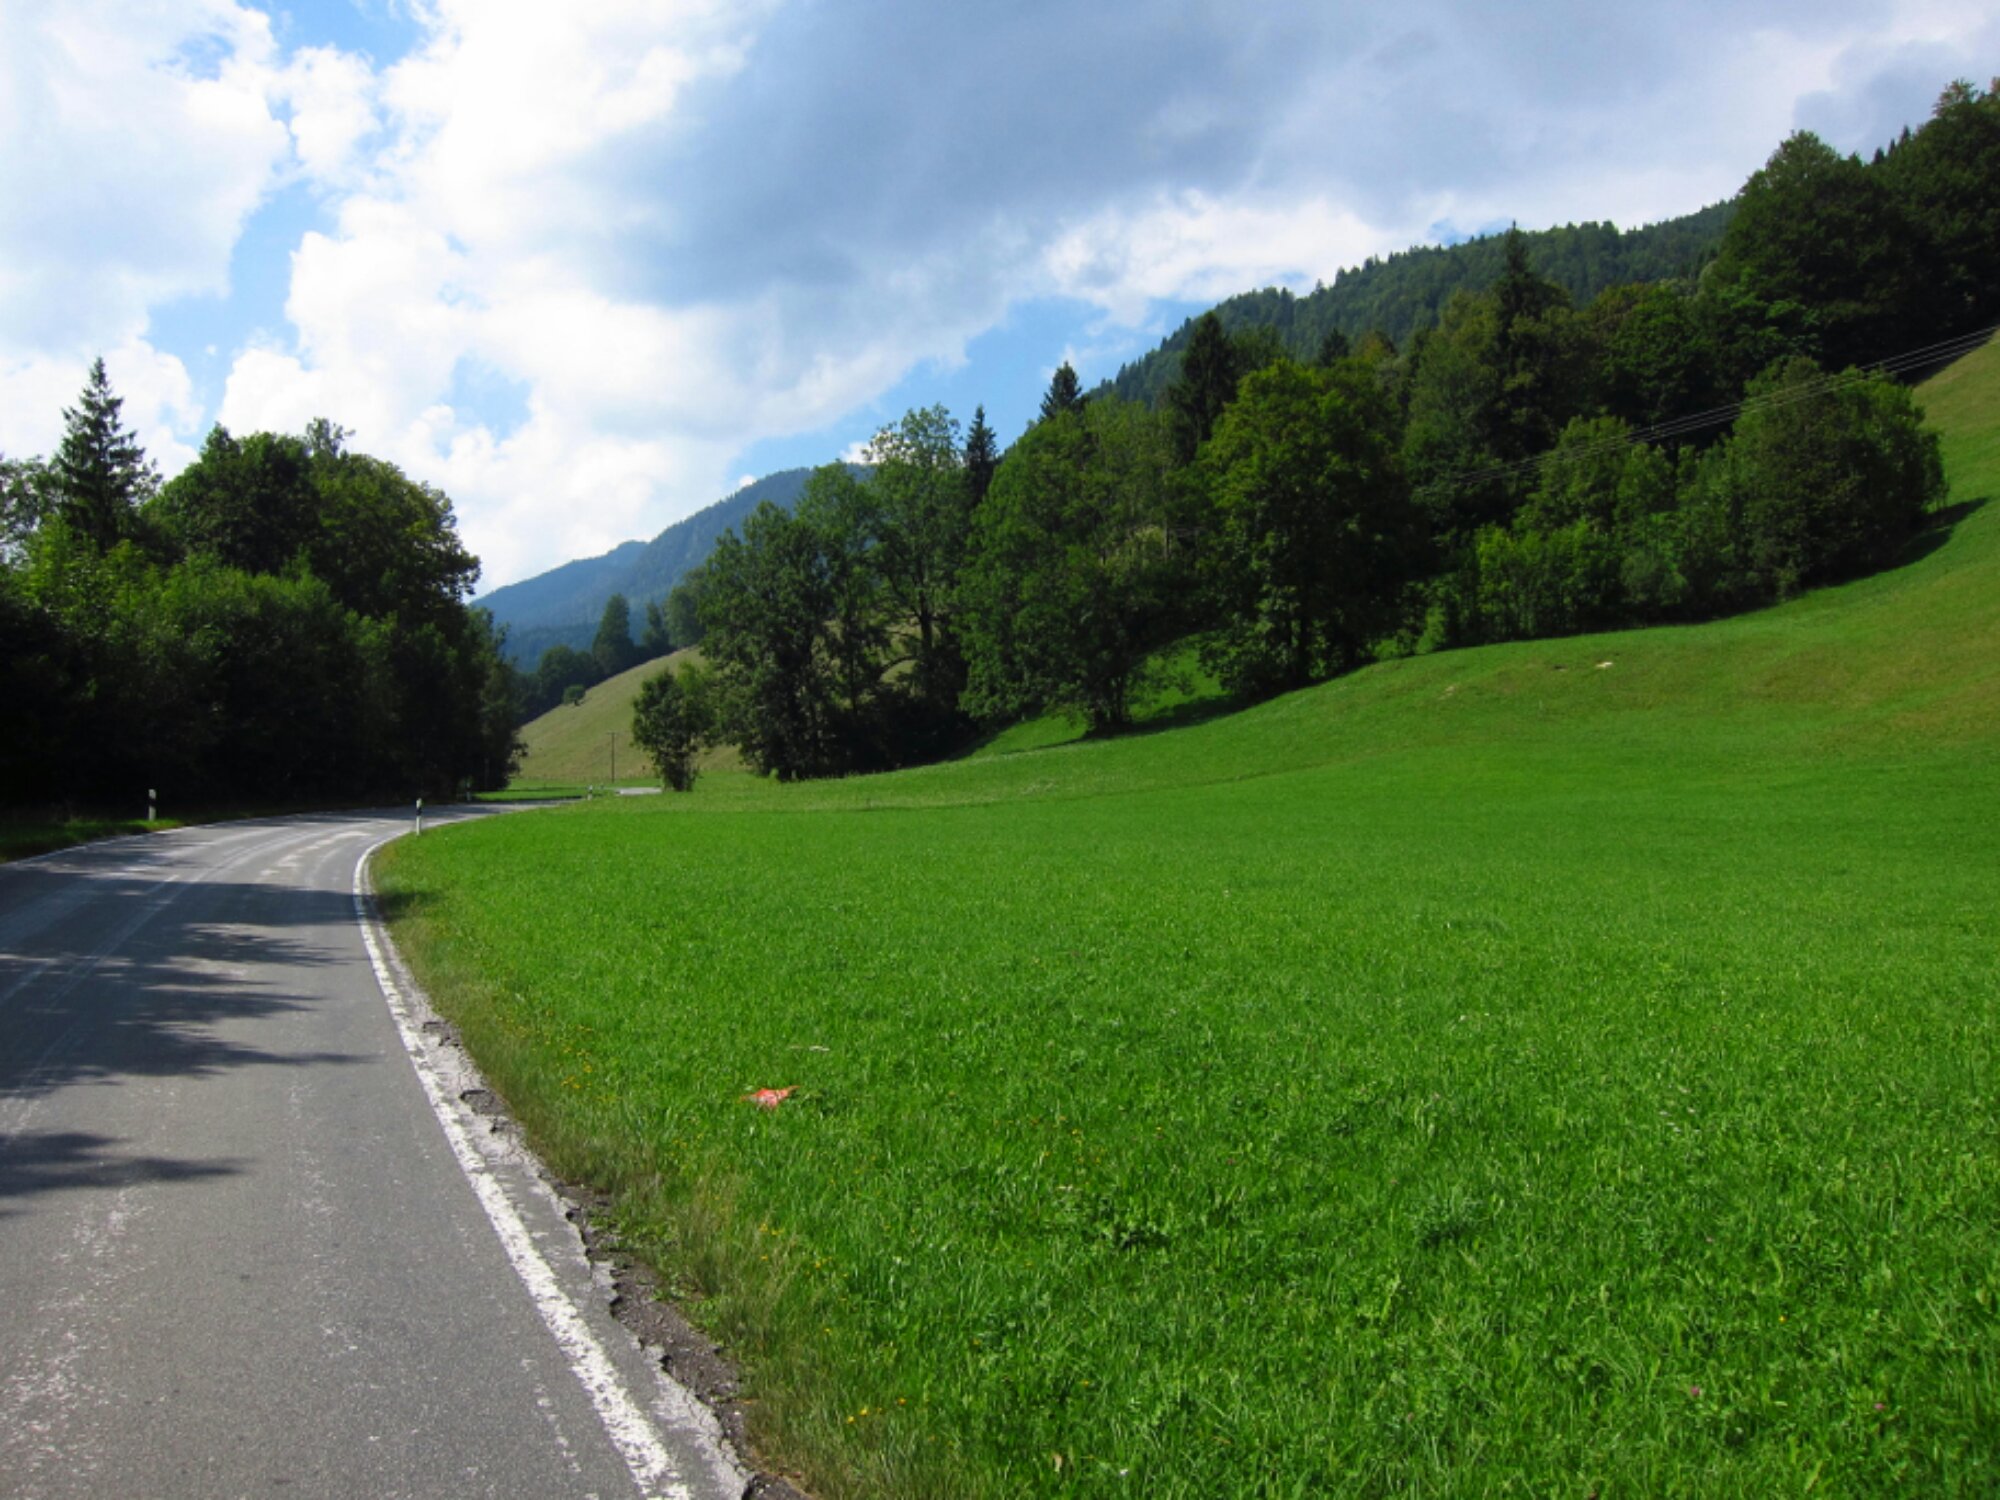
Über Bad Tölz und Lenggries ging es weiter in Richtung Jachenau. Das satte grün der Wiesen war sehr schön anzusehen.

image

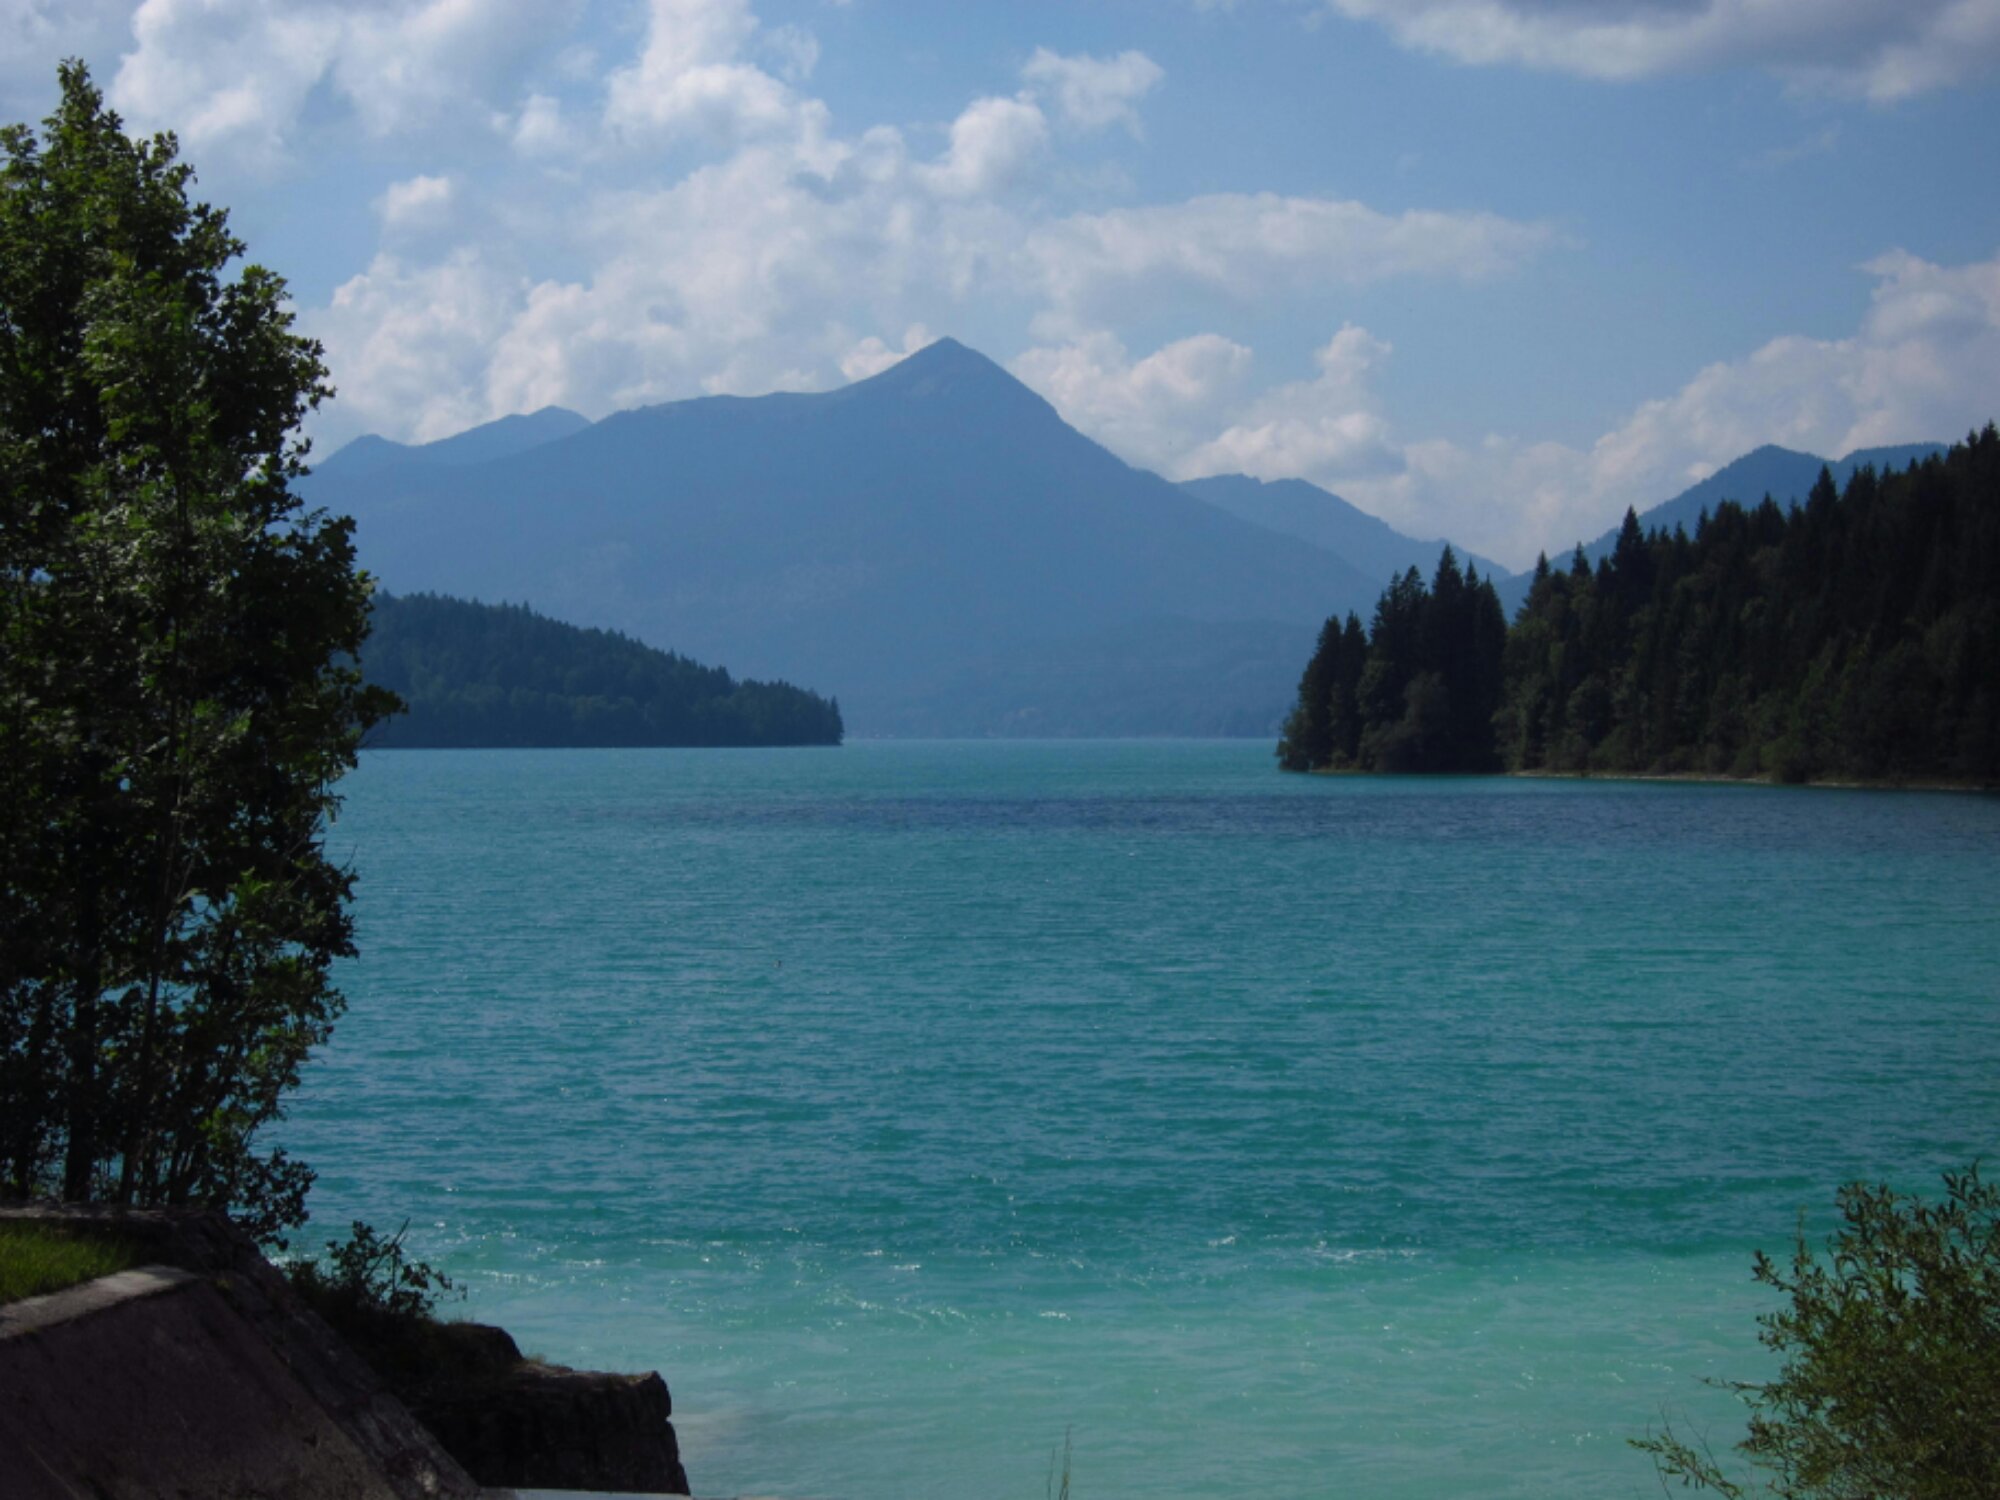
Nach gut 80km kam ich am Walchsee an. Das traumhaft klare, türkisfarbene Wasser war unglaublich schön!

image

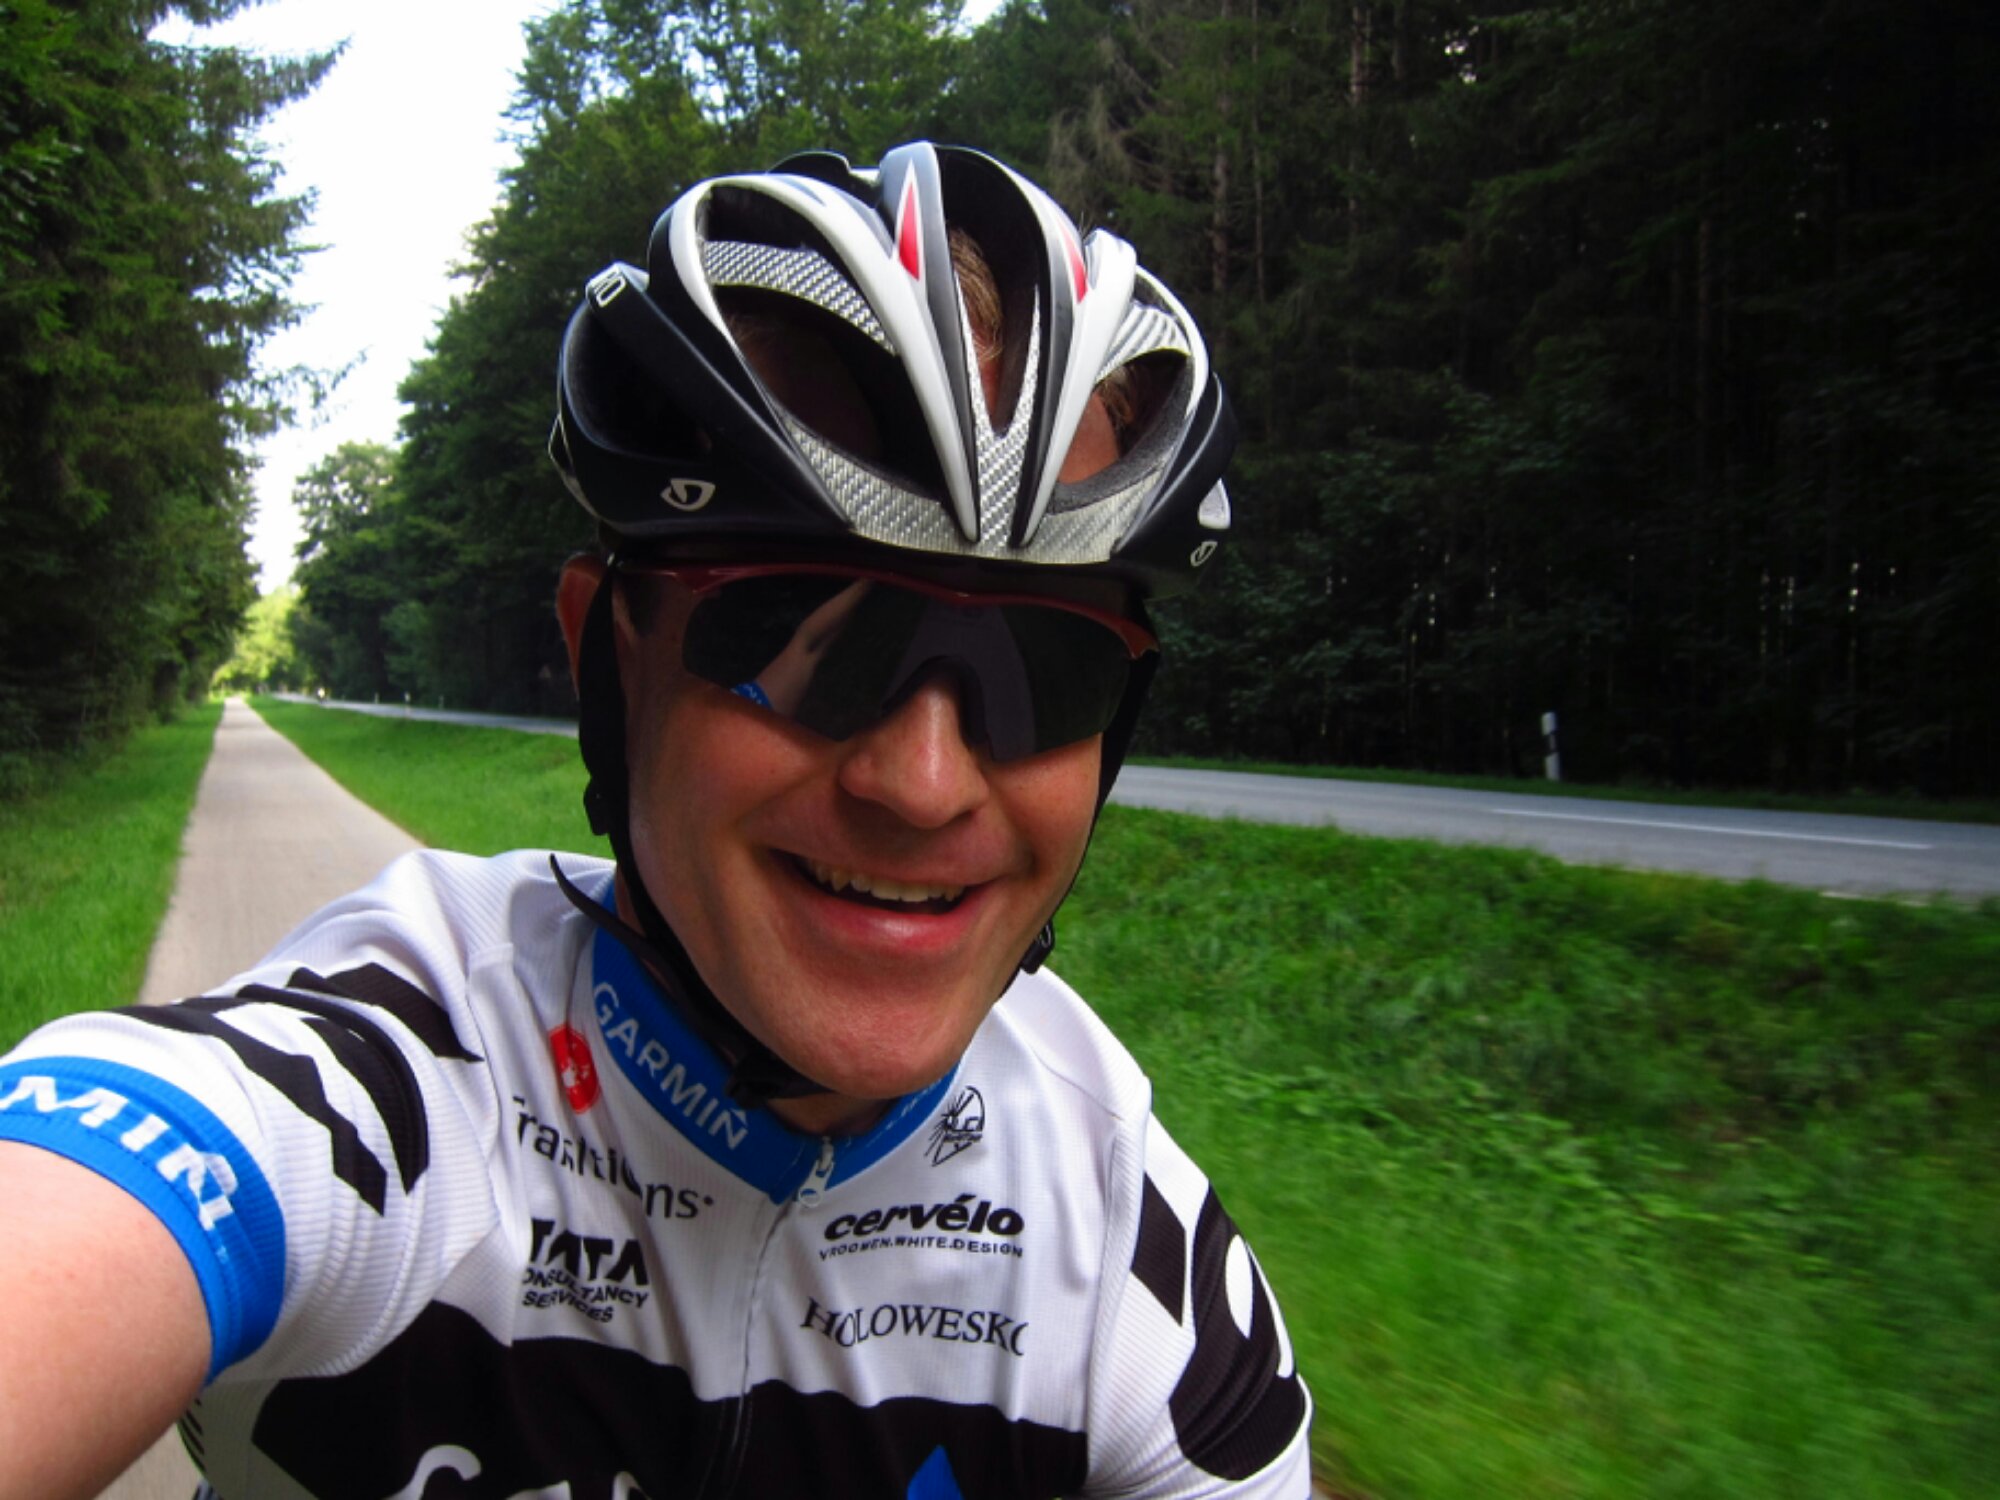
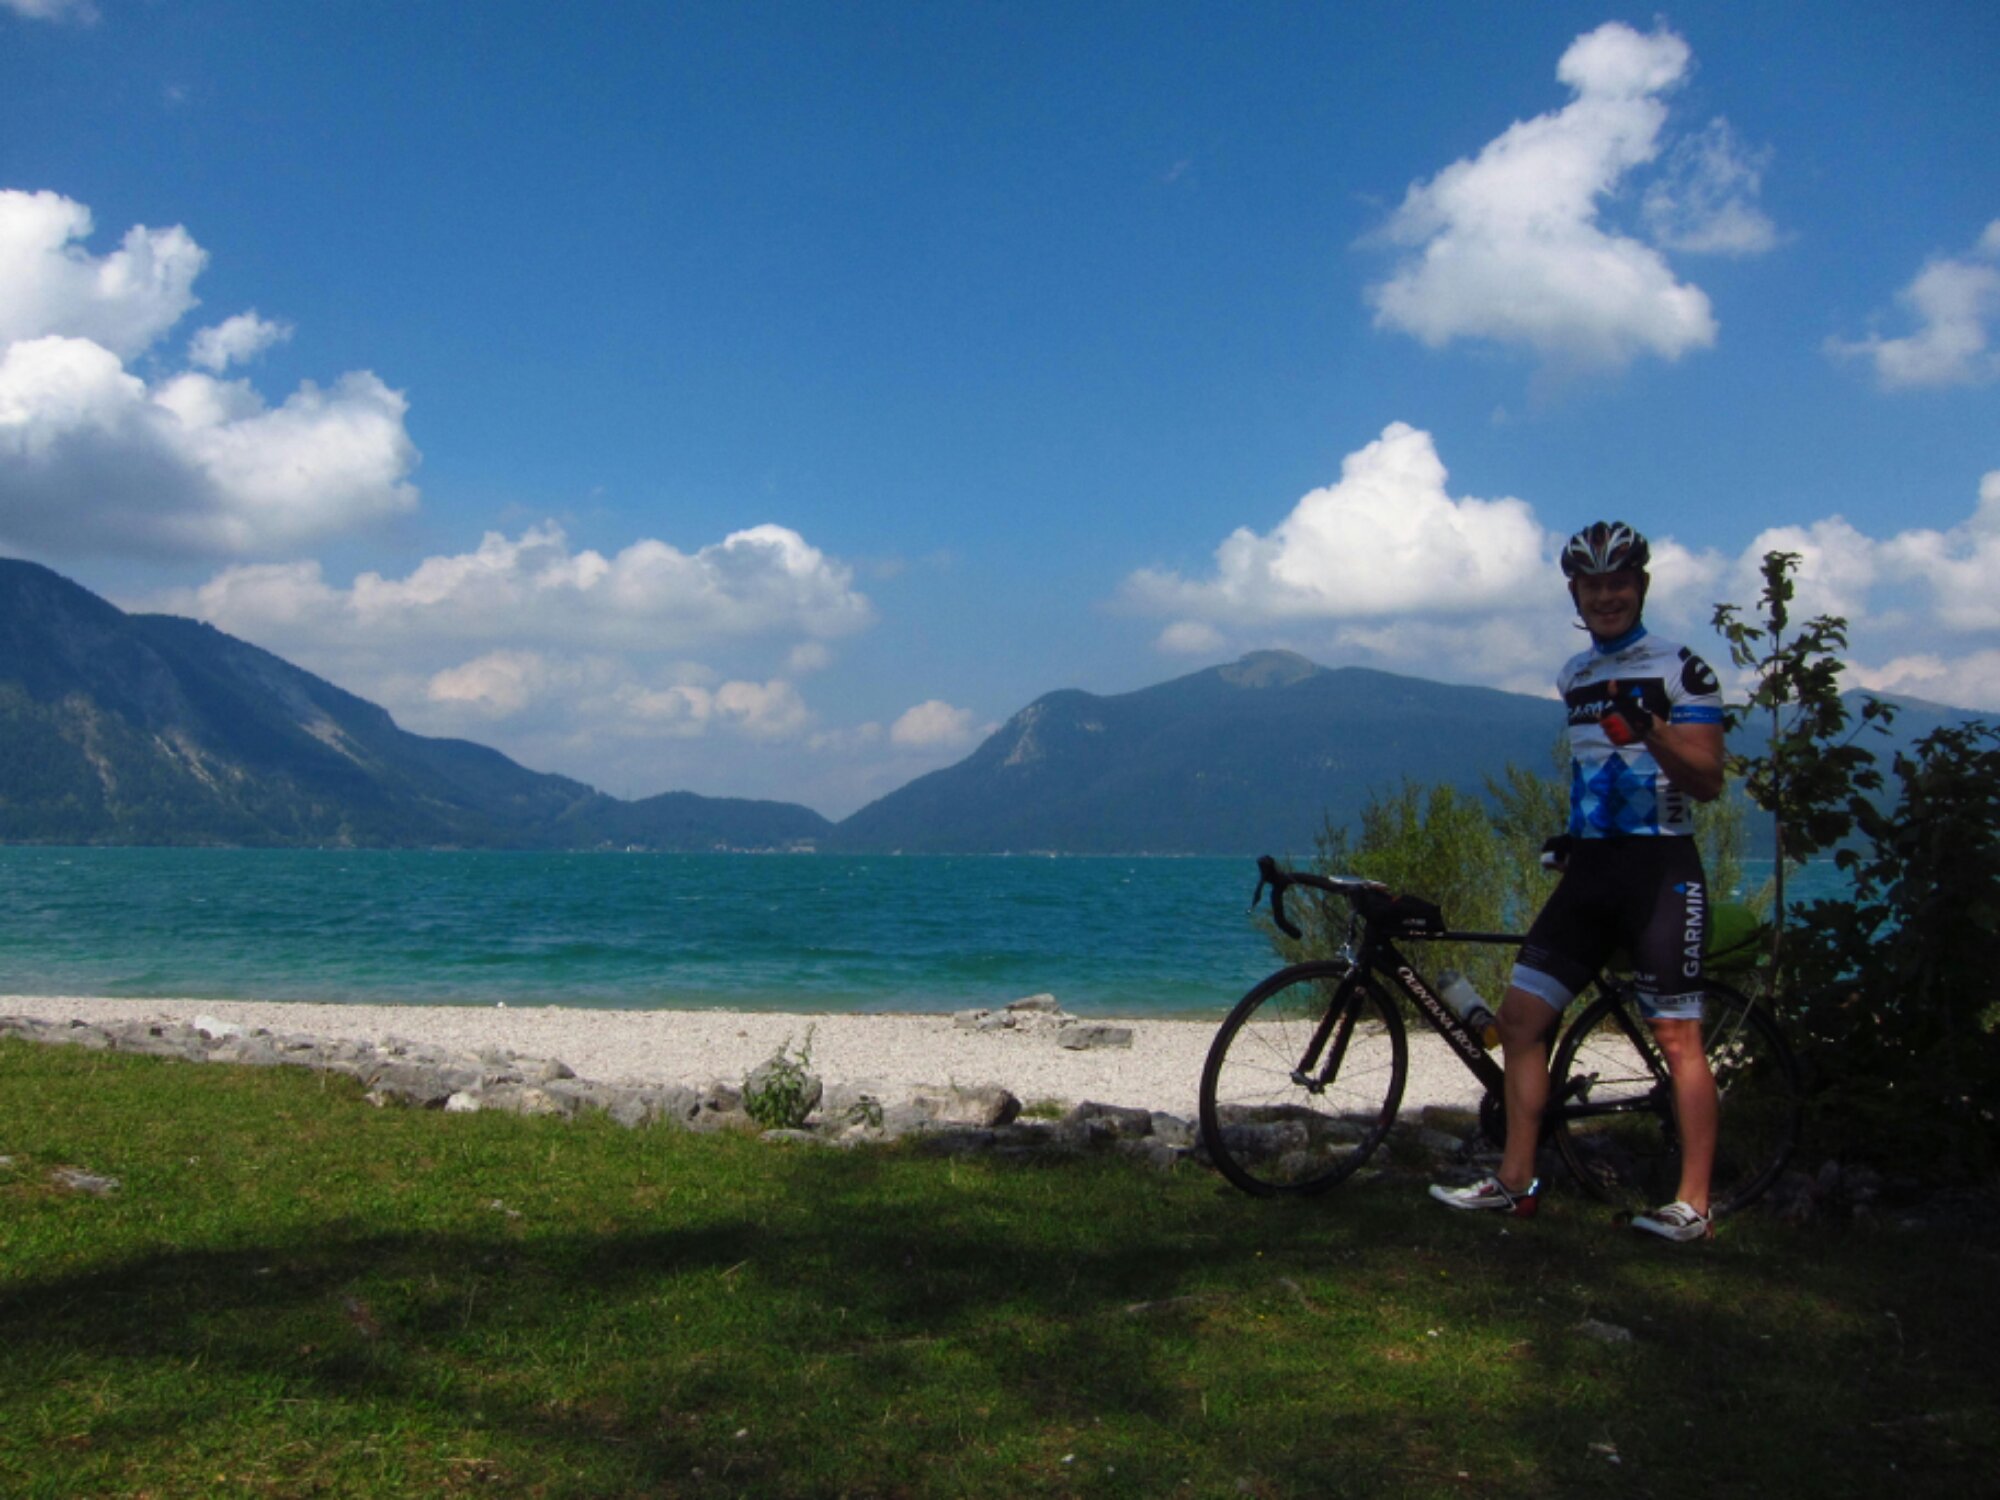
Bei solch einem schönen Hintergrund musste noch Zeit für ein Selbstporträt sein.

image

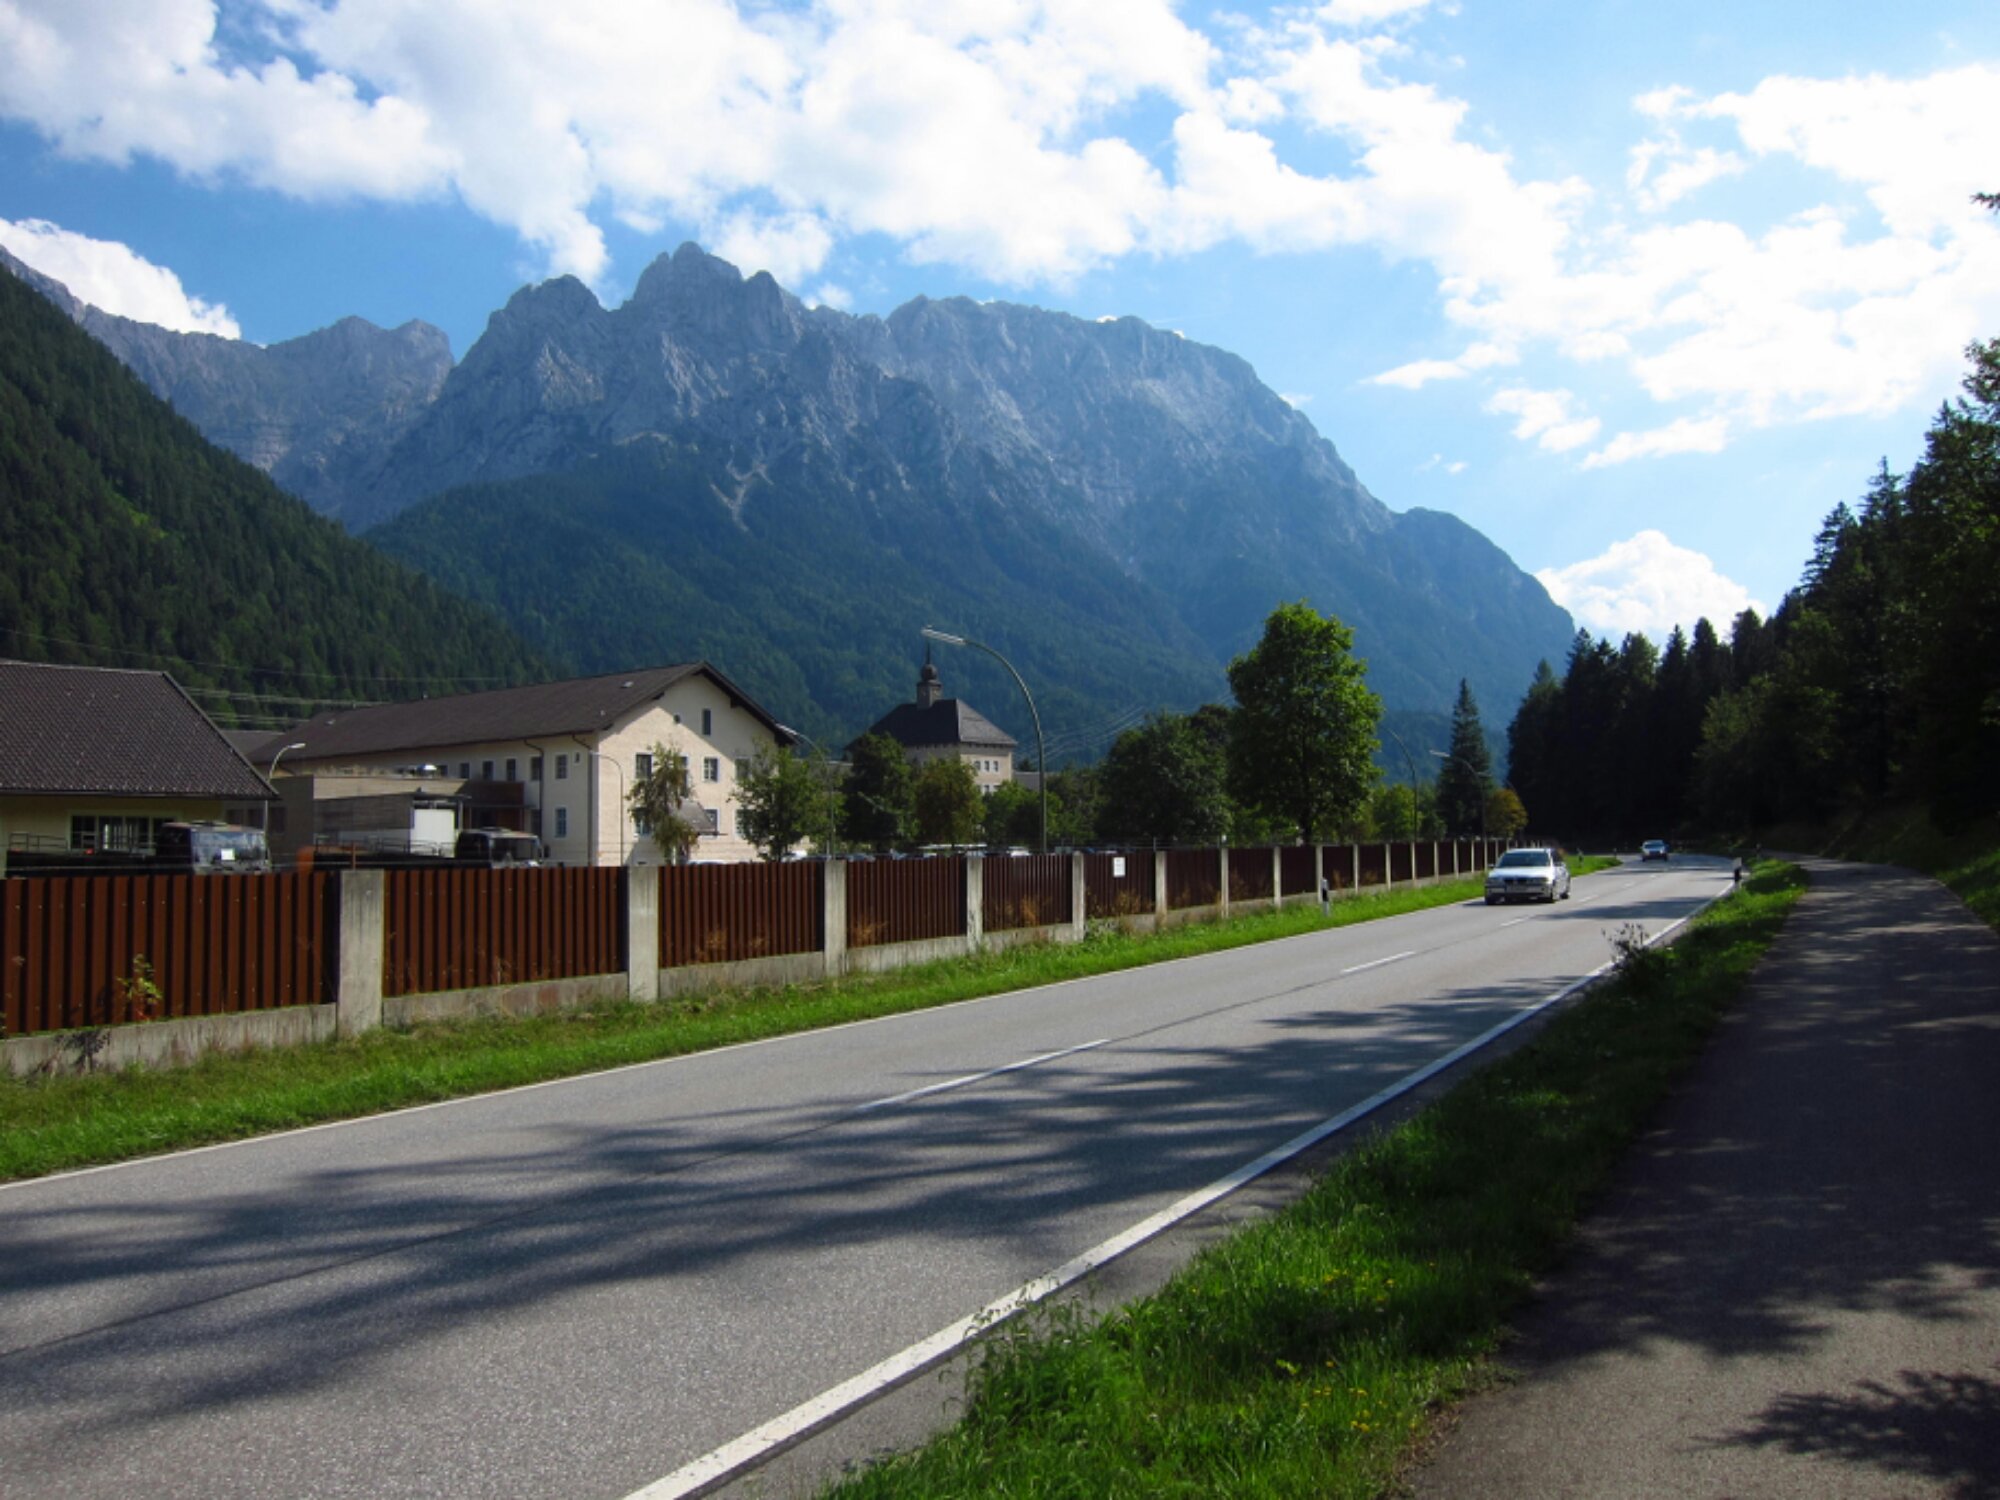
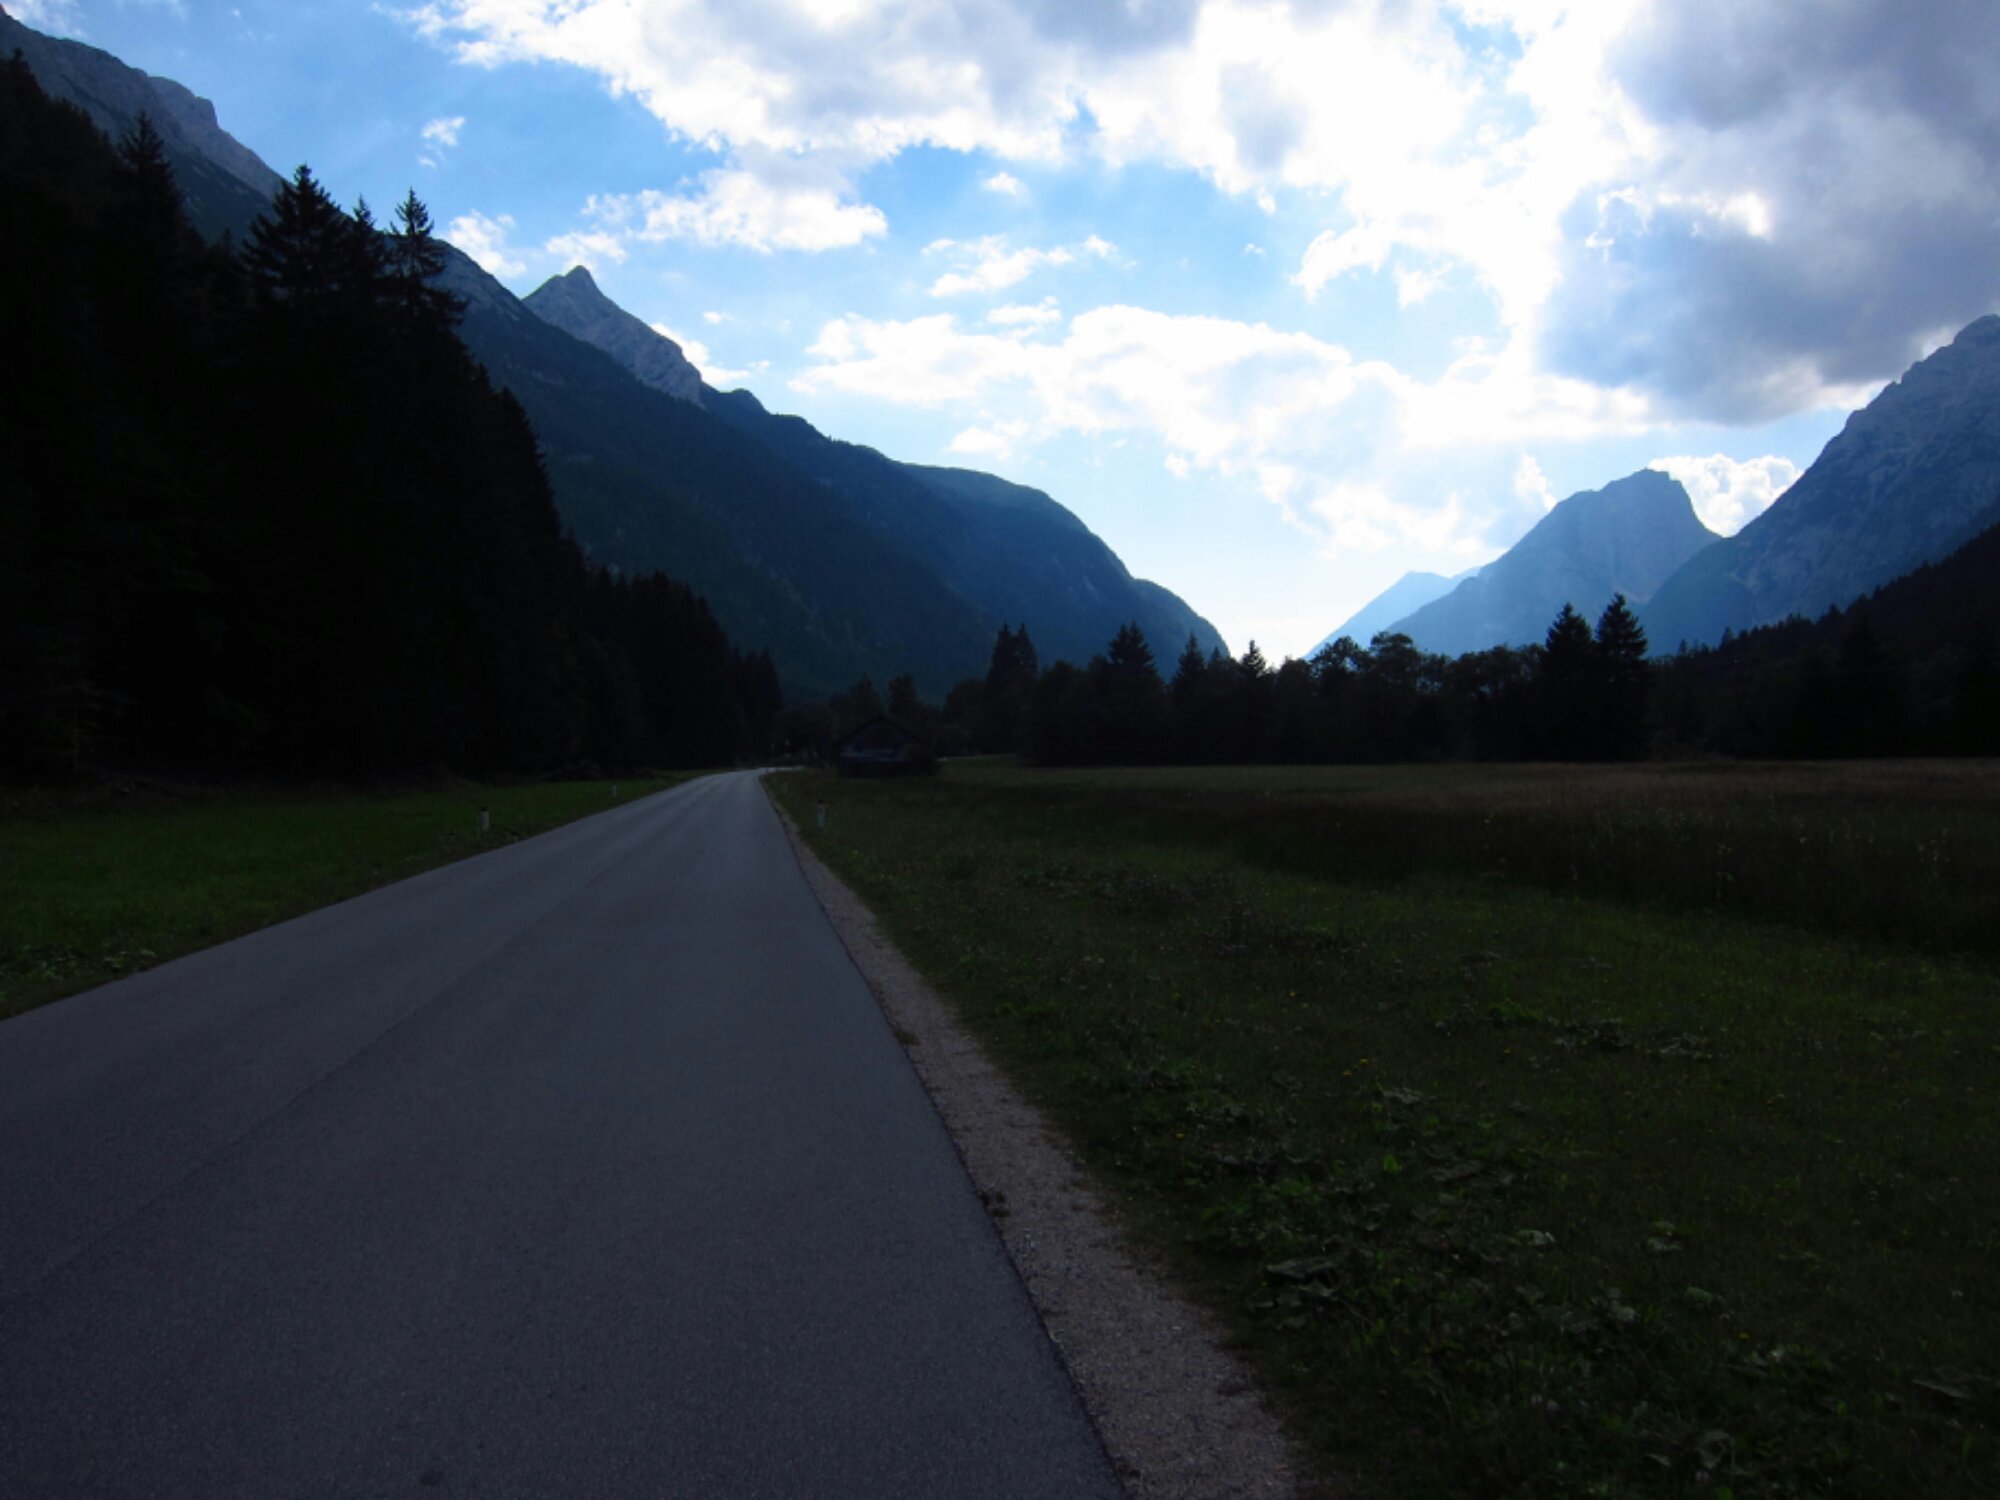
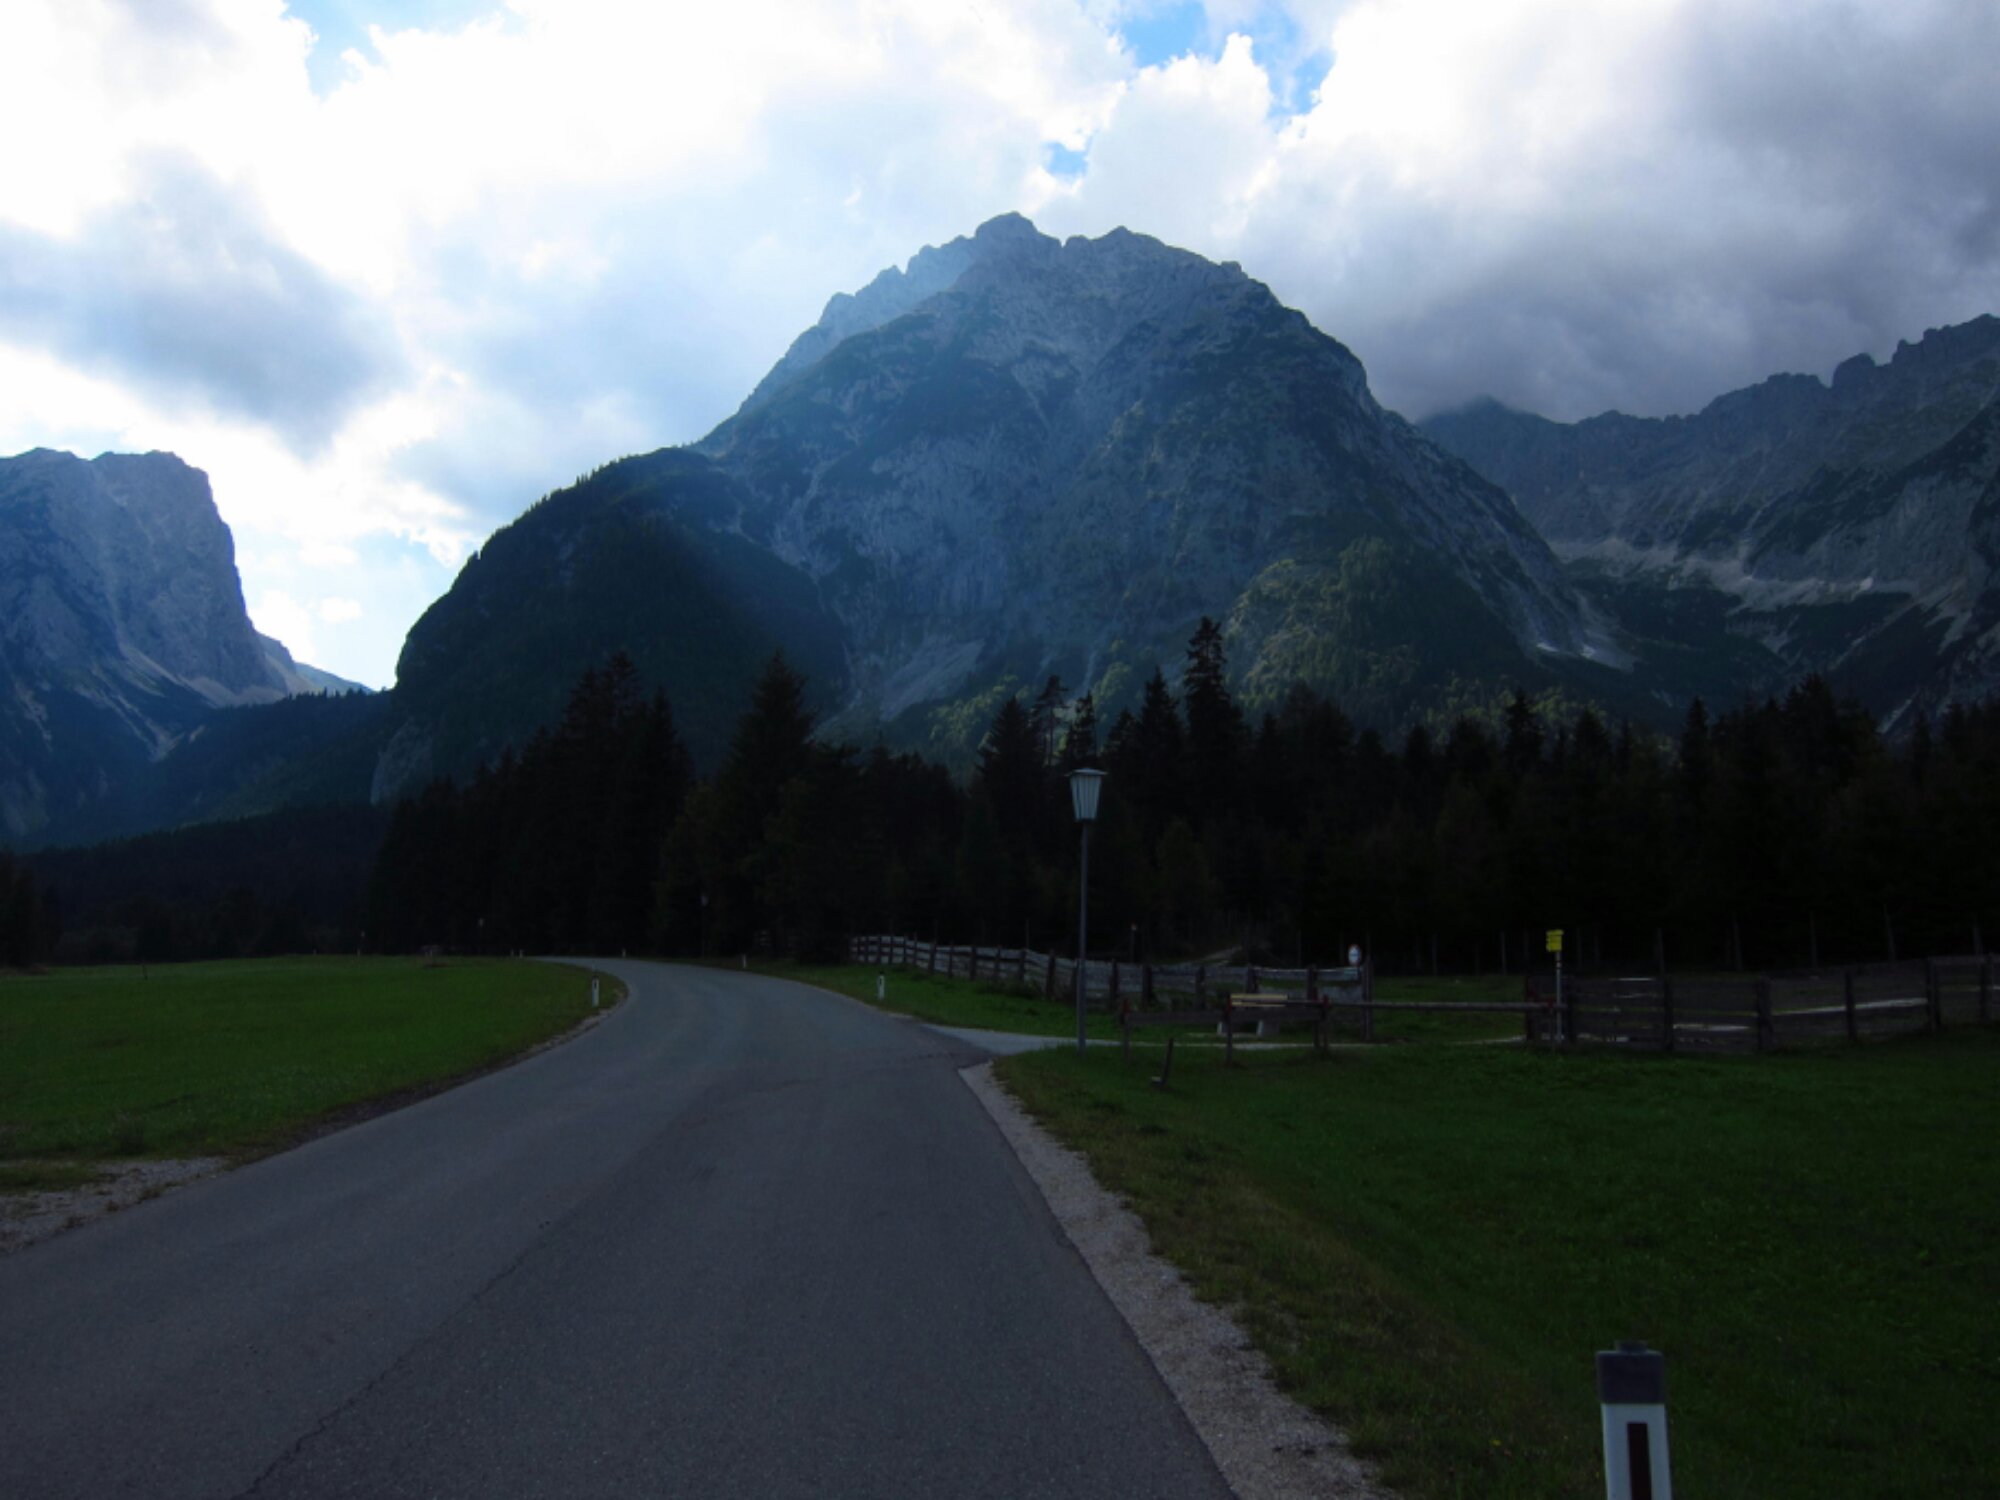
Kurz vor Mittenwald erhoben sich die Berge zum ersten Mal so, wie man sich das in den Alpen vorstellt.

image

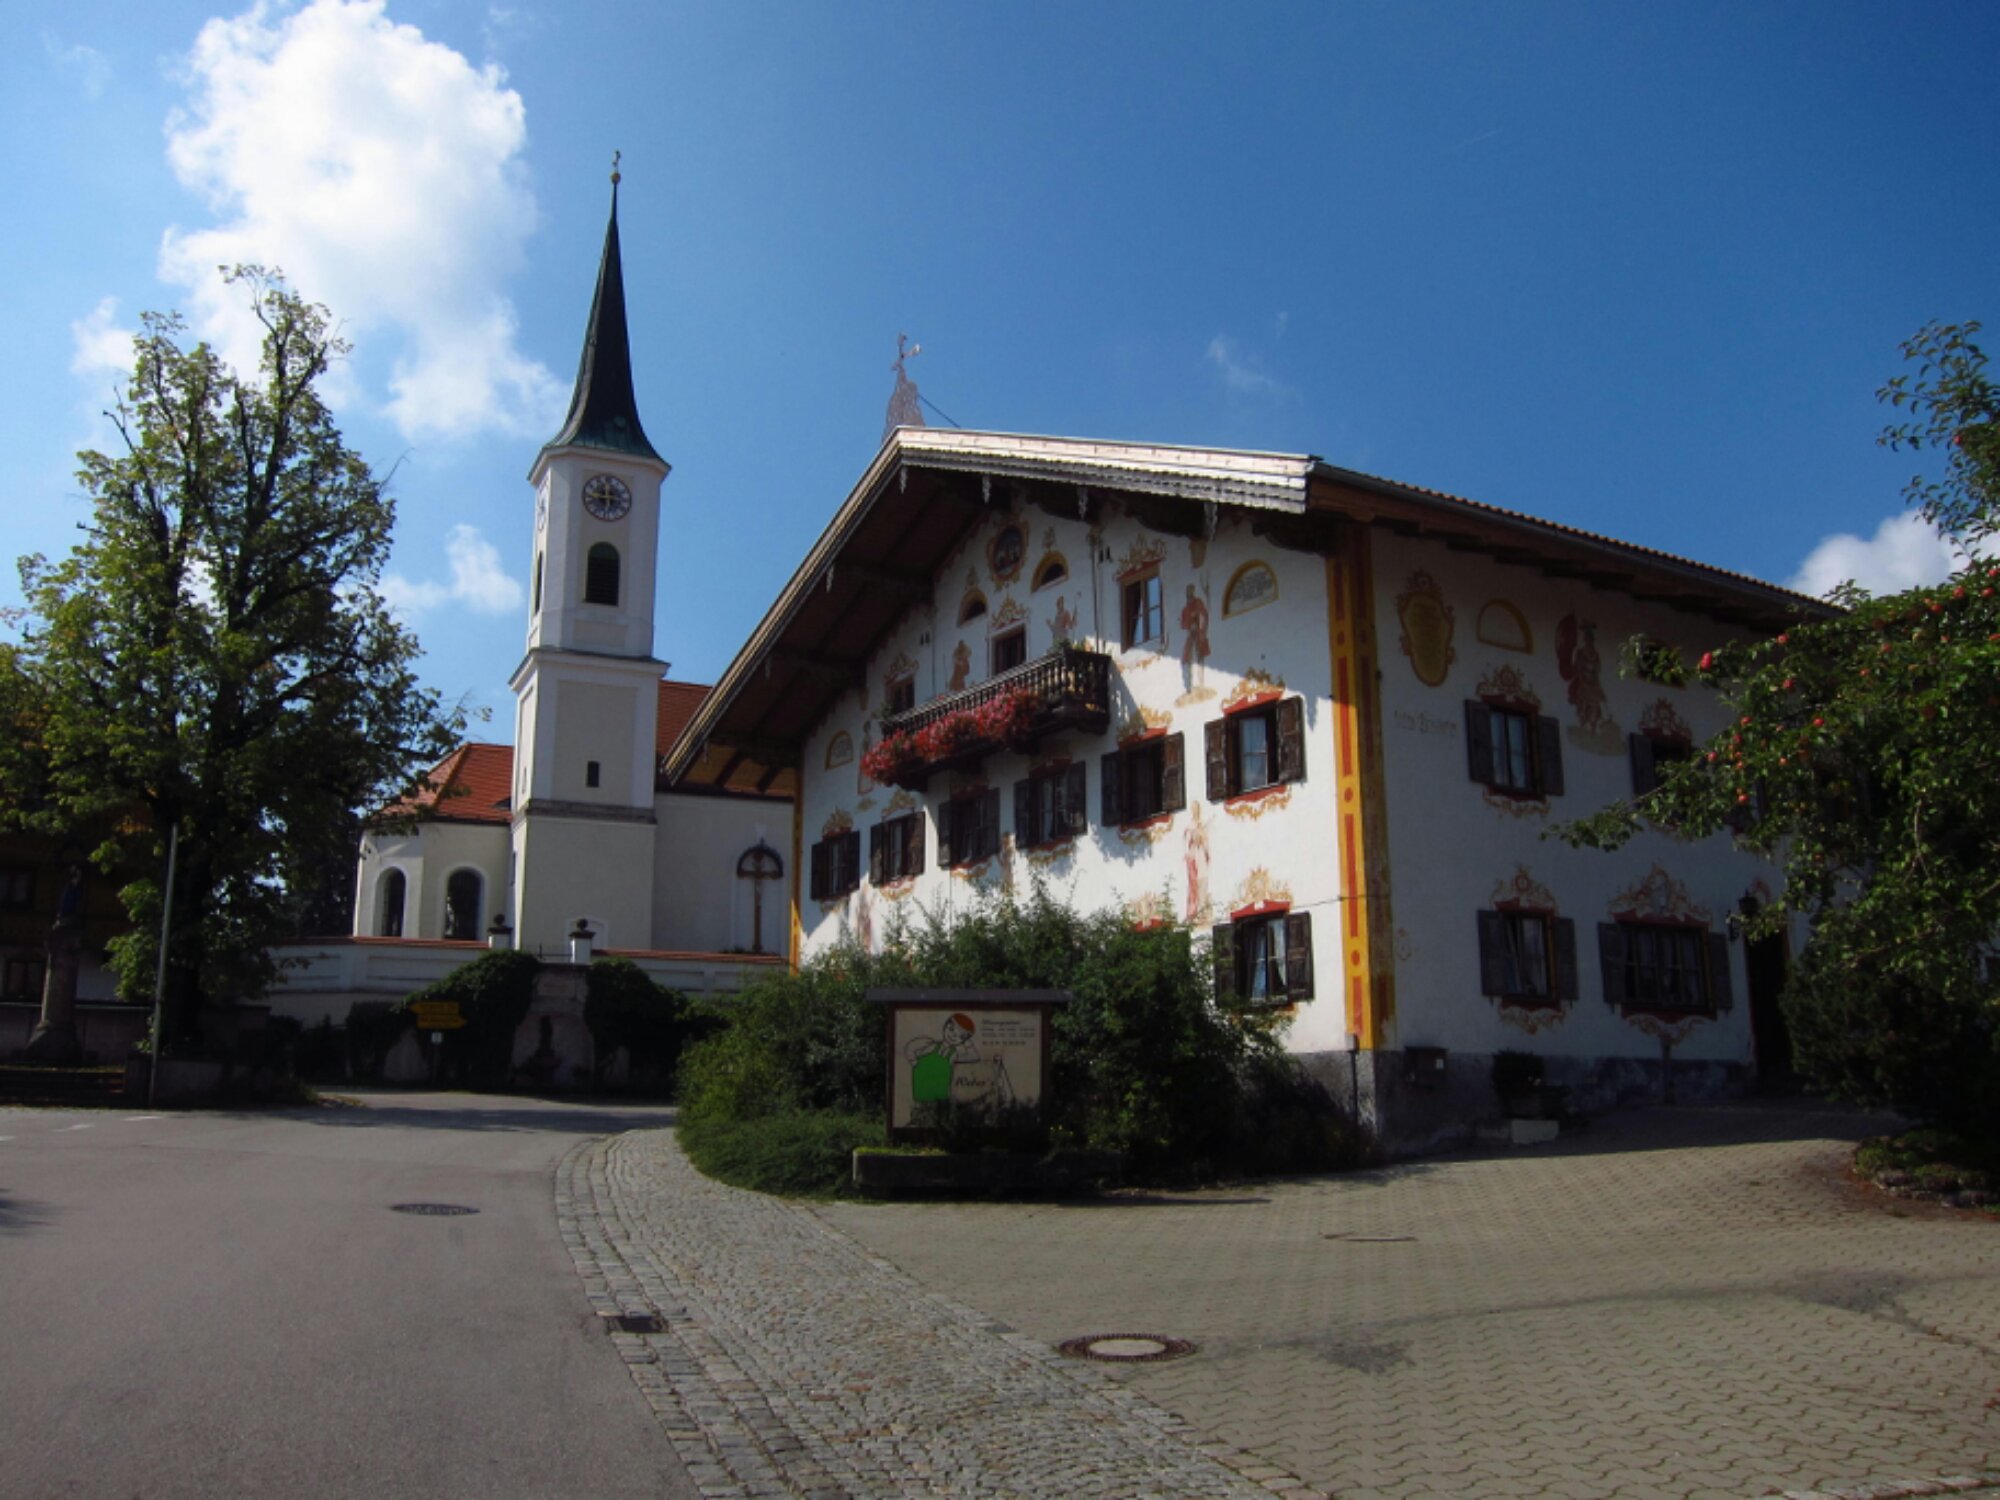
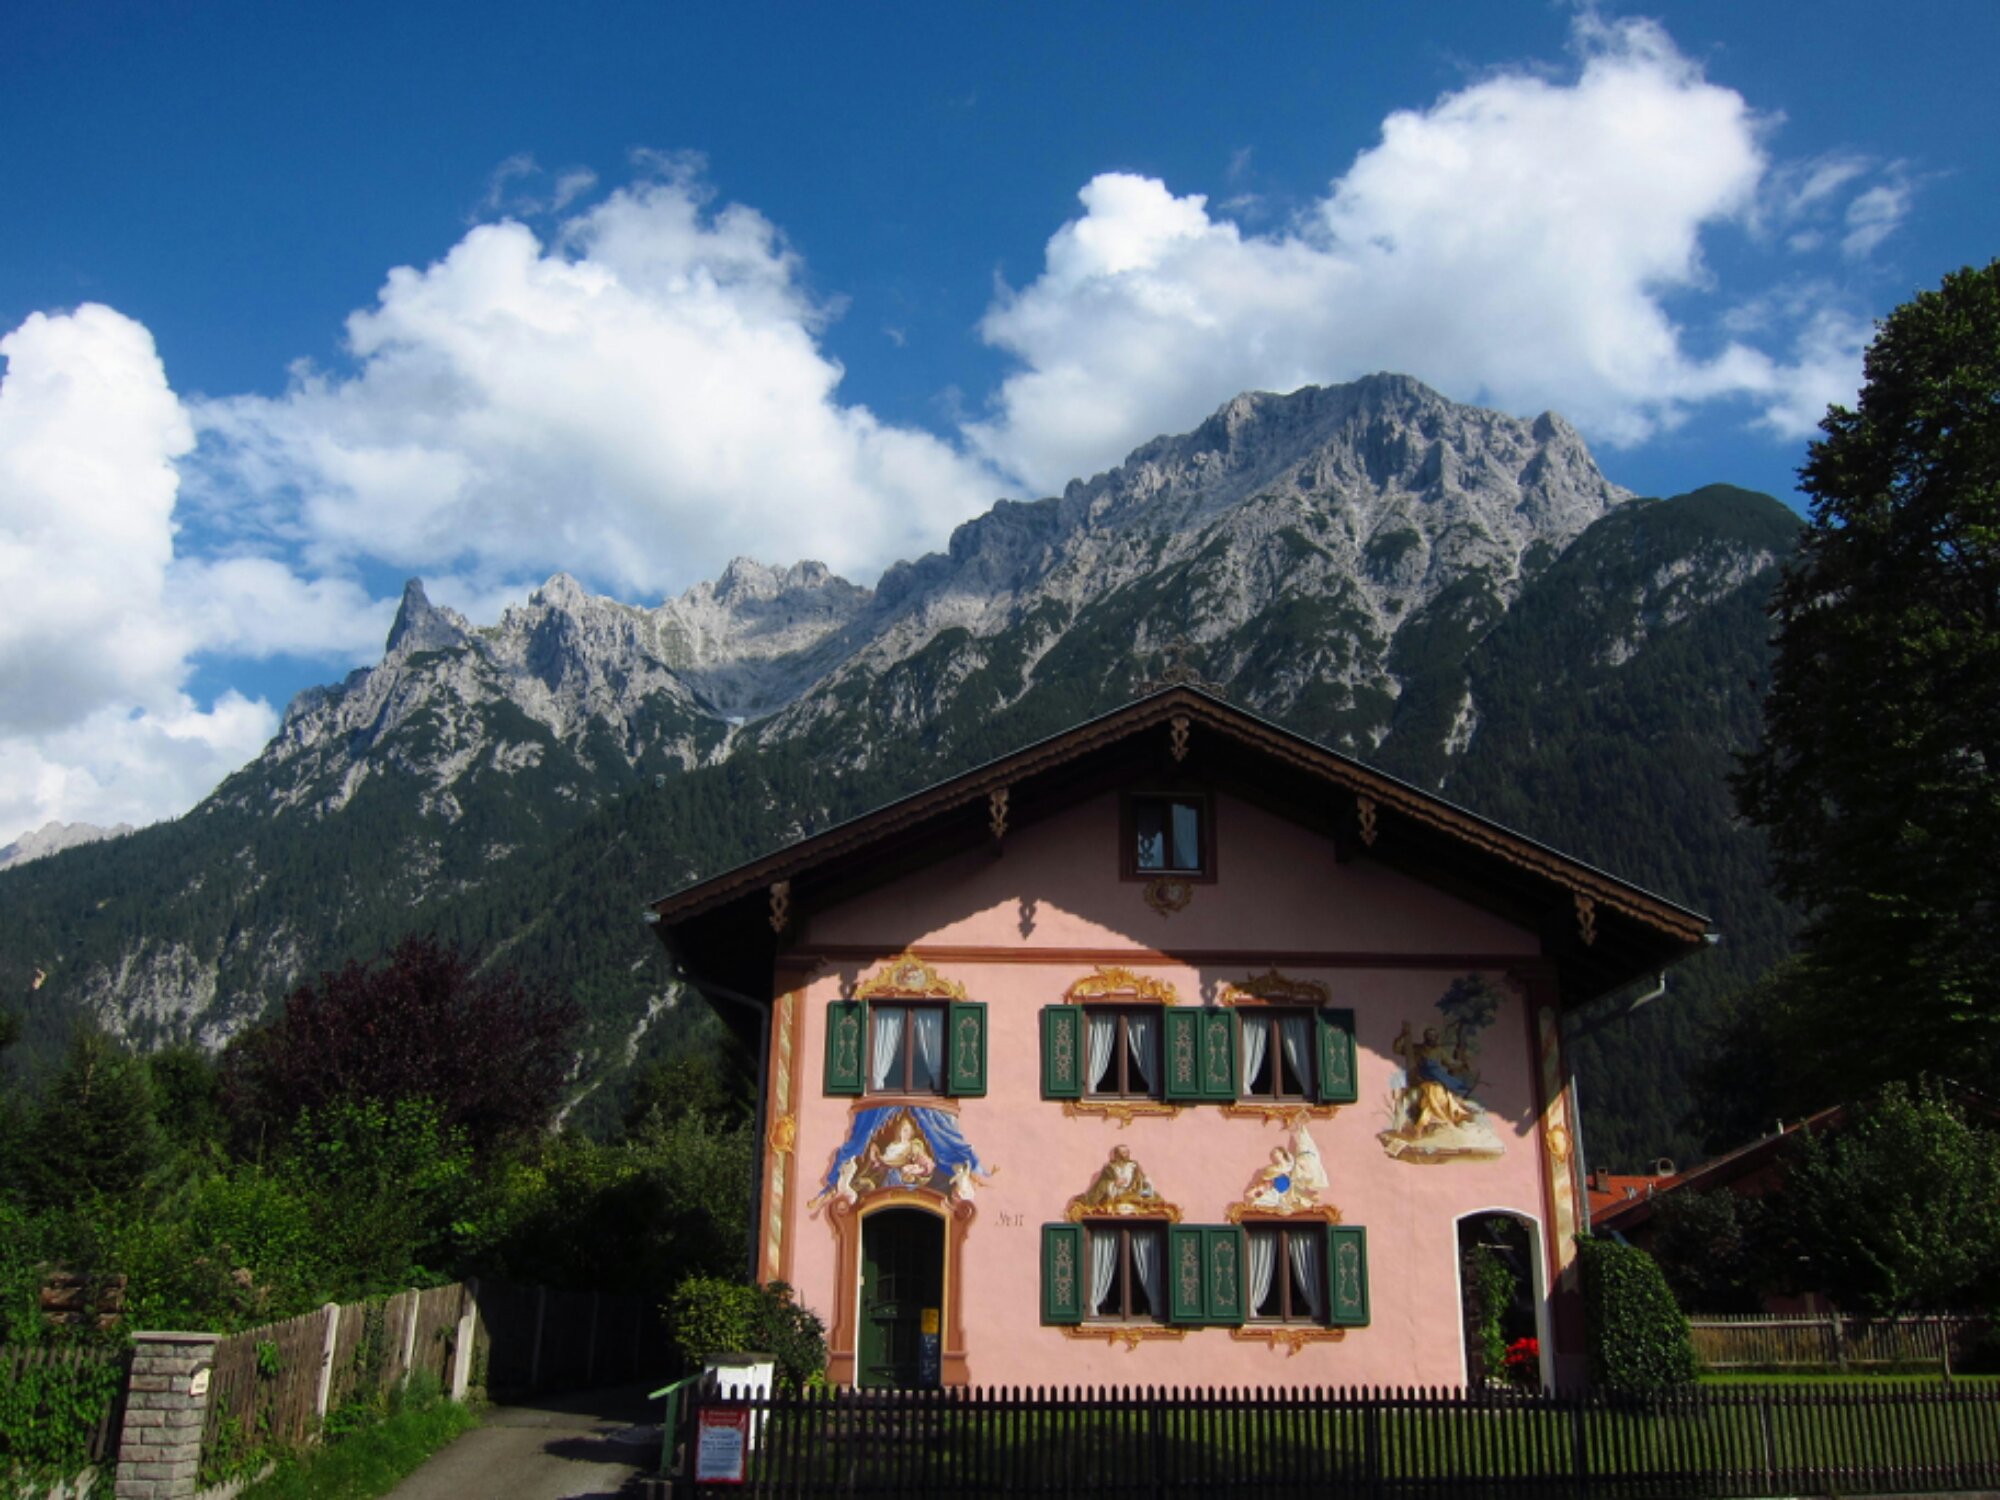
Die Häuser entlang der Route waren im Regelfall sehr schön verziert bzw. bemalt. Und dann noch ein solcher Hintergrund.

image

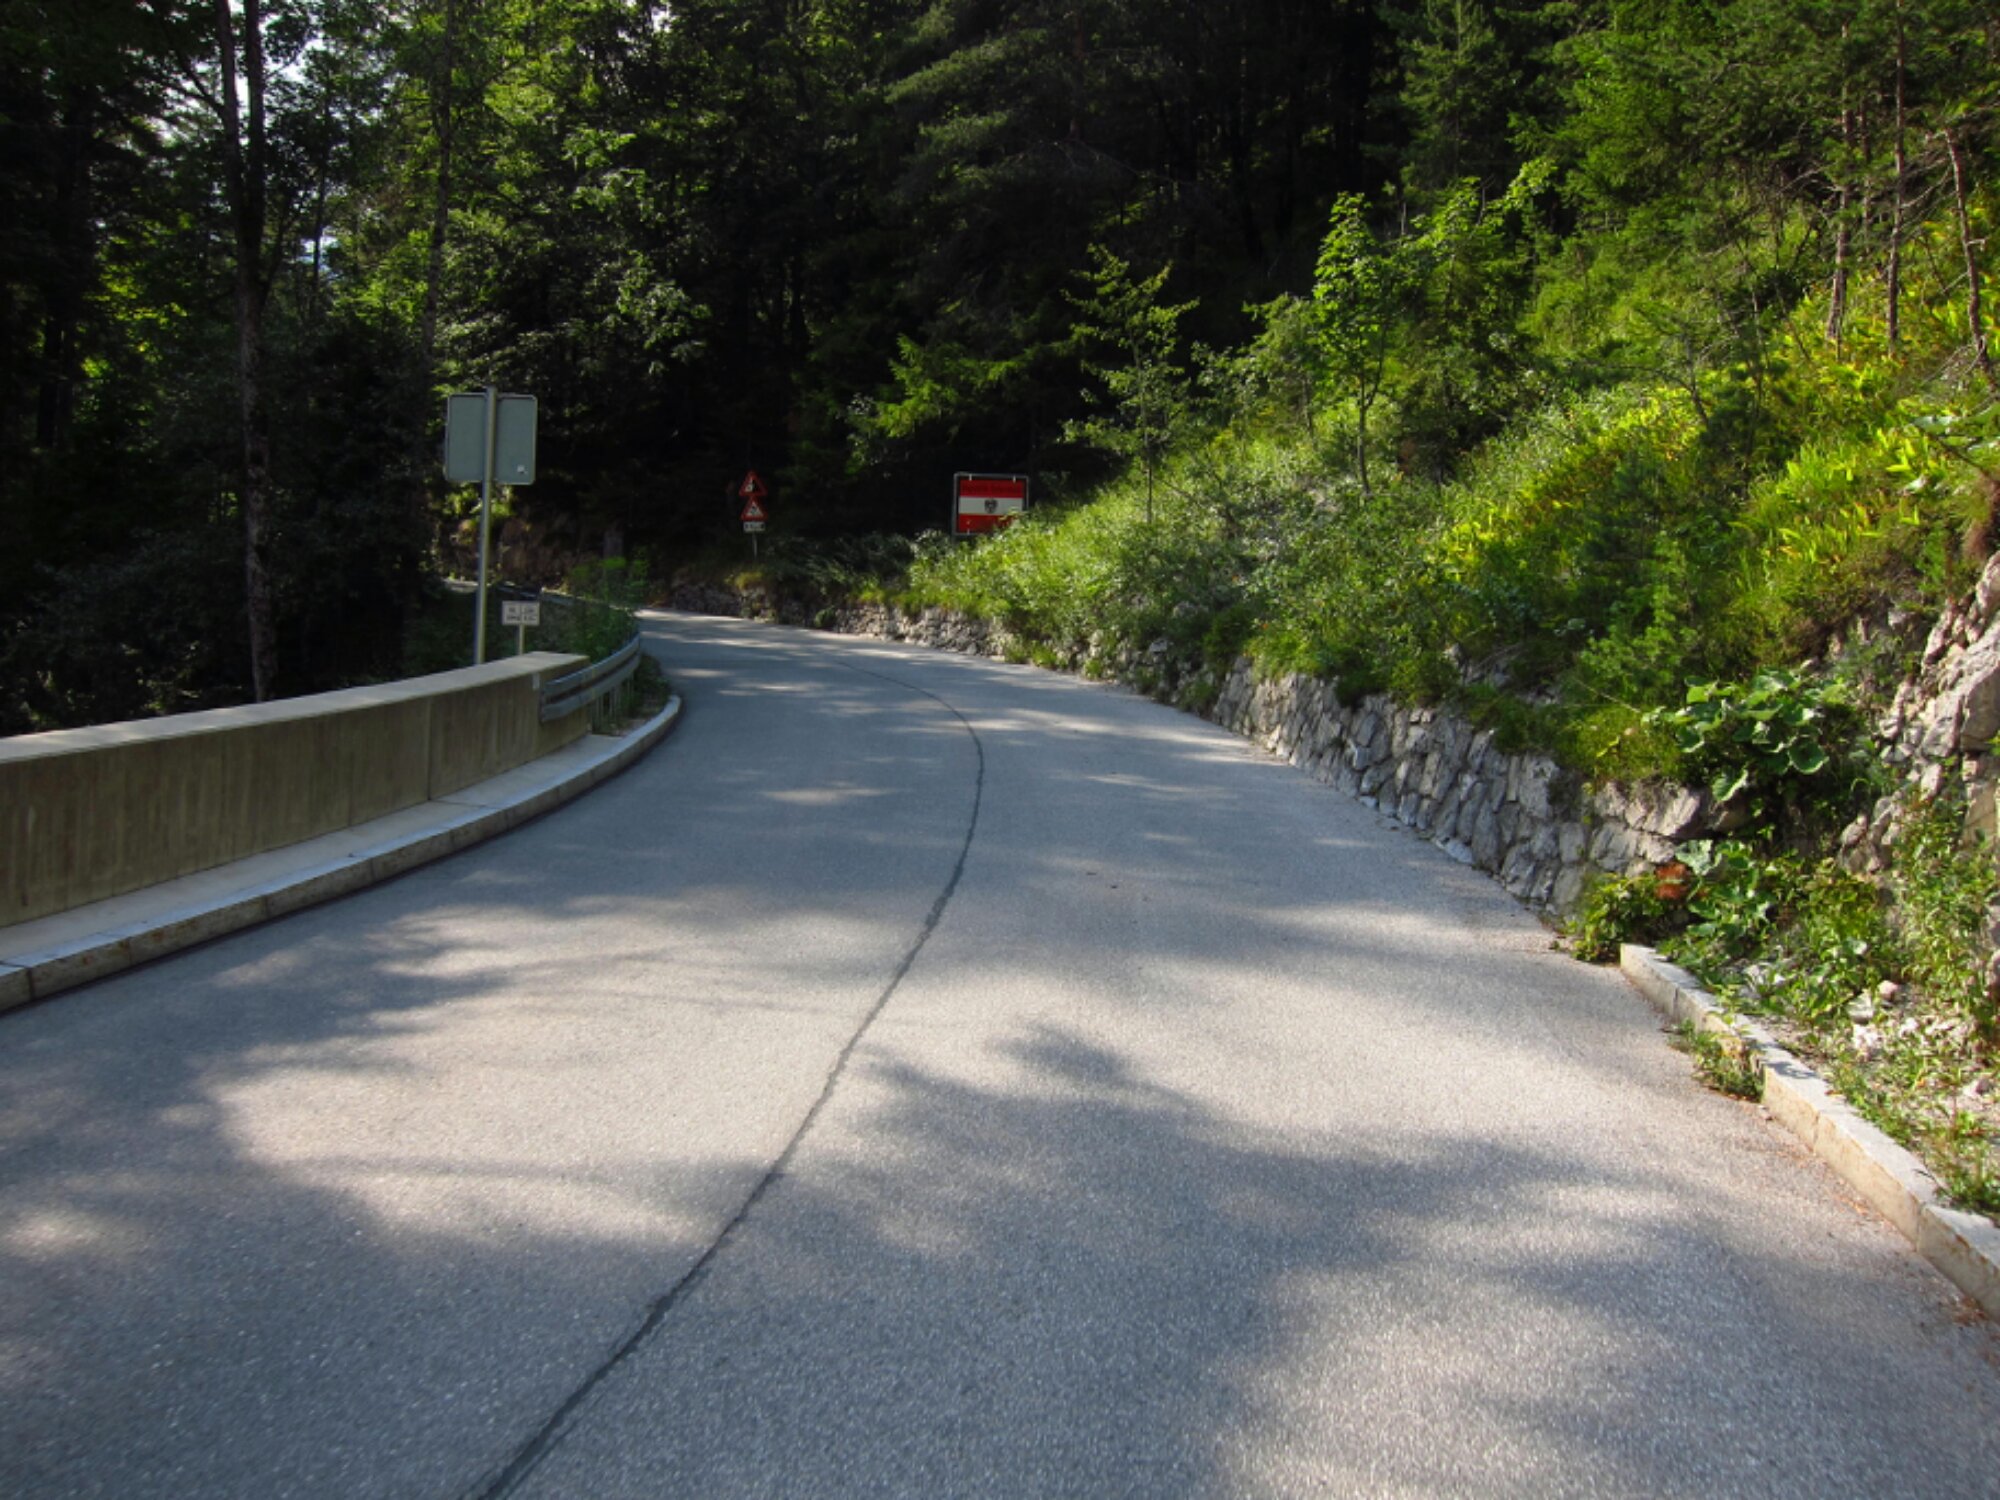
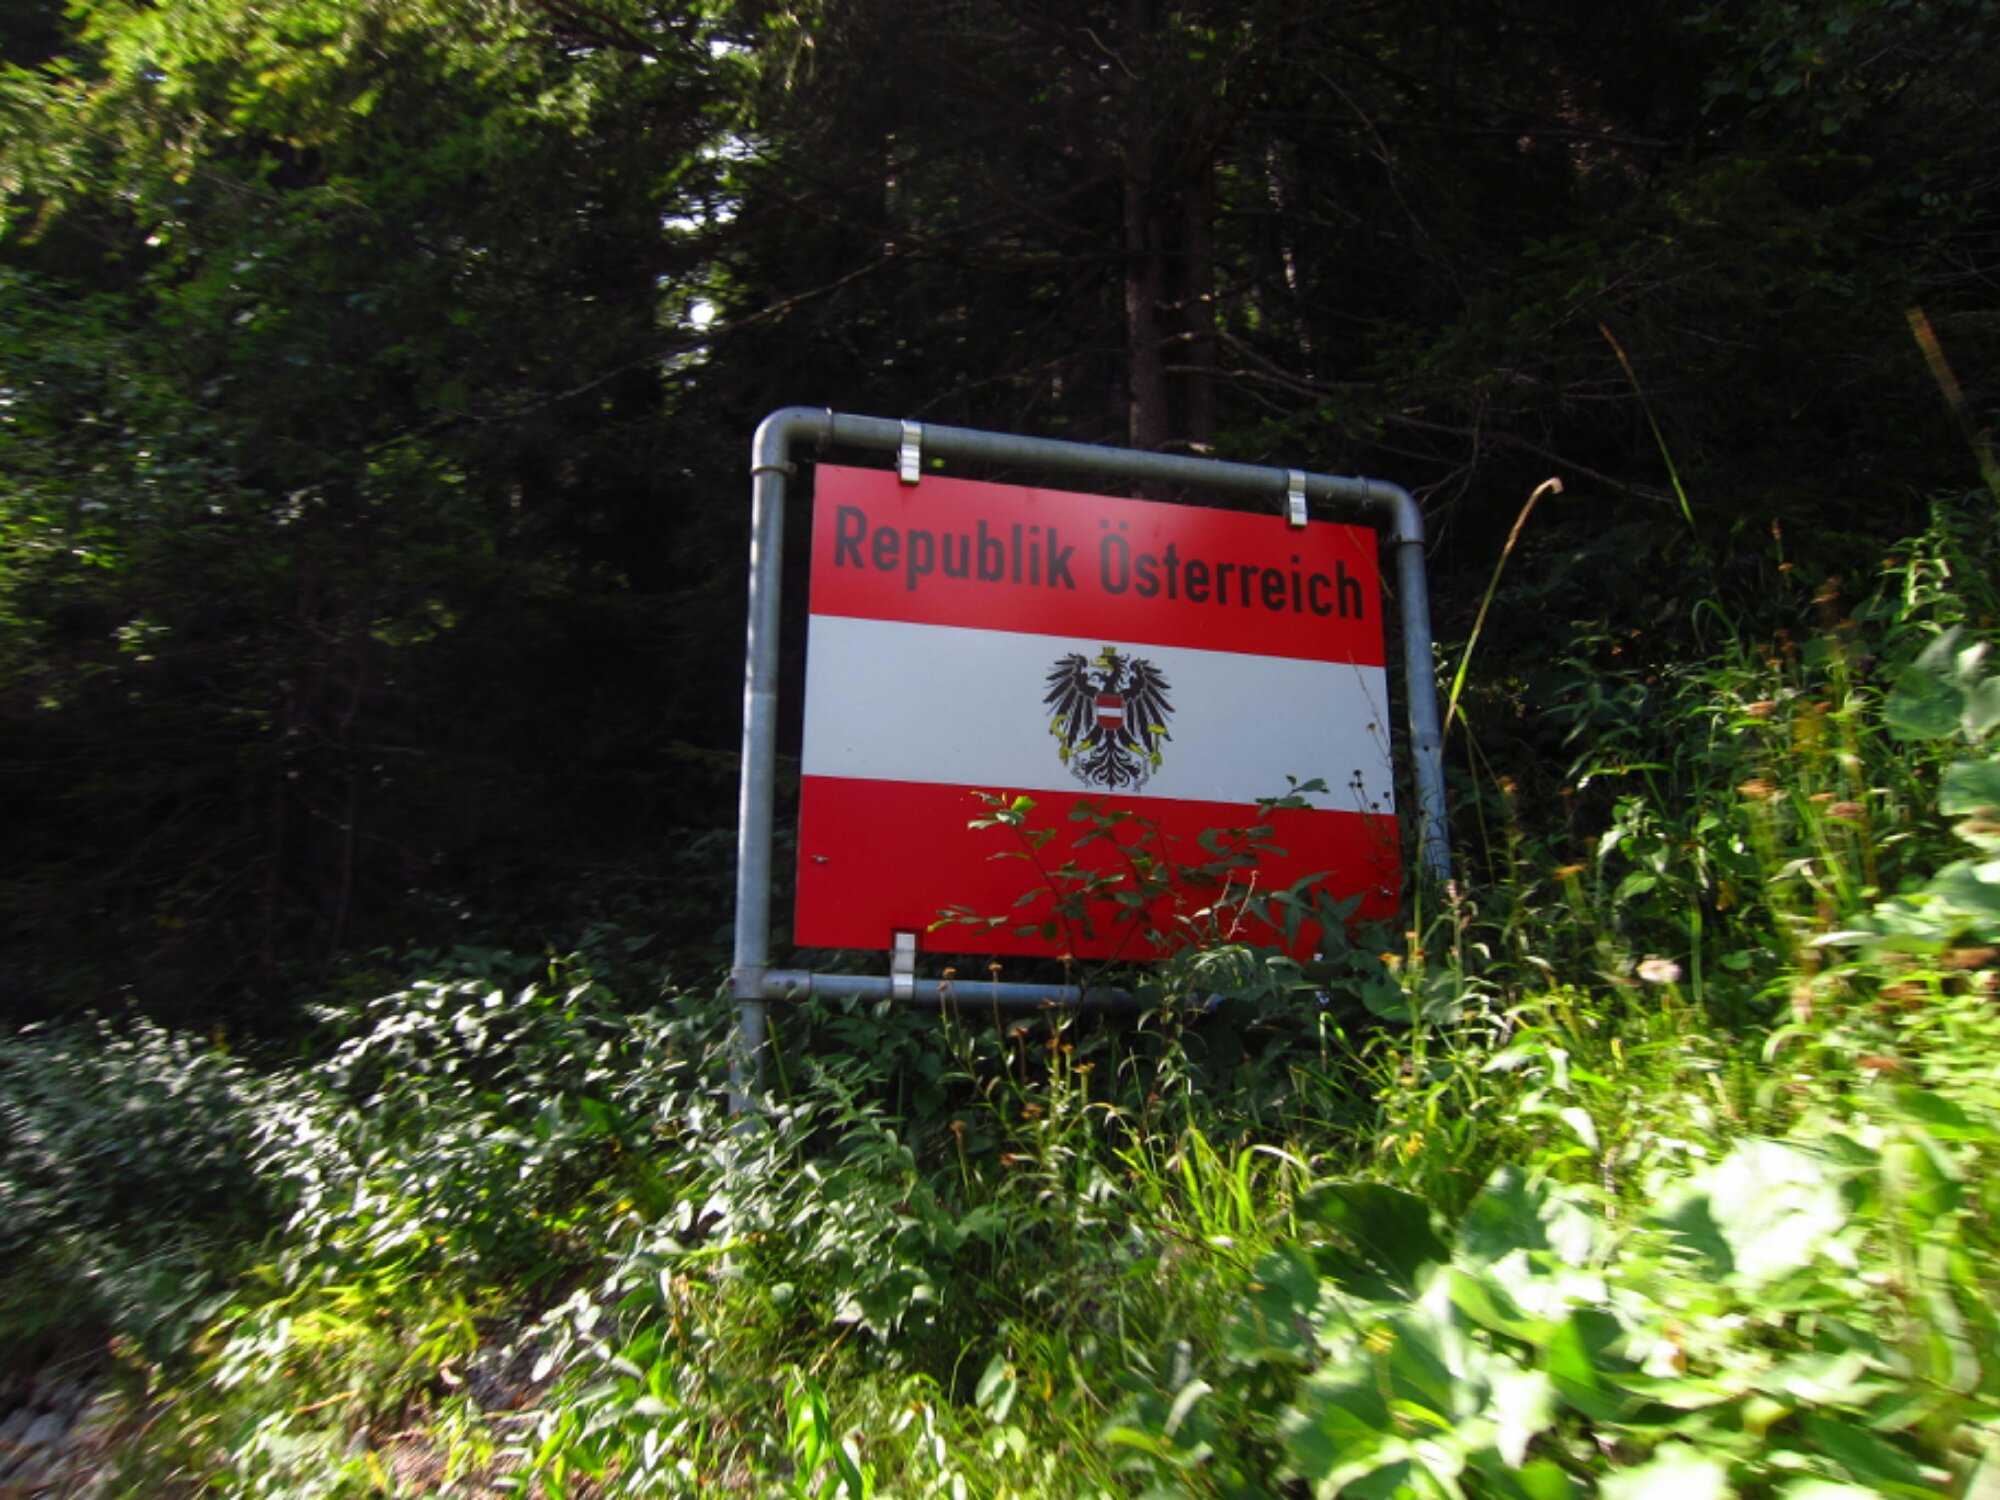
Nach knapp 110km war es dann soweit – ich überfuhr die Grenze nach Österreich.

image

image

Auf einer Art Hochebene ging es über Leutasch in Richtung Telfs.

image

Das Zusammenspiel von Sonnen, Wolken und Bergen ergab immer wieder sehr schöne Anblicke.

image

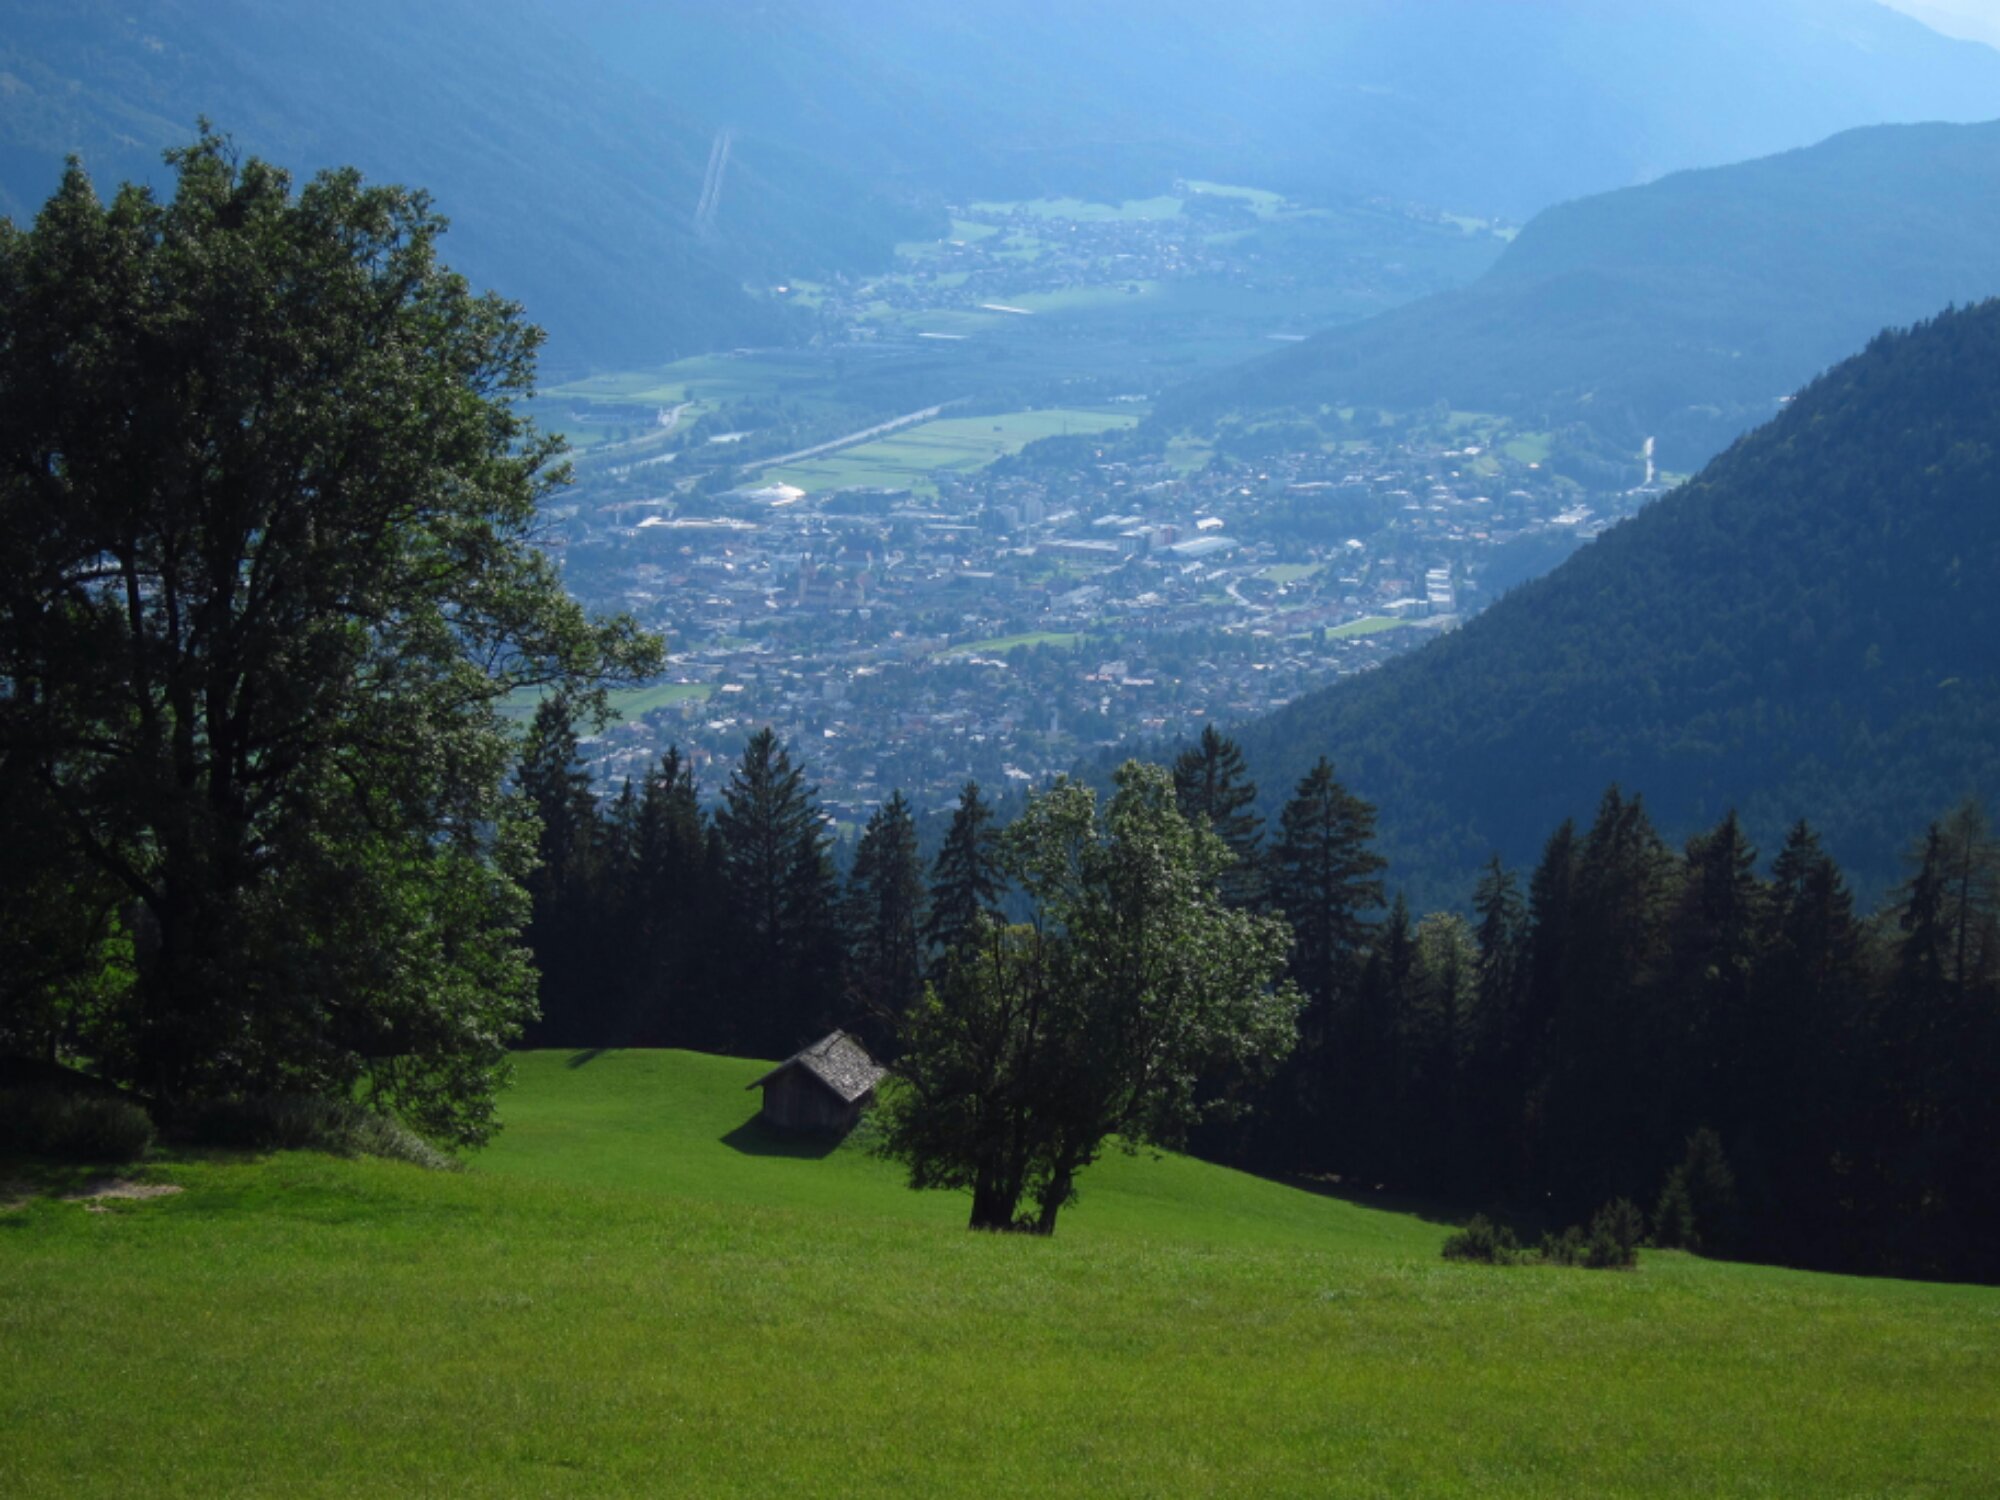
Nach einigen weiteren kleinen Steigungen hatte ich den höchsten Punkt der heutigen Etappe erreicht und konnte den Ausblick auf Telfs genießen, das ca. 650m tiefer im Tal liegt.

image

Nach etwa fünf Kilometern Abfahrt und einem kurzen Stück auf der Landstraße kam ich in Platten an, meinem ersten Zwischenhalt. Dort habe ich mich nach einem leckeren Abendessen recht zeitig in die Koje gemacht – heute war nur warmradlen, die nächsten Tage werden anstrengender.

Transalp 2013

Am Donnerstag geht es los: Mit dem Rennrad werde ich in vier Etappen von München über Telfs, Malles und Ponte di Legno nach Riva del Garda fahren. Die grobe Route hatte ich schon Anfang des Jahres geplant, um mich entsprechend vorzubereiten. So ganz ohne Training macht eine Transalp wahrscheinlich wenig Spaß ;-).

Neben dem Training haben mich vor allem zwei Fragen beschäftigt:

  1. Mit welchem Leistungsrückgang muss ich aufgrund der Höhe rechnen?
  2. Welche Übersetzung ist bei meiner individuellen Leistungsfähigkeit für die zu fahrenden Pässe geeignet?

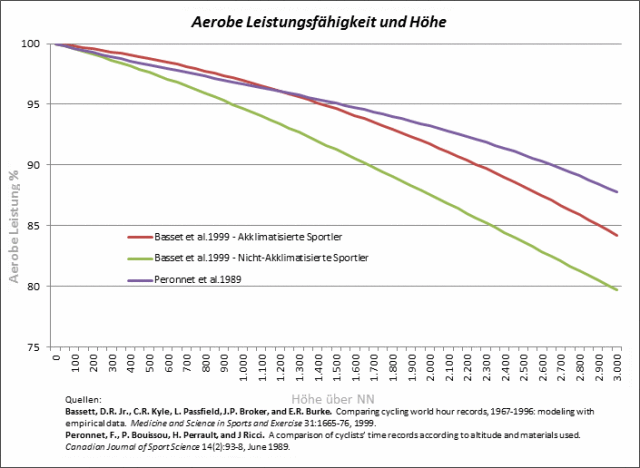
Zum ersten Frage habe ich unter http://www.rennrad-news.de/ folgendes Diagramm gefunden, das den Zusammenhang von Leistungsfähigkeit in Abhängigkeit der Höhe darstellt:

Bildquelle: http://www.rennrad-news.de/forum/threads/sinn-und-unsinn-von-kraftausdauertraining-mit-40-60-u-min.121261/page-3

Der höchste Pass hat eine Höhe von 2.760 Metern. Nach dem Diagramm oben müsste ich dann als nicht-akklimatisierter Sportler mit einem Leistungsrückgang von ca. 18 % in der Spitze rechnen. Im Mittel läge der Leistungsrückgang am Stilfser Joch bei ca. 12%. Aus meiner aktuellen aeroben Schwellleistung von 260 Watt würde somit eine Schwelle von 229 Watt im Mittel bzw. 212 Watt auf Passhöhe.

Daran schließt sich die Antwort auf die zweite Frage an: Welche Übersetzung ist die richtige, um das Stilfser Joch mit einer durchschnittlichen Steigung von 7,5% zu bewältigen? In meinem “normalen” Trainingsgebiet nutze ich Kettenblätter 55/39 und eine Kassette 11-27 – für das Stilfser Joch vermutlich nicht die optimale Wahl.

Die aus einer Tretleistung resultierende Geschwindigkeit kann man beispielsweise auf www. kreuzotter.de berechnen. Mit meinen Parametern (81kg Gewicht mit Kleidung, 12,5kg Fahrrad inkl. Gepäck, 212 Watt Tretleistung, 7,5% Steigung) komme ich auf eine Geschwindigkeit von 10,1 km/h. Bei einem Radumfang von 2,1m entspricht das ~80 Radumdrehungen pro Minute.  Bei einer Übersetzung von 39 zu 30 käme ich auf eine durchschnittliche Trittfrequenz von 62 Pedalumdrehungen pro Minute. Mit einer Compact-Kurbel, einem Kettenblatt von 34 und einer Kassette 12-30 käme ich auf eine durchschnittliche Trittfrequenz von 71 U / min.

Grundsätzlich wäre also die Compact-Kurbel die bessere Variante, lässt sie doch einfach mehr Reserve für erschöpfungs- bzw. höhenbedingtes Absinken der Leistung. Allerdings bin ich mit meinem vorhandenen Leistungsmesser auf  39 Zähne als kleinstes Kettenblatt beschränkt und eine Neuanschaffung für die Transalp erscheint mir nicht wirtschaftlich. Ich werde also sehen, ob die Mathematik wie oben aufgeht und ich auf Dauer mit einer recht niedrigen Trittfrequenz zurecht komme.

Ich freue mich riesig auf die Tour, werde an dieser Stelle über die einzelnen Etappen berichten und auch auf die oben aufgeworfenen Fragen in der Praxisbeobachtung zurückkommen.